Sep . 15, 2024 15:56 Back to list
pump seal kit replacement
Understanding Pump Seal Kit Replacement
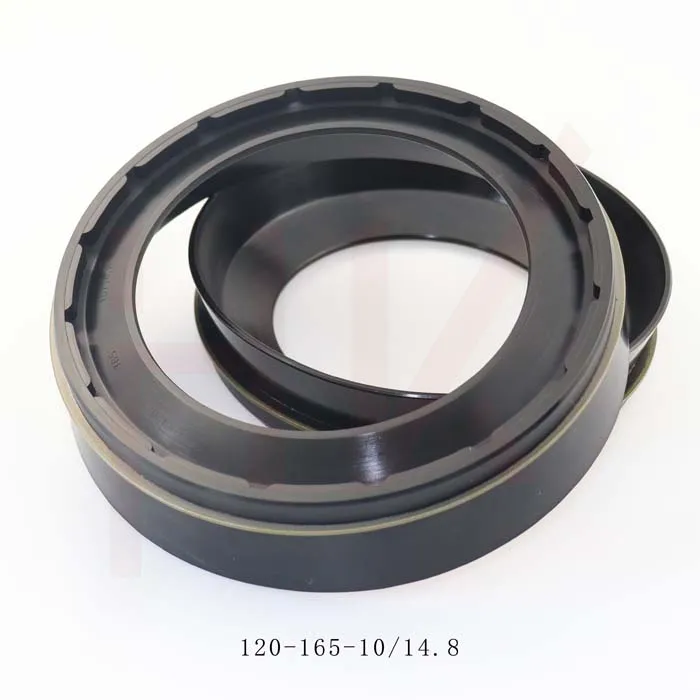
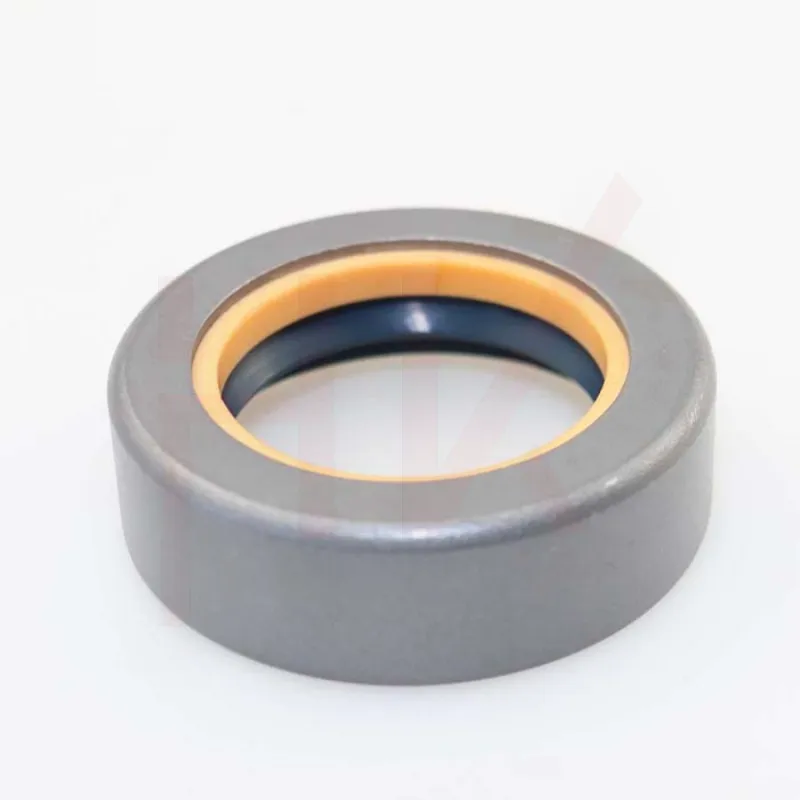
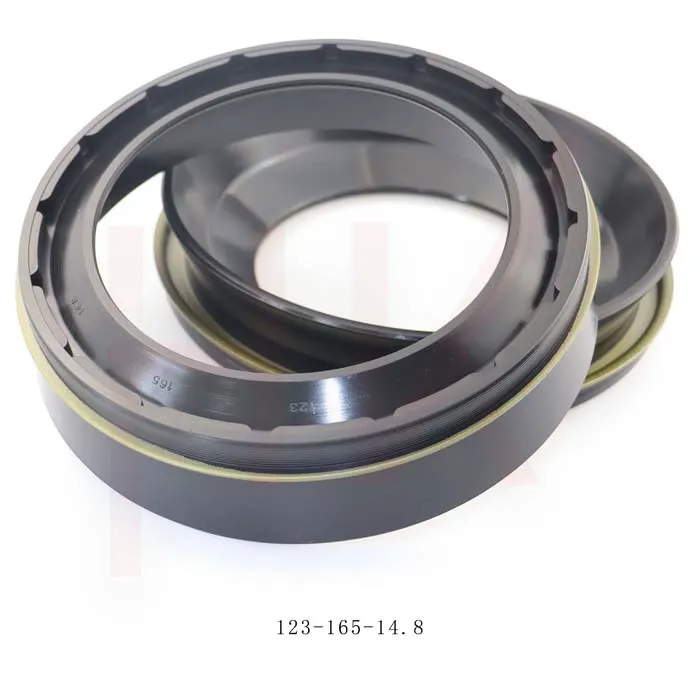
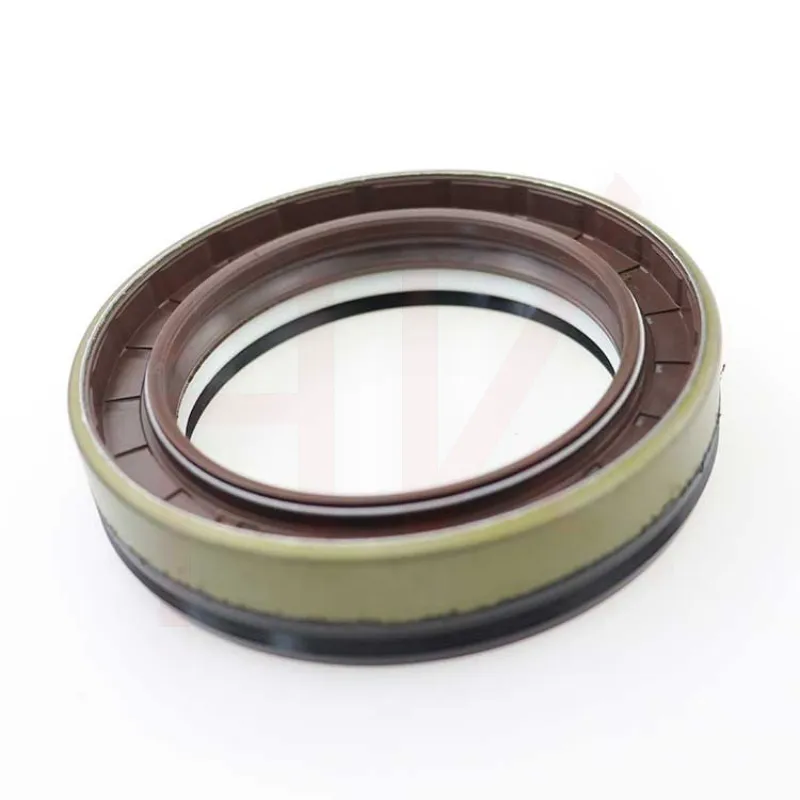
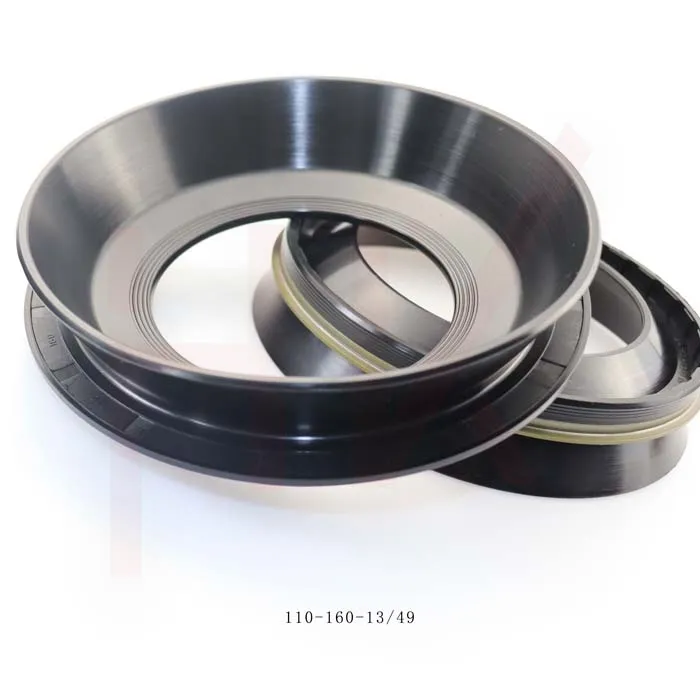
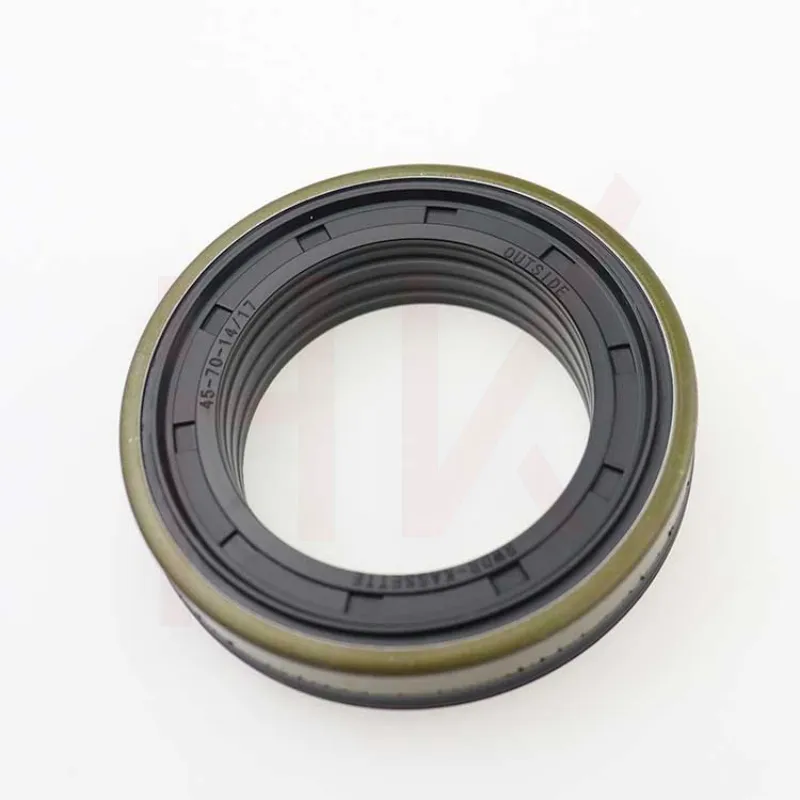
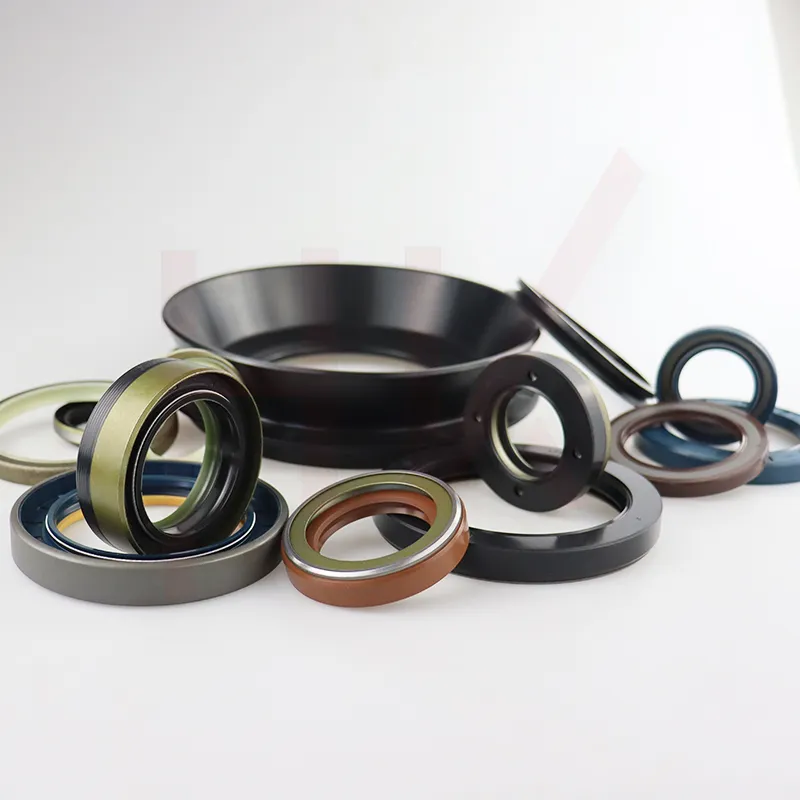
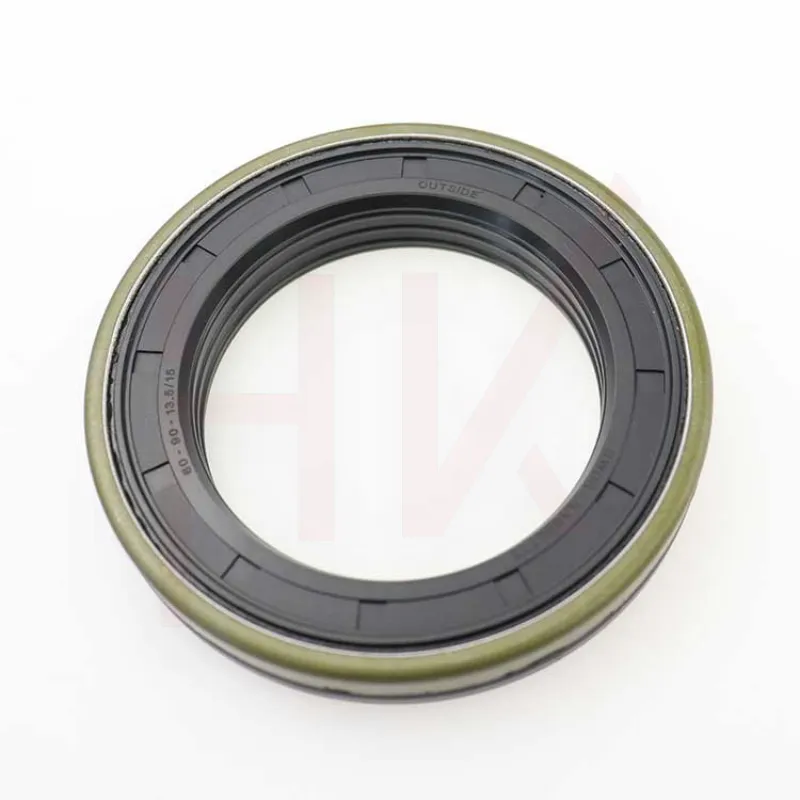
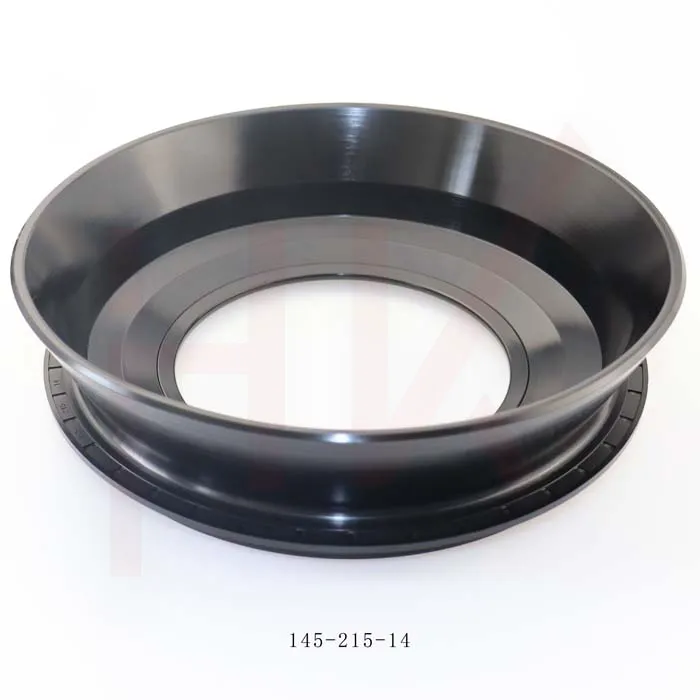
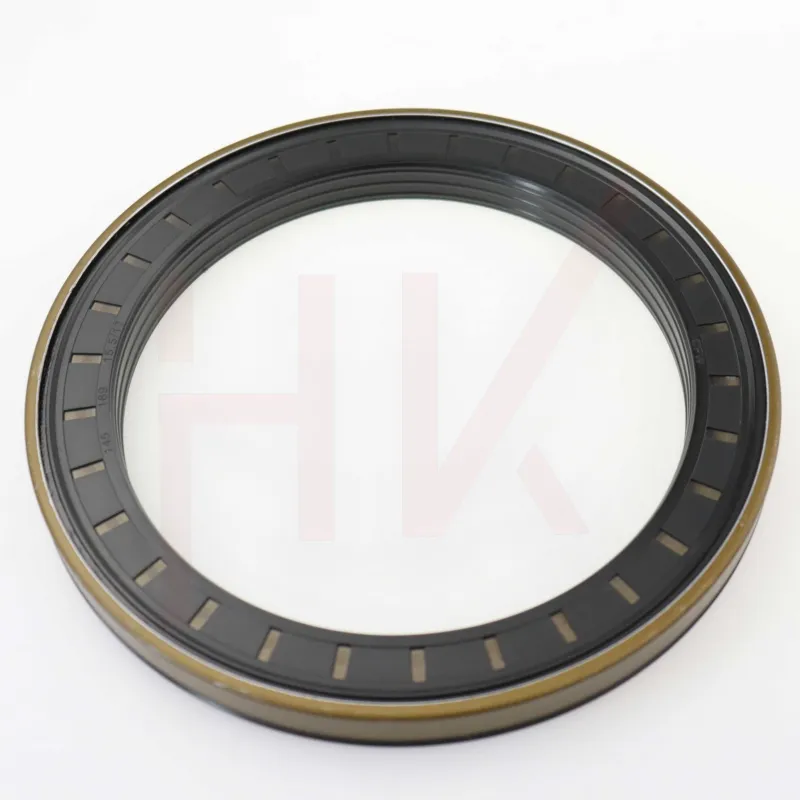
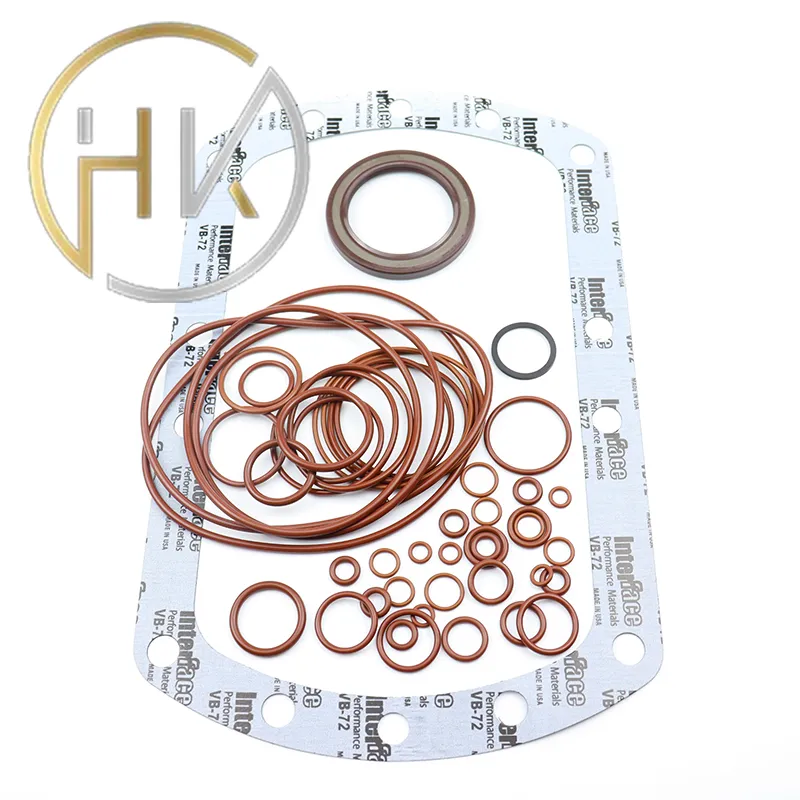
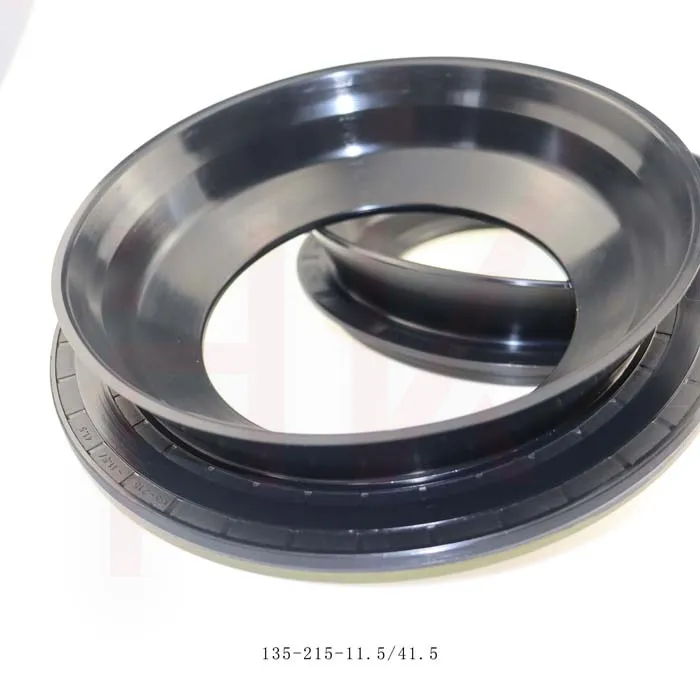
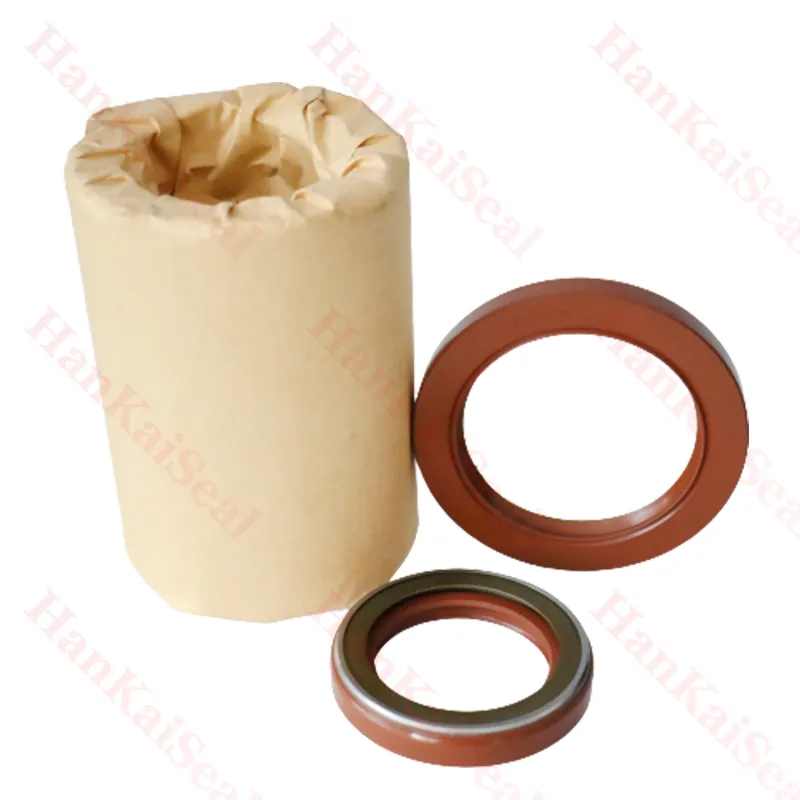
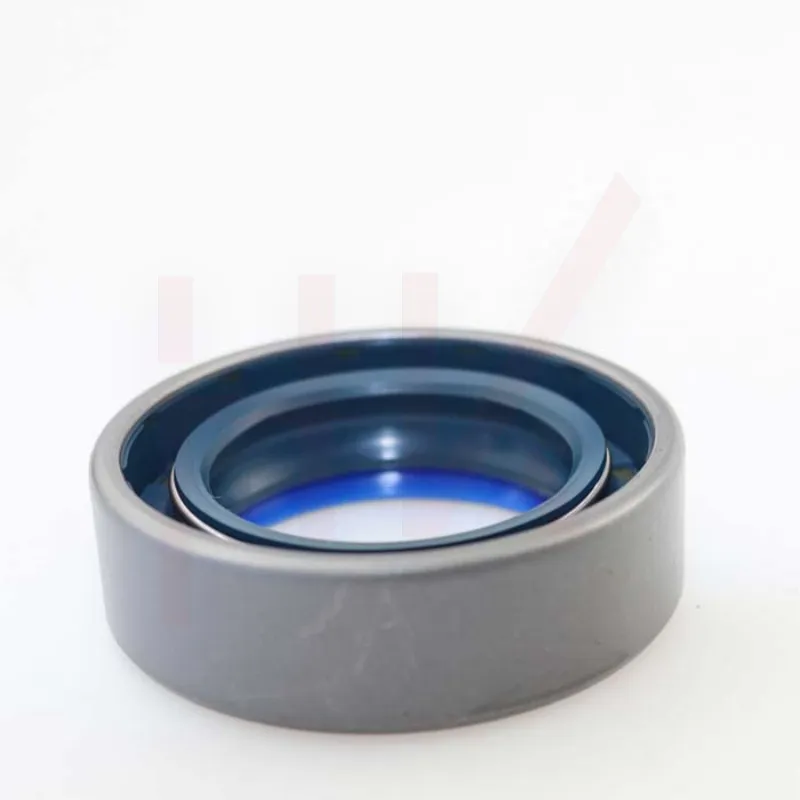
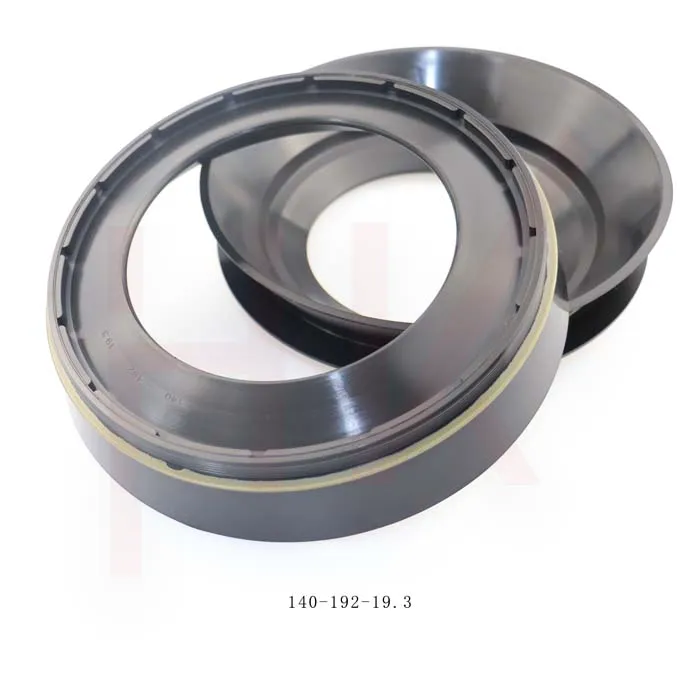
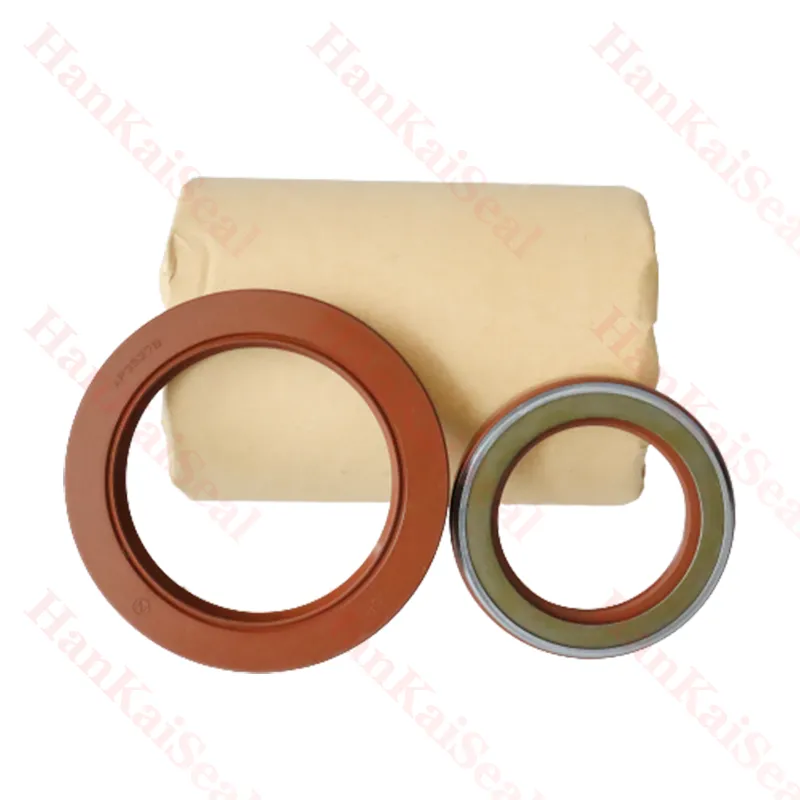
Pump seal kits are essential components in maintaining the efficiency and longevity of various types of pumps used in numerous applications, from industrial machinery to residential systems. The primary function of a seal kit is to prevent the leakage of fluids, ensuring that the pump operates smoothly without any disruptions or losses. Over time, these seals can wear out due to a variety of factors, including pressure fluctuations, temperature changes, and the corrosive nature of the fluid being pumped. Therefore, knowing how to effectively replace a pump seal kit is critical for any maintenance routine.
Identifying the Need for Replacement
Recognizing when to replace a pump seal kit is the first step in maintaining your equipment. Common signs that a seal kit may need replacing include visible leaks around the pump, unusual noises during operation, and diminished pump performance. If you notice any of these issues, it's advisable to conduct a thorough inspection to determine if the seal kit is the culprit.
Gather the Necessary Tools
Before beginning the replacement process, it’s important to gather all the necessary tools and materials. Typically, you’ll need a wrench or appropriate socket set, screwdrivers, pliers, cleaning rags, and a replacement seal kit specifically designed for your pump model. Always refer to the manufacturer’s guidelines for the correct specifications.
Steps for Replacement
1. Safety First Ensure that the pump is completely de-energized and disconnected from its power source. This protects you from potential hazards while working on the equipment.
pump seal kit replacement
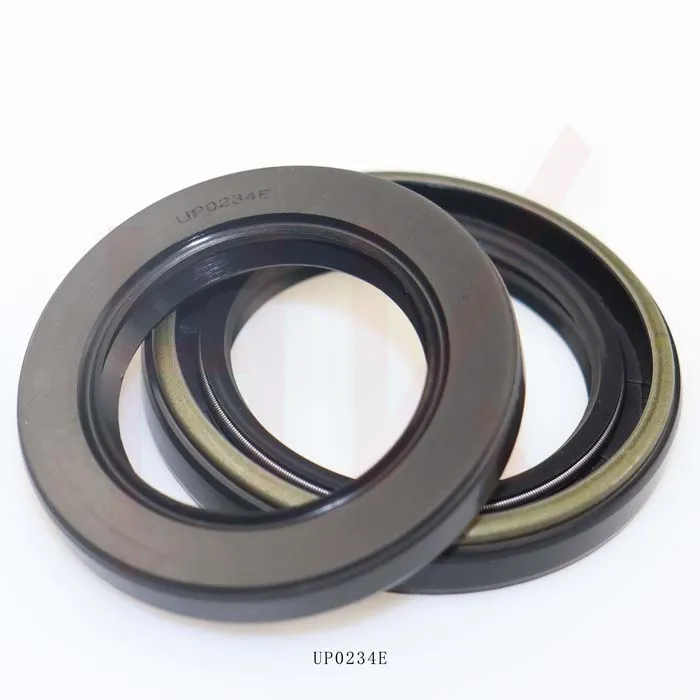
2. Disassemble the Pump Carefully remove the relevant components of the pump. Make sure to keep track of the order in which parts are removed; taking photos can be helpful.
3. Remove the Old Seal Kit Take out the old seals and gaskets from their slots, clean the areas thoroughly to remove any debris or residue. This step is crucial to ensure a proper seal when you install the new kit.
4. Install the New Seal Kit Follow the manufacturer’s instructions to fit the new seals and gaskets into their respective places. Ensure they are seated properly to avoid future leaks.
5. Reassemble the Pump Once the new seal kit is in place, carefully reassemble the pump, making sure to return each component to its original position.
6. Test the Pump After reassembly, reconnect the pump to its power source and perform a test run. Check for any leaks and ensure the pump operates smoothly.
Conclusion
Regular maintenance and timely replacement of pump seal kits are vital to the performance and reliability of your pumps. By understanding the signs of seal wear and following the proper steps for replacement, you can prolong the life of your pumping equipment and maintain operational efficiency. Remember, if you're ever unsure about the process, it’s wise to consult with a professional to ensure the job is done correctly.
-
TCN Oil Seal Metal Ring Reinforcement for Heavy Machinery
NewsJul.25,2025
-
Rotary Lip Seal Spring-Loaded Design for High-Speed Applications
NewsJul.25,2025
-
Hydraulic Cylinder Seals Polyurethane Material for High-Impact Jobs
NewsJul.25,2025
-
High Pressure Oil Seal Polyurethane Coating Wear Resistance
NewsJul.25,2025
-
Dust Proof Seal Double Lip Design for Construction Equipment
NewsJul.25,2025
-
Hub Seal Polyurethane Wear Resistance in Agricultural Vehicles
NewsJul.25,2025
-
The Trans-formative Journey of Wheel Hub Oil Seals
NewsJun.06,2025
Products categories

