Eki . 14, 2024 07:18 Back to list
hydraulic ram seal replacement
Hydraulic Ram Seal Replacement A Comprehensive Guide
Hydraulic rams are pivotal components in various hydraulic systems, functioning efficiently to convert hydraulic energy into mechanical work. However, over time, wear and tear can lead to seal failures, causing leaks and diminishing performance. Replacing seals in a hydraulic ram is essential for maintaining the efficiency and longevity of the equipment. This article will guide you through the process of hydraulic ram seal replacement, ensuring you have the knowledge to tackle this task successfully.
Understanding Hydraulic Ram Seals
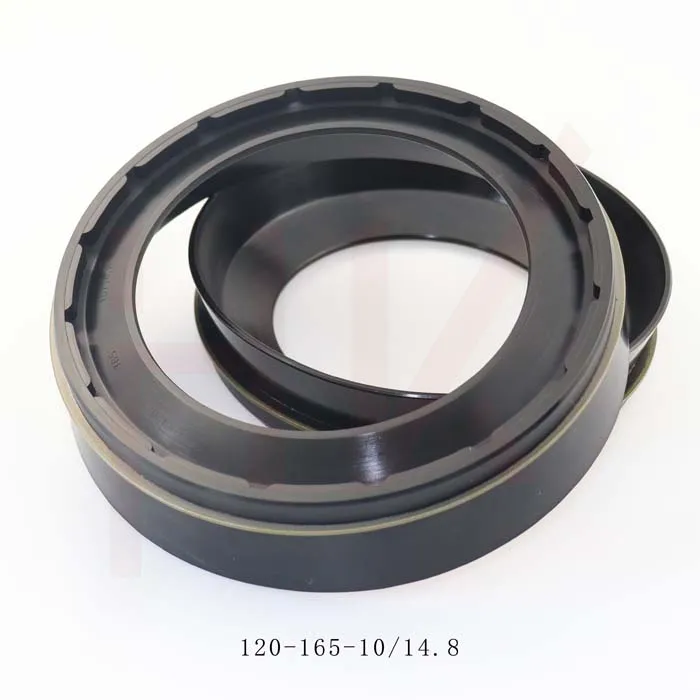
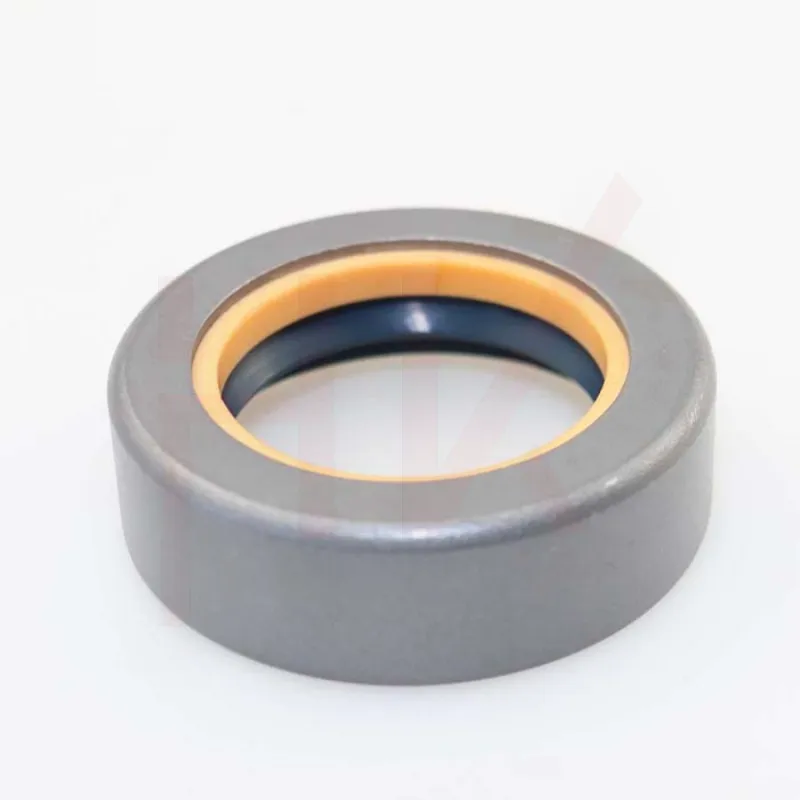
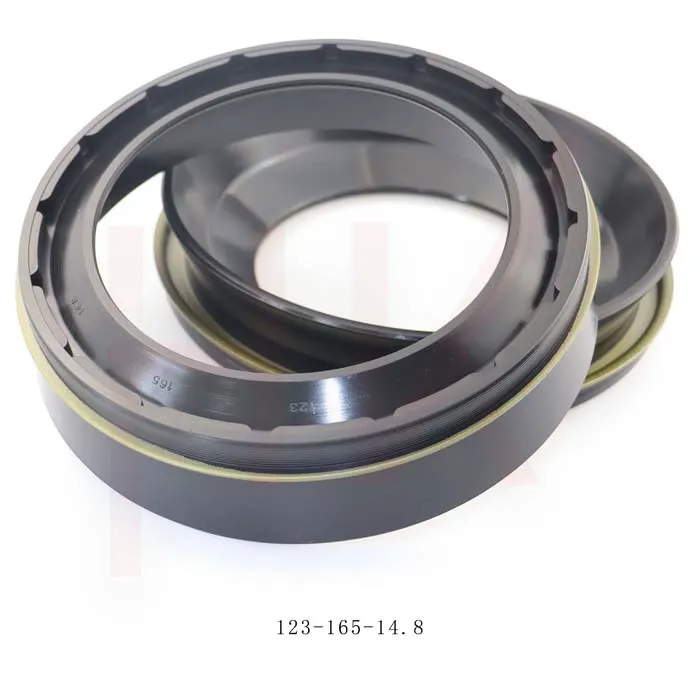
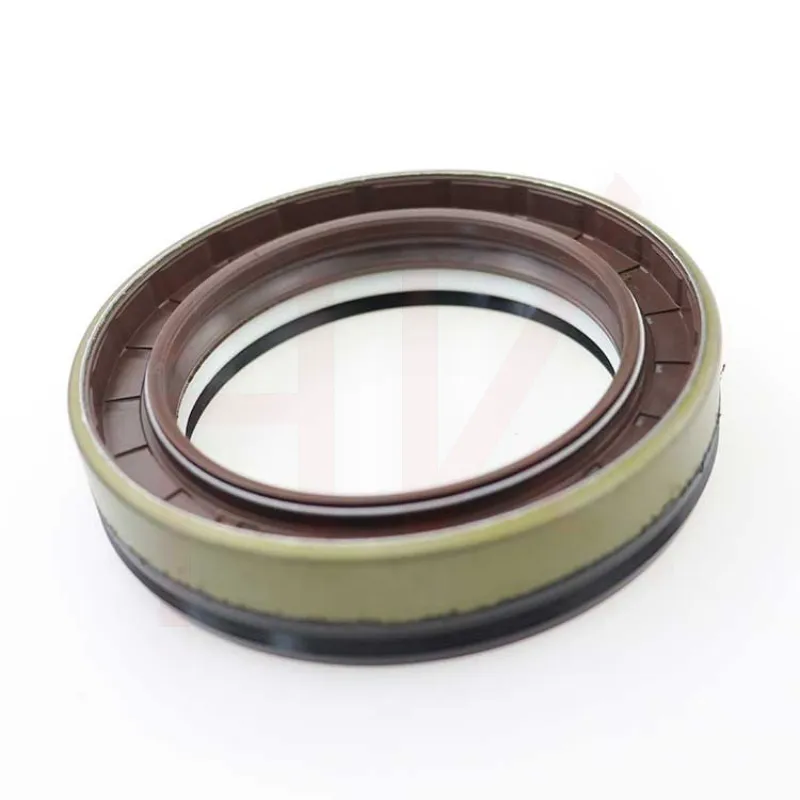
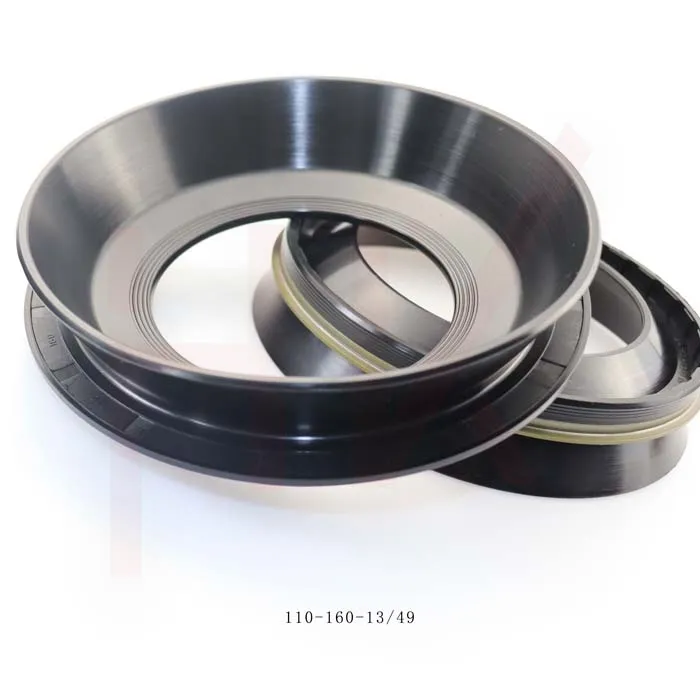
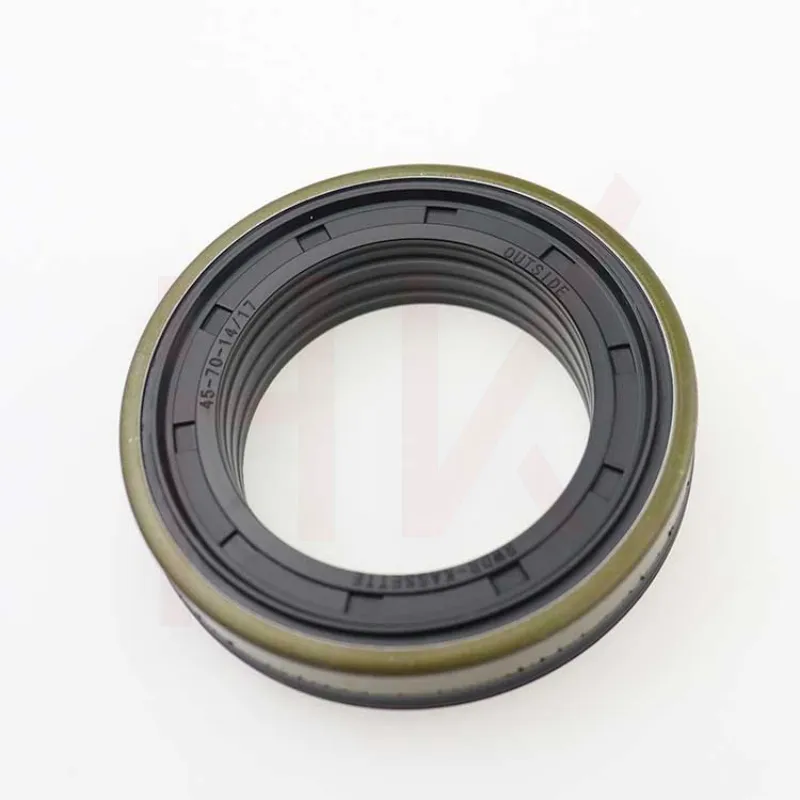
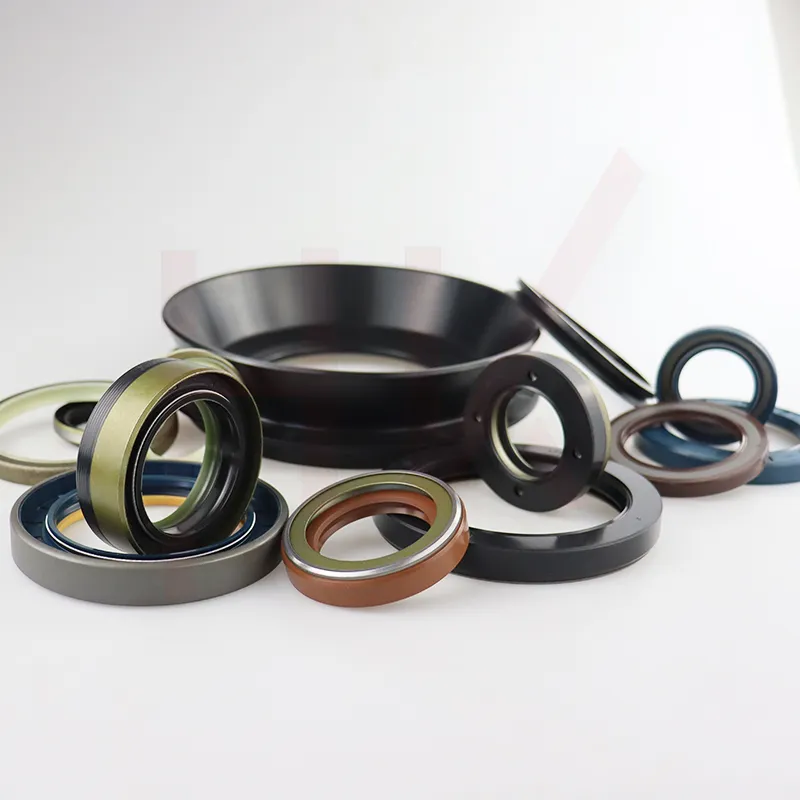
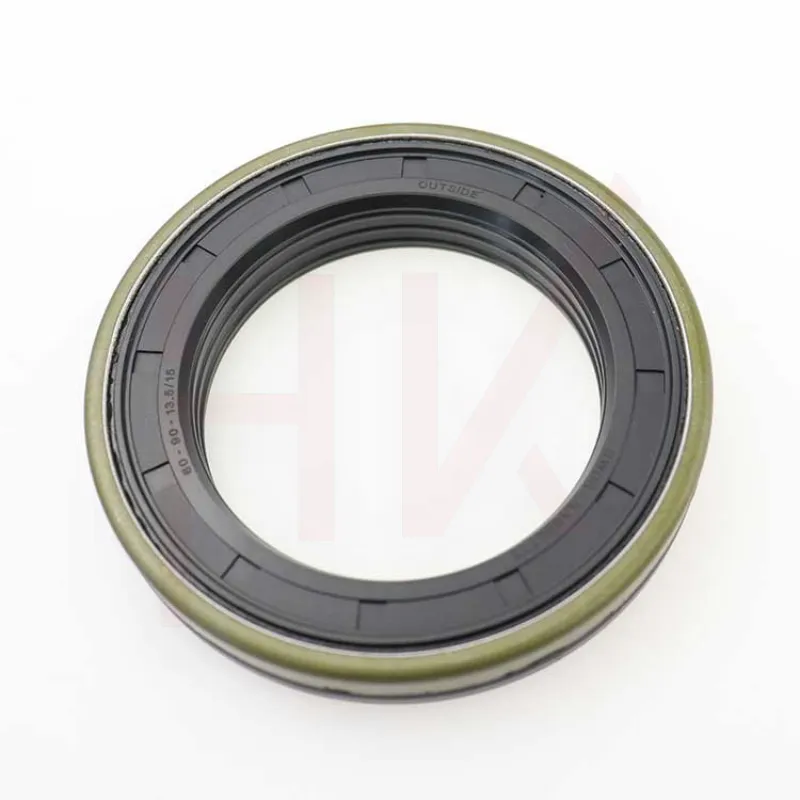
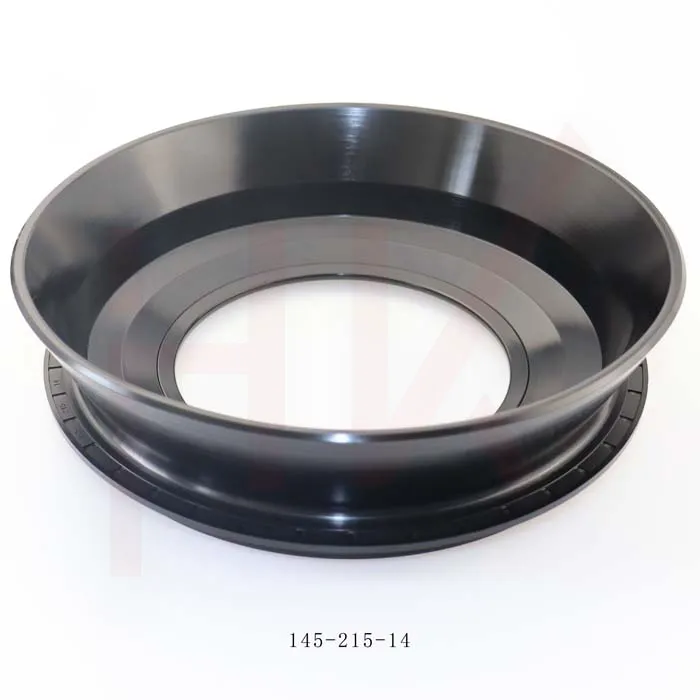
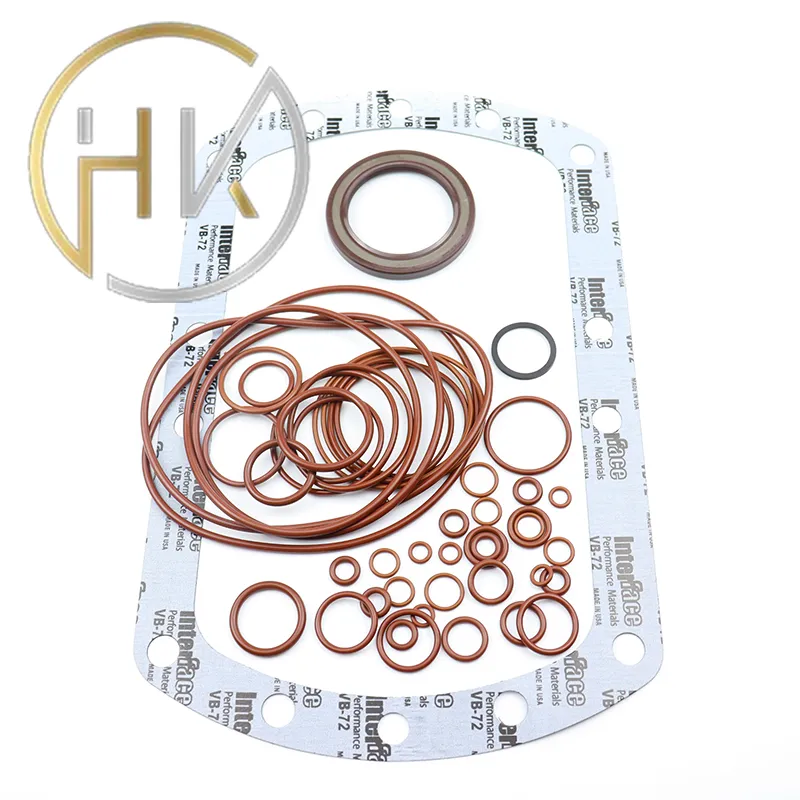
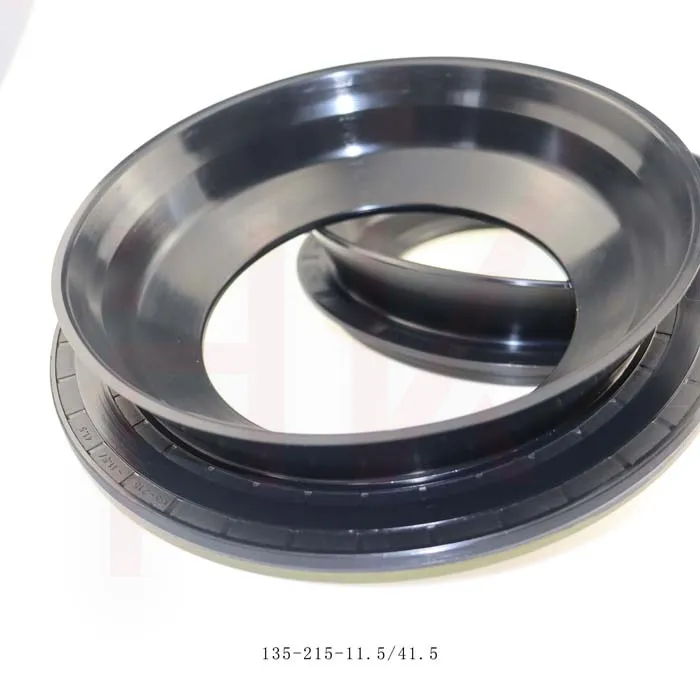
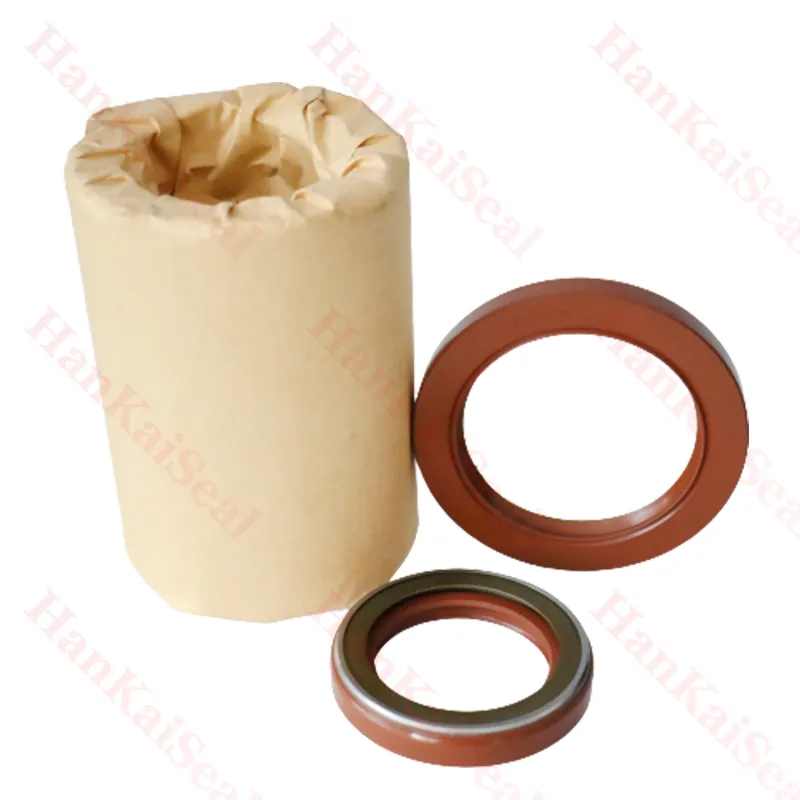
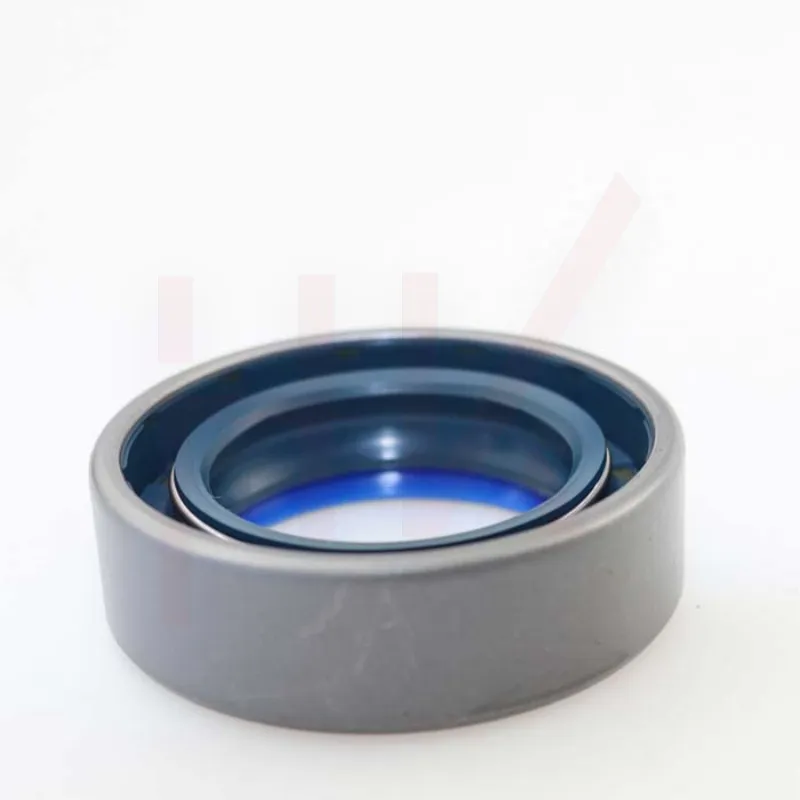
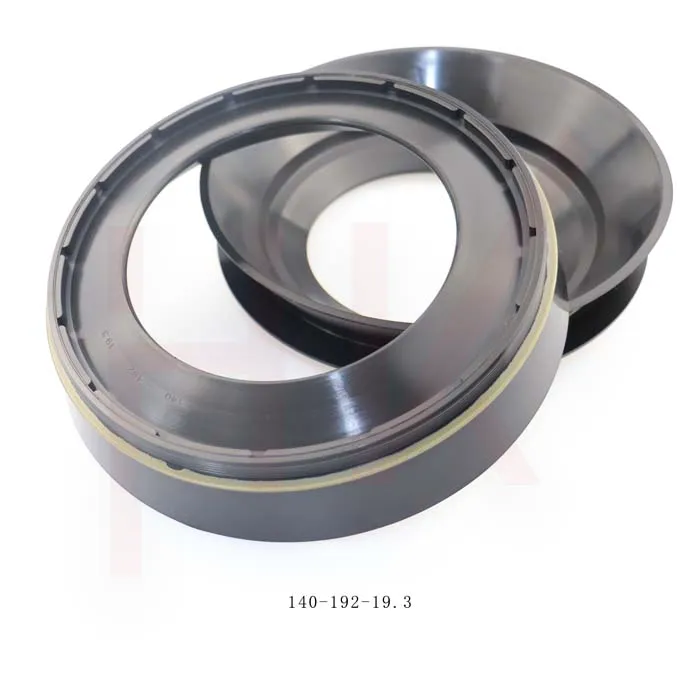
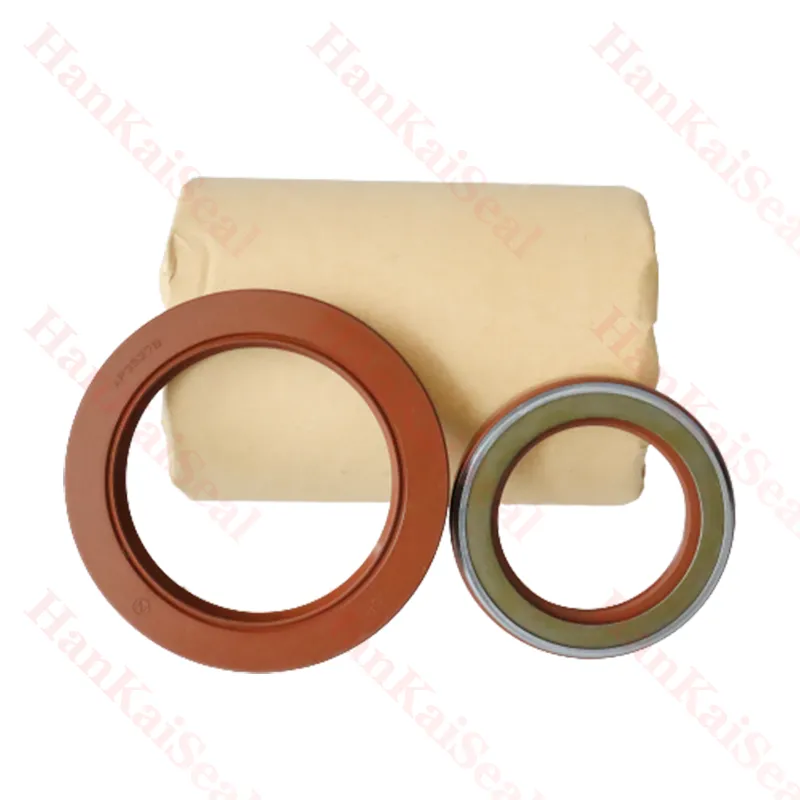
Hydraulic rams consist of several components, and seals are crucial in preventing fluid leaks while maintaining pressure within the system. Common types of seals found in hydraulic rams include O-rings, lip seals, and piston seals. These seals can deteriorate due to several factors, such as exposure to extreme temperatures, contamination from dirt or debris, and regular wear over time. Recognizing the symptoms of a failing seal—such as fluid leaks, reduced pressure, or unusual noises—can help you address the issue promptly.
Tools and Materials Needed
Before embarking on a seal replacement, gather the necessary tools and materials
1. Tools - Wrenches and sockets - Screwdrivers - Pliers - Seal pullers - Torque wrench 2. Materials - Replacement seals specific to your hydraulic ram model - Hydraulic fluid (if applicable) - Cleaning materials, such as rags and solvent - Lubricant for seals
Step-by-Step Replacement Process
hydraulic ram seal replacement

1. Safety First Ensure that the hydraulic system is depressurized. Disconnect any power sources to prevent accidental activation.
2. Disassemble the Hydraulic Ram Carefully remove the hydraulic ram from the equipment. Use appropriate tools to detach any bolts, screws, or fittings. Keep all components organized for easier reassembly.
3. Remove Old Seals Once the ram is disassembled, use seal pullers or a flat tool to carefully extract the old seals. Inspect the seal groove for any debris or damage; clean it thoroughly to ensure a proper seal fit.
4. Install New Seals Before installing the new seals, lubricate them with a small amount of compatible hydraulic fluid. This will help them fit into the groove easily and prevent damage during installation. Place the seals into their respective grooves, ensuring they are seated uniformly without twists or gaps.
5. Reassemble the Hydraulic Ram Once the new seals are installed, carefully reassemble the hydraulic ram components in the reverse order of disassembly. Use a torque wrench to tighten all bolts and fittings to the manufacturer’s specifications.
6. Testing After reassembly, reconnect the hydraulic ram to the system and refill it with hydraulic fluid if required. Slowly activate the system to check for any leaks or irregular functioning. Monitor the ram’s operation for a short period to ensure everything is working correctly.
Conclusion
Replacing seals in a hydraulic ram is a vital maintenance task that can enhance the life and efficiency of your hydraulic system. By following the outlined steps and focusing on safety and precision, you can successfully replace hydraulic ram seals and ensure your equipment operates optimally. Regular maintenance and timely seal replacement can prevent costly repairs and downtime, making it an essential skill for anyone working with hydraulic systems.
-
The Trans-formative Journey of Wheel Hub Oil Seals
NewsJun.06,2025
-
Graphene-Enhanced Oil Seals: Revolutionizing High-Pressure Oil Sealing
NewsJun.06,2025
-
Future of Hydraulic Sealing: Advanced Intelligent TCN Oil Seals
NewsJun.06,2025
-
Don’t Let a Broken TCV Oil Seal Ruin Your Day
NewsJun.06,2025
-
Bio-Inspired Dust Seals for Better Sealing Performance
NewsJun.06,2025
-
Biodegradable and Sustainable Hydraulic Seal Materials
NewsJun.06,2025
-
Top Oil Seal Solutions for Your Industrial Needs
NewsMay.22,2025
Products categories

