Sep . 29, 2024 02:06 Back to list
How to Change Wiper Seal on Hydraulic Cylinder for Optimal Performance
Replacing Wiper Seal on Hydraulic Cylinder A Step-by-Step Guide
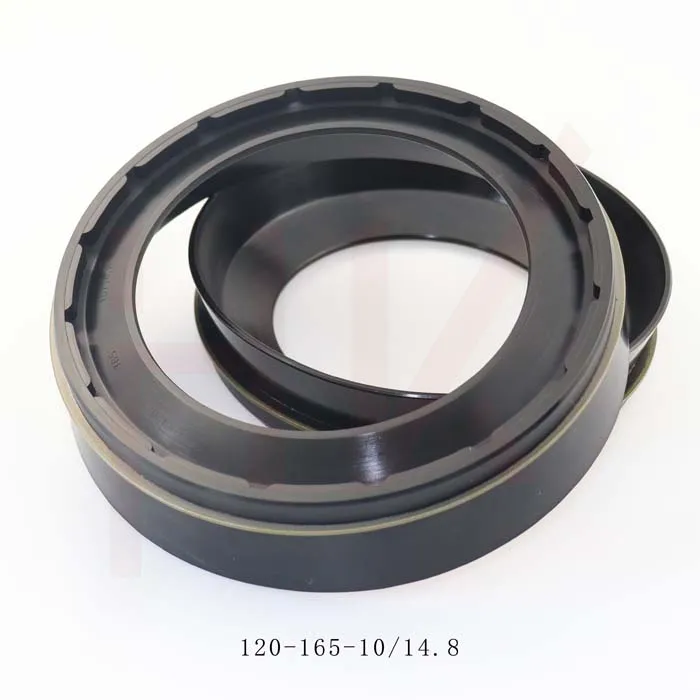
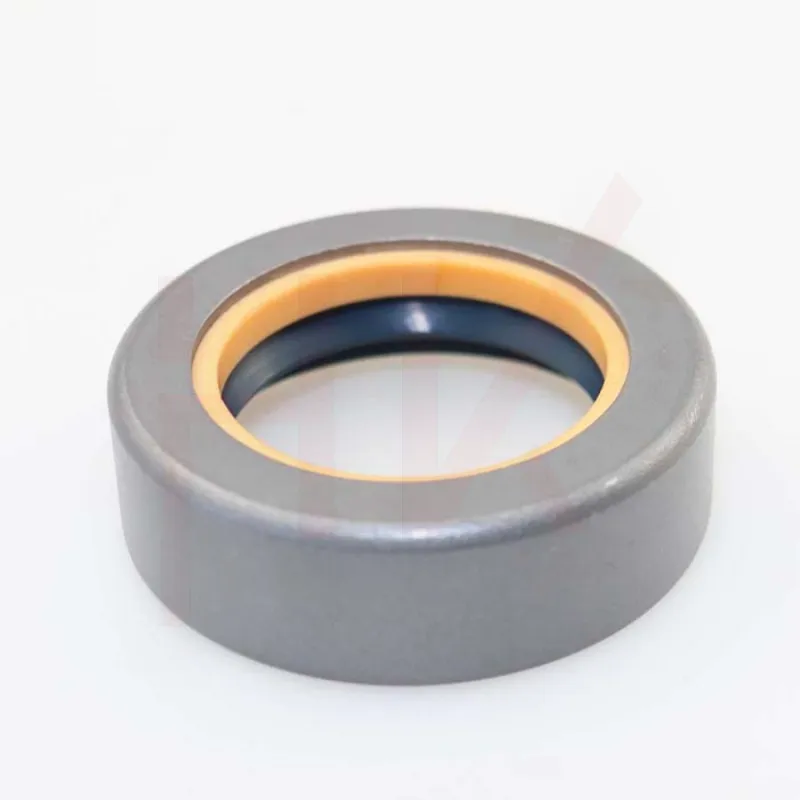
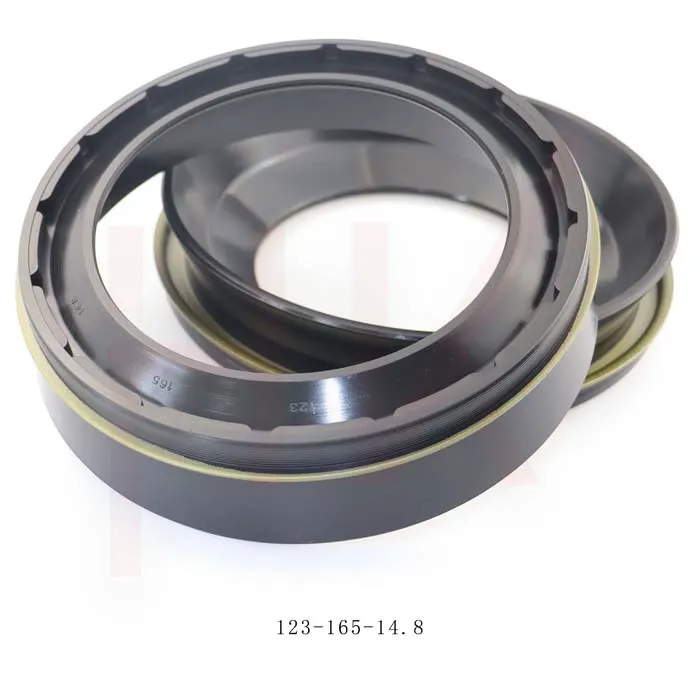
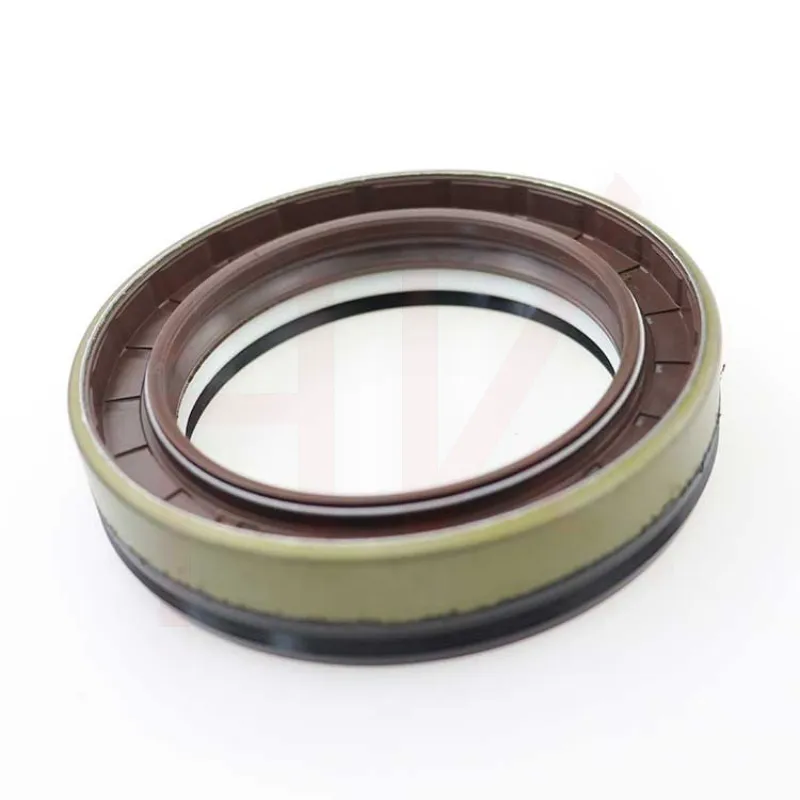
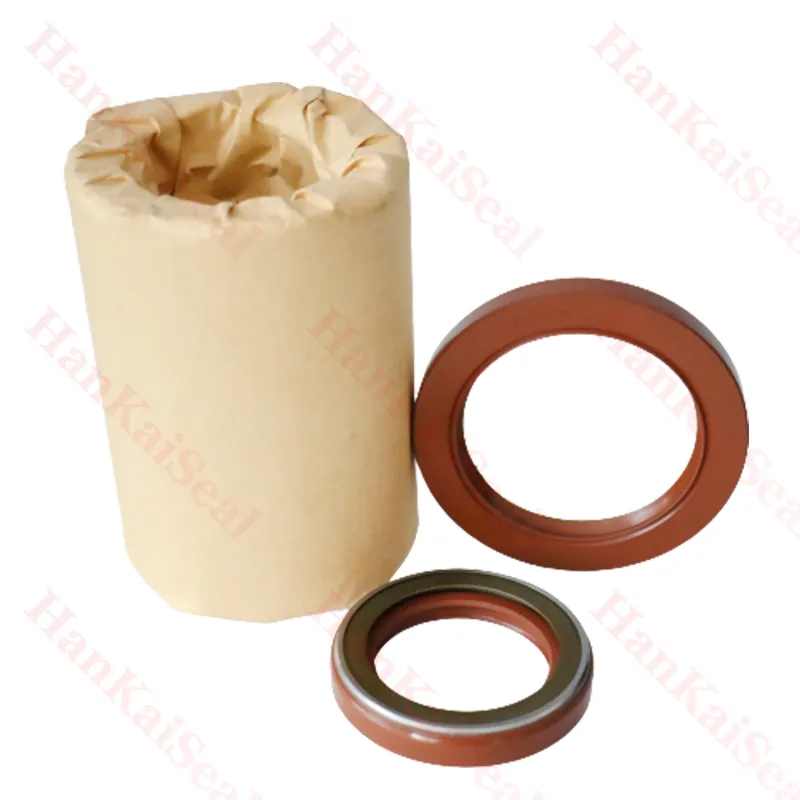
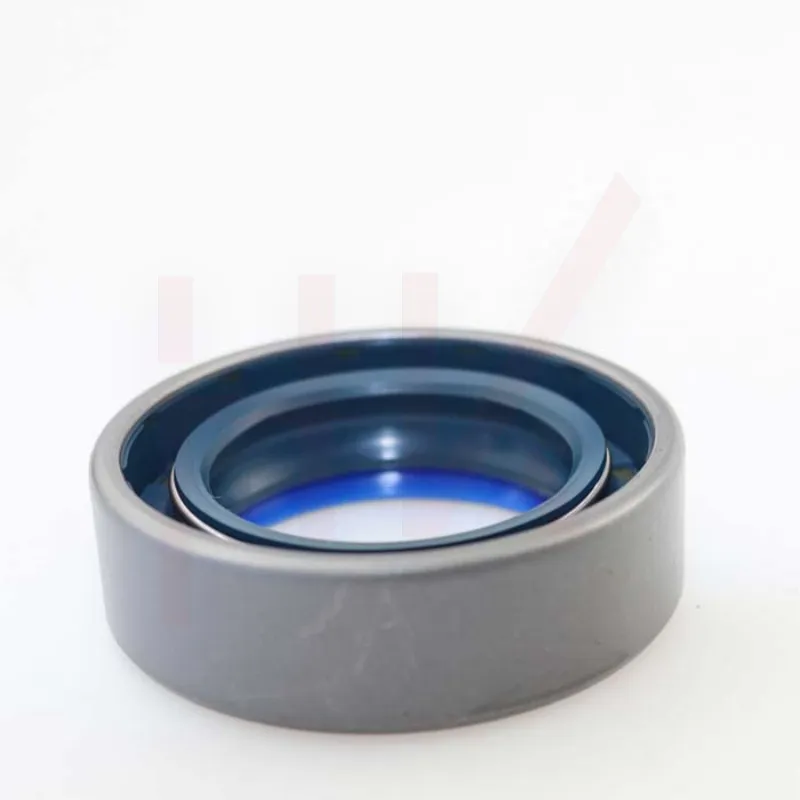
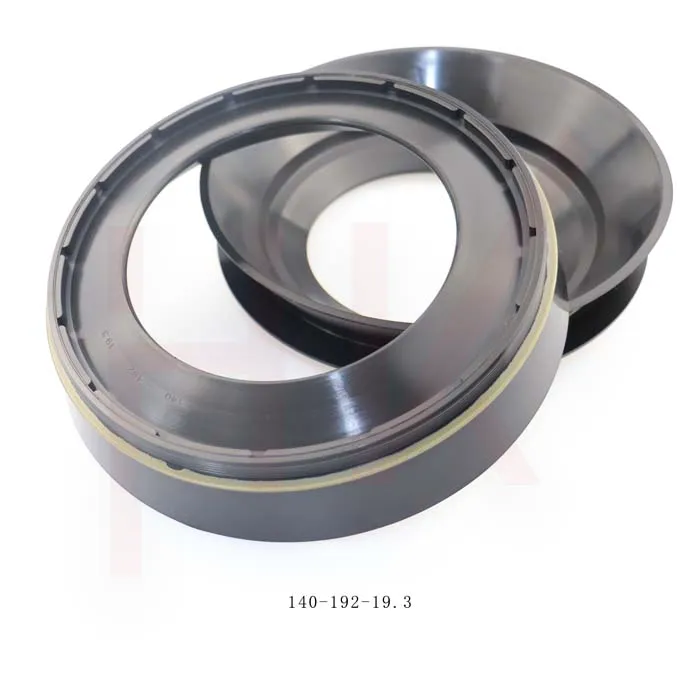
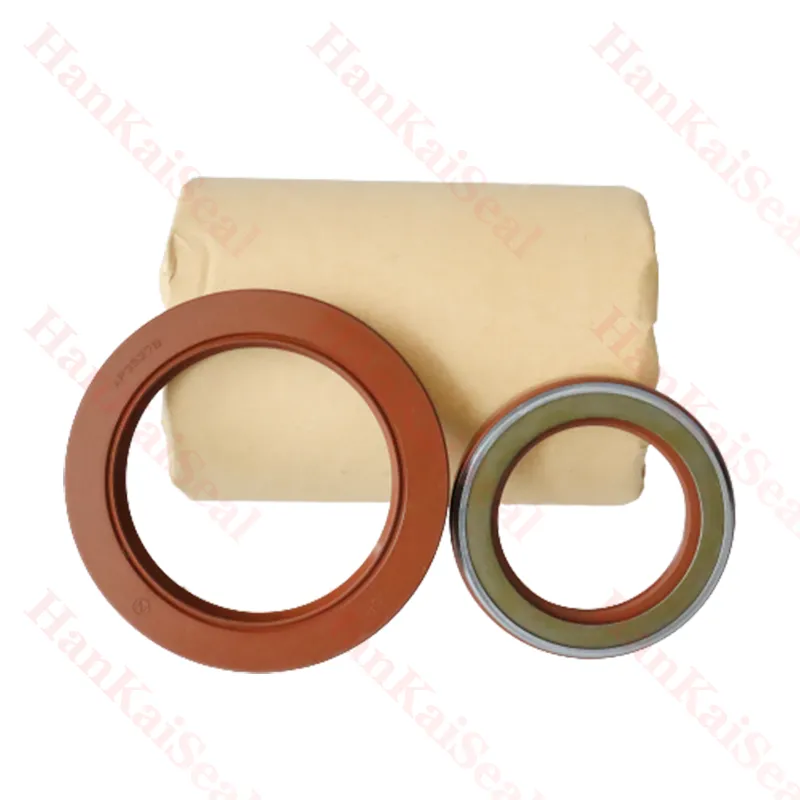
Hydraulic systems are critical components in many industrial and construction applications. They rely on hydraulic cylinders, which use pressurized fluid to create linear motion. Over time, the seals on these cylinders can wear out, leading to leaks and reduced efficiency. One of the most vital seals in a hydraulic cylinder is the wiper seal. This seal prevents dirt, dust, and debris from entering the cylinder, protecting the internal components and ensuring smooth operation. Replacing the wiper seal is essential for the longevity of the hydraulic system. In this article, we will provide a step-by-step guide on how to replace the wiper seal on a hydraulic cylinder.
Tools and Materials Needed
Before starting the replacement process, gather the following tools and materials
- Replacement wiper seal - Hydraulic cylinder repair kit (if necessary) - Screwdrivers (flathead and Phillips) - Scissors or cutting tools - Seal puller or pry bar - Cleaning solvent (e.g., degreaser or brake cleaner) - Lint-free cloths - Torque wrench - Safety gear (gloves, goggles)
Step 1 Preparation
1. Safety First Before working on any hydraulic system, ensure that all safety precautions are taken. Disconnect the hydraulic cylinder from its power source and relieve any residual pressure in the system by operating the controls until all movement ceases.
2. Clean the Area Choose a clean and dry work area. Use cleaning solvent to wipe down the hydraulic cylinder and surrounding area to remove any grime and dirt. This helps prevent contamination during the seal replacement.
Step 2 Disassemble the Cylinder
1. Remove the Cylinder Detach the hydraulic cylinder from any mounting brackets or connections. Use appropriate tools to disconnect hydraulic lines, ensuring that you capture any excess fluid in a suitable container.
2. Disassemble the Cylinder Place the cylinder in a vice or on a sturdy surface. Depending on your cylinder design, you may need to remove the end cap or gland. Use a screwdriver or seal puller to carefully pry off the wiper seal and any other seals present in the assembly.
Step 3 Inspect and Clean
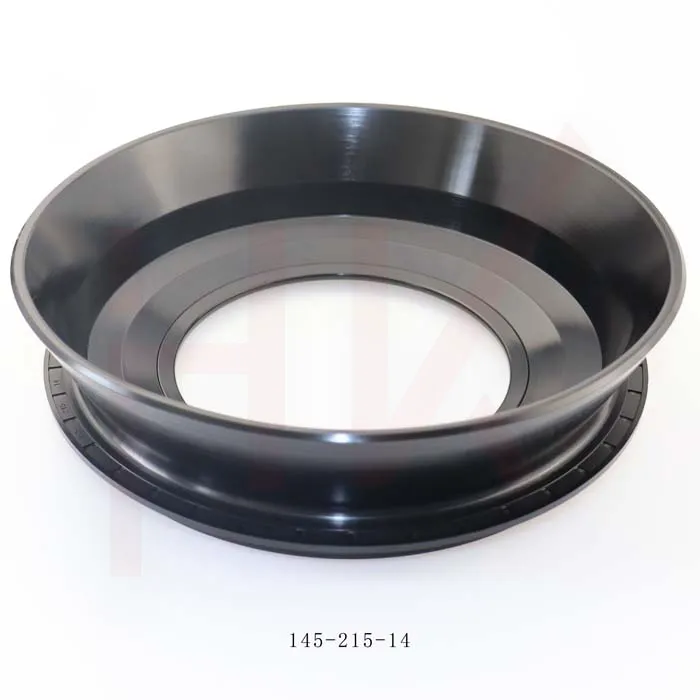
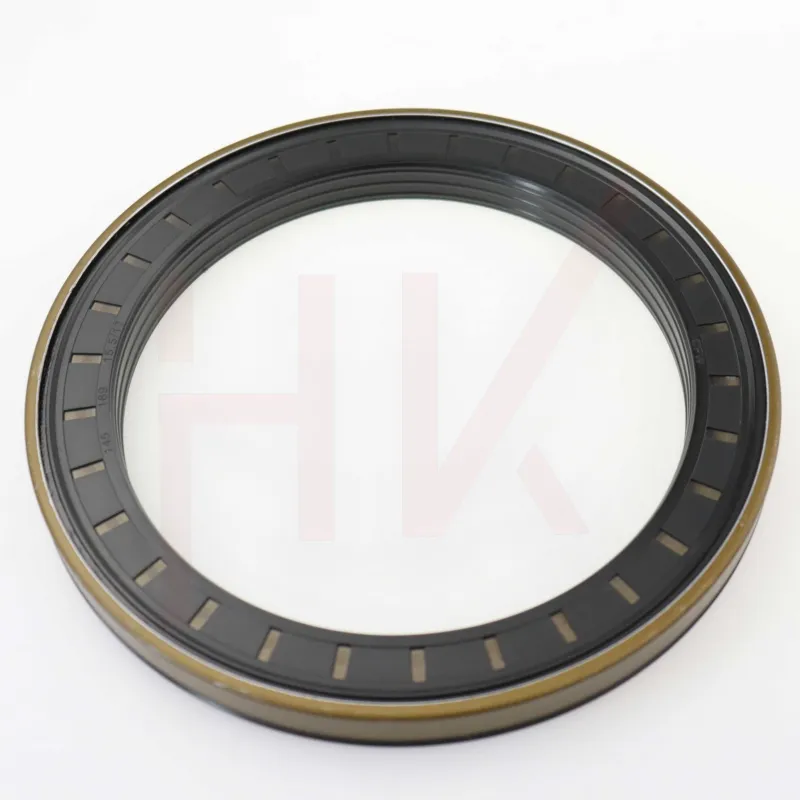
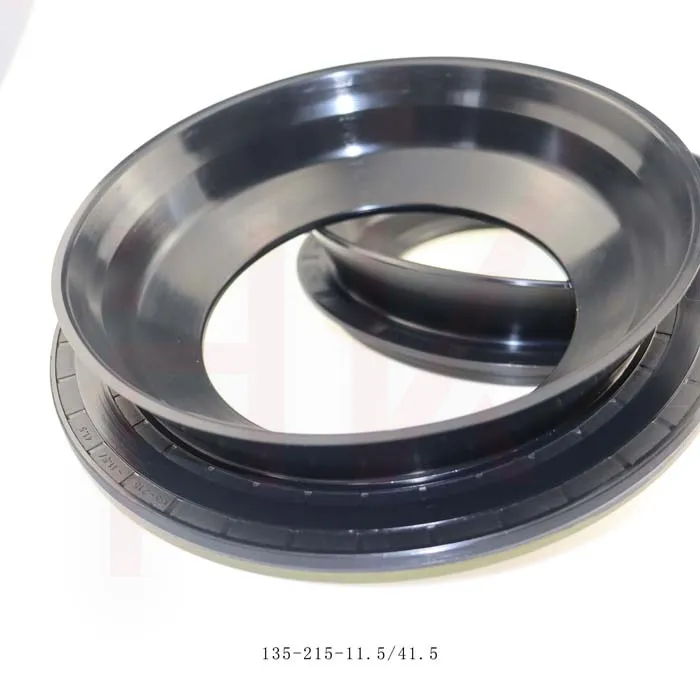
replacing wiper seal on hydraulic cylinder
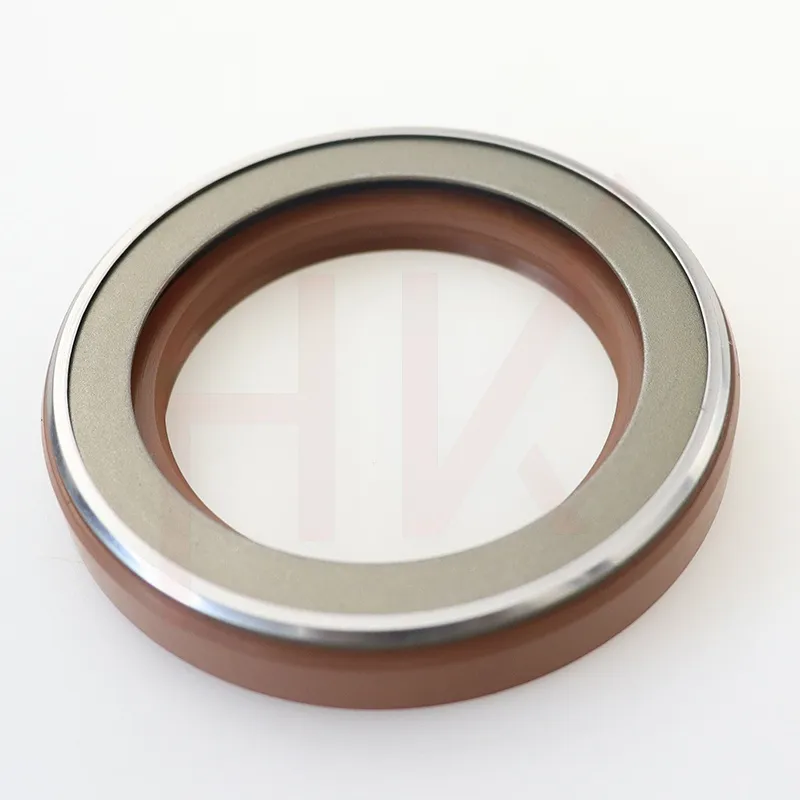
1. Examine Other Components After removing the wiper seal, inspect the cylinder's rod and other seals for signs of wear or damage. If any other components are worn, it may be wise to replace them while you are disassembling the cylinder.
2. Clean the Cylinder Use a lint-free cloth to wipe down the inner surfaces of the cylinder and remove any residue or dirt. Ensure the rod is clean, as dirt can cause premature wear on the new seals.
Step 4 Install the New Wiper Seal
1. Prepare the New Seal Before installing the new wiper seal, compare it with the old seal to ensure it is the correct size. Lubricate the new seal lightly with hydraulic oil to make installation easier.
2. Install the Wiper Seal Carefully position the new wiper seal in its designated groove. Use a seal installation tool or your fingers to press it evenly into place. Avoid using sharp tools that could damage the seal.
Step 5 Reassembly
1. Reassemble the Cylinder Once the wiper seal is firmly in place, reattach the gland or end cap securely. Be sure to use a torque wrench to tighten any bolts to the manufacturer's specifications.
2. Reconnect the Cylinder Reattach the hydraulic cylinder to its mounting points and reconnect all hydraulic lines, ensuring there are no kinks or sharp bends.
Step 6 Testing
1. Test the System Once the hydraulic cylinder is reassembled, restore hydraulic pressure and operate the cylinder to check for leaks. Monitor the operation to ensure everything functions smoothly.
Conclusion
Replacing the wiper seal on a hydraulic cylinder is a straightforward process that can significantly enhance the performance and lifespan of the system. By following these steps and maintaining cleanliness throughout the process, you can ensure effective seal replacement and reliable hydraulic operation. Regular maintenance and prompt seal replacement are key to preventing costly downtime and repairs.
-
TCN Oil Seal Metal Ring Reinforcement for Heavy Machinery
NewsJul.25,2025
-
Rotary Lip Seal Spring-Loaded Design for High-Speed Applications
NewsJul.25,2025
-
Hydraulic Cylinder Seals Polyurethane Material for High-Impact Jobs
NewsJul.25,2025
-
High Pressure Oil Seal Polyurethane Coating Wear Resistance
NewsJul.25,2025
-
Dust Proof Seal Double Lip Design for Construction Equipment
NewsJul.25,2025
-
Hub Seal Polyurethane Wear Resistance in Agricultural Vehicles
NewsJul.25,2025
-
The Trans-formative Journey of Wheel Hub Oil Seals
NewsJun.06,2025
Products categories

