డిసెం . 10, 2024 00:29 Back to list
Hydraulic Motor Seal Change Guide for Improved Performance and Longevity
Hydraulic Motor Seal Replacement A Comprehensive Guide
Hydraulic motors play a crucial role in the operation of various machinery and equipment across industries. They convert hydraulic energy into mechanical energy, providing the necessary force to perform tasks ranging from lifting to propulsion. However, like any machine component, hydraulic motors can experience wear and tear over time, particularly concerning their seals. Replacing hydraulic motor seals is a maintenance task that, when done correctly, can extend the life of the motor and improve performance efficiency. This article aims to guide you through the process of hydraulic motor seal replacement.
Understanding the Importance of Seals
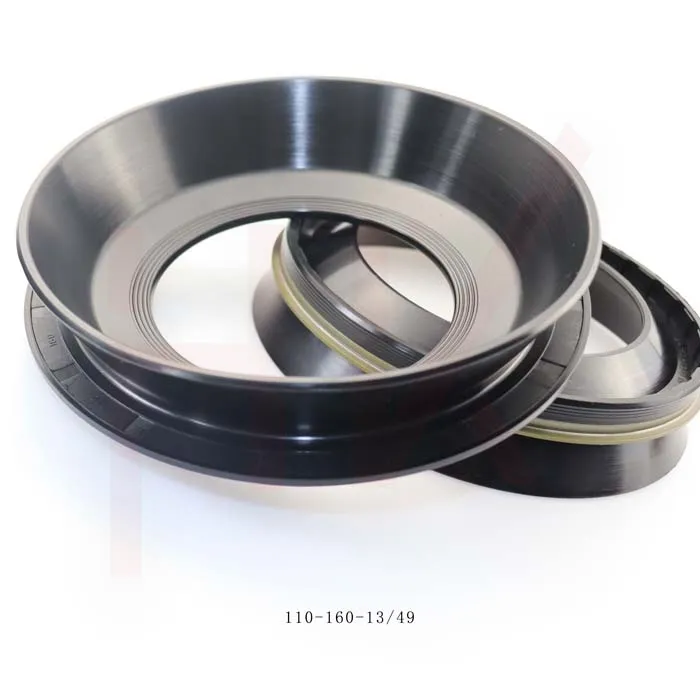
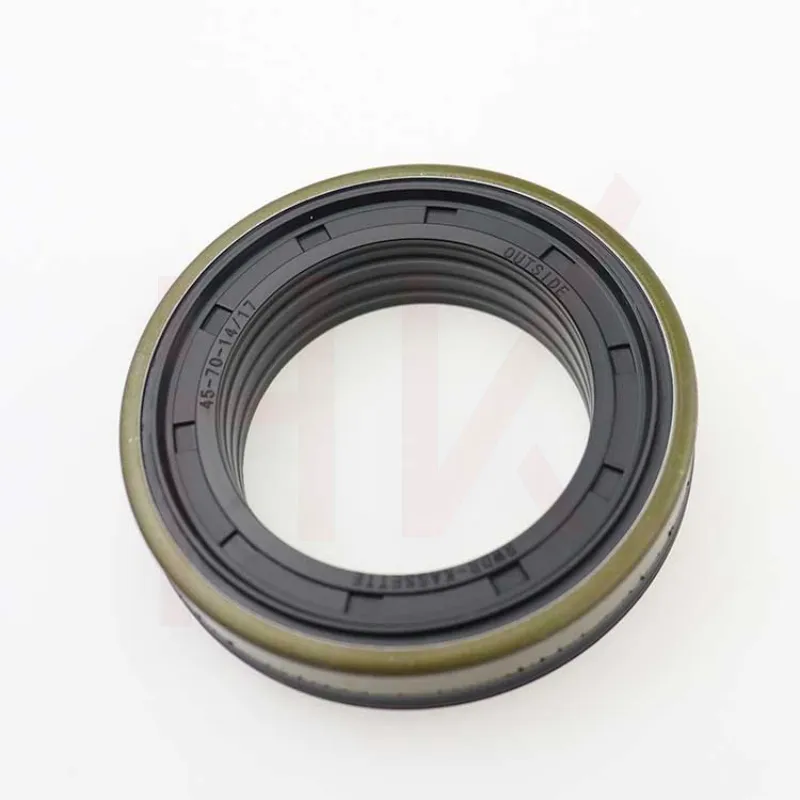
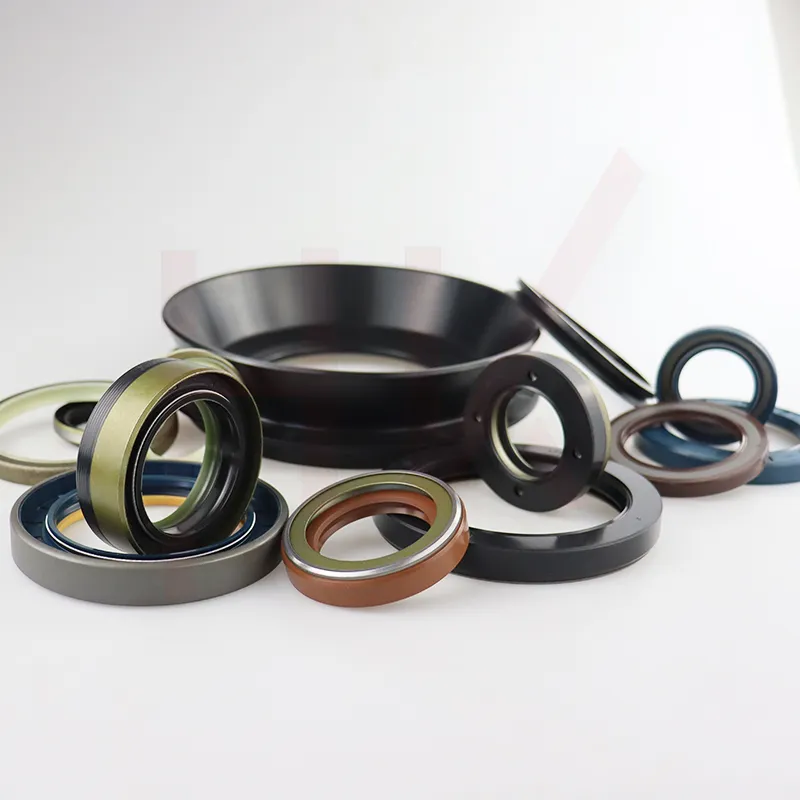
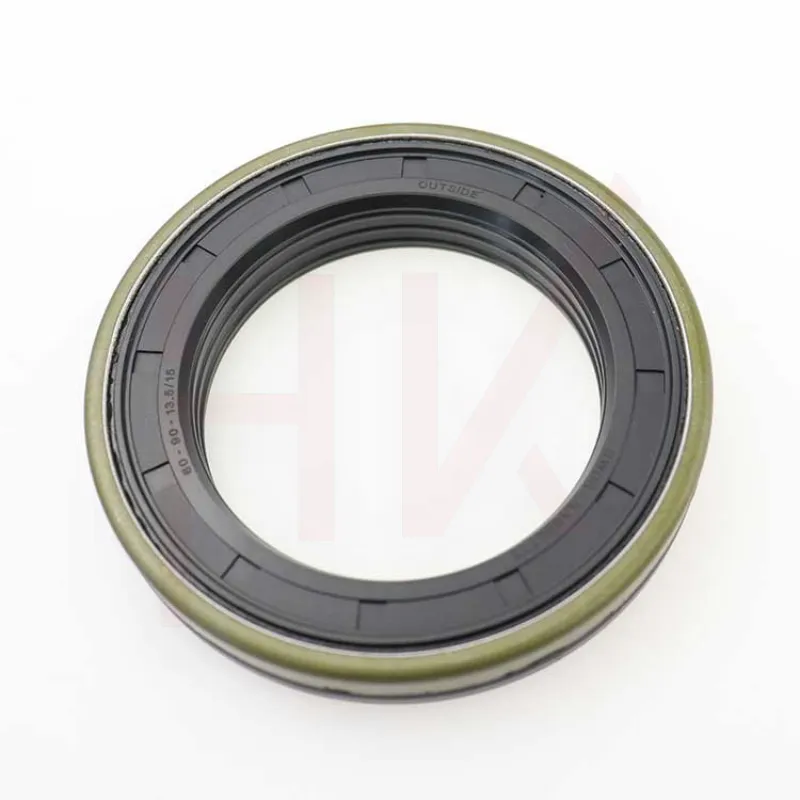
Seals are essential components within hydraulic motors; they ensure that hydraulic fluid remains contained, preventing leaks and maintaining pressure. A damaged or worn seal can lead to fluid leaks, loss of pressure, and ultimately, motor failure. Signs that a seal may need to be replaced include visible leaks, reduced operational efficiency, and unusual noises during operation. Recognizing these signs early can mitigate potential damage and costly repairs.
Preparing for the Replacement
Before diving into the replacement process, it is vital to prepare adequately. Here are the steps you should follow
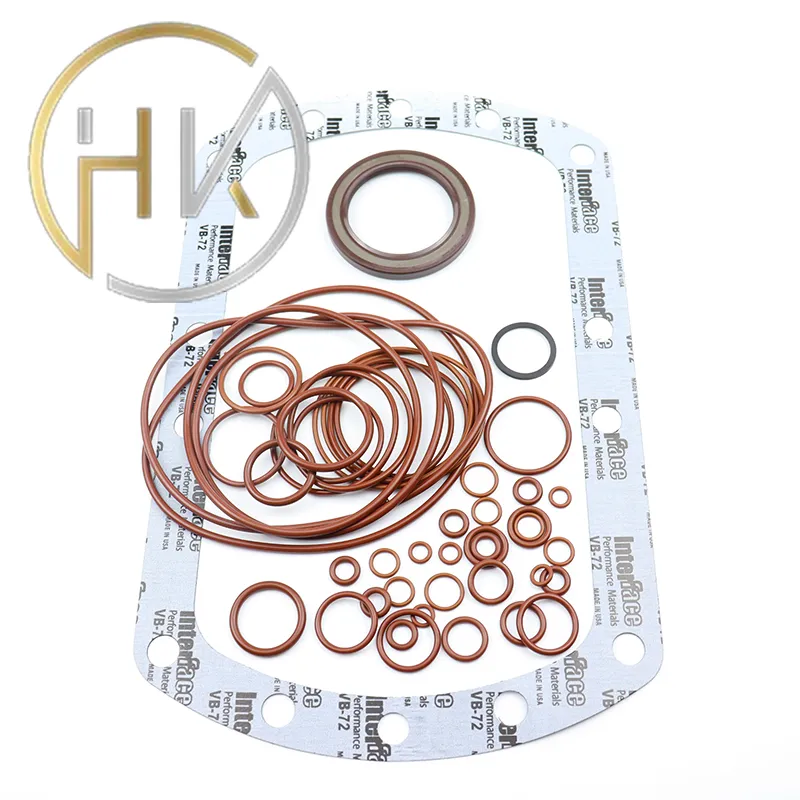
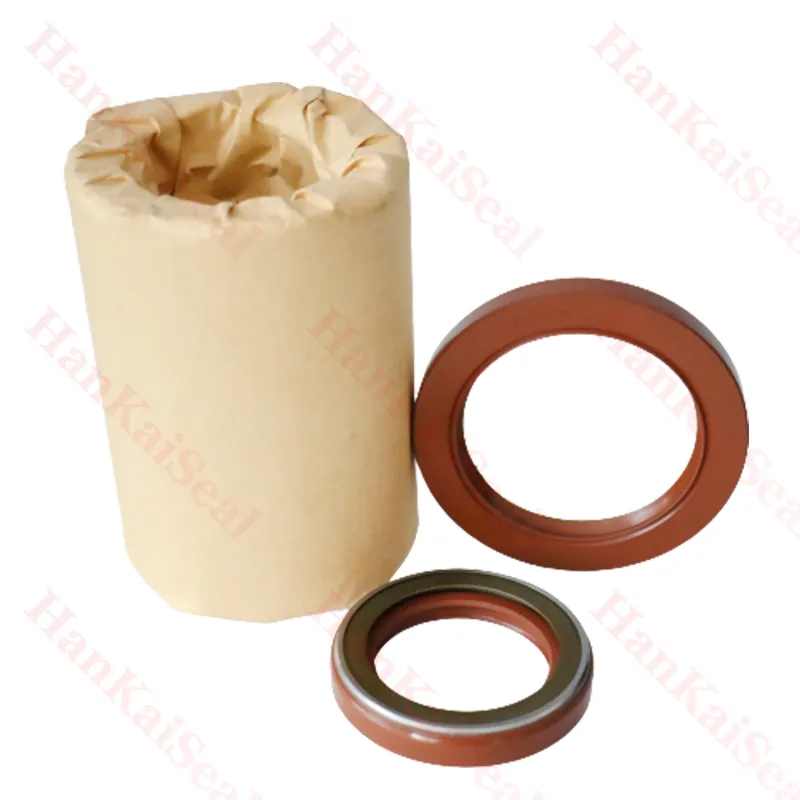
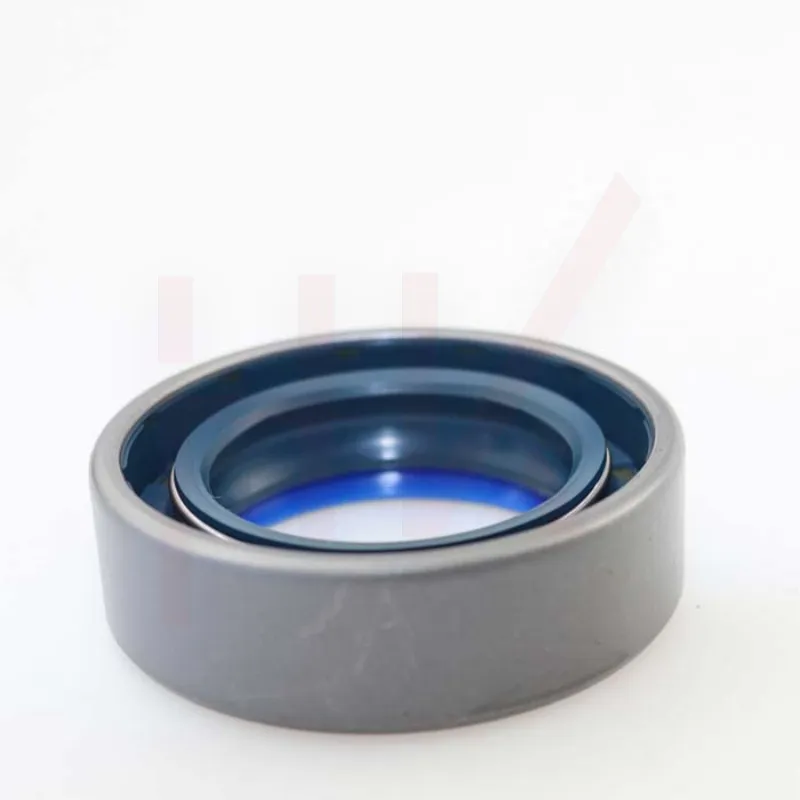
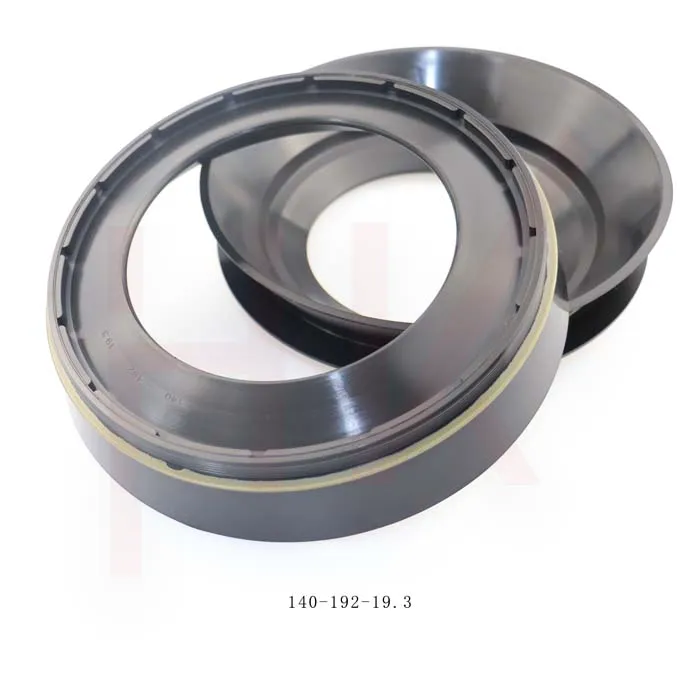
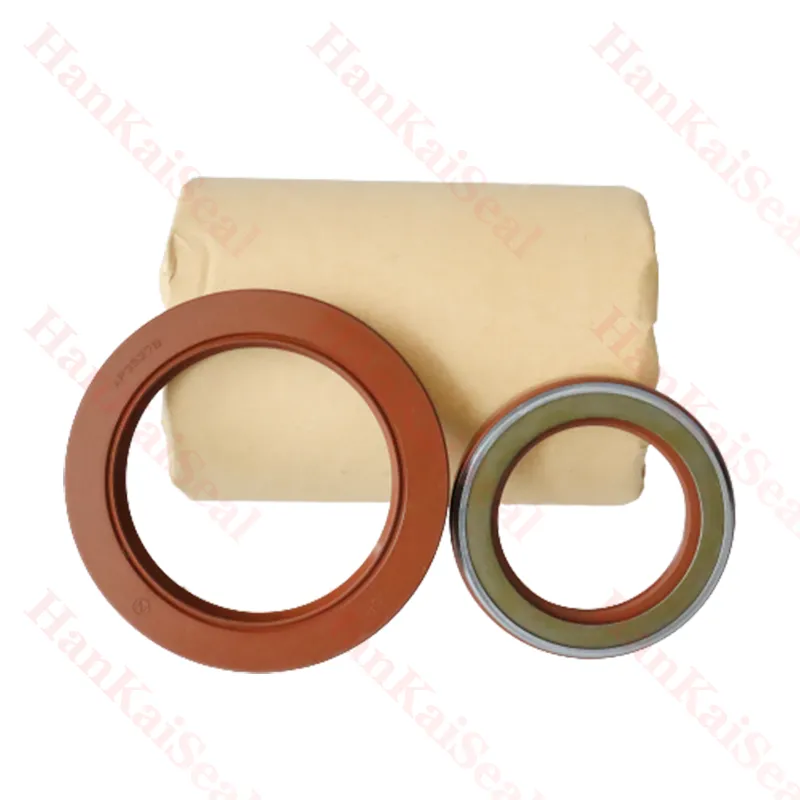
1. Gather Tools and Materials You will need a few tools and materials for the job, including - A replacement seal kit specific to your hydraulic motor model - A torque wrench - Allen wrenches and socket sets - Pliers and a scraper - Clean cloths and a suitable degreaser - Safety gear (gloves, goggles)
2. Consult the Manual Refer to the manufacturer’s manual for your hydraulic motor. This document contains crucial information such as the proper seal type, torque specifications, and detailed disassembly instructions.
3. Prepare the Work Area Ensure that you have a clean, well-lit workspace with ample room to maneuver. An organized area will make the replacement process smoother and help prevent misplacing components.
The Replacement Process
Follow these steps to successfully replace the hydraulic motor seals
Step 1 Disconnect the Hydraulic Motor
Before performing any work, it is critical to disconnect the hydraulic motor from its power source. This may involve shutting off the hydraulic system and releasing any stored pressure, ensuring safety. For greater safety, consider tagging the motor to prevent accidental re-engagement.
Step 2 Remove the Motor
hydraulic motor seal replacement
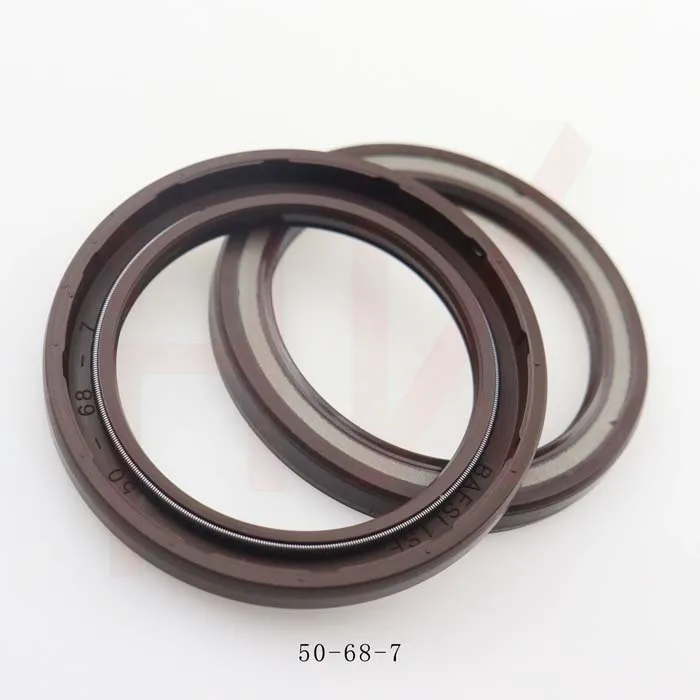
Carefully detach the hydraulic motor from its mounting. Use the appropriate tools to unscrew bolts or fasteners while keeping track of all components. If the motor is connected to other hydraulic lines, note their arrangement for reassembly later.
Step 3 Disassemble the Motor
Once the motor is detached, proceed to disassemble it. Use the manual to guide the disassembly process, taking care to remove any components that may be obstructing access to the seals. As you disassemble, take notes or photographs to assist in proper reassembly.
Step 4 Inspect and Remove Old Seals
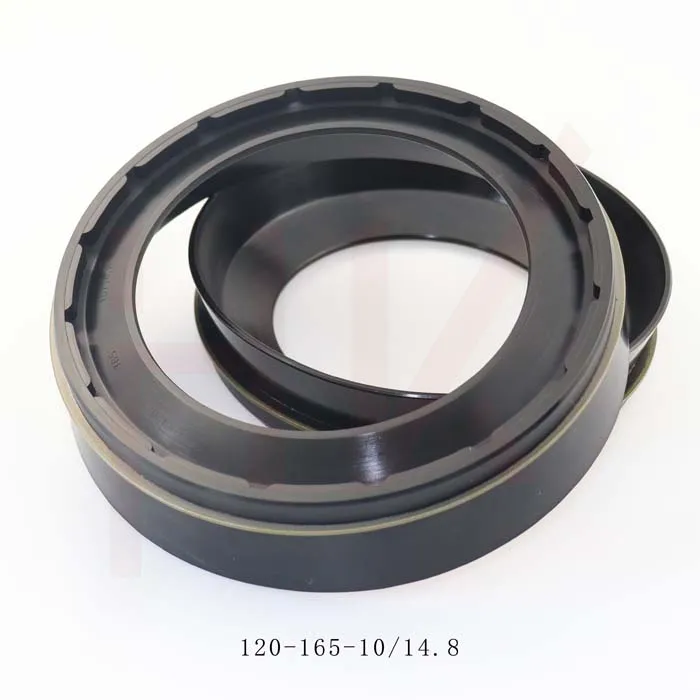
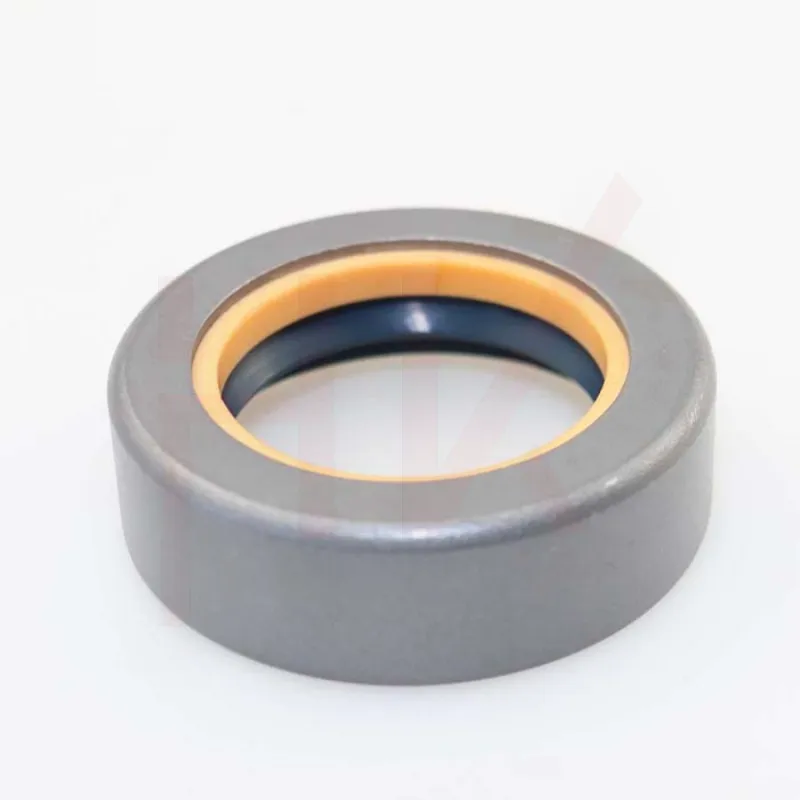
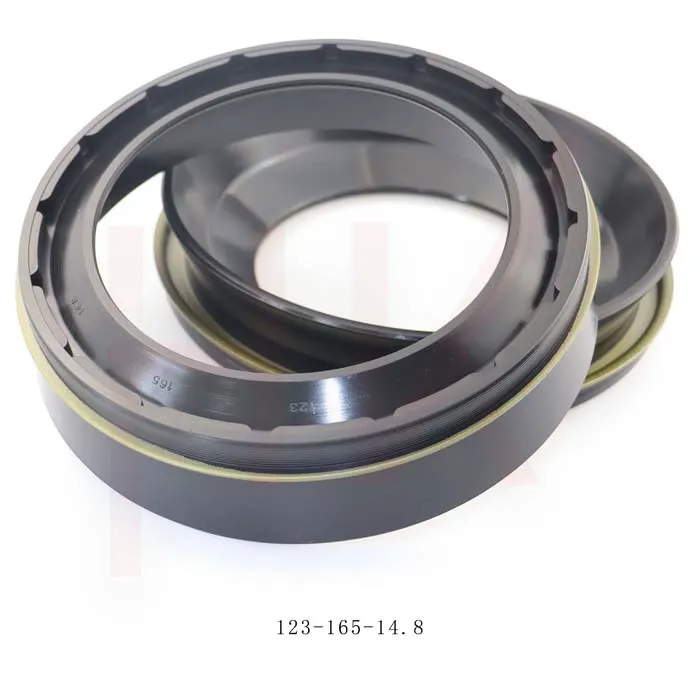
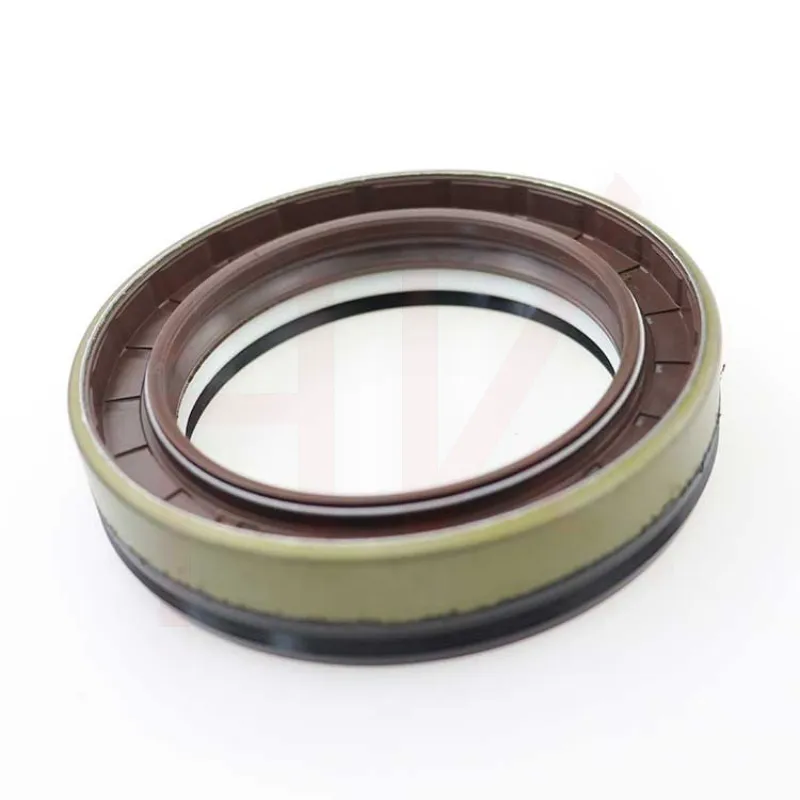
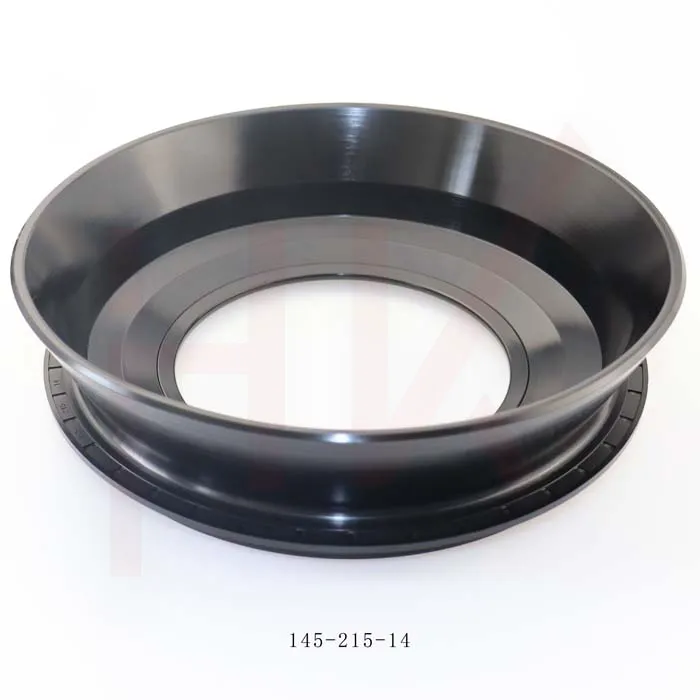
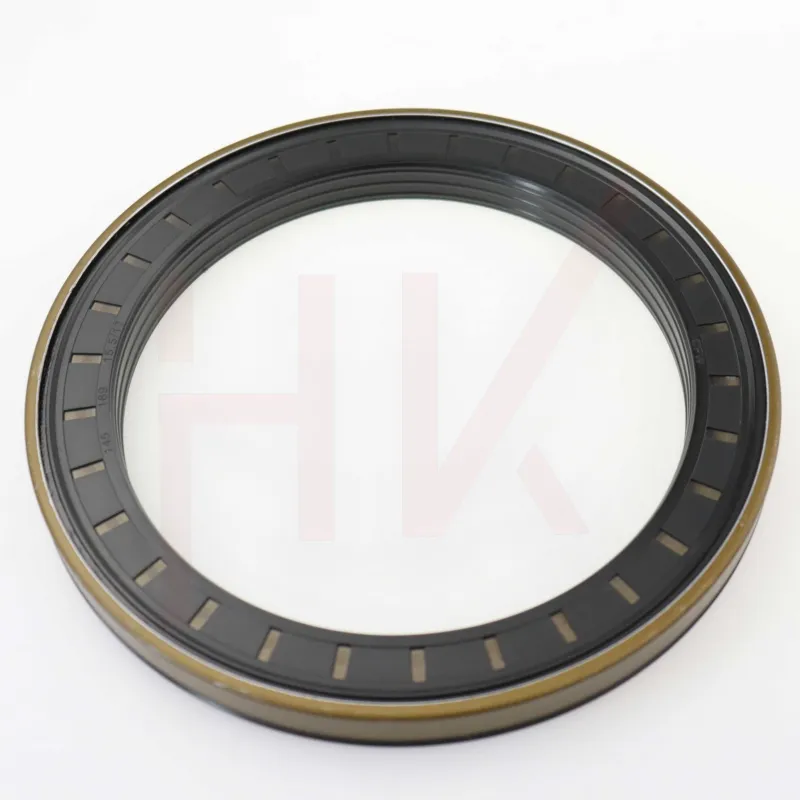
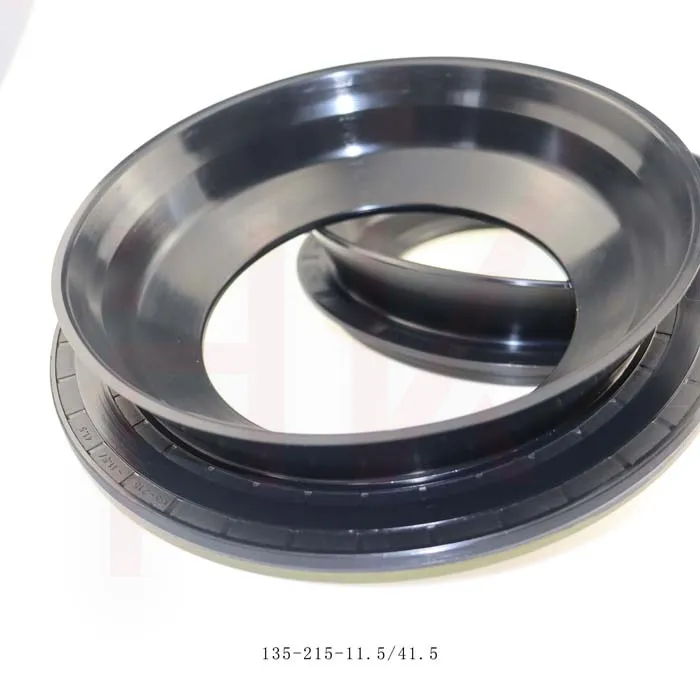
With the motor disassembled, inspect all seals for signs of wear, damage, or deformation. Use a scraper or similar tool to carefully remove old seals without damaging the sealing surfaces. Clean the sealing surfaces thoroughly to ensure a proper seal upon reinstallation.
Step 5 Install New Seals
Take the new seals from your replacement kit and follow the manufacturer’s instructions for installation. Taking care to install them in the correct orientation is crucial for functionality. Lubricate the seals lightly with hydraulic fluid, which facilitates easier installation and helps prevent damage.
Step 6 Reassemble the Motor
With the new seals in place, carefully reassemble the motor. Follow the notes or photographs taken during disassembly to ensure everything is put back correctly. Tighten fasteners to the specified torque in the manual to avoid over-tightening, which can damage seals.
Step 7 Reconnect and Test
After reassembly, reconnect the hydraulic motor to its power source and any hydraulic lines. Check for leaks around the newly installed seals, then run the motor briefly while monitoring for any unusual sounds or additional leaks.
Conclusion
Replacing hydraulic motor seals is a fundamental maintenance task that can significantly impact the longevity and efficiency of your machinery. By following this structured approach, you can ensure that the process is completed safely and effectively. Always remember, when in doubt, consult a professional mechanic or technician to assist with the replacement, especially if you encounter challenges during the process. Regular maintenance and timely seal replacement can save costs and downtime down the road, keeping your hydraulic systems running smoothly.
-
Unlocking the Potential of Hydraulic Systems with Essential Sealing Solutions
NewsAug.06,2025
-
Unleash the Power of Your Hydraulic Systems with Our Premium Seal Kits
NewsAug.06,2025
-
Specialized Hydraulic Seal Kits for Breakers, Pistons, and Presses
NewsAug.06,2025
-
Revitalize Hydraulic Systems with Premium Repair and Seal Kits
NewsAug.06,2025
-
Fortify Your Cylinders with Premium Sealing Solutions
NewsAug.06,2025
-
Elevate Hydraulic System Reliability with Specialized Seal Kits
NewsAug.06,2025
-
TCN Oil Seal Metal Ring Reinforcement for Heavy Machinery
NewsJul.25,2025
Products categories

