Nën . 04, 2024 23:58 Back to list
replacing wiper seal on hydraulic cylinder
Replacing the Wiper Seal on a Hydraulic Cylinder A Comprehensive Guide
Hydraulic systems are vital components in numerous industries, from manufacturing to construction. At their core, hydraulic cylinders play a critical role in converting hydraulic energy into mechanical force, enabling machines to perform tasks efficiently. However, over time, wear and tear can lead to seals becoming damaged and ineffective, particularly the wiper seal. This guide provides a step-by-step approach to replacing the wiper seal on a hydraulic cylinder, ensuring optimal performance and longevity.
Understanding the Wiper Seal
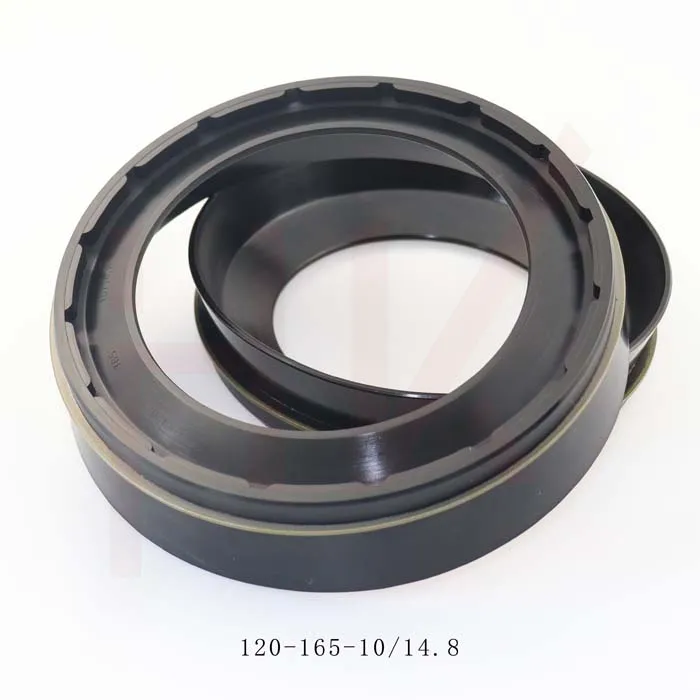
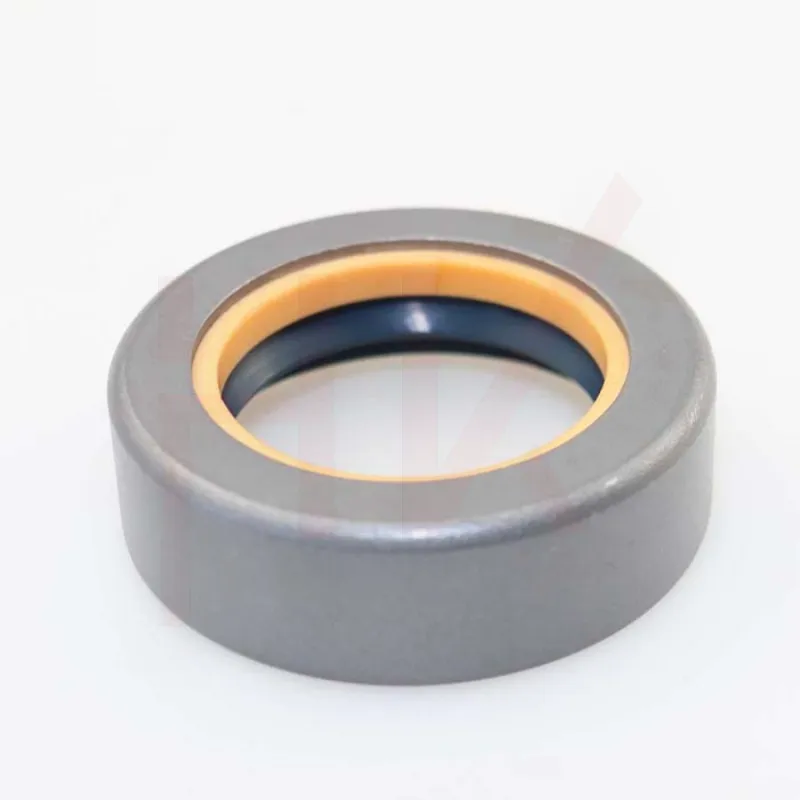
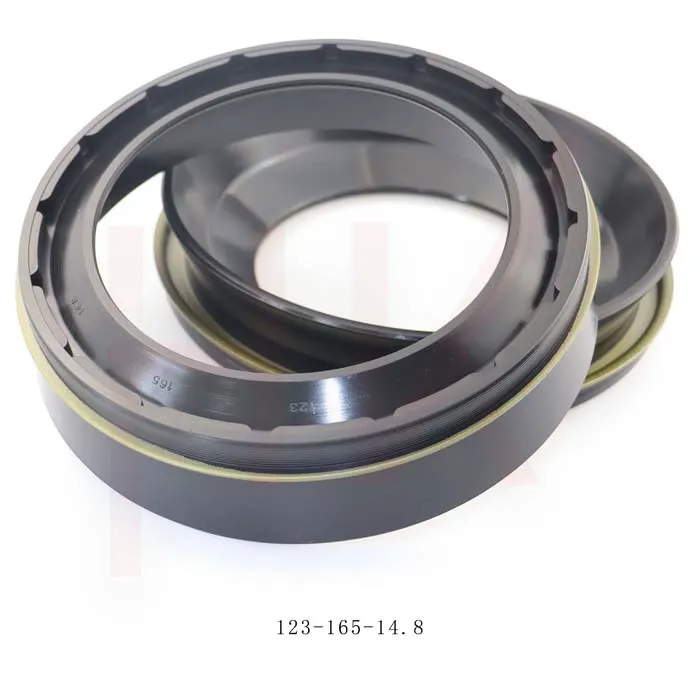
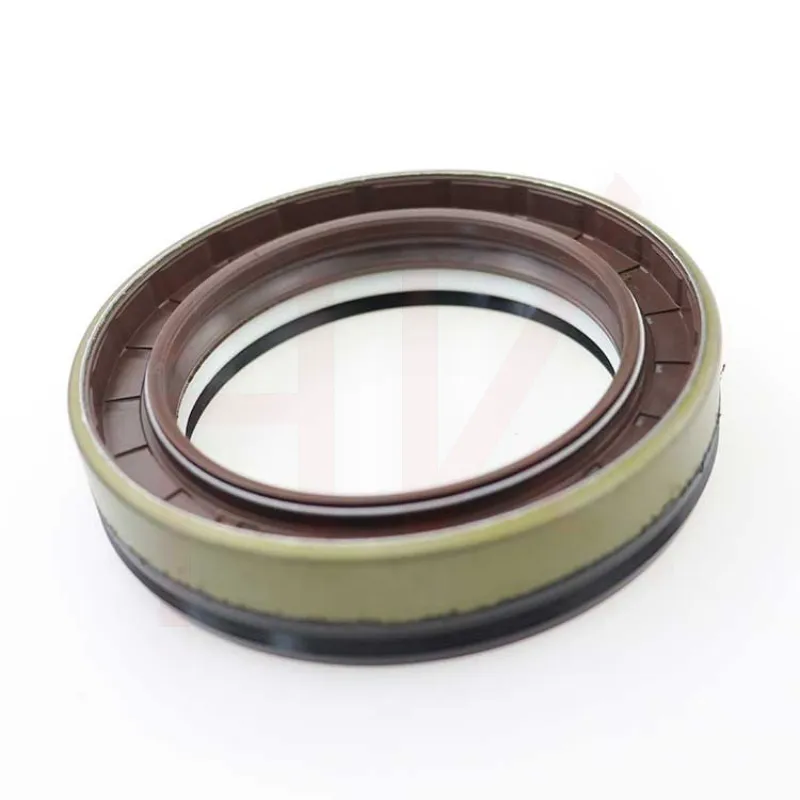
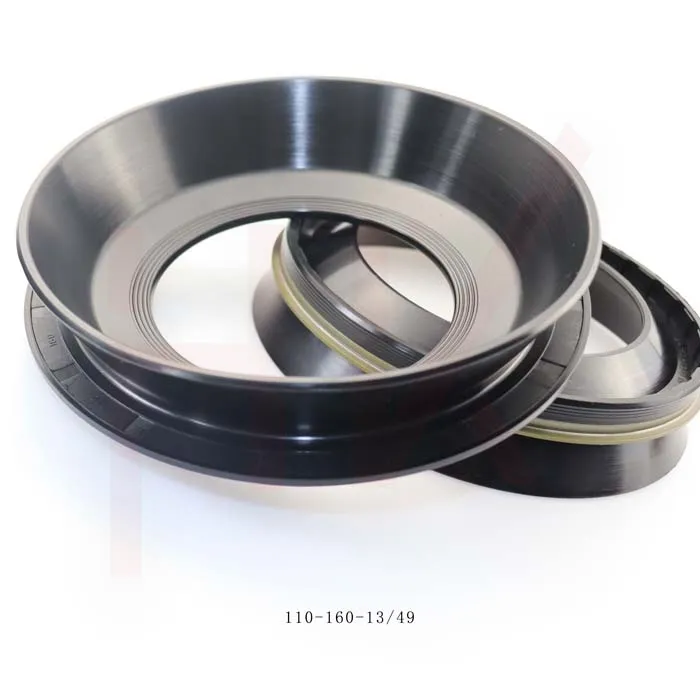
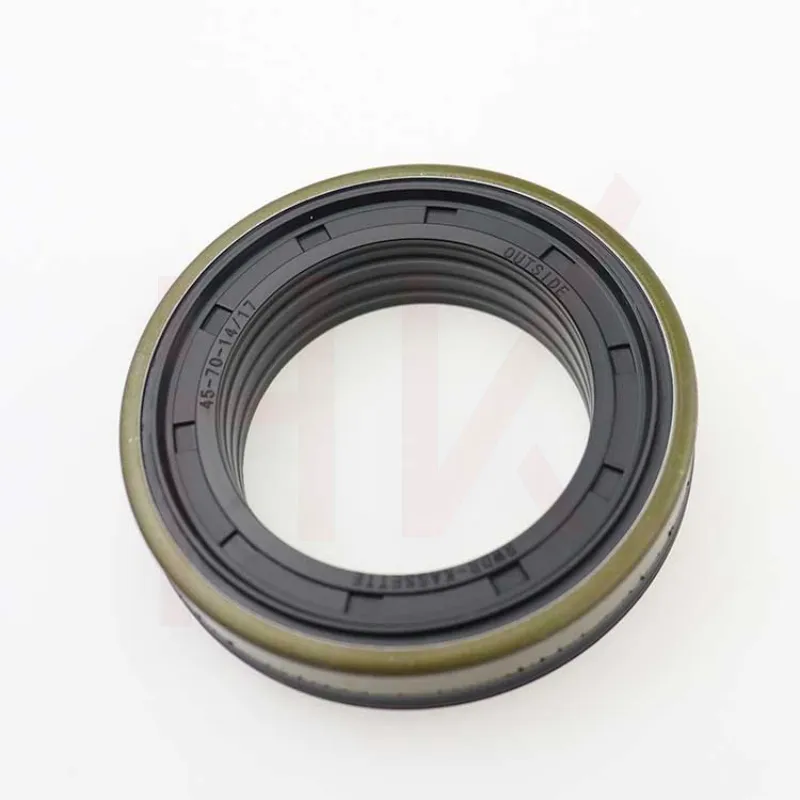
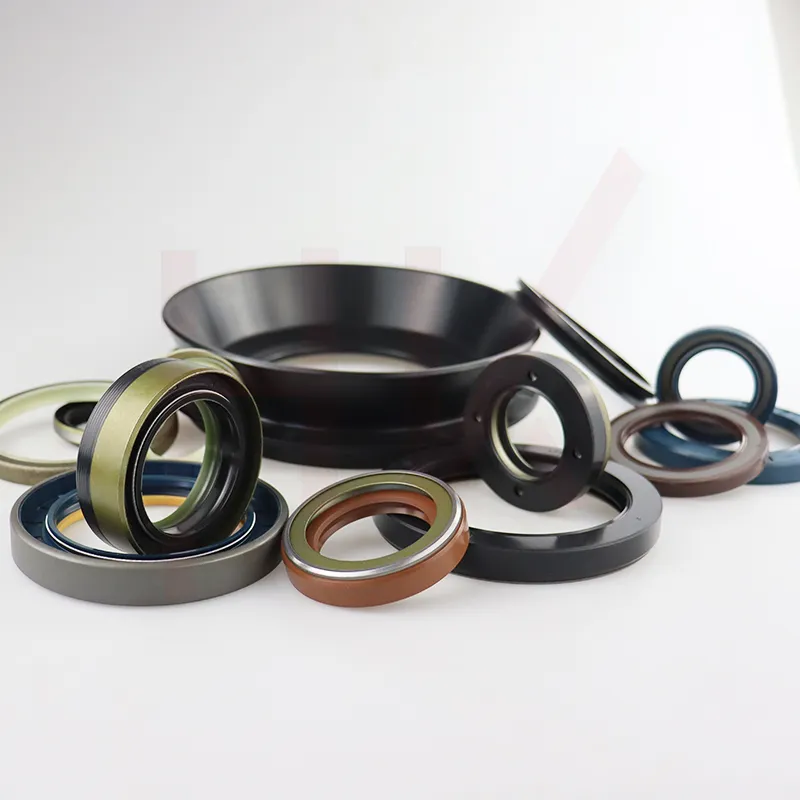
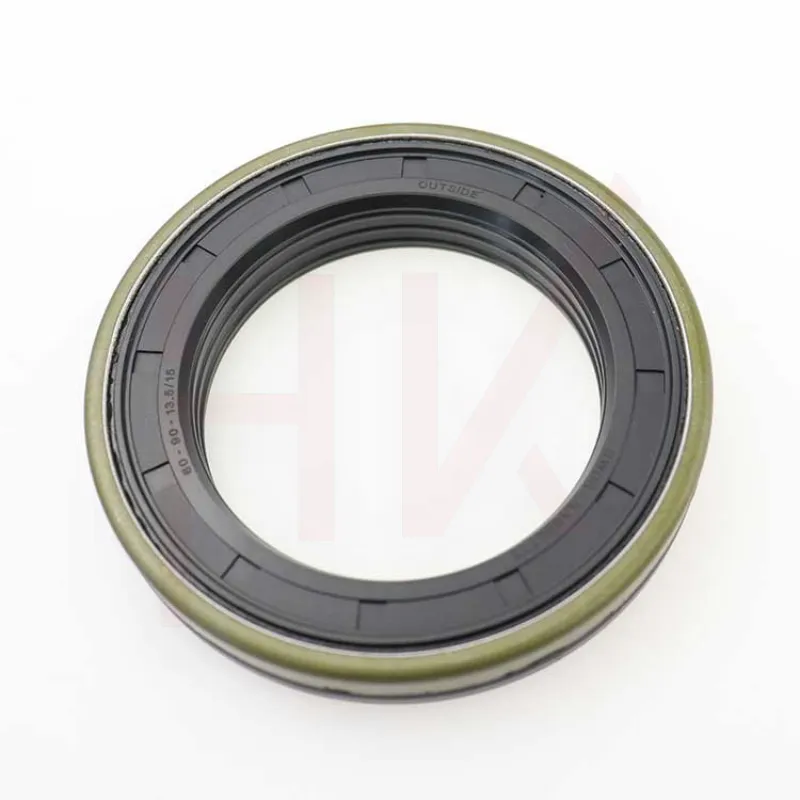
The wiper seal, or dust seal, is an essential part of a hydraulic cylinder. Its primary function is to keep dirt, debris, and moisture out of the cylinder, protecting the internal components and preventing contamination of the hydraulic fluid. A worn or damaged wiper seal can lead to hydraulic fluid leakage, reduced efficiency, and ultimately, cylinder failure. Regular inspection and timely replacement of the wiper seal are essential for maintaining the functionality of hydraulic cylinders.
Tools and Materials Needed
Before beginning the replacement process, gather the necessary tools and materials
1. Tools - Wrench set - Screwdrivers (flathead and Phillips) - Pliers - Seal removal tool or scraper - Torque wrench - Cleaning rags or paper towels
2. Materials - Replacement wiper seal - Replacement O-rings (if applicable) - Hydraulic fluid (for re-filling) - Lubricant - Safety goggles and gloves
Step-by-Step Replacement Process
1. Safety First Before starting any maintenance on hydraulic systems, ensure that you follow safety protocols. Turn off the hydraulic system and relieve any pressure within the cylinder. Wear safety goggles and gloves to protect yourself from potential hazards.
replacing wiper seal on hydraulic cylinder
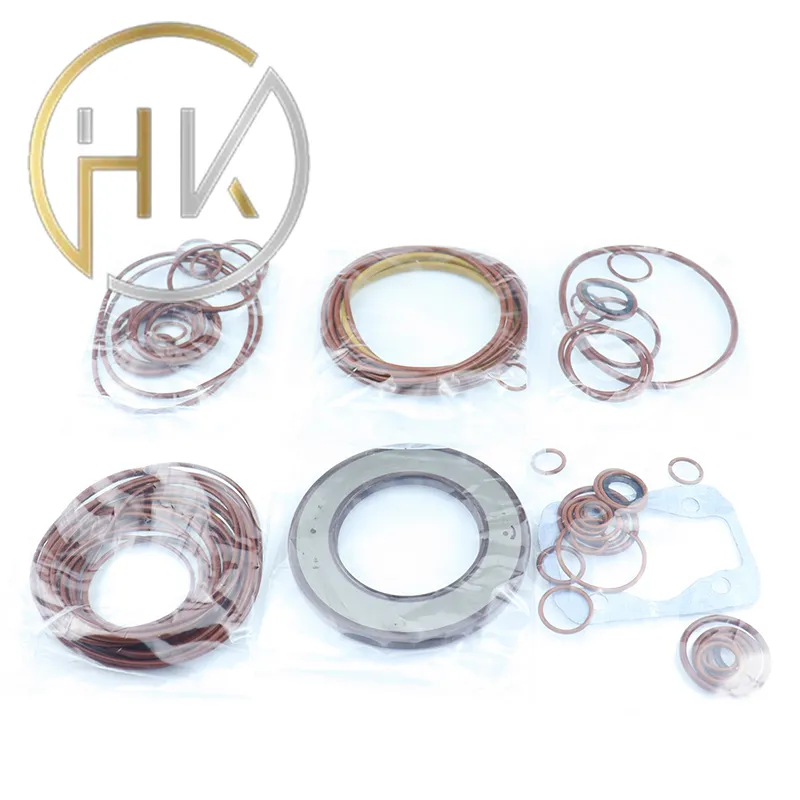
2. Remove the Cylinder Detach the hydraulic cylinder from the machinery or equipment it is connected to. Use the appropriate tools to disconnect hydraulic lines carefully. Be prepared for some oil spillage and have rags handy to clean up.
3. Disassemble the Cylinder Once the cylinder is removed, carefully disassemble it. This typically involves removing the end cap. Depending on your cylinder design, you may need to remove retaining rings or screws. Refer to the manufacturer’s manual for specific instructions on disassembly.
4. Inspect the Internal Components After opening the cylinder, take a moment to inspect the internal components for wear or damage. Look for scratches or other signs of deterioration on the cylinder walls, piston, and other seals. Replace any damaged parts as needed.
5. Remove the Old Wiper Seal Use a seal removal tool or a scraper to carefully remove the old wiper seal from its groove. Be cautious not to scratch or damage the cylinder during this process, as it can lead to further problems when installing the new seal.
6. Clean the Groove Thoroughly clean the groove where the wiper seal resides. Remove any debris, dirt, or remnants of the old seal. Using a cleaning rag, ensure that the area is free from contaminants to prevent future failures.
7. Install the New Wiper Seal Before installation, lubricate the new wiper seal with a compatible hydraulic fluid or lubricant. This step is crucial as it helps the seal to slide into place easily and promotes a better seal once installed. Carefully place the new wiper seal into its groove, ensuring it sits properly and evenly.
8. Reassemble the Cylinder After installing the new wiper seal, reassemble the cylinder in the reverse order of disassembly. Make sure all parts fit snugly and securely. If applicable, replace any O-rings and make sure you use the correct size.
9. Reconnect and Test the System After reassembly, reconnect the hydraulic cylinder to the machinery and ensure all hydraulic lines are secure. Initially, fill the cylinder with hydraulic fluid, and then gradually test the system under controlled conditions. Monitor for any leaks around the new wiper seal and ensure the cylinder operates smoothly.
Conclusion
Replacing the wiper seal on a hydraulic cylinder may seem daunting, but with the right tools and a systematic approach, it can be accomplished effectively. Regular maintenance, including seal replacement, is crucial for the longevity and efficiency of hydraulic systems. By following the steps outlined in this guide, you can ensure that your hydraulic cylinders remain in top condition, maximizing productivity and minimizing downtime. Always refer to manufacturer guidelines and consider professional assistance if uncertain about any step in the process.
-
TCN Oil Seal Metal Ring Reinforcement for Heavy Machinery
NewsJul.25,2025
-
Rotary Lip Seal Spring-Loaded Design for High-Speed Applications
NewsJul.25,2025
-
Hydraulic Cylinder Seals Polyurethane Material for High-Impact Jobs
NewsJul.25,2025
-
High Pressure Oil Seal Polyurethane Coating Wear Resistance
NewsJul.25,2025
-
Dust Proof Seal Double Lip Design for Construction Equipment
NewsJul.25,2025
-
Hub Seal Polyurethane Wear Resistance in Agricultural Vehicles
NewsJul.25,2025
-
The Trans-formative Journey of Wheel Hub Oil Seals
NewsJun.06,2025
Products categories

