Nov . 14, 2024 13:03 Back to list
excavator boom cylinder seal replacement
Replacing the Seals on an Excavator Boom Cylinder A Step-by-Step Guide
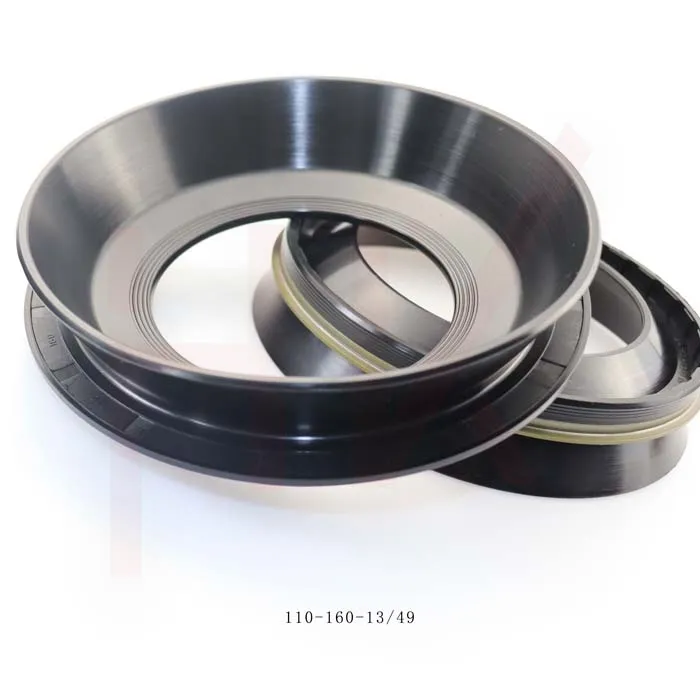
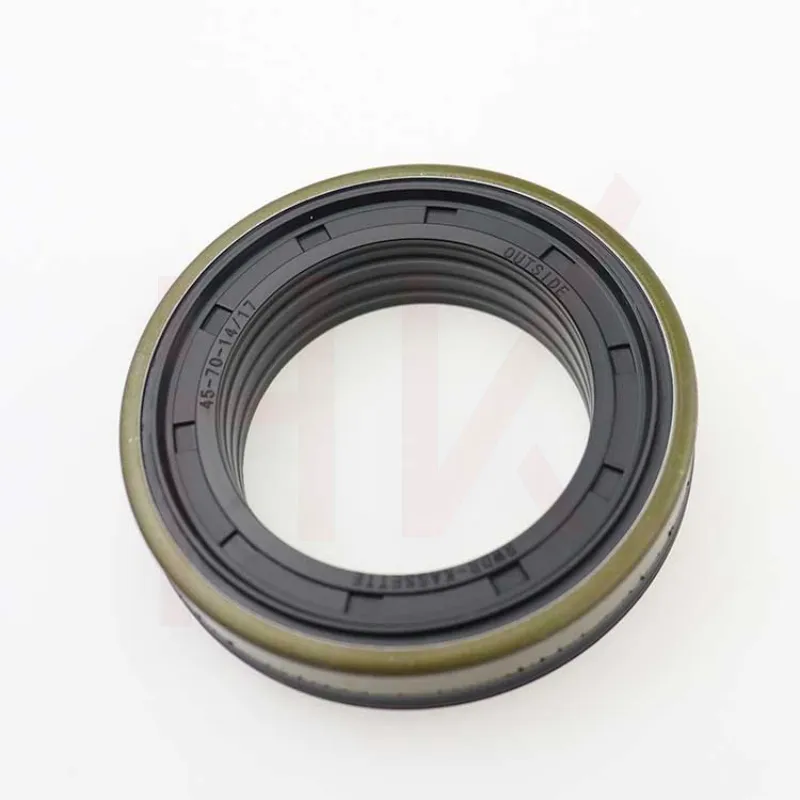
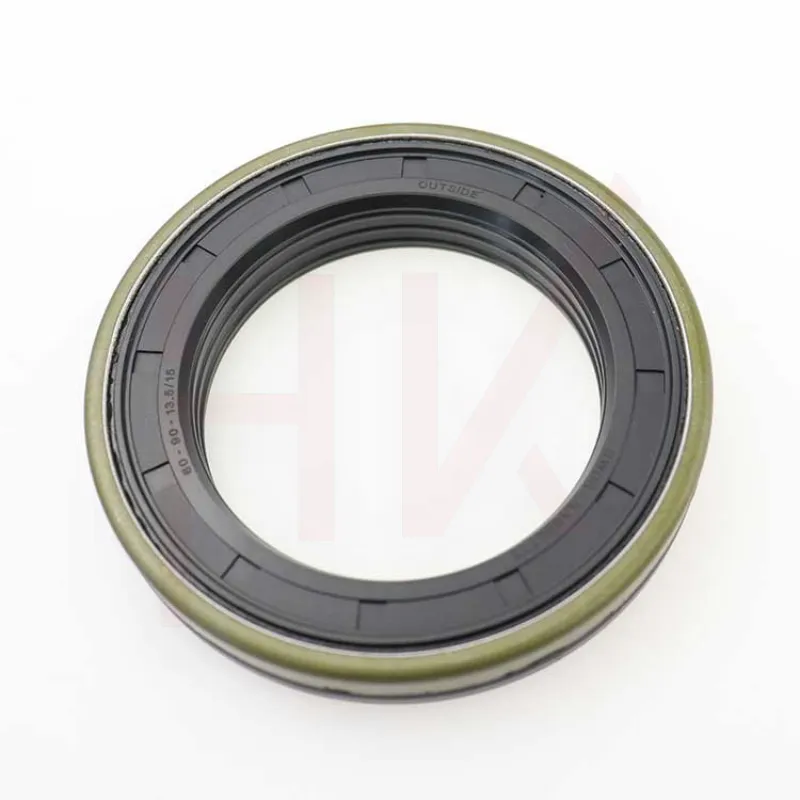
When it comes to maintaining the efficiency and longevity of an excavator, one of the crucial components that often requires attention is the boom cylinder. Over time, the seals within the boom cylinder can wear out or become damaged, leading to hydraulic leaks, reduced performance, and increased operational costs. Understanding how to replace these seals is essential for any excavator owner or operator.
Identifying the Need for Seal Replacement
The first step in this process is to identify the signs of failing seals. Common indicators include hydraulic fluid leaks around the cylinder, a noticeable decrease in lift power, and erratic movement of the boom. If you observe these symptoms, it is time to consider replacing the seals.
Gather Your Tools and Materials
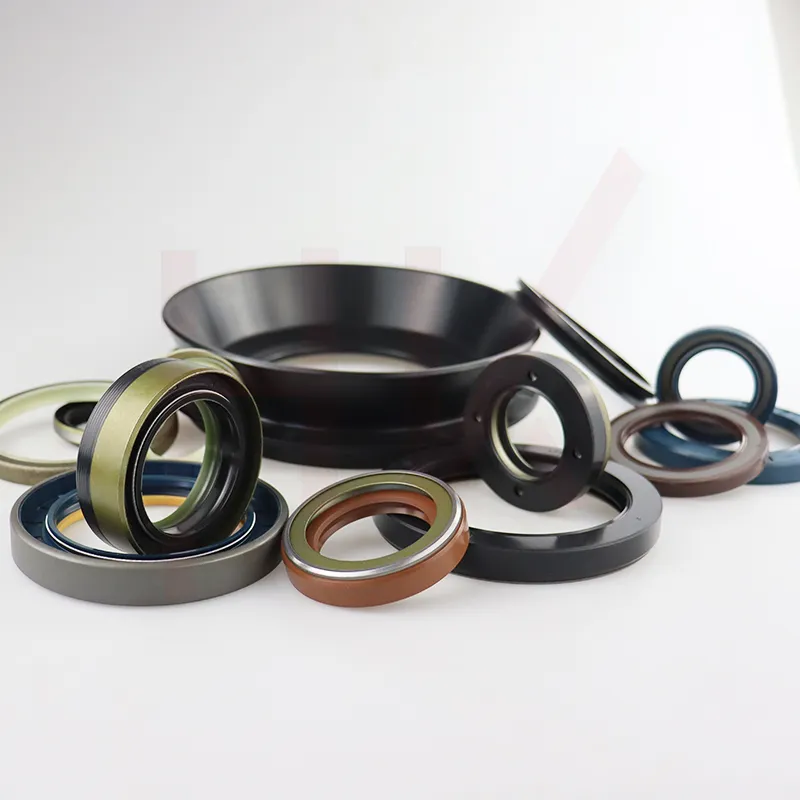
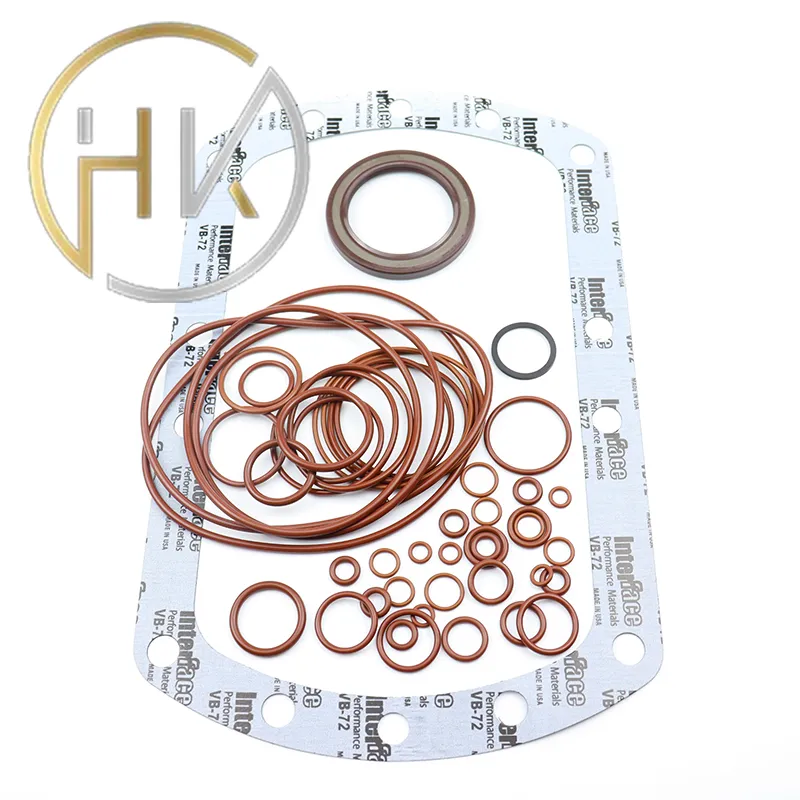
Before beginning the replacement process, gather the necessary tools and materials. You will need - A socket set and wrench - Screwdrivers - Pliers - A seal kit specifically designed for your excavator model - Hydraulic fluid for refilling - A clean workspace and safety gear, including gloves and goggles
Disassembling the Boom Cylinder
Begin by safely parking the excavator on a level surface and engaging the parking brake. Next, remove the cylinder from the boom. This typically involves disconnecting hydraulic lines and unbolting the cylinder from its mounting. Always ensure to capture any hydraulic fluid that may leak during this process.
Once the cylinder is removed, use a clean cloth to wipe down the exterior. Carefully inspect the cylinder for any signs of damage.
excavator boom cylinder seal replacement
Removing Old Seals
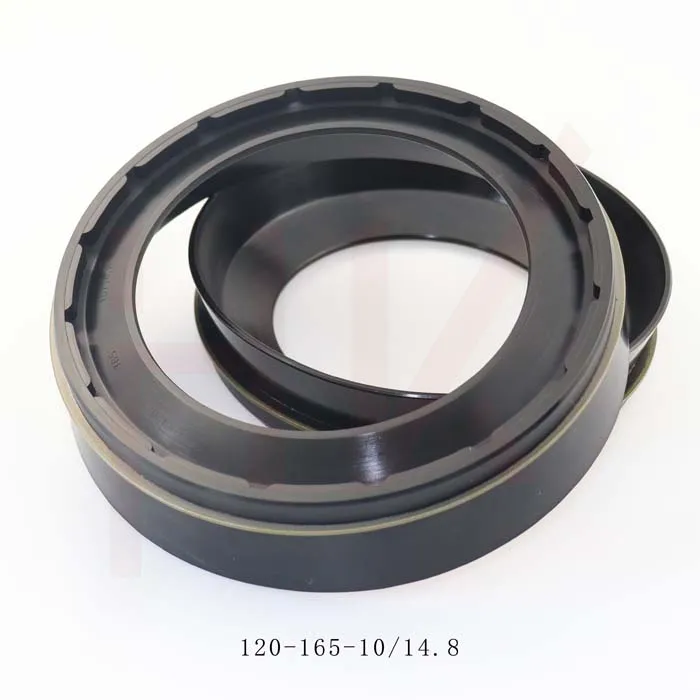
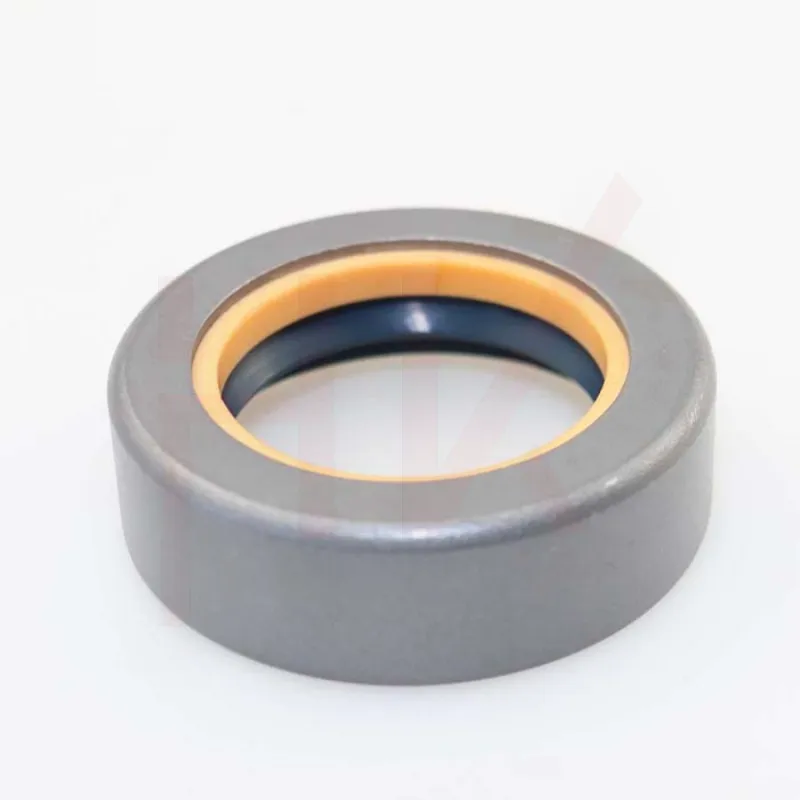
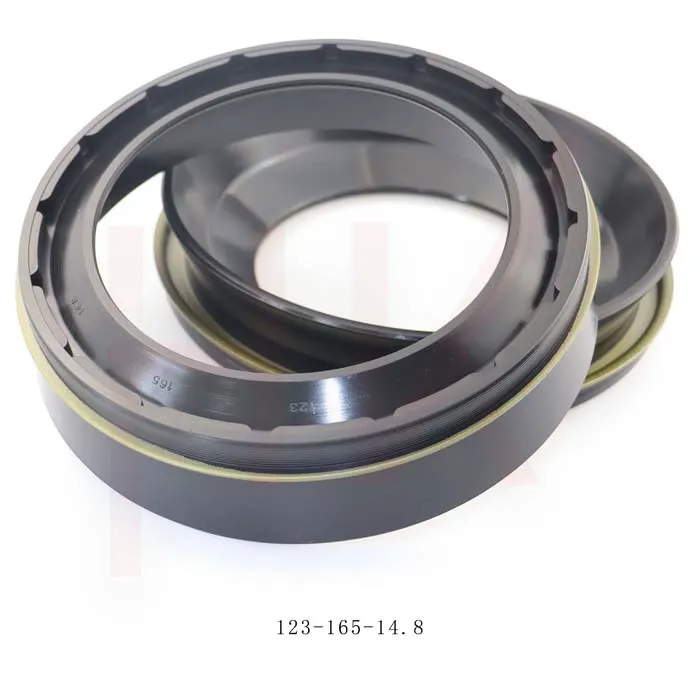
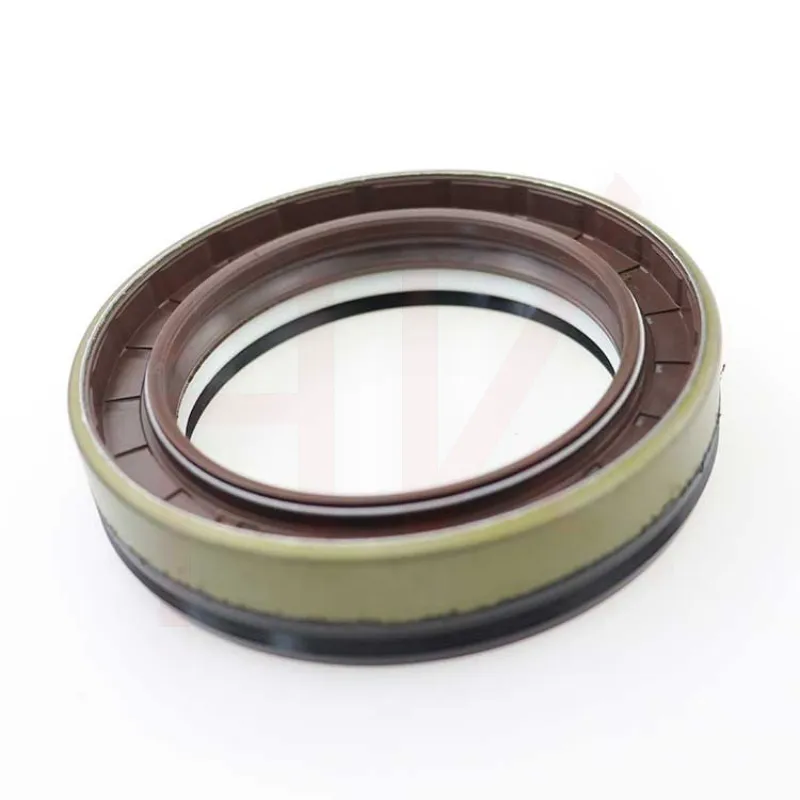
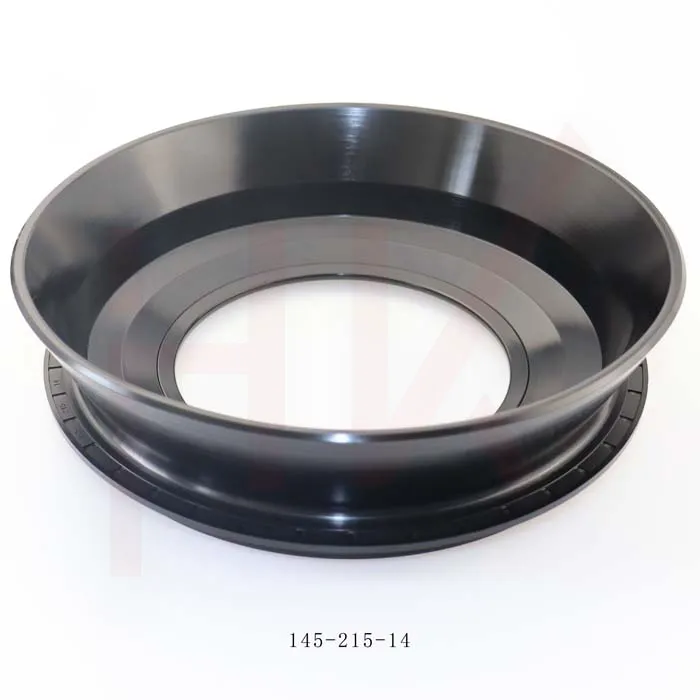
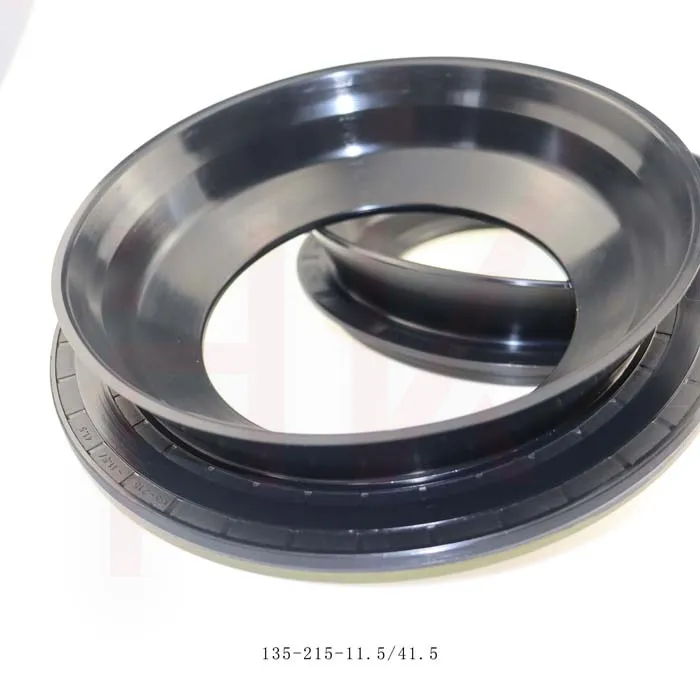
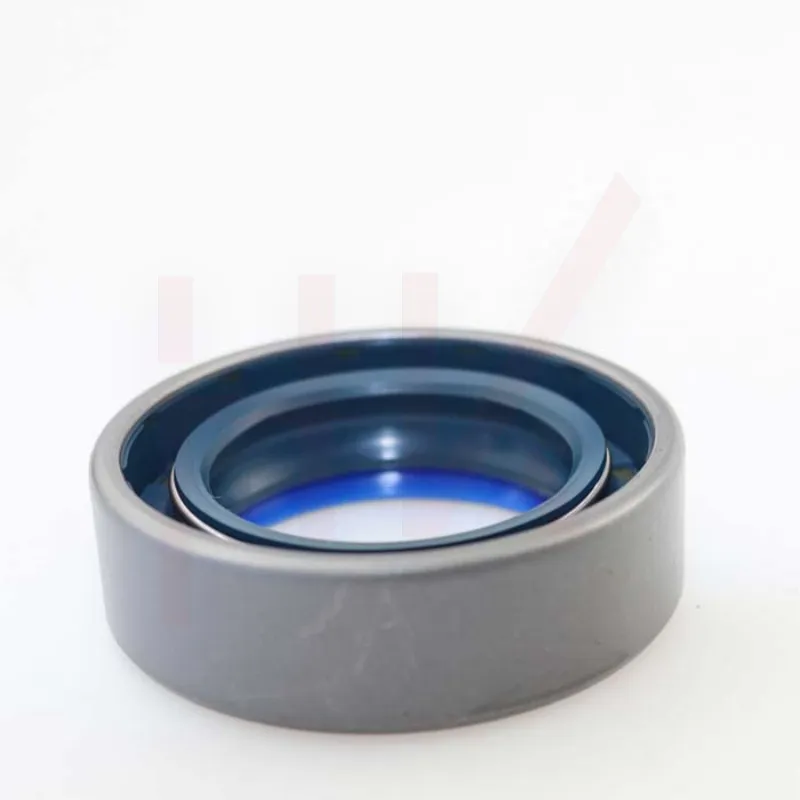
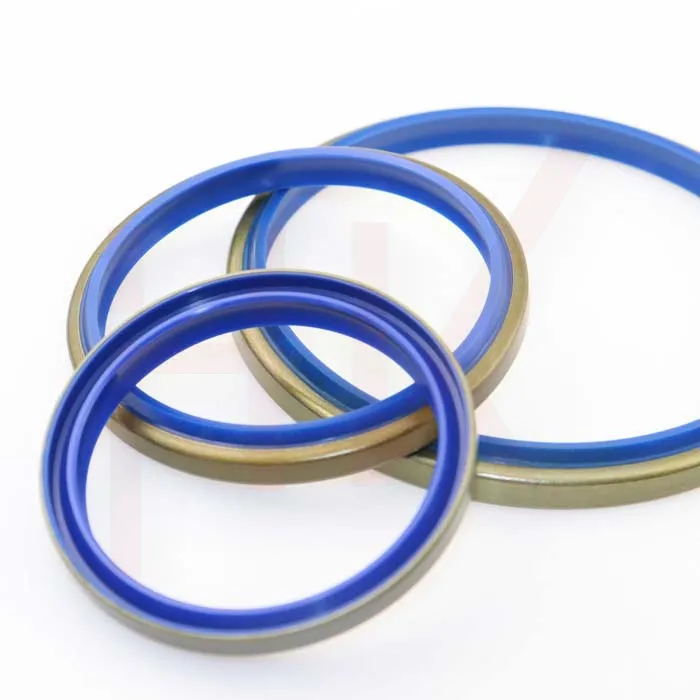
With the cylinder in front of you, remove the end cap and any retaining rings. You will find the old seals inside the cylinder. Carefully extract them using a seal puller or a flat screwdriver, taking care not to scratch or damage the cylinder walls.
Installing New Seals
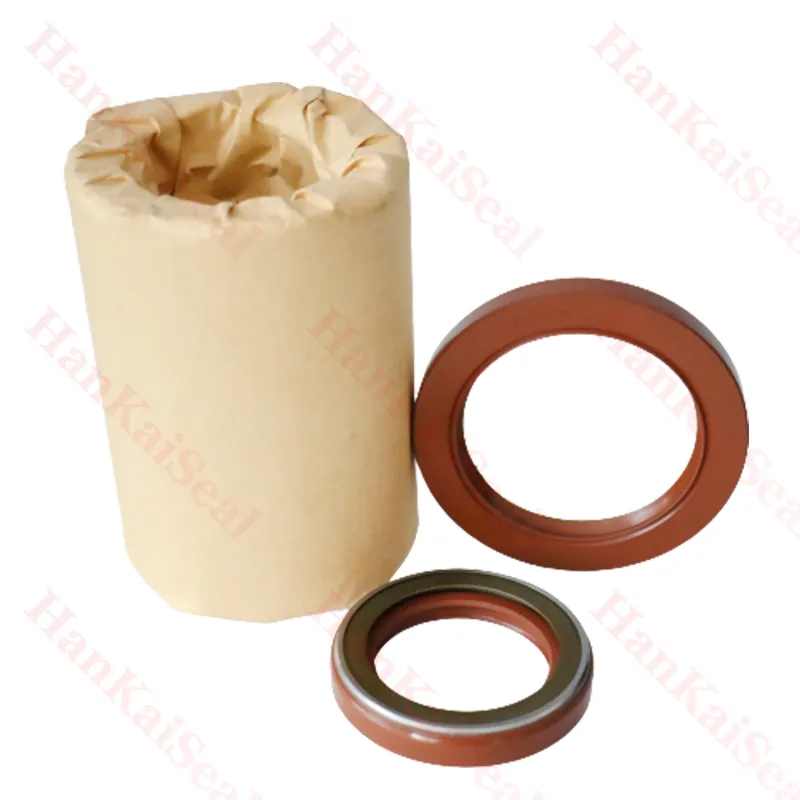
Before installing the new seals, inspect the cylinder for any debris or damage. Clean the interior thoroughly to ensure optimal sealing. Install the new seals gradually, ensuring they fit properly in the grooves. It is crucial to follow the manufacturer’s specifications for the installation process.
Reassembling the Cylinder
Once the new seals are in place, reattach the end cap and secure it with the retaining rings. Reinstall the cylinder on the boom, reconnecting the hydraulic lines and ensuring everything is tightened to the appropriate torque specifications.
Final Steps Testing the System
Before putting the excavator back into operation, it's important to fill the hydraulic system with new fluid and bleed any air from the lines. Check for any leaks after you power up the system and operate the boom. If everything functions smoothly, you have successfully replaced the seals on your excavator boom cylinder.
In conclusion, replacing the seals on an excavator boom cylinder is a manageable task that can significantly enhance the machine's performance. Regular maintenance will ensure your excavator remains reliable and efficient on the job.
-
TCN Oil Seal Metal Ring Reinforcement for Heavy Machinery
NewsJul.25,2025
-
Rotary Lip Seal Spring-Loaded Design for High-Speed Applications
NewsJul.25,2025
-
Hydraulic Cylinder Seals Polyurethane Material for High-Impact Jobs
NewsJul.25,2025
-
High Pressure Oil Seal Polyurethane Coating Wear Resistance
NewsJul.25,2025
-
Dust Proof Seal Double Lip Design for Construction Equipment
NewsJul.25,2025
-
Hub Seal Polyurethane Wear Resistance in Agricultural Vehicles
NewsJul.25,2025
-
The Trans-formative Journey of Wheel Hub Oil Seals
NewsJun.06,2025
Products categories

