Nov . 05, 2024 19:09 Back to list
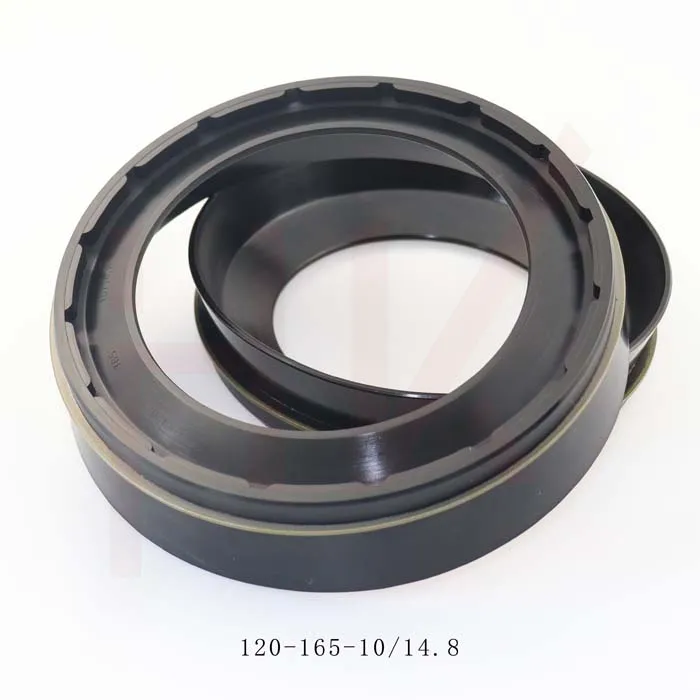
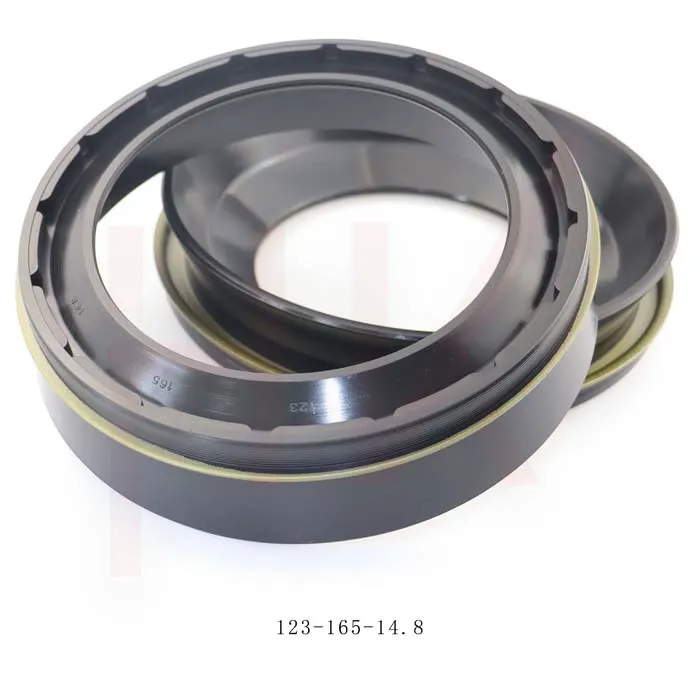
excavator boom cylinder seal replacement
Understanding Excavator Boom Cylinder Seal Replacement
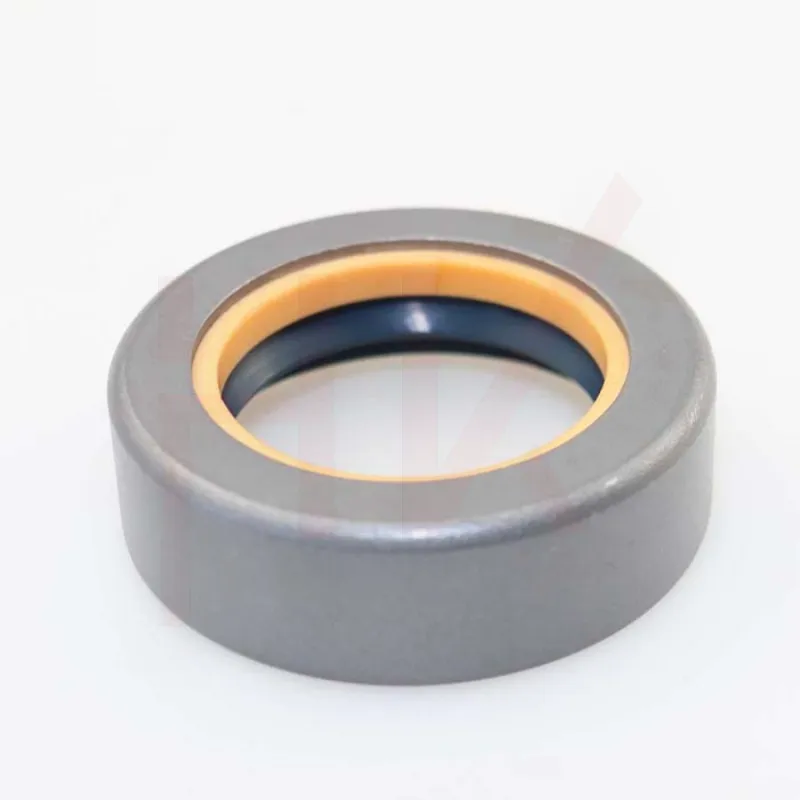
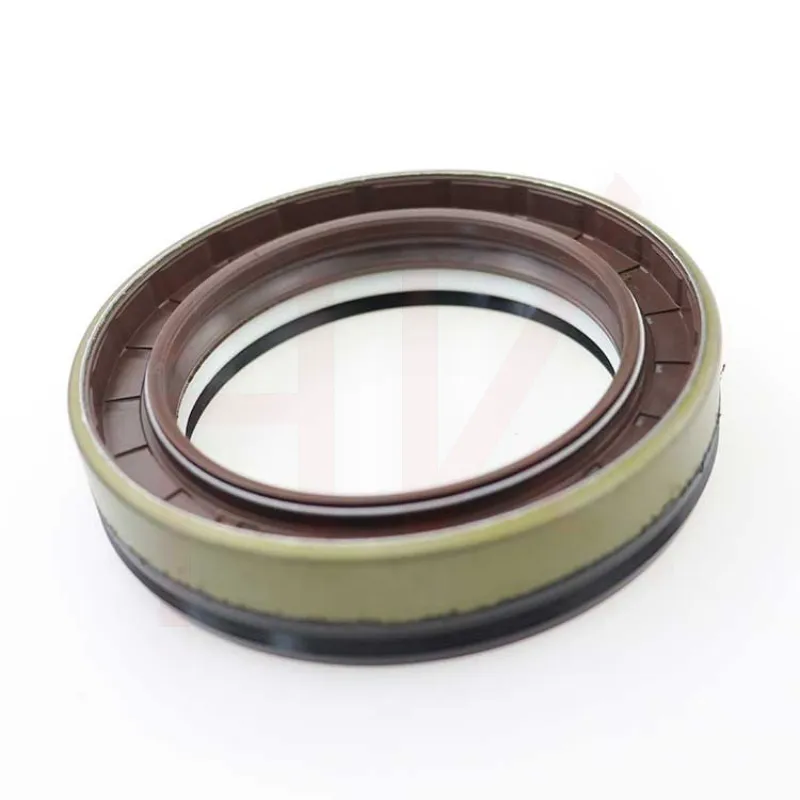
The integrity of heavy machinery like excavators is crucial for optimal performance and productivity. One of the vital components that can significantly affect an excavator's functionality is the boom cylinder, which plays a pivotal role in raising and lowering the boom. Over time, the seals in the boom cylinder can wear out due to exposure to harsh working conditions, leading to hydraulic fluid leaks and reduced efficiency. Therefore, understanding the process of replacing these seals is invaluable for operators and maintenance personnel.
Recognizing the Signs of Seal Wear
Before jumping into the replacement process, it's essential to identify the symptoms of worn-out seals. Common indicators include hydraulic fluid leaks around the boom cylinder, a decrease in lifting power, or noticeable fluctuations in boom movement. If these signs are evident, it's time to consider seal replacement.
Preparing for Replacement
Before proceeding with the replacement, ensure you have the necessary tools and replacement seals. Typical tools include wrenches, screwdrivers, a seal puller, and safety gear. Additionally, consult the excavator's service manual for specific instructions and specifications regarding the seals required for your model.
The Replacement Process
excavator boom cylinder seal replacement

1. Safety First Always ensure the excavator is turned off and the hydraulic system is depressurized. Engage the safety locks to prevent accidental movements.
2. Remove the Boom Cylinder Disconnect the hydraulic lines connected to the boom cylinder. Use appropriate wrenches to unfasten mounting bolts, and carefully remove the cylinder from the machine.
3. Disassemble the Cylinder Once the cylinder is detached, place it on a stable work surface. Clean the outer surface, and then disassemble it by loosening the end caps. Be cautious of any remaining hydraulic fluid that may leak out.
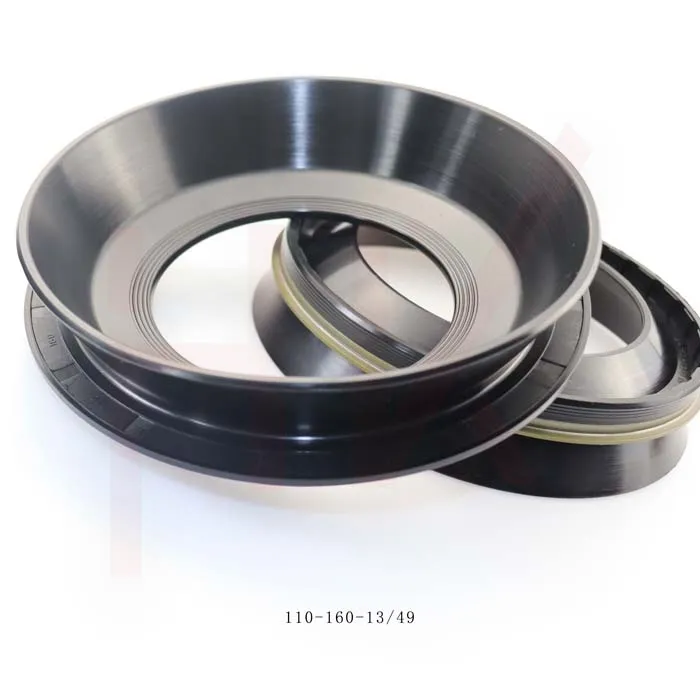
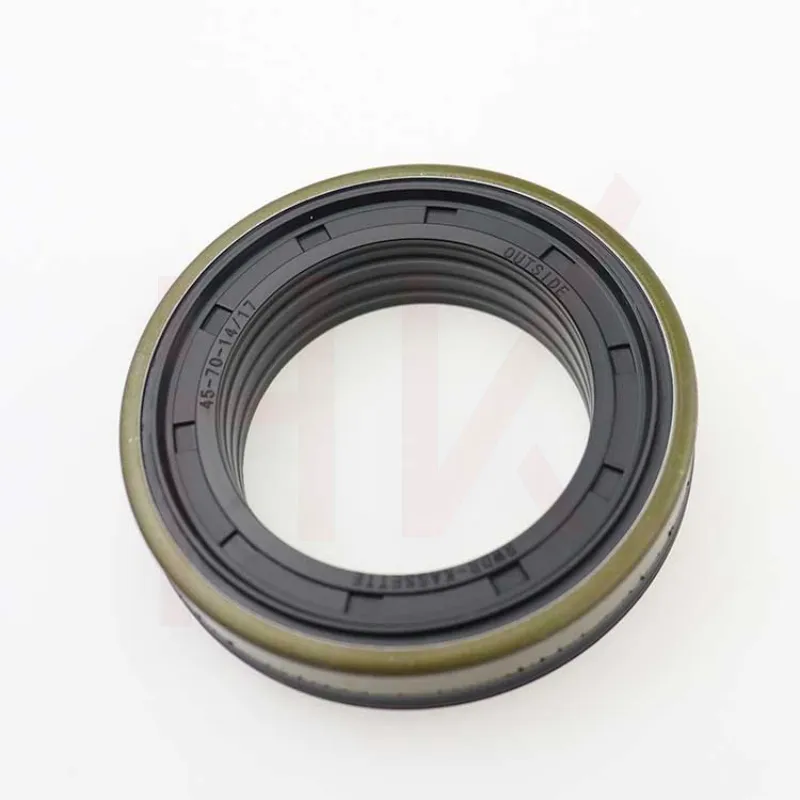
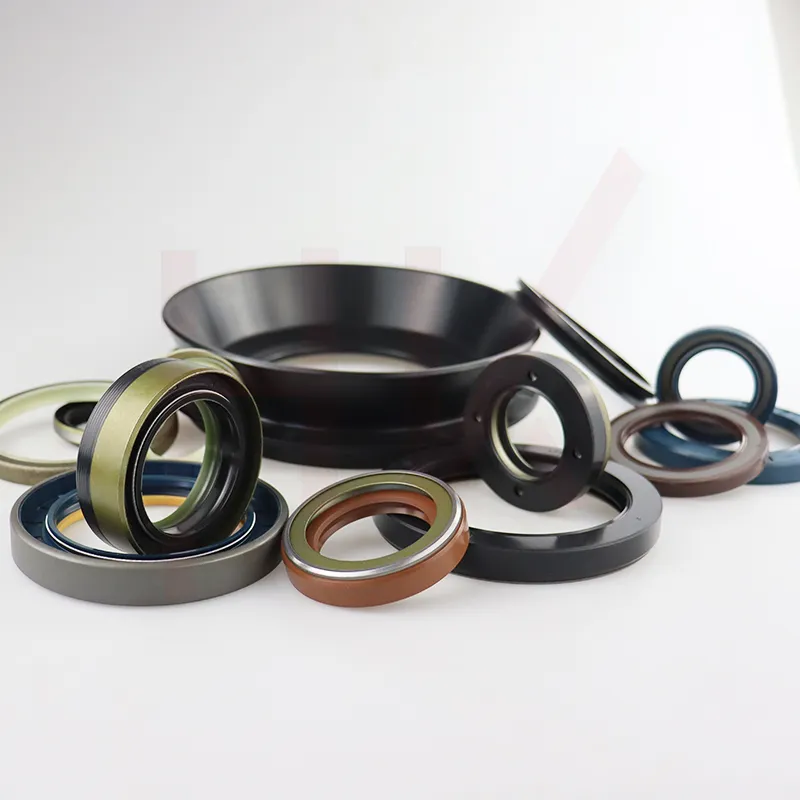
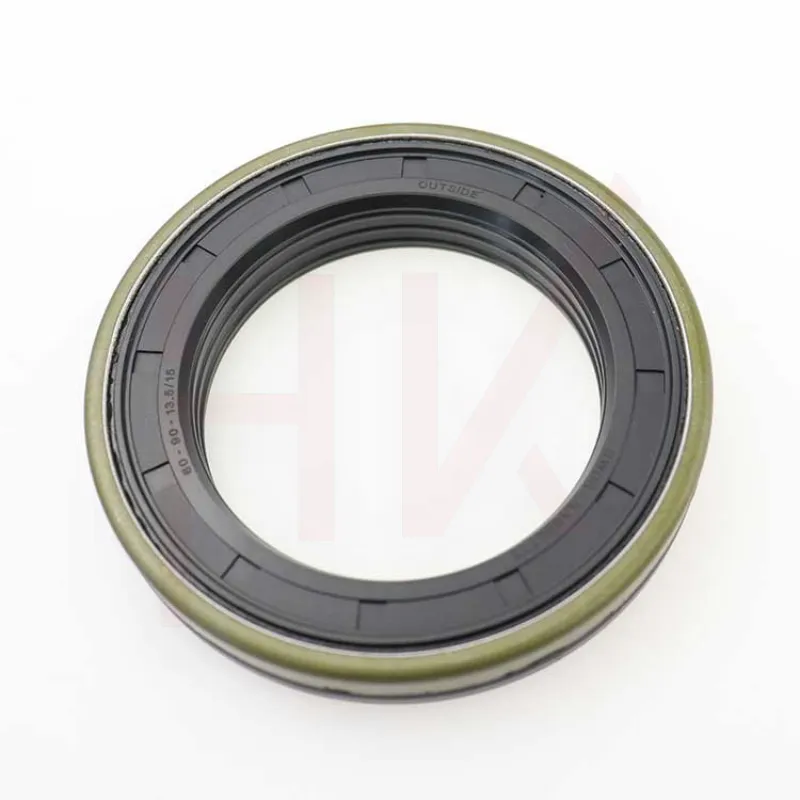
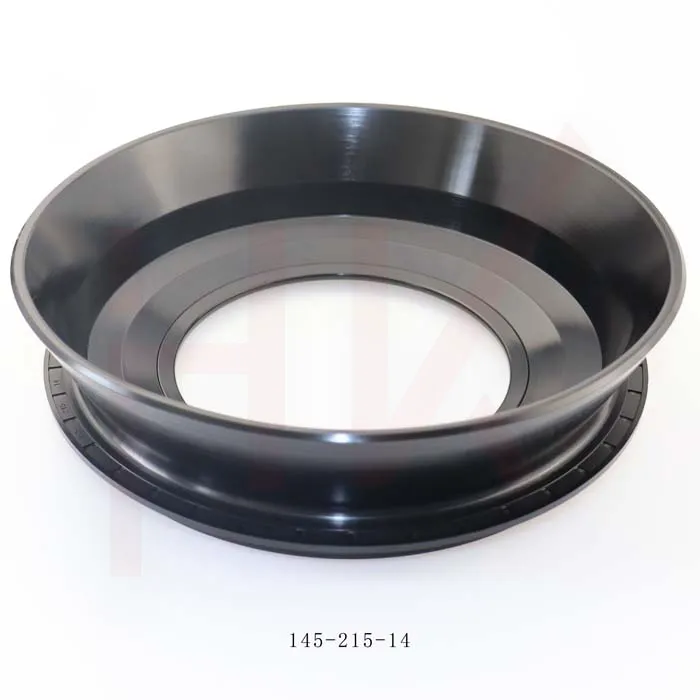
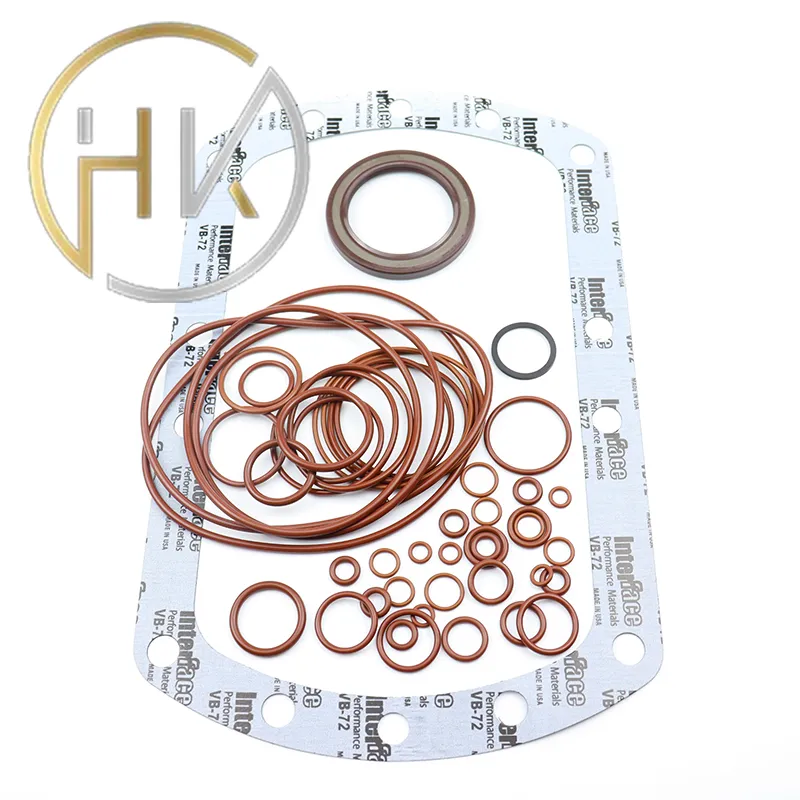
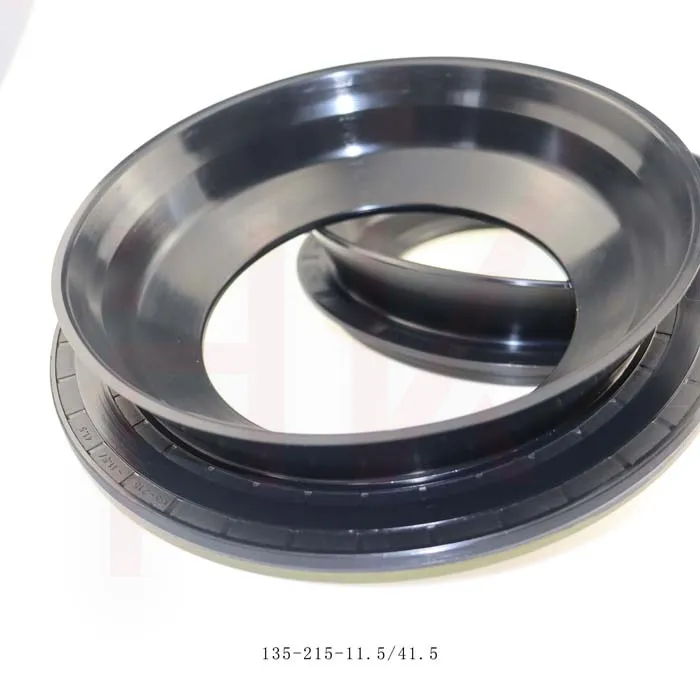
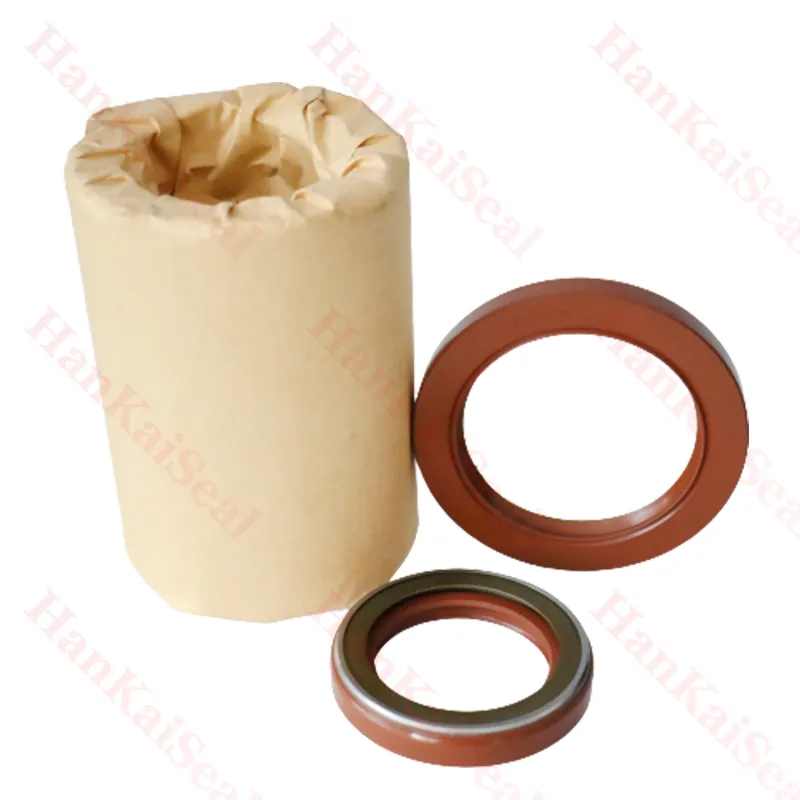
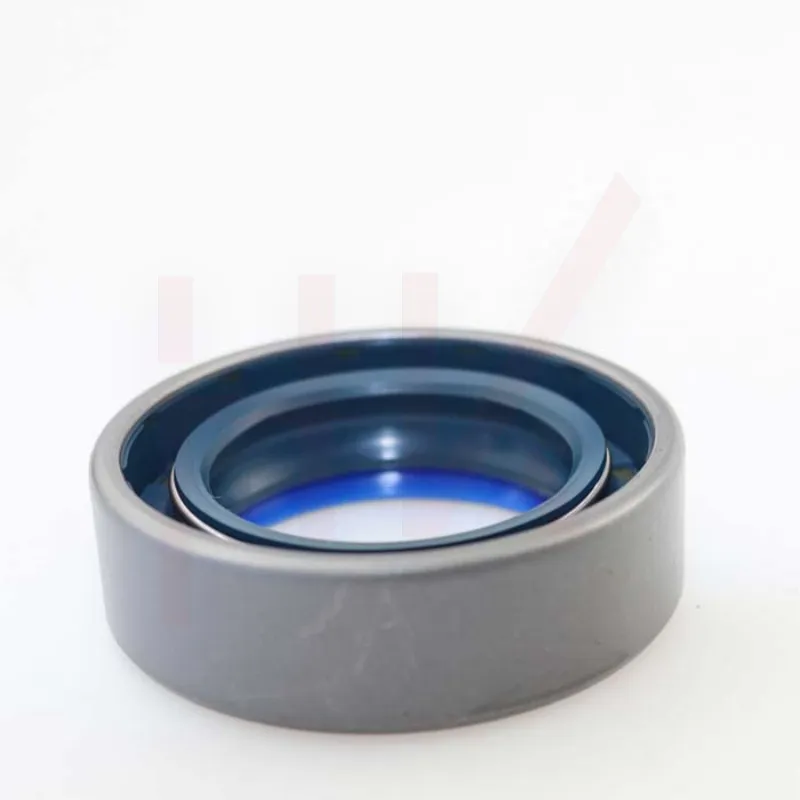
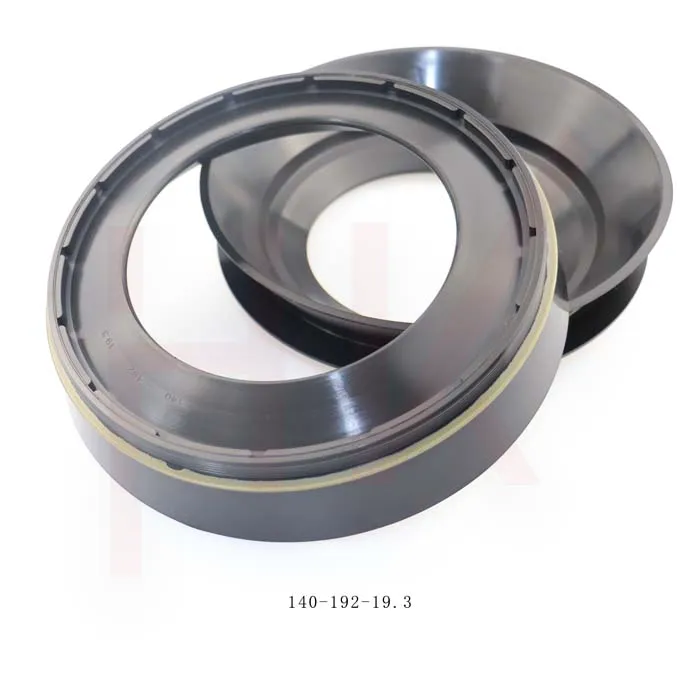
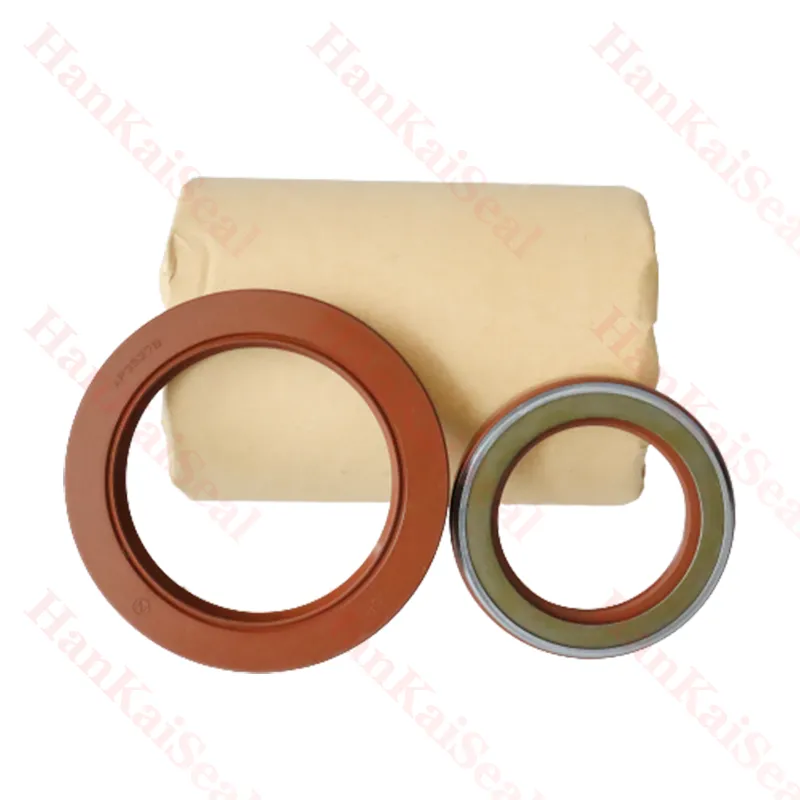
4. Replace the Seals With the cylinder disassembled, remove the old seals using a seal puller. Before installing new seals, clean the sealing surfaces thoroughly to ensure a proper fit. Carefully install the new seals, ensuring that they are seated snugly and evenly.
5. Reassemble and Test Reassemble the boom cylinder by reversing the disassembly steps. Once reassembled, reattach the cylinder to the excavator and reconnect the hydraulic lines. After everything is securely fastened, start the excavator to test the boom's functionality. Observe for any leaks or unusual movements.
Conclusion
Replacing the boom cylinder seals on an excavator is a task that, while technical, can be accomplished with the right tools and knowledge. Regular maintenance can significantly extend the lifespan of your equipment and ensure that it operates at peak efficiency. Always remember to follow safety protocols and consult professional help if unsure about any steps in the process to maintain both the equipment and personal safety.
-
TCN Oil Seal Metal Ring Reinforcement for Heavy Machinery
NewsJul.25,2025
-
Rotary Lip Seal Spring-Loaded Design for High-Speed Applications
NewsJul.25,2025
-
Hydraulic Cylinder Seals Polyurethane Material for High-Impact Jobs
NewsJul.25,2025
-
High Pressure Oil Seal Polyurethane Coating Wear Resistance
NewsJul.25,2025
-
Dust Proof Seal Double Lip Design for Construction Equipment
NewsJul.25,2025
-
Hub Seal Polyurethane Wear Resistance in Agricultural Vehicles
NewsJul.25,2025
-
The Trans-formative Journey of Wheel Hub Oil Seals
NewsJun.06,2025
Products categories

