Dec . 14, 2024 05:27 Back to list
Excavator Boom Cylinder Seal Replacement Guide and Best Practices
Excavator Boom Cylinder Seal Replacement A Comprehensive Guide
If you’re in the construction, demolition, or heavy machinery industry, you probably know that excavators are among the most vital pieces of equipment. Their efficiency largely depends on the smooth operation of their hydraulic systems. One key component of this system is the boom cylinder, which allows the excavator's boom to raise and lower. Over time, the seals in the boom cylinder can wear out, leading to hydraulic fluid leaks and reduced performance. This article aims to guide you through the process of replacing the seals in the boom cylinder of your excavator.
Understanding the Boom Cylinder
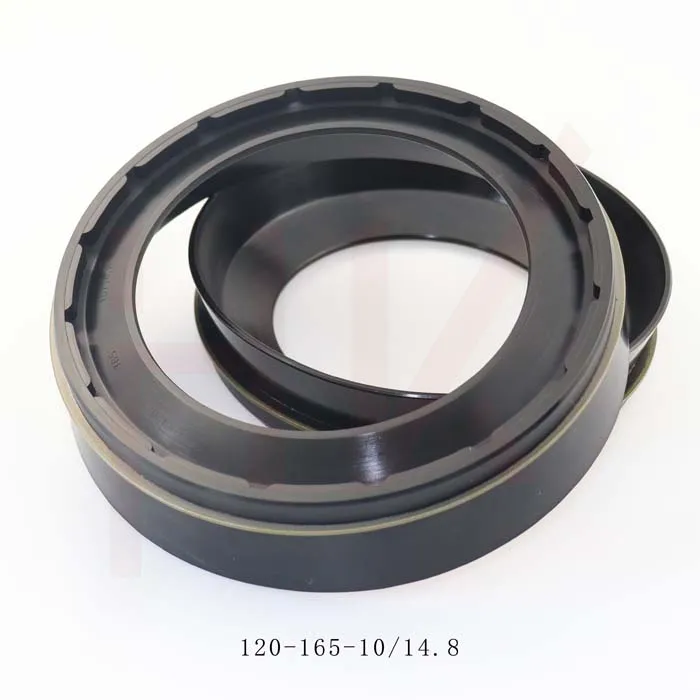
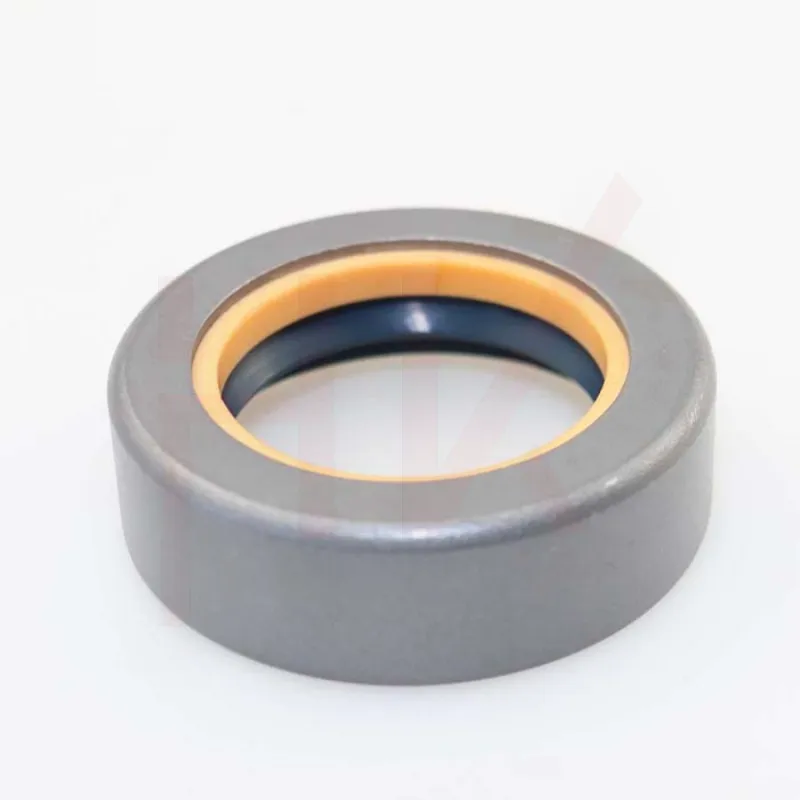
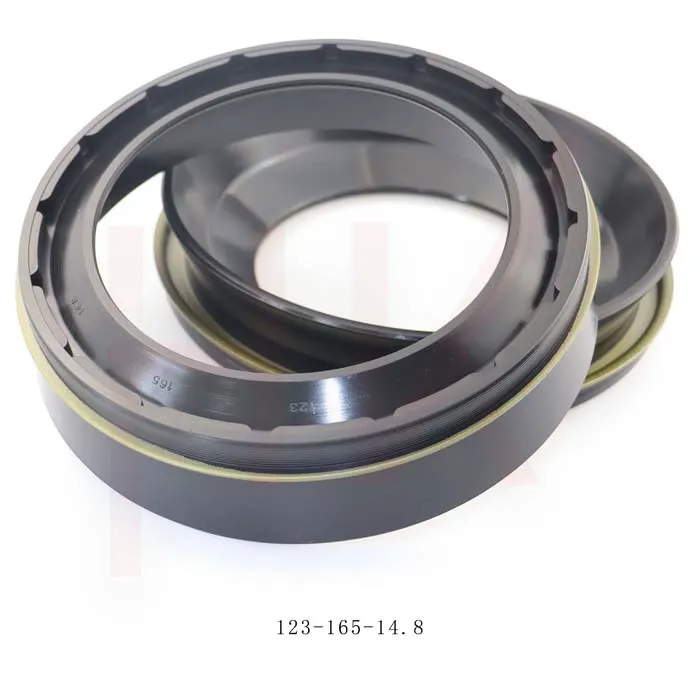
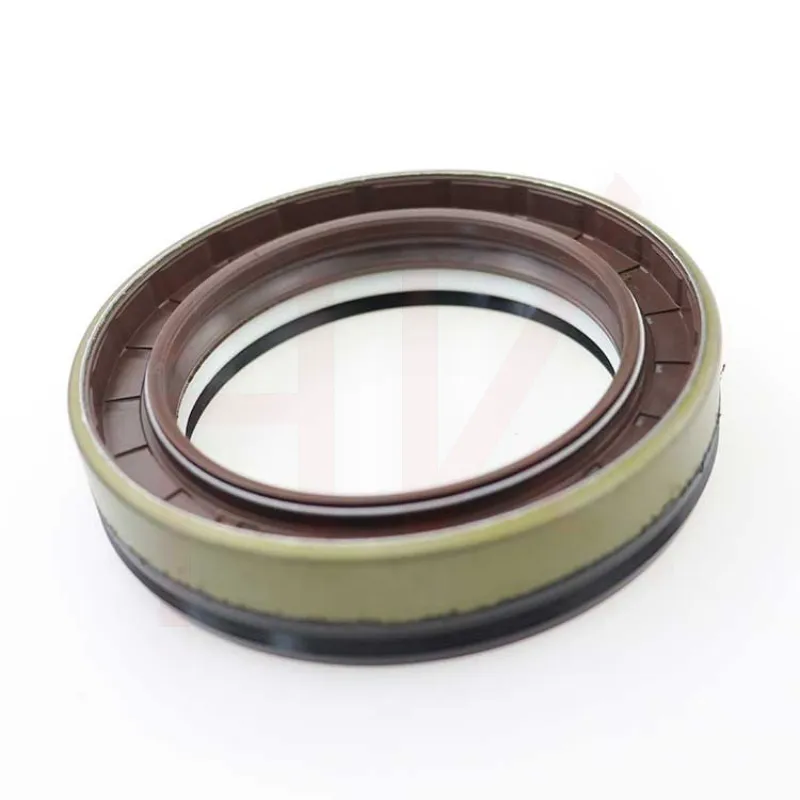
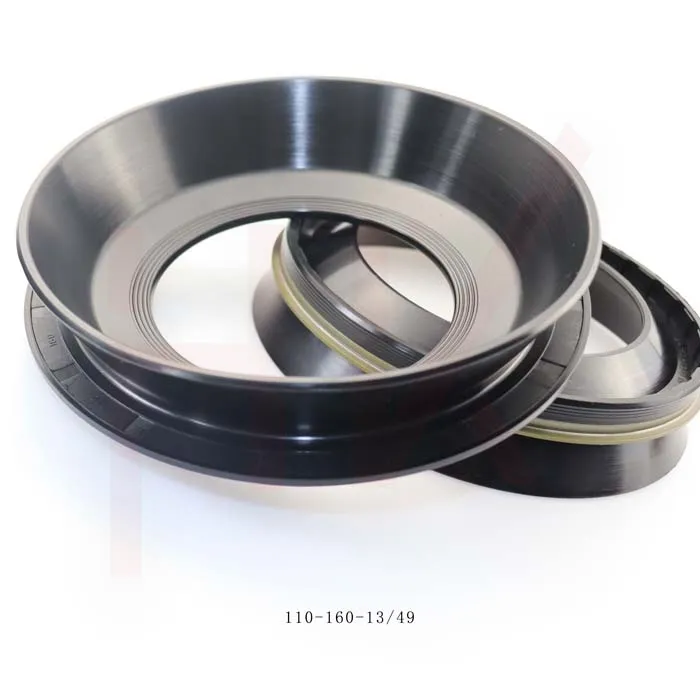
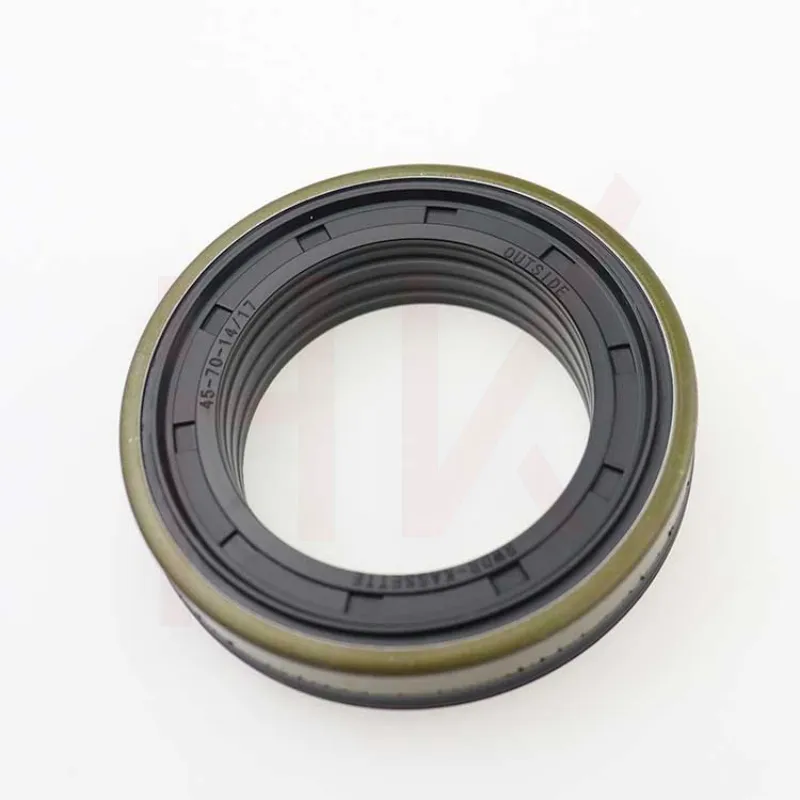
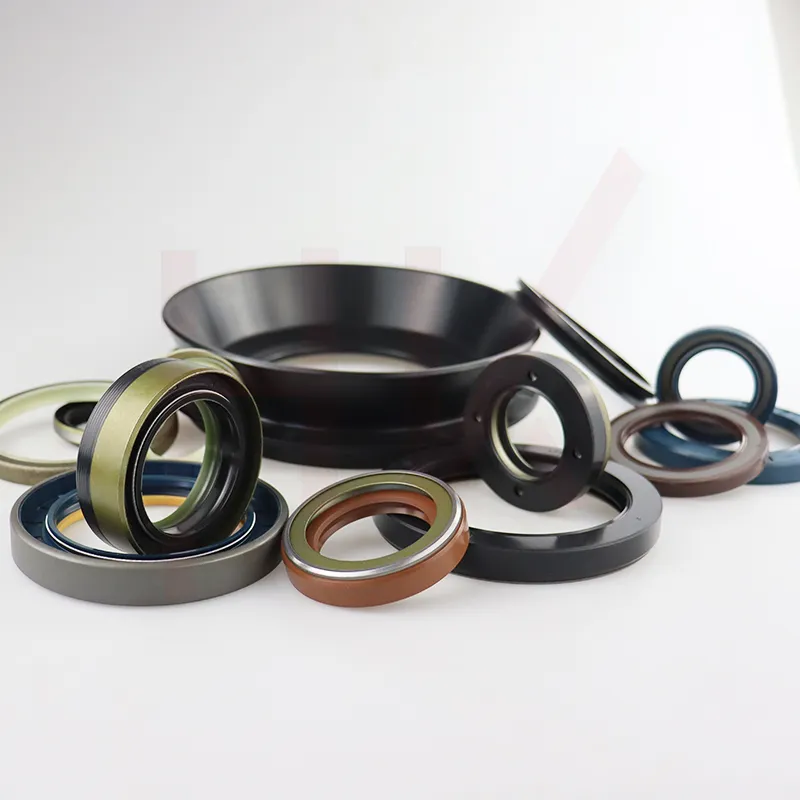
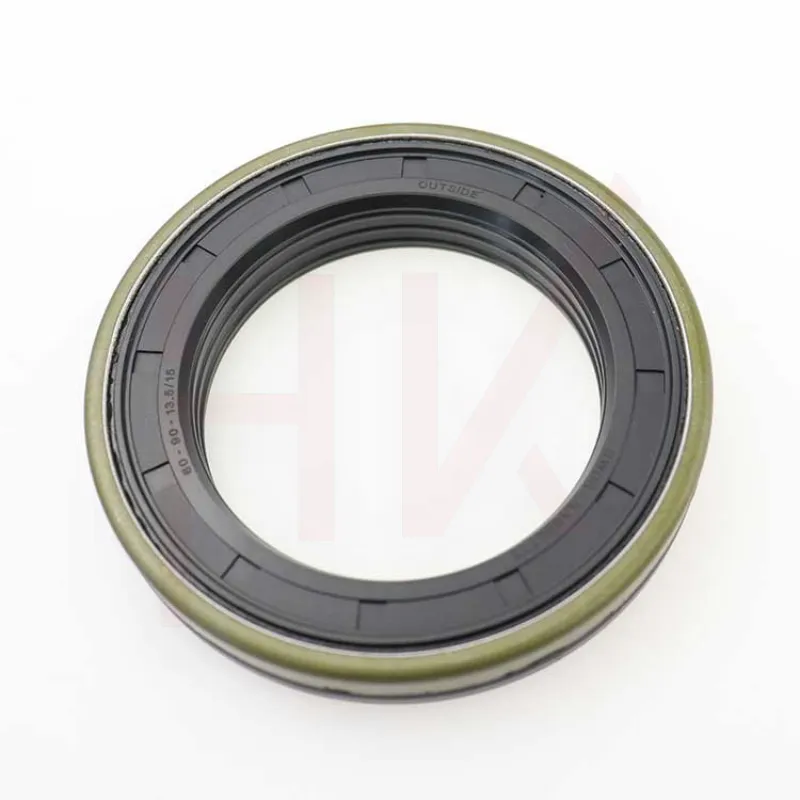
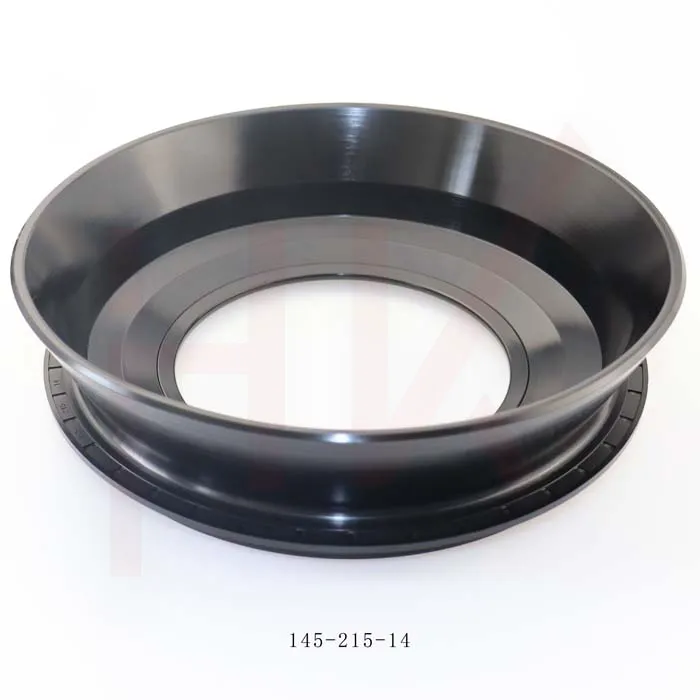
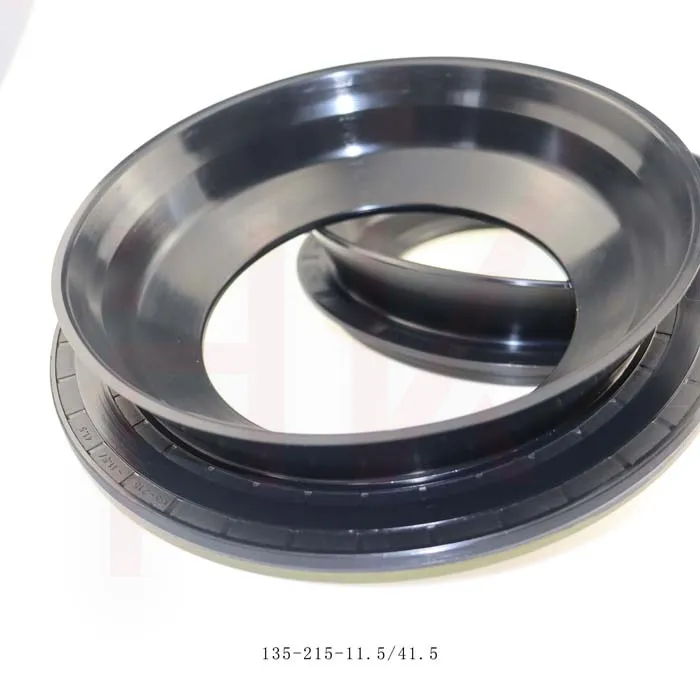
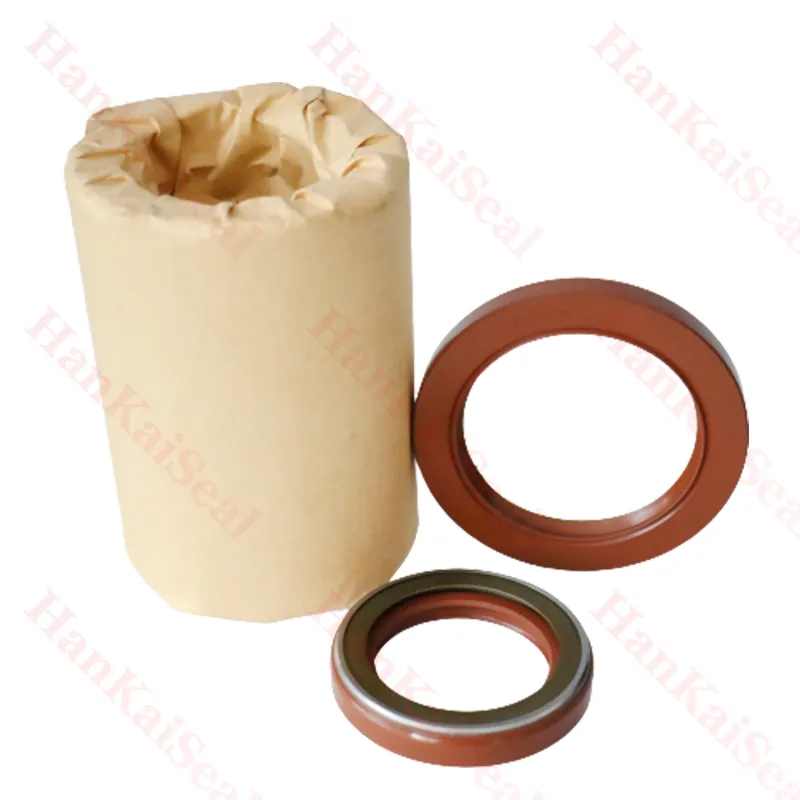
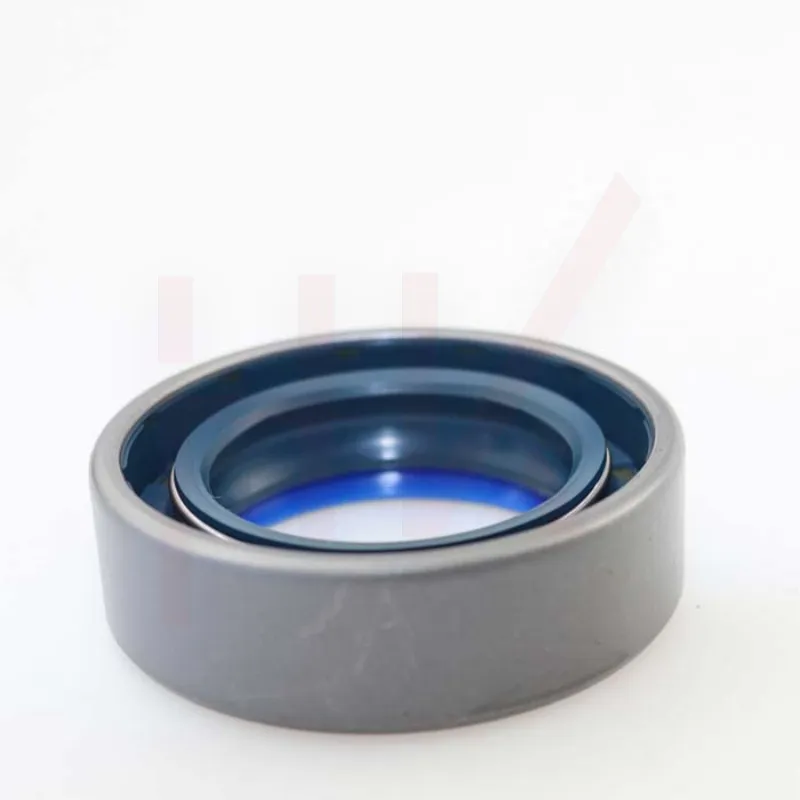
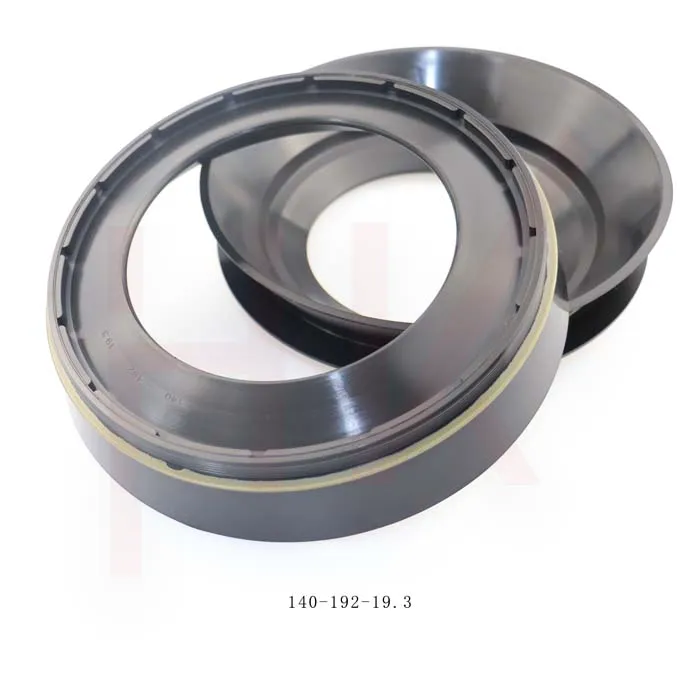
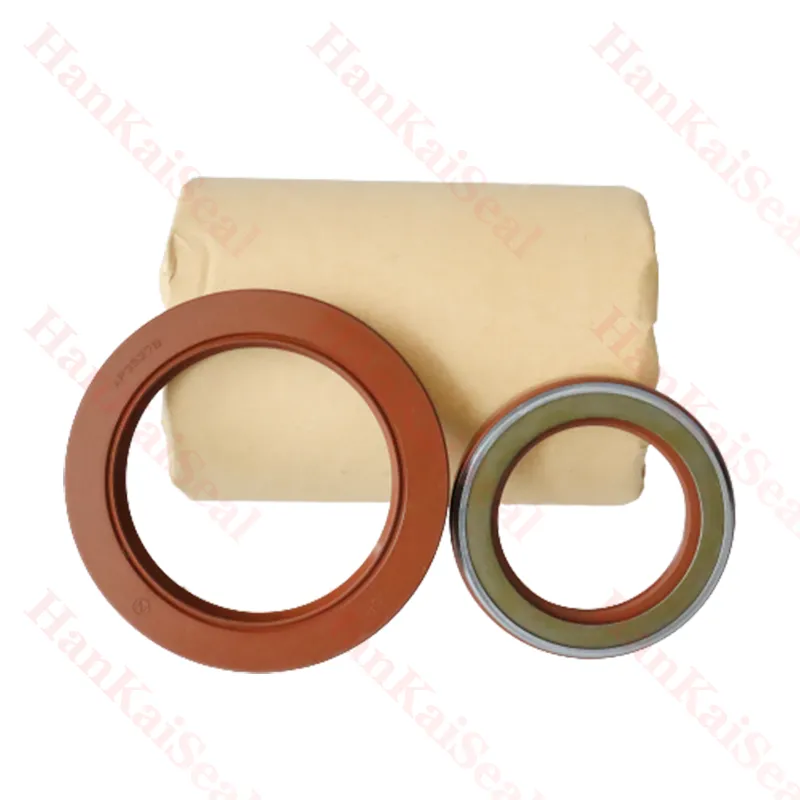
The boom cylinder is essentially a hydraulic actuator that provides the lifting force for the boom. It comprises a piston, rod, and seals. The seals are critical for maintaining hydraulic pressure and preventing fluid from leaking out. Common signs of seal failure include reduced lifting power, visible leaks around the cylinder, and fluid on the ground beneath the machine.
Preparing for Seal Replacement
Before diving into the replacement process, ensure you have all the necessary tools and safety equipment. You will need
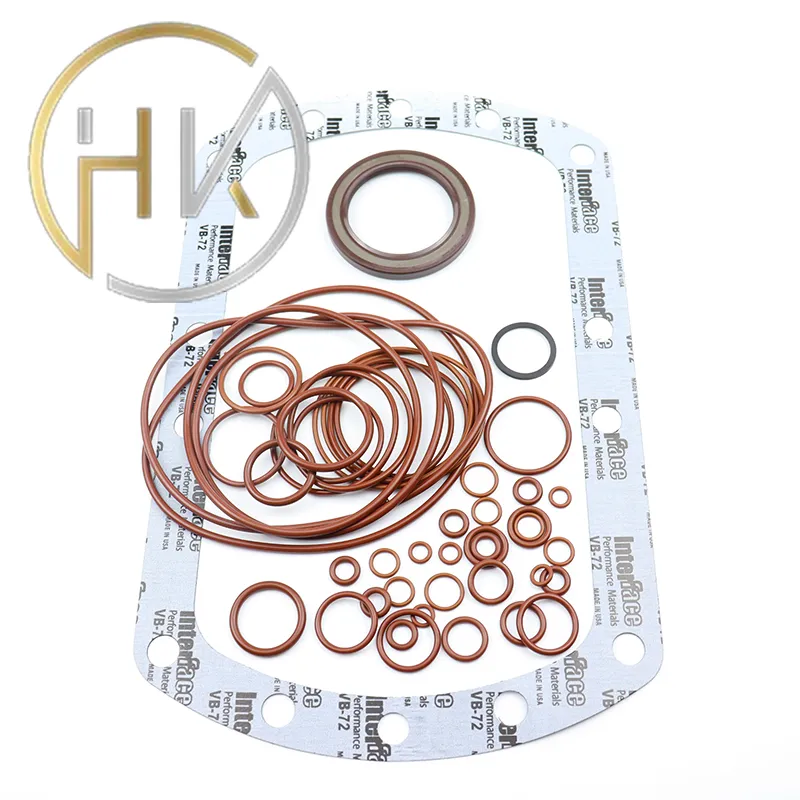
- Hydraulic seal kit (specific to your excavator model) - Wrenches and sockets - Screwdrivers - Torque wrench - Seal pullers - Clean rags - Hydraulic fluid - Safety gear (gloves, goggles)
Additionally, it’s crucial to work in a well-ventilated area and follow all health and safety guidelines.
Step-by-Step Guide to Replacement
1. Safety First Before starting, ensure the excavator is on level ground and the engine is turned off. Engage the parking brake and remove the key.
2. Release Hydraulic Pressure Locate the hydraulic line connected to the boom cylinder. Use a wrench to loosen the fittings carefully to allow any residual pressure to escape. Use a rag to catch any fluid that may spill.
3. Disconnect the Boom Cylinder Unbolt the boom cylinder from both the boom and the arm. Use a socket wrench for this process. Ensure to support the boom to prevent it from falling.
excavator boom cylinder seal replacement
4. Remove the Cylinder Carefully slide the boom cylinder out from its mount. This may require assistance, as the cylinder can be bulky and heavy.
5. Disassemble the Cylinder Place the cylinder on a clean workbench. Remove the end cap or bearing, depending on your specific model, to access the internal components.
6. Inspect and Remove Old Seals Once exposed, take a close look at the internal parts for wear or damage. Use a seal puller to carefully remove the old seals. Be cautious not to damage the cylinder walls during this process.
7. Clean the Cylinder Thoroughly clean the interior of the cylinder using clean rags. Inspect the piston and rod for scratches or imperfections.
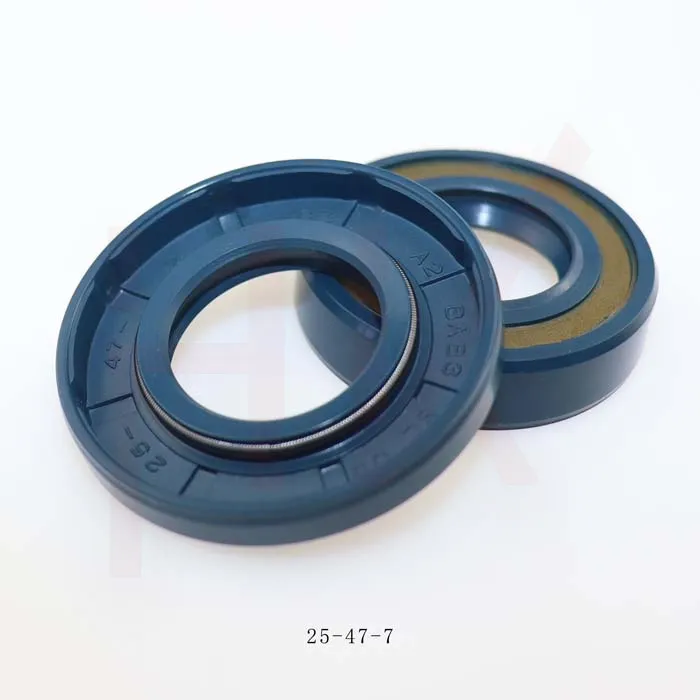
8. Install New Seals Take the new seals from your hydraulic seal kit and carefully install them in their respective grooves. Make sure they are seated properly to avoid future leaks.
9. Reassemble the Cylinder Once the new seals are in place, reattach the end cap or bearing, ensuring it is torqued to the manufacturer’s specifications.
10. Reinstall the Boom Cylinder Carefully lift and position the boom cylinder back into place. Bolt it securely to both the boom and the arm.
11. Reconnect Hydraulic Lines Reattach the hydraulic lines, ensuring that all fittings are tight and leak-free.
12. Fill with Hydraulic Fluid Check the hydraulic fluid levels in the reservoir and fill as necessary according to the manufacturer’s specifications.
13. Test the System Start the excavator and operate the boom to ensure everything is functioning correctly. Monitor for any signs of leaks or unusual noises.
Conclusion
Replacing the boom cylinder seal in your excavator is a task that requires diligence and attention to detail. Regular maintenance can extend the lifespan of your equipment and prevent costly downtime. By following this guide, you should be well-equipped to tackle the challenge, ensuring your excavator operates at peak performance. Remember that safety should always be your top priority, and if you’re ever in doubt, do not hesitate to consult with a professional. Keeping your machinery in top shape is not just an investment in your operations but a commitment to safety and efficiency on the job site.
-
The Trans-formative Journey of Wheel Hub Oil Seals
NewsJun.06,2025
-
Graphene-Enhanced Oil Seals: Revolutionizing High-Pressure Oil Sealing
NewsJun.06,2025
-
Future of Hydraulic Sealing: Advanced Intelligent TCN Oil Seals
NewsJun.06,2025
-
Don’t Let a Broken TCV Oil Seal Ruin Your Day
NewsJun.06,2025
-
Bio-Inspired Dust Seals for Better Sealing Performance
NewsJun.06,2025
-
Biodegradable and Sustainable Hydraulic Seal Materials
NewsJun.06,2025
-
Top Oil Seal Solutions for Your Industrial Needs
NewsMay.22,2025
Products categories

