Oct . 15, 2024 16:35 Back to list
Changing the Wiper Seal on a Hydraulic Cylinder for Optimal Performance
Replacing the Wiper Seal on a Hydraulic Cylinder A Step-by-Step Guide
Hydraulic cylinders are crucial components in various machinery, providing necessary force and movement for applications such as construction equipment, manufacturing processes, and automotive systems. Among the essential parts of a hydraulic cylinder is the wiper seal, which plays a vital role in keeping contaminants out and ensuring the longevity of the hydraulic system. Over time, wiper seals can wear out or become damaged, leading to potential leaks and reduced performance. In this article, we will explore how to replace a wiper seal on a hydraulic cylinder through a detailed step-by-step guide.
Understanding the Wiper Seal Function
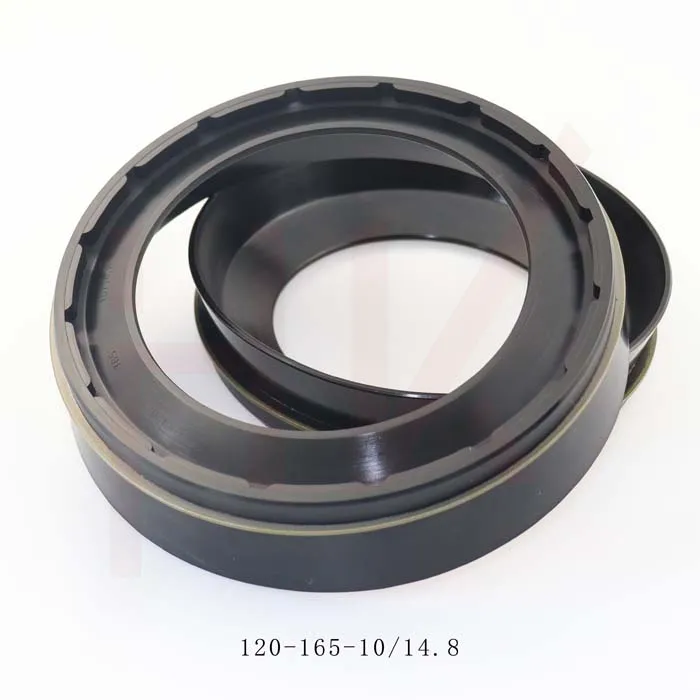
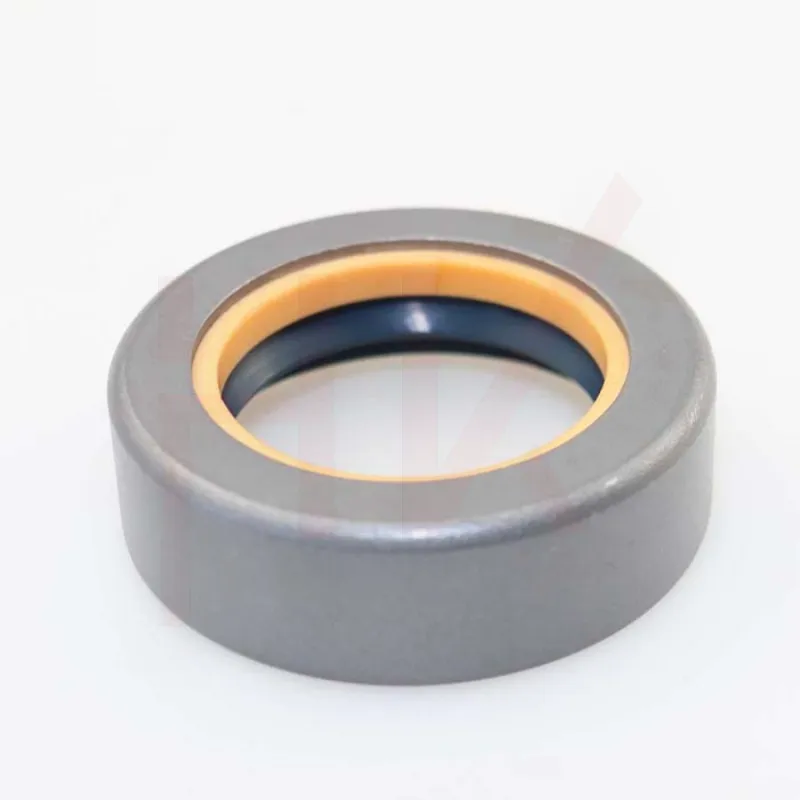
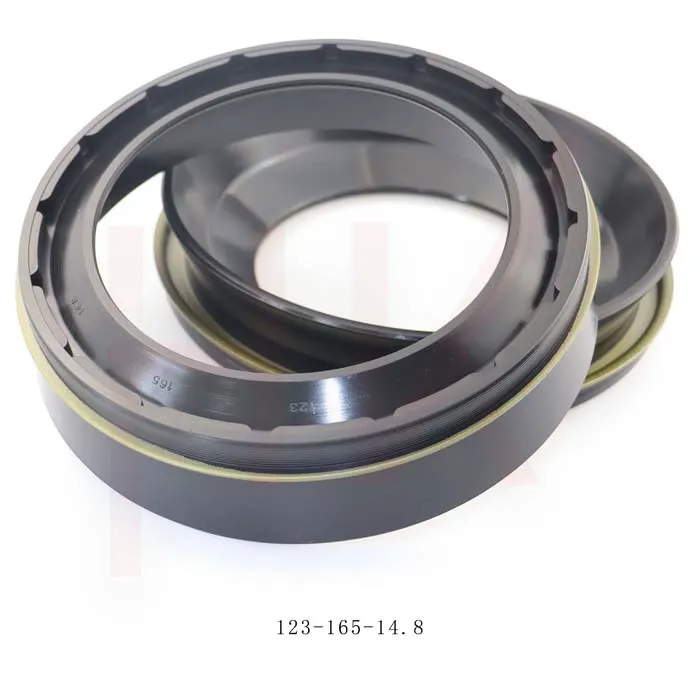
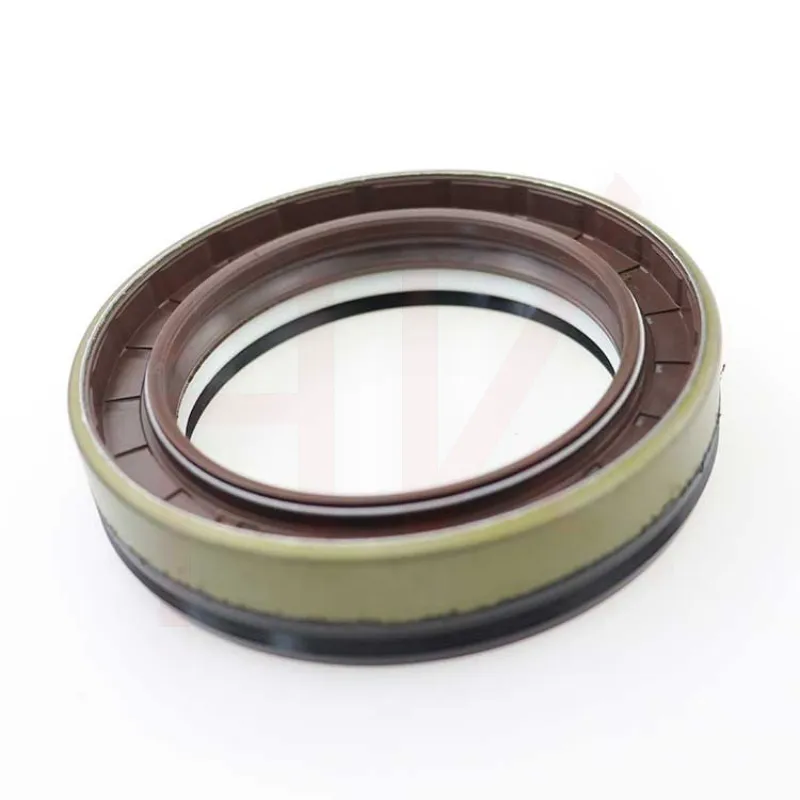
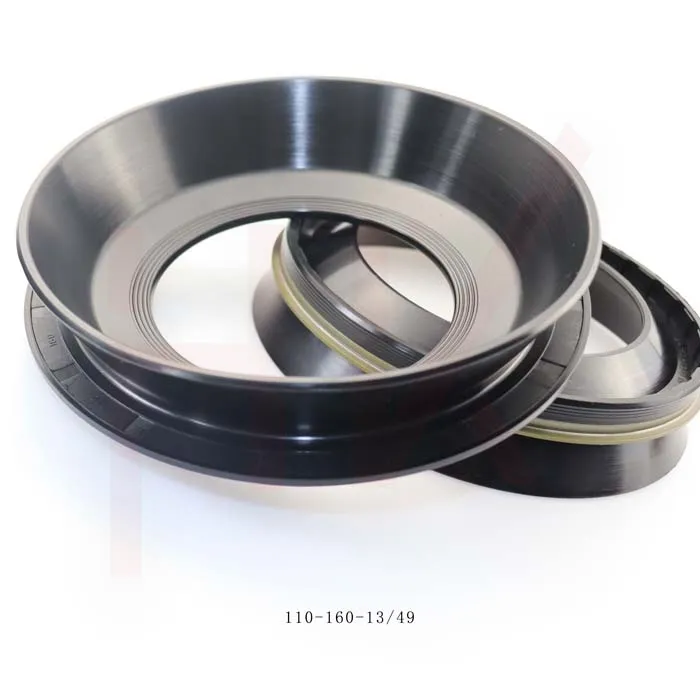
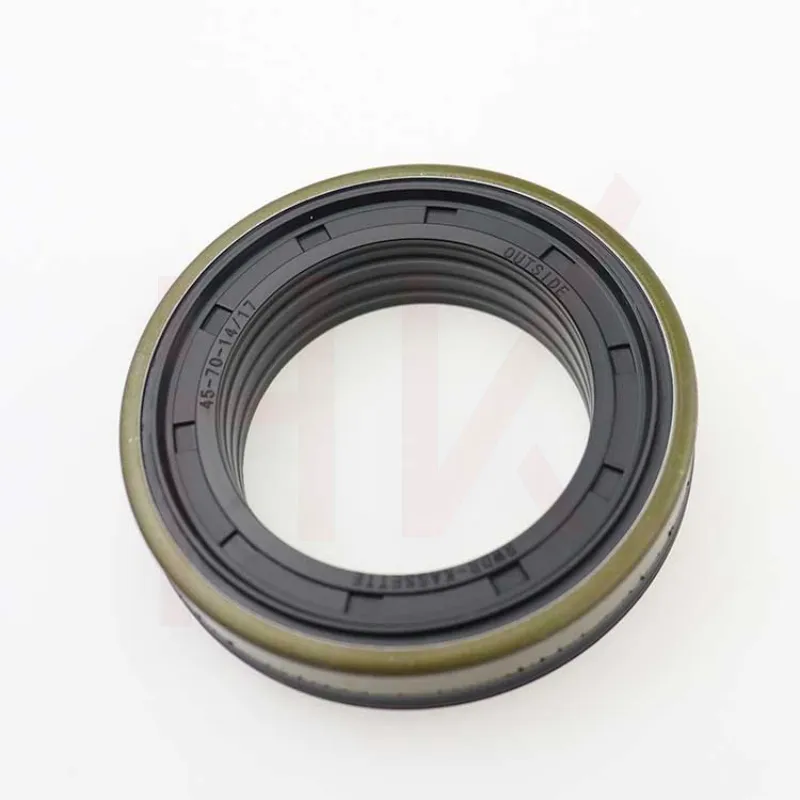
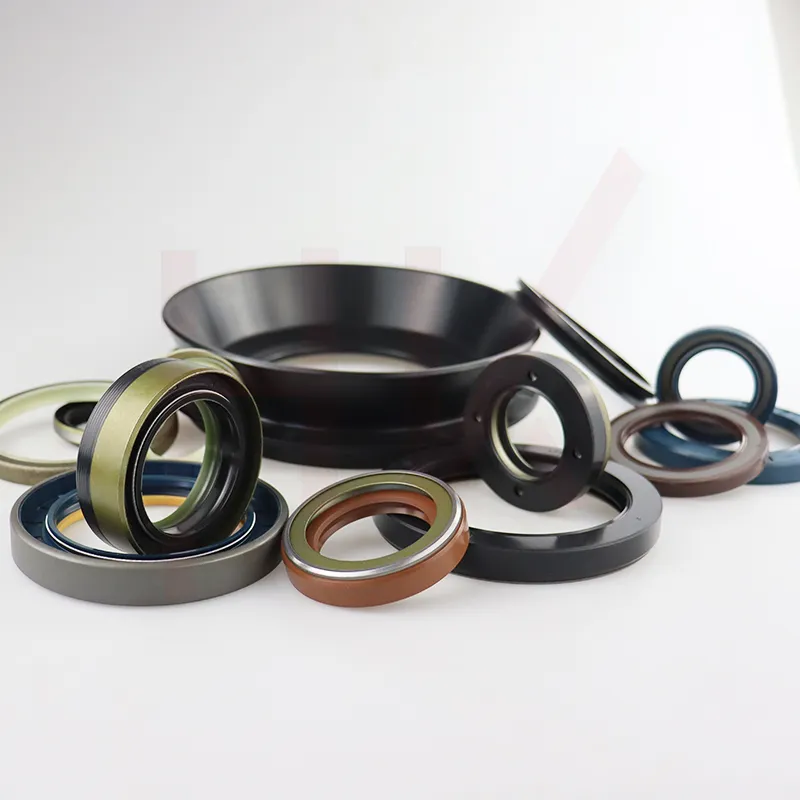
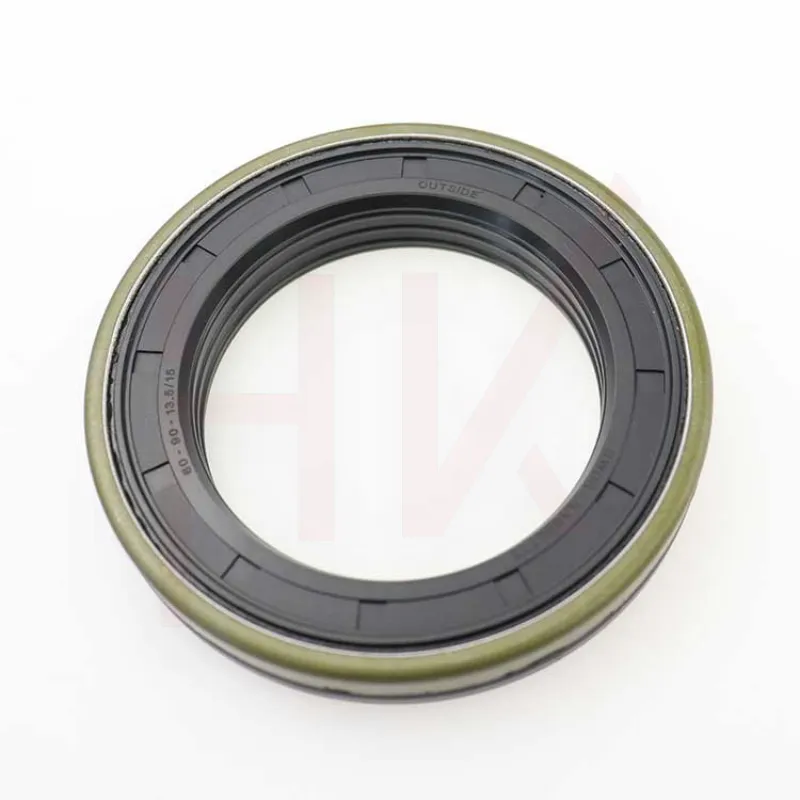
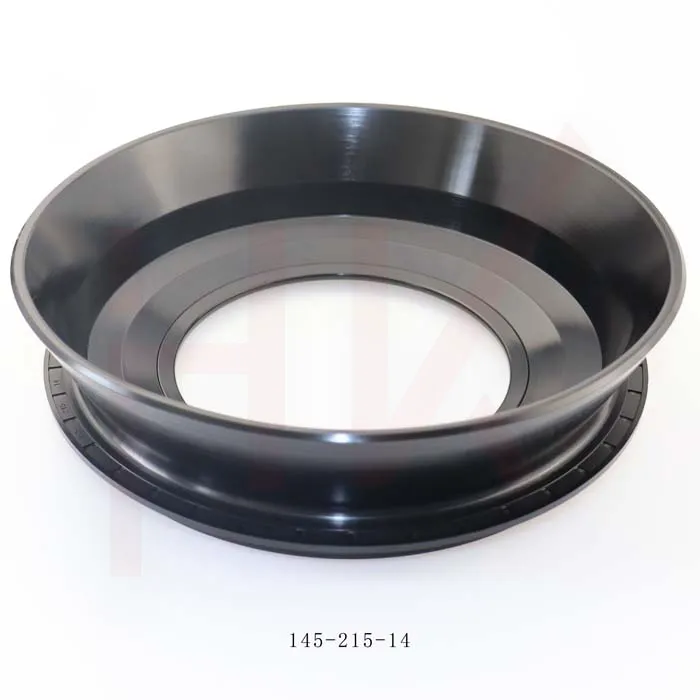
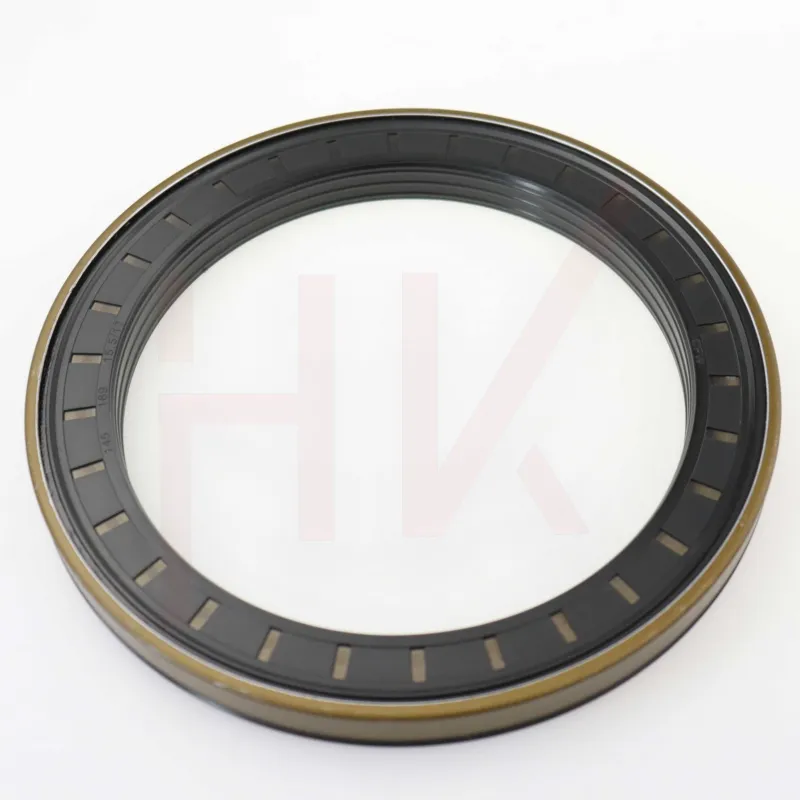
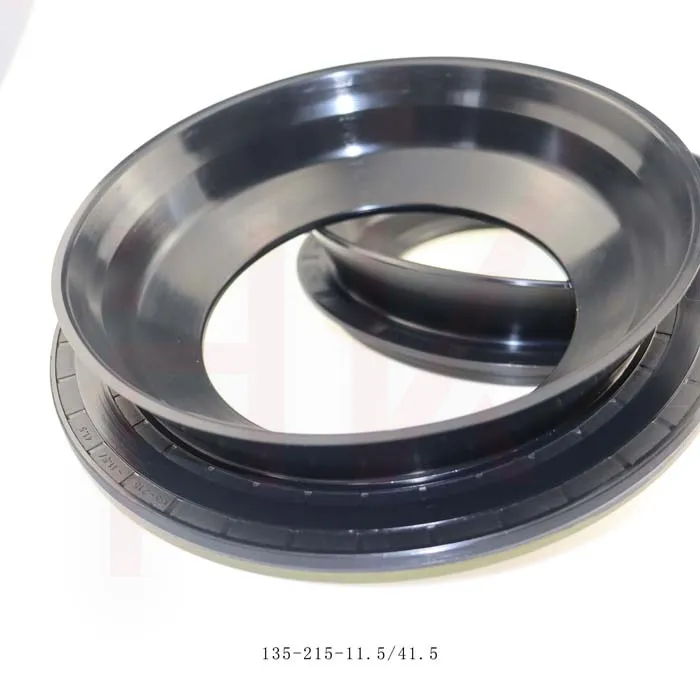
The wiper seal, often referred to as a dust seal, is located at the end of the hydraulic cylinder's rod. Its primary function is to prevent dirt, dust, and other contaminants from entering the cylinder, thereby protecting the internal seals and fluid from contamination. A damaged or worn wiper seal can lead to a decrease in performance, increased wear on internal components, and ultimately, system failure if left unaddressed.
Tools and Materials Needed
Before beginning the replacement process, gather the following tools and materials
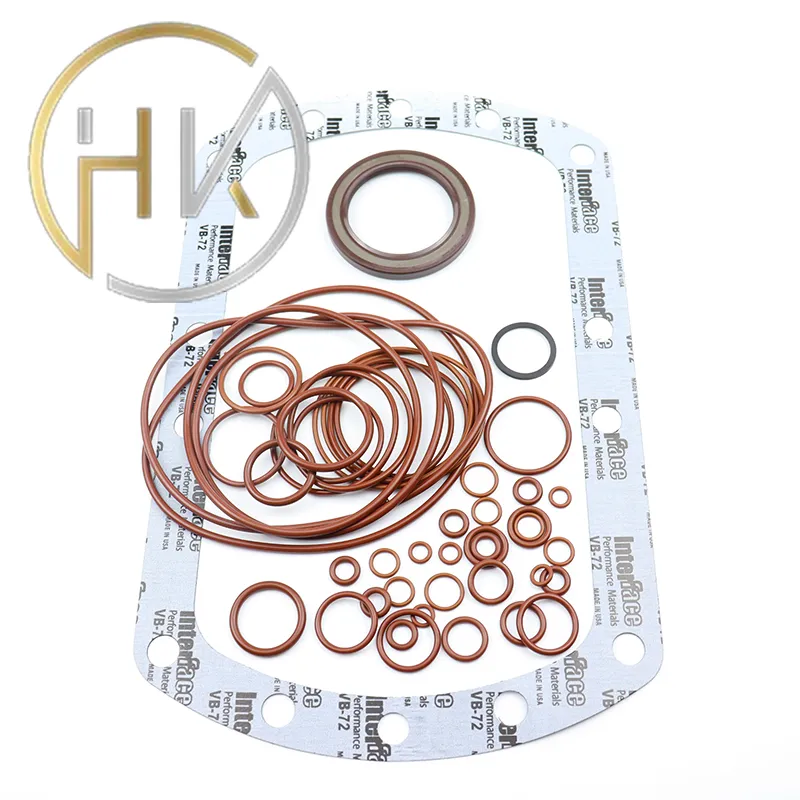
1. New wiper seal (ensure it is the correct size for your hydraulic cylinder) 2. Hydraulic seal kit (if necessary) 3. O-ring pick or seal removal tool 4. Soft cloth or rag 5. Grease or hydraulic oil 6. Torque wrench 7. Screwdriver 8. Safety goggles and gloves
Step-by-Step Replacement Process
Step 1 Safety First
Before starting any maintenance work on hydraulic systems, ensure that safety precautions are in place. Disconnect the hydraulic power source and relieve any pressure from the system. Use appropriate personal protective equipment, including safety goggles and gloves.
Step 2 Disassemble the Hydraulic Cylinder
Start by removing the hydraulic cylinder from the machine it is attached to. This usually involves unscrewing bolts or detaching hoses. Once detached, place the cylinder on a clean, flat surface to prevent any contamination during the repair process.
Step 3 Remove the Rod from the Cylinder
Next, extend the rod out of the cylinder to gain access to the wiper seal. This may involve loosening a retaining ring or similar mechanism that secures the rod. Carefully pull the rod out and place it in a safe location.
Step 4 Remove the Old Wiper Seal
replacing wiper seal on hydraulic cylinder
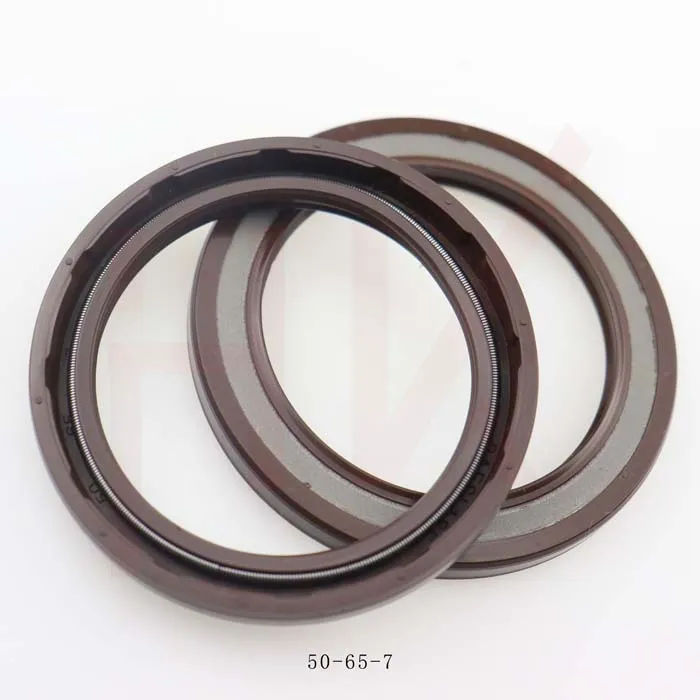
Using an O-ring pick or seal removal tool, carefully pry the old wiper seal out of its groove. Take care not to scratch or damage the sealing surfaces of the cylinder or rod. If the seal is stubborn, you may need to apply some force, but avoid using metal tools that could leave scratches.
Step 5 Clean the Sealing Surfaces
Once the old seal is removed, thoroughly clean the groove and the surrounding area. Use a soft cloth to wipe away any dirt, debris, or old hydraulic fluid. Inspect the surfaces for any damage that could affect the new seal’s performance.
Step 6 Prepare the New Wiper Seal
Before installing the new seal, lightly coat it with grease or hydraulic oil. This helps ease the installation process and can create a better seal when the cylinder is reassembled.
Step 7 Install the New Wiper Seal
Carefully place the new wiper seal into the groove. Ensure it sits evenly and is fully seated without twists or kinks. Proper installation is crucial to avoid future leaks.
Step 8 Reassemble the Hydraulic Cylinder
Now that the new seal is in place, reinsert the rod into the cylinder. Secure it using the retaining ring or other fasteners as per the manufacturer’s specifications.
Step 9 Reattach the Cylinder
With the cylinder fully assembled, reattach it to the machine. Ensure that all connections, including hydraulic hoses and electrical connections, are properly secured.
Step 10 Test the System
Finally, reconnect the hydraulic power and operate the machine at low pressure. Check for any leaks around the newly installed wiper seal and ensure that everything is functioning correctly.
Conclusion
Replacing the wiper seal on a hydraulic cylinder is a straightforward process that can save time and money while maintaining system integrity. Regular maintenance and attention to seals can significantly prolong the life of hydraulic systems, ensuring optimal performance in your equipment. By following these steps, you can effectively replace wiper seals and keep your machinery running smoothly.
-
The Trans-formative Journey of Wheel Hub Oil Seals
NewsJun.06,2025
-
Graphene-Enhanced Oil Seals: Revolutionizing High-Pressure Oil Sealing
NewsJun.06,2025
-
Future of Hydraulic Sealing: Advanced Intelligent TCN Oil Seals
NewsJun.06,2025
-
Don’t Let a Broken TCV Oil Seal Ruin Your Day
NewsJun.06,2025
-
Bio-Inspired Dust Seals for Better Sealing Performance
NewsJun.06,2025
-
Biodegradable and Sustainable Hydraulic Seal Materials
NewsJun.06,2025
-
Top Oil Seal Solutions for Your Industrial Needs
NewsMay.22,2025
Products categories

