Dec . 21, 2024 04:26 Back to list
Replacing Seals in Hydraulic Cylinders for Optimal Performance and Longevity
Replacing Seals on a Hydraulic Cylinder A Comprehensive Guide
Hydraulic cylinders are essential components in various machinery and equipment, utilized in construction, manufacturing, and transport industries. Over time, the seals on hydraulic cylinders can wear out, leading to leaks, loss of pressure, and decreased efficiency. Replacing seals promptly is crucial to maintaining the operational integrity of hydraulic systems. This guide will walk you through the process of replacing seals on a hydraulic cylinder, ensuring that you can tackle this task with confidence.
Understanding Hydraulic Cylinder Seals
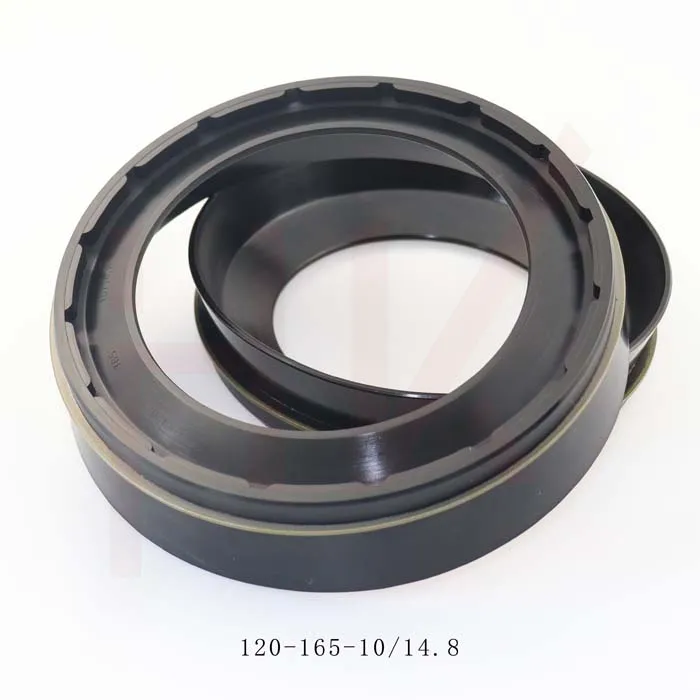
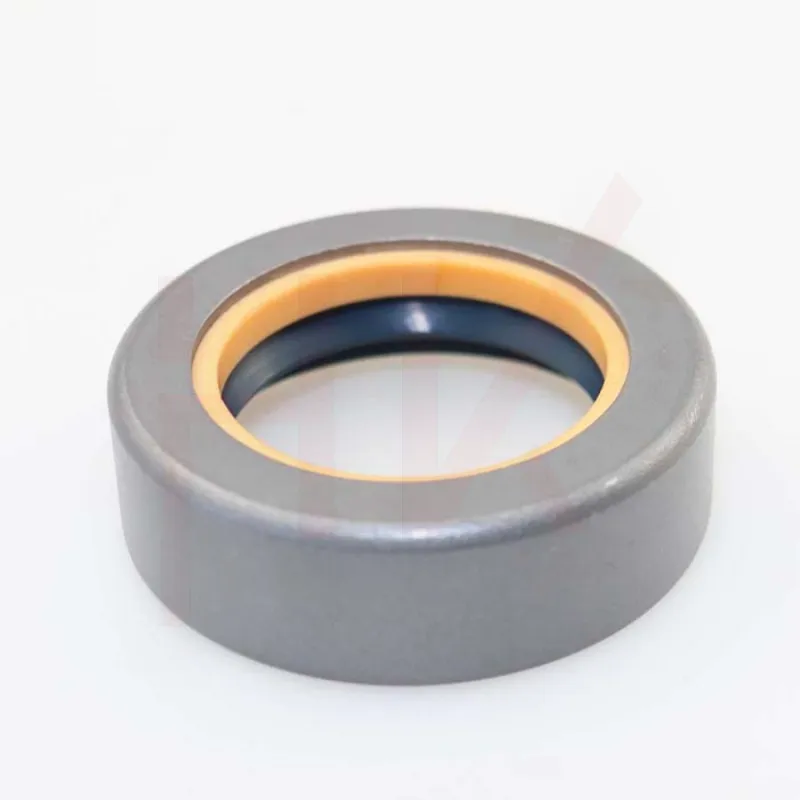
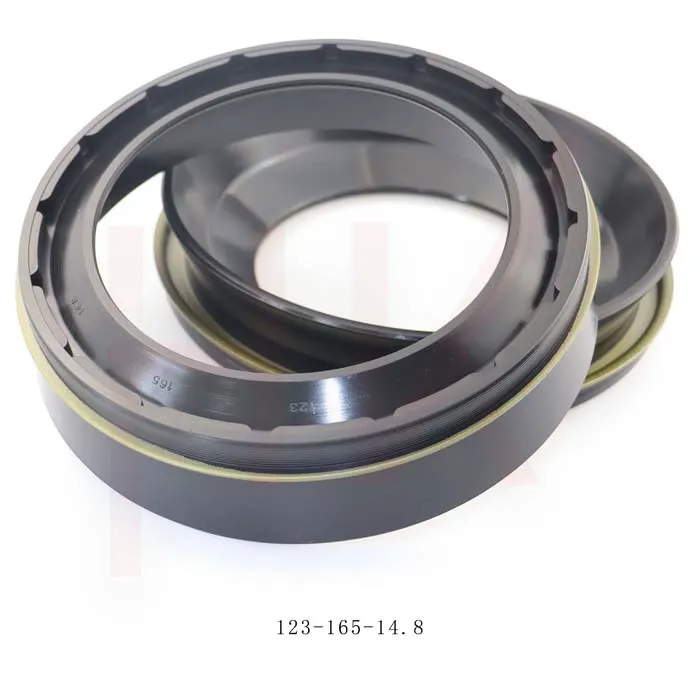
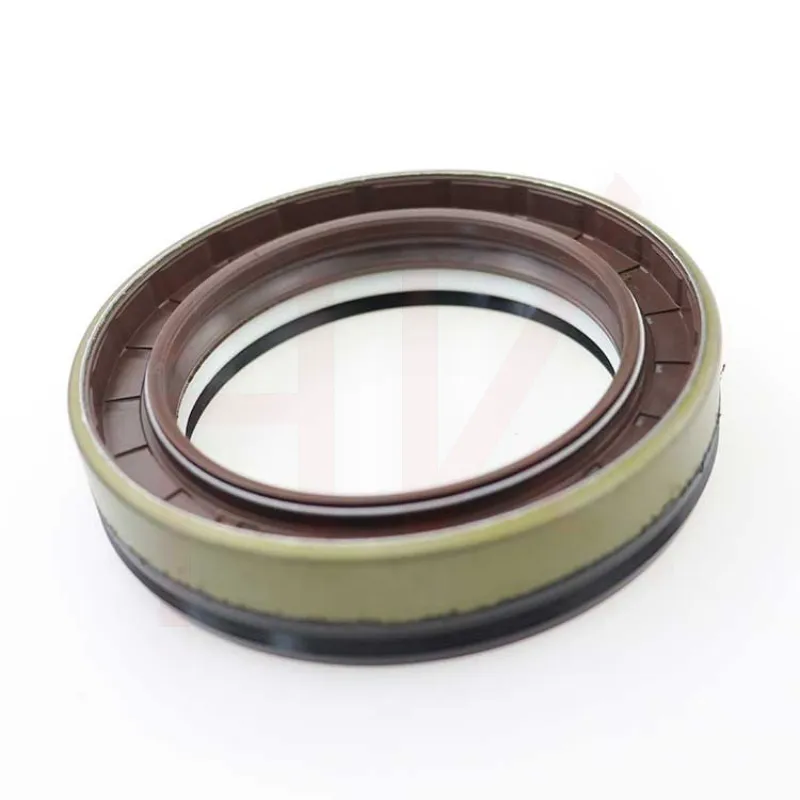
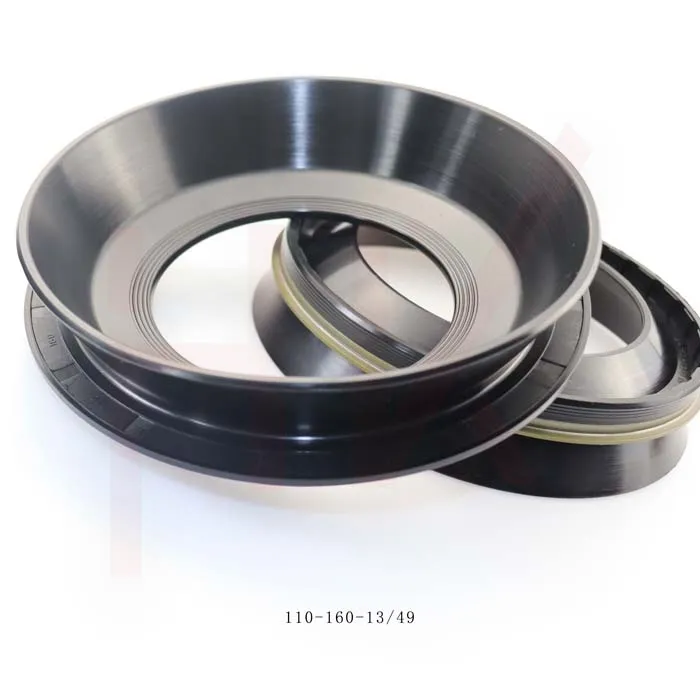
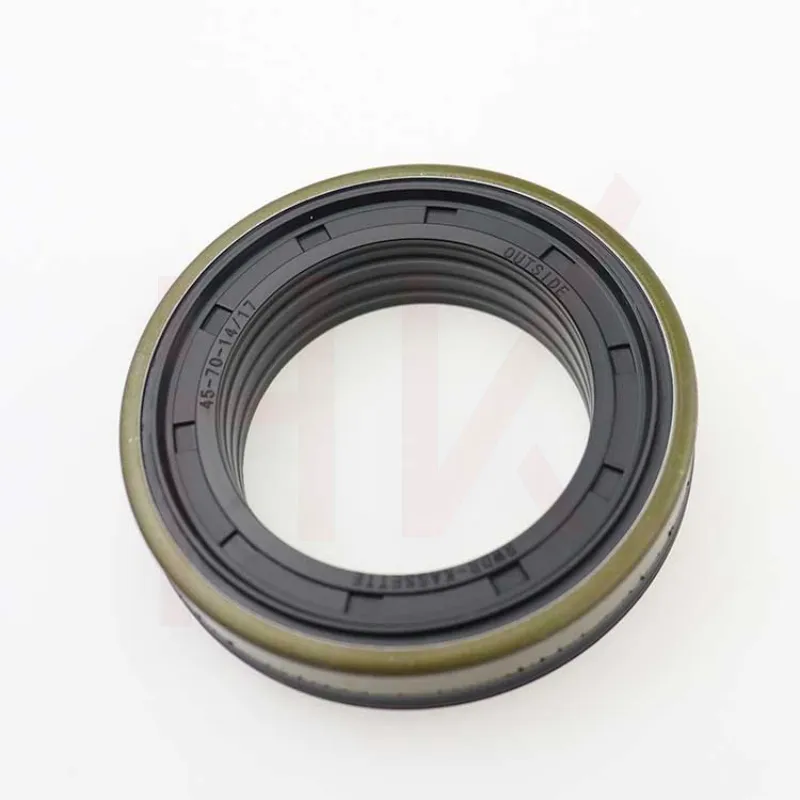
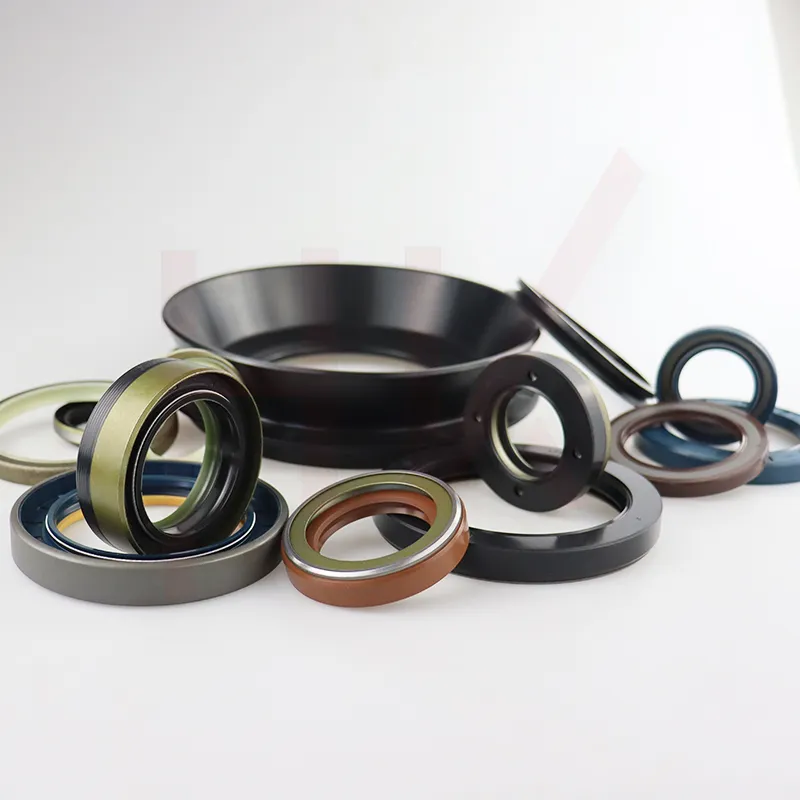
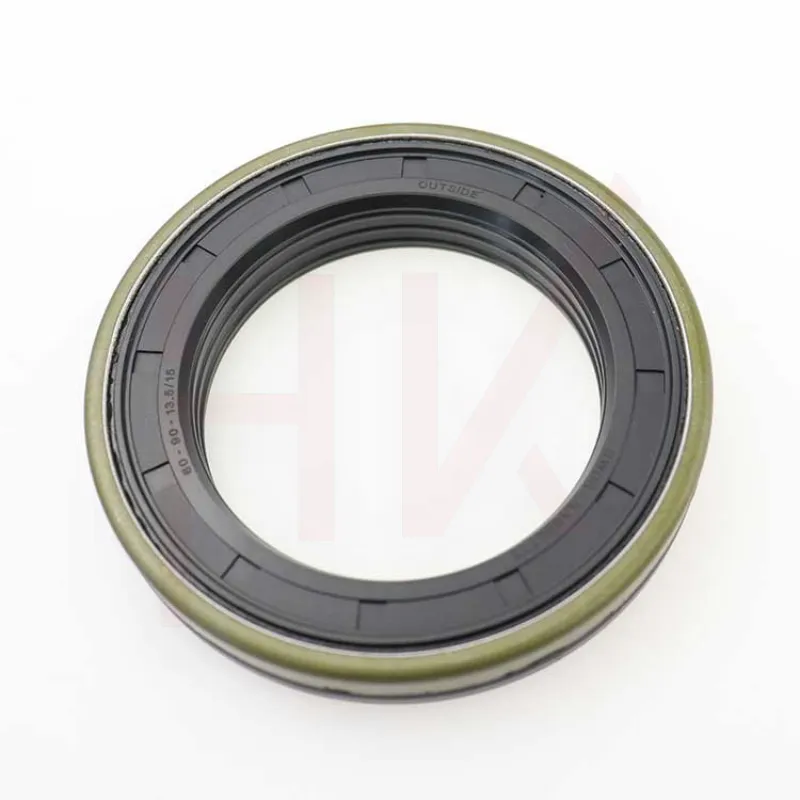
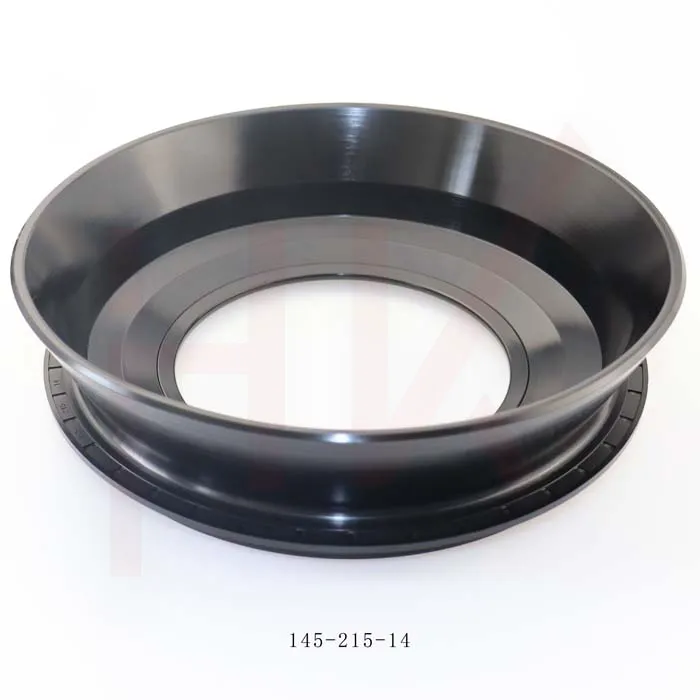
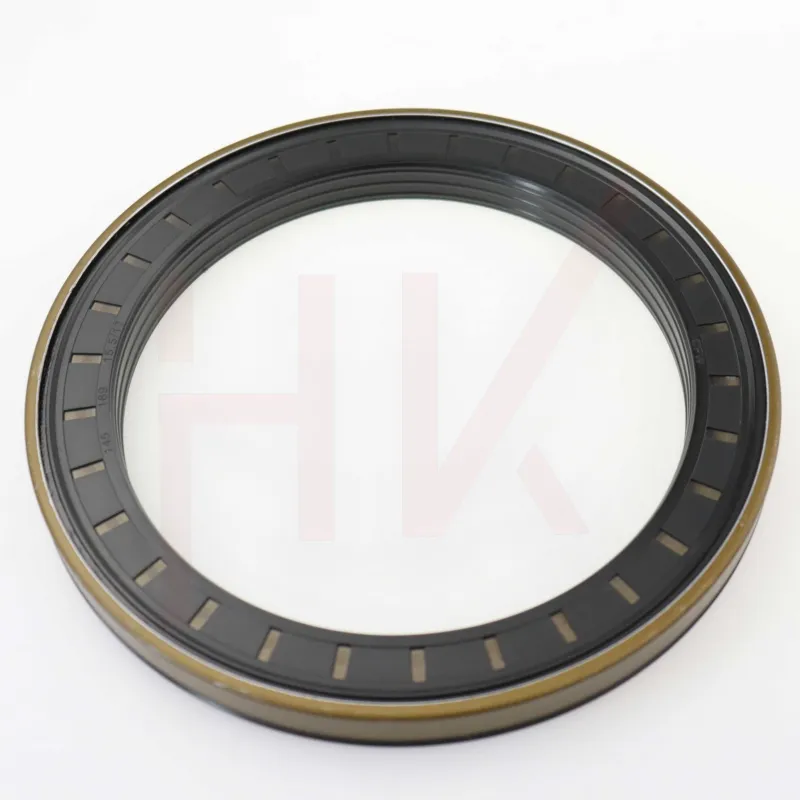
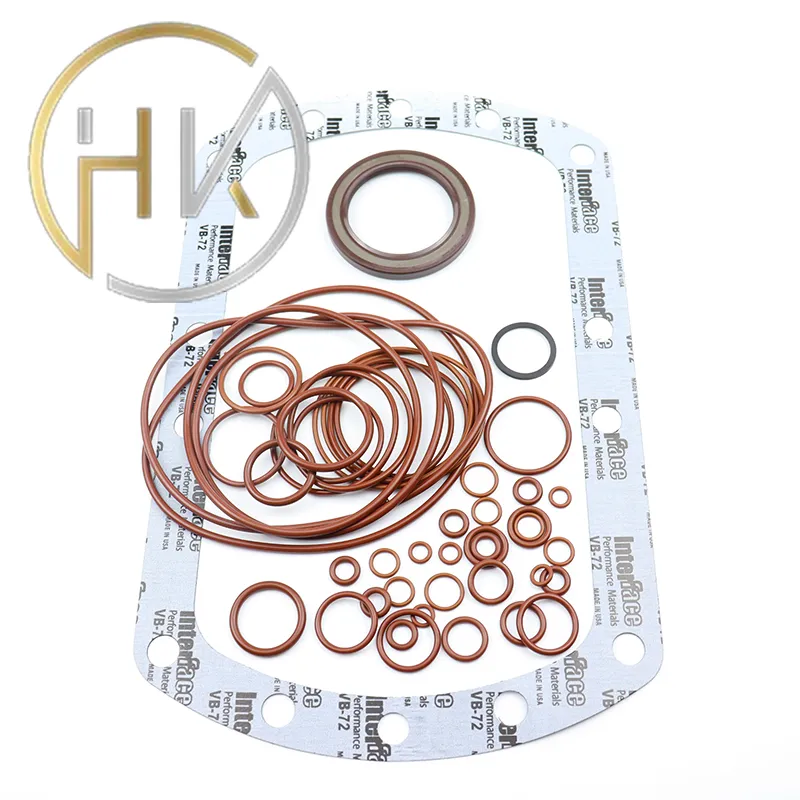
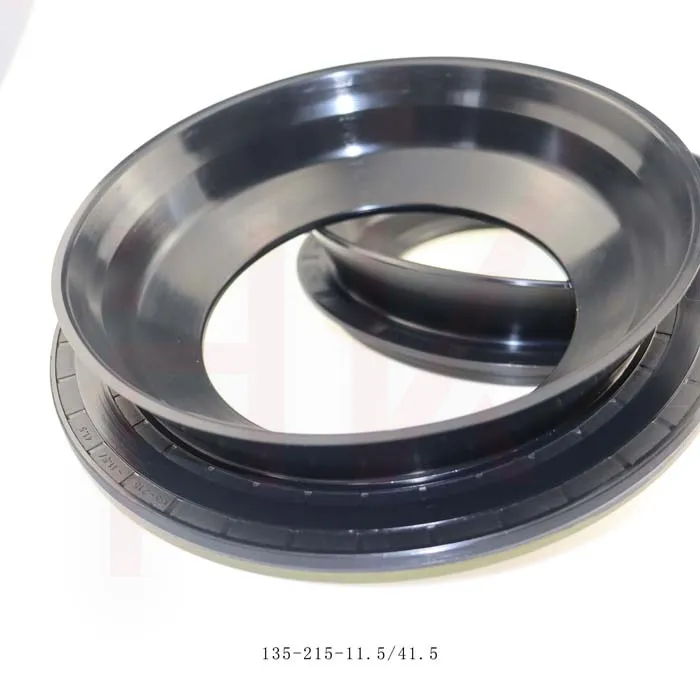
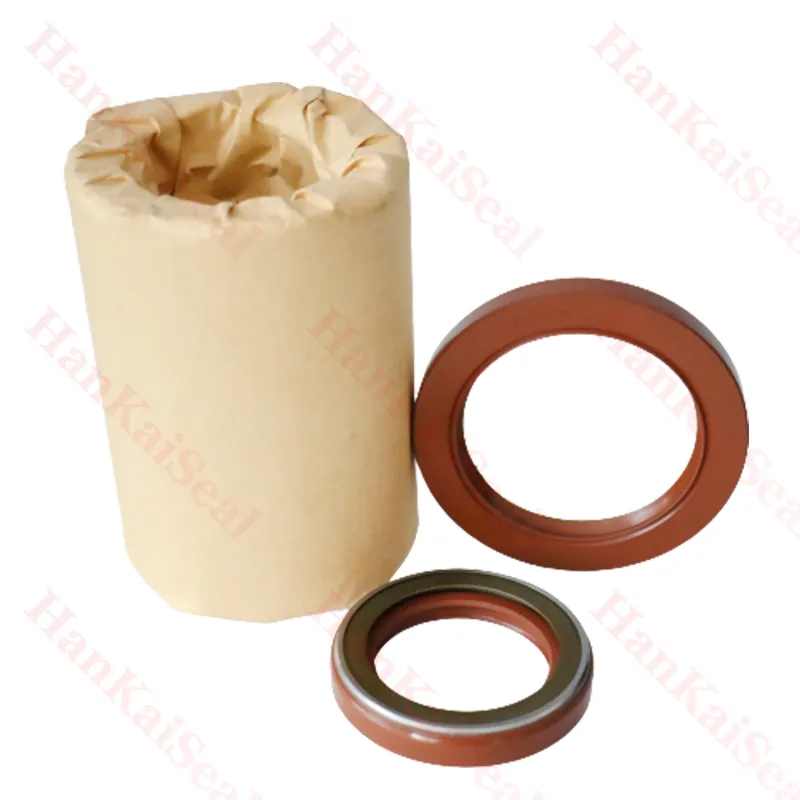
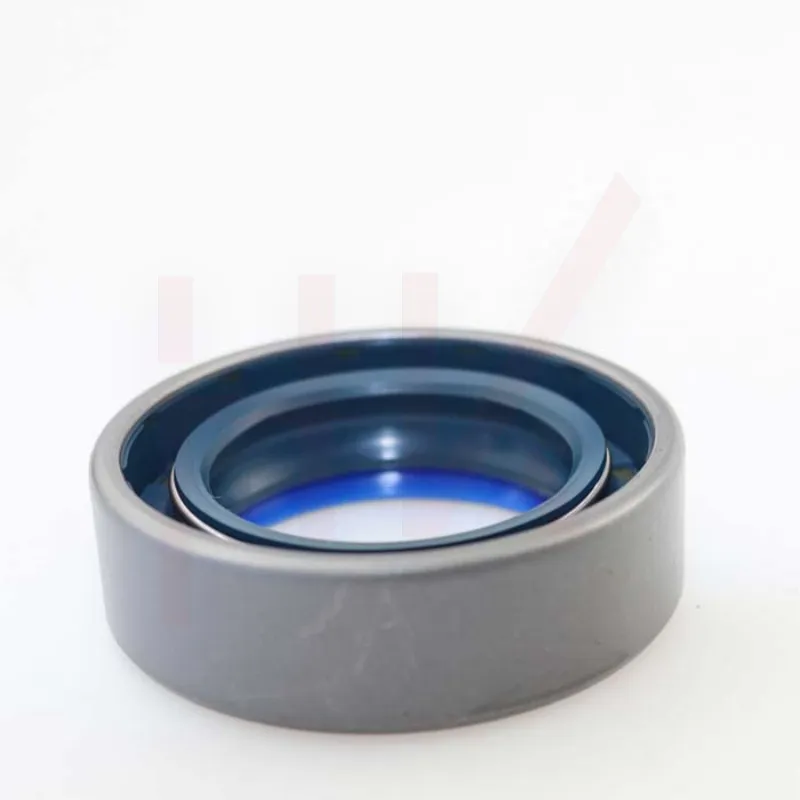
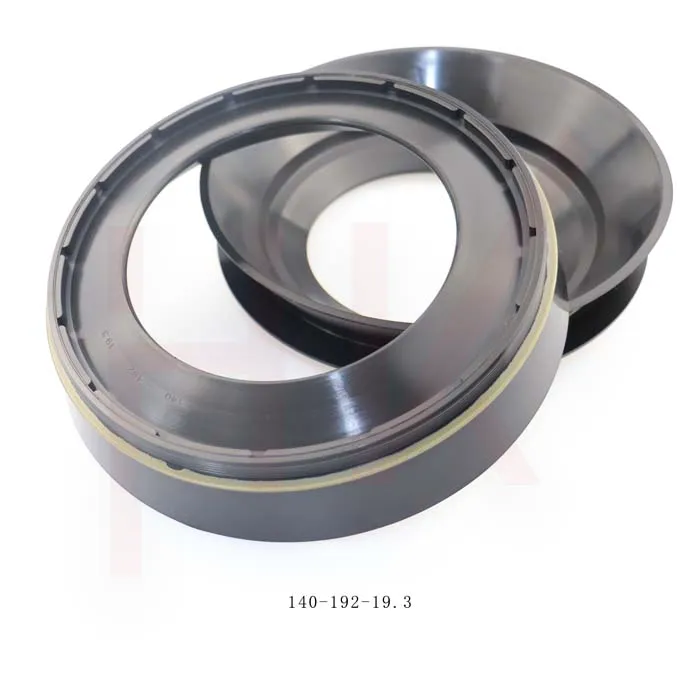
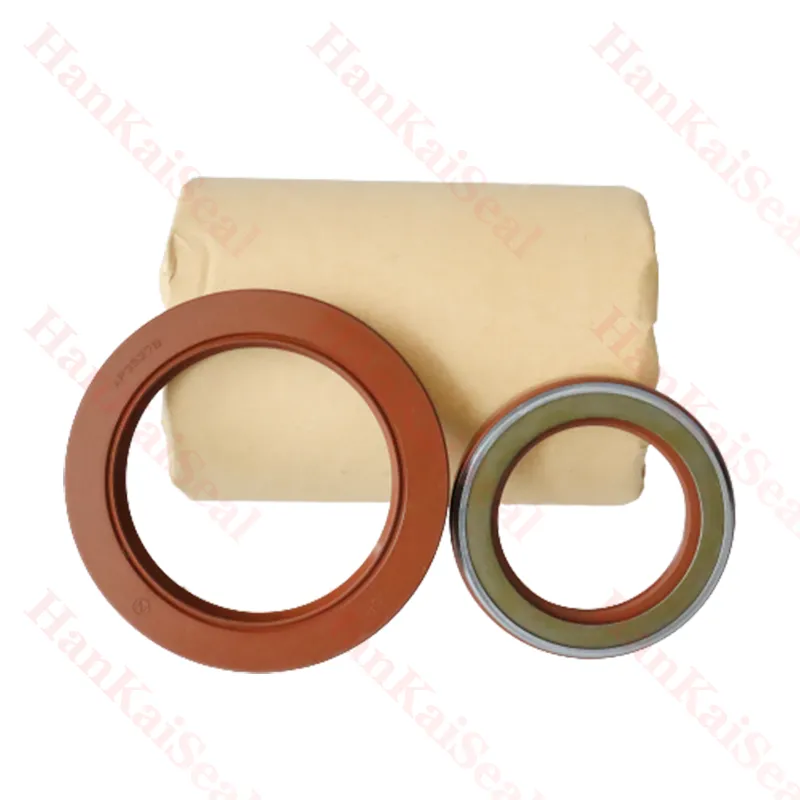
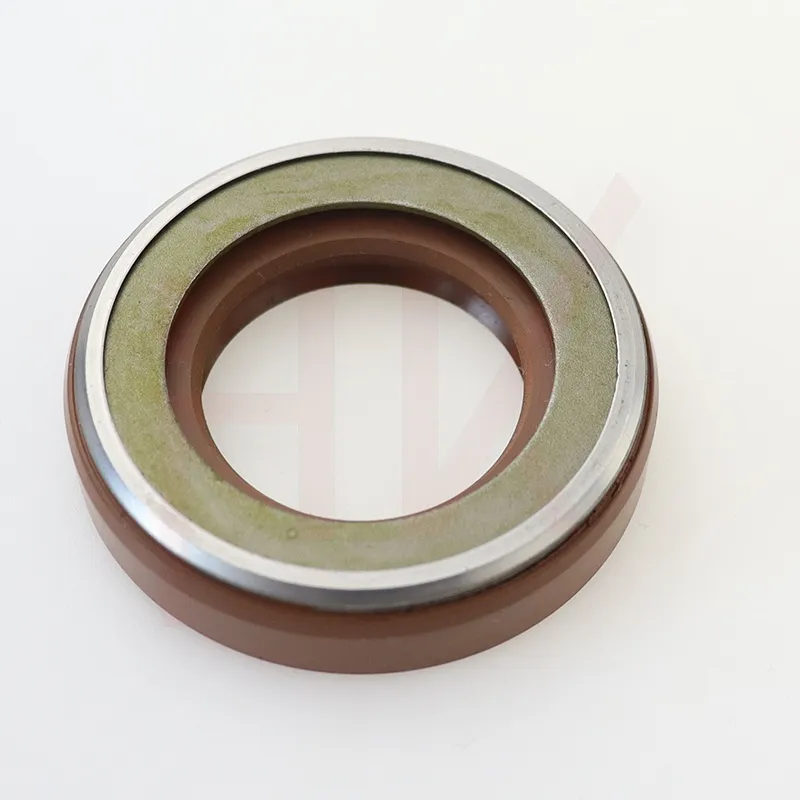
Seals in hydraulic cylinders serve to maintain pressure and prevent hydraulic fluid from leaking. They also prevent contaminants from entering the system, which can cause damage and reduce performance. The most common types of seals used in hydraulic cylinders include
1. Rod Seals Located at the cylinder head, these seals prevent the hydraulic fluid from leaking out as the rod moves in and out. 2. Piston Seals Found within the cylinder, these seals ensure that pressure is maintained as the piston moves, preventing fluid from bypassing the piston. 3. Buffers and Scraper Seals These seals protect the main seals from debris and other contaminants, prolonging their life.
Signs of Seal Failure
Before starting the seal replacement process, it’s essential to recognize the signs of seal failure. Common indicators include
- Visible Leaks Fluid accumulation around the cylinder can indicate a failing seal. - Decreased Performance A drop in pressure or slower operation can be a result of worn seals. - Excessive Noise Unusual sounds during operation may suggest that seals are damaged and allowing hydraulic fluid to escape.
Tools and Materials Needed
To successfully replace seals on a hydraulic cylinder, gather the following tools and materials
- Replacement seals (specific to your cylinder model) - Seal installation tools (seal drivers or a homemade installation tool) - Wrenches and sockets - Screwdrivers - Cleaning supplies (rags, degreasers) - Safety gear (goggles, gloves)
Step-by-step Guide to Replacing Hydraulic Cylinder Seals
Step 1 Preparation
Before you begin, ensure that the hydraulic system is turned off and depressurized. Safety is paramount—always wear appropriate safety gear. Disconnect the cylinder from any connecting hoses and remove it from the equipment if necessary for easier access.
replacing seals on a hydraulic cylinder
Step 2 Disassembly
Carefully disassemble the hydraulic cylinder. This typically involves removing the end caps or gland nut, which secures the seals in place. Be cautious while removing these components to avoid damaging the cylinder.
Step 3 Remove Old Seals
Once you have access to the seals, gently pry them out using a screwdriver or seal puller. Be sure to remove any remnants of old seals, as even small pieces can interfere with the operation of new seals.
Step 4 Clean the Cylinder
Thoroughly clean the cylinder’s interior and all components that will contact the new seals. Remove any dirt, old lubricant, or contaminants. A clean surface guarantees a proper fit and function for the new seals.
Step 5 Install New Seals
Using lubrication compatible with your hydraulic fluid, coat the new seals lightly. Place the rod seals into the appropriate grooves first. Then, insert the piston seals into their respective positions within the cylinder. Utilizing a seal driver can ensure that seals are seated properly without damage.
Step 6 Reassembly
Once the new seals are in place, reassemble the hydraulic cylinder carefully. Replace the end caps or gland nut, making sure not to overtighten, which can cause additional damage.
Step 7 Testing
After reassembly, reconnect the cylinder to the hydraulic system and test it under pressure. Check for leaks and monitor performance to ensure everything operates smoothly.
Conclusion
Replacing seals on a hydraulic cylinder can be a straightforward task if approached methodically. By understanding the components involved and following the necessary steps, you can effectively maintain and enhance the lifespan of your hydraulic systems. Regular inspections and timely seal replacements help ensure reliable performance and prevent costly repairs down the line. Always refer to the specific maintenance guidelines provided by the manufacturer to ensure the best outcomes.
-
TCN Oil Seal Metal Ring Reinforcement for Heavy Machinery
NewsJul.25,2025
-
Rotary Lip Seal Spring-Loaded Design for High-Speed Applications
NewsJul.25,2025
-
Hydraulic Cylinder Seals Polyurethane Material for High-Impact Jobs
NewsJul.25,2025
-
High Pressure Oil Seal Polyurethane Coating Wear Resistance
NewsJul.25,2025
-
Dust Proof Seal Double Lip Design for Construction Equipment
NewsJul.25,2025
-
Hub Seal Polyurethane Wear Resistance in Agricultural Vehicles
NewsJul.25,2025
-
The Trans-formative Journey of Wheel Hub Oil Seals
NewsJun.06,2025
Products categories

