Sep . 10, 2024 07:51 Back to list
Replacing Seals in a Hydraulic Cylinder | Step-by-Step Guide
Replacing Seals in a Hydraulic Cylinder A Step-by-Step Guide
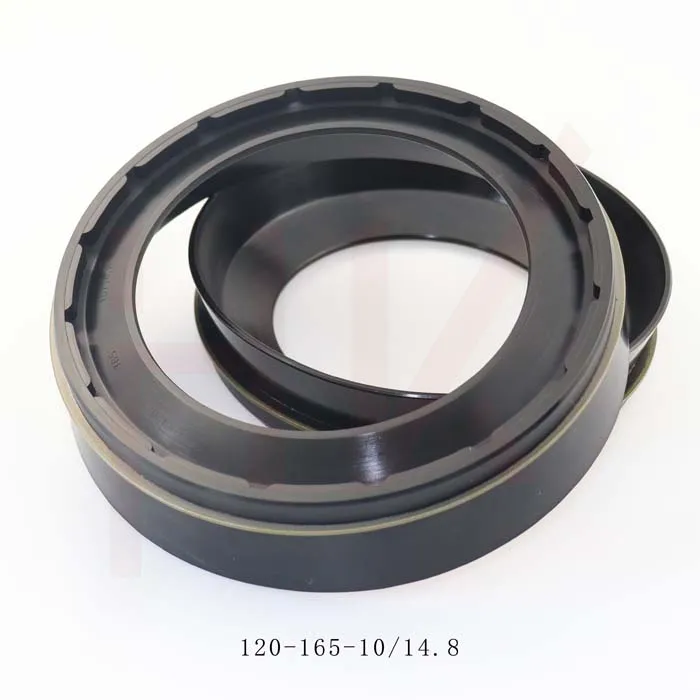
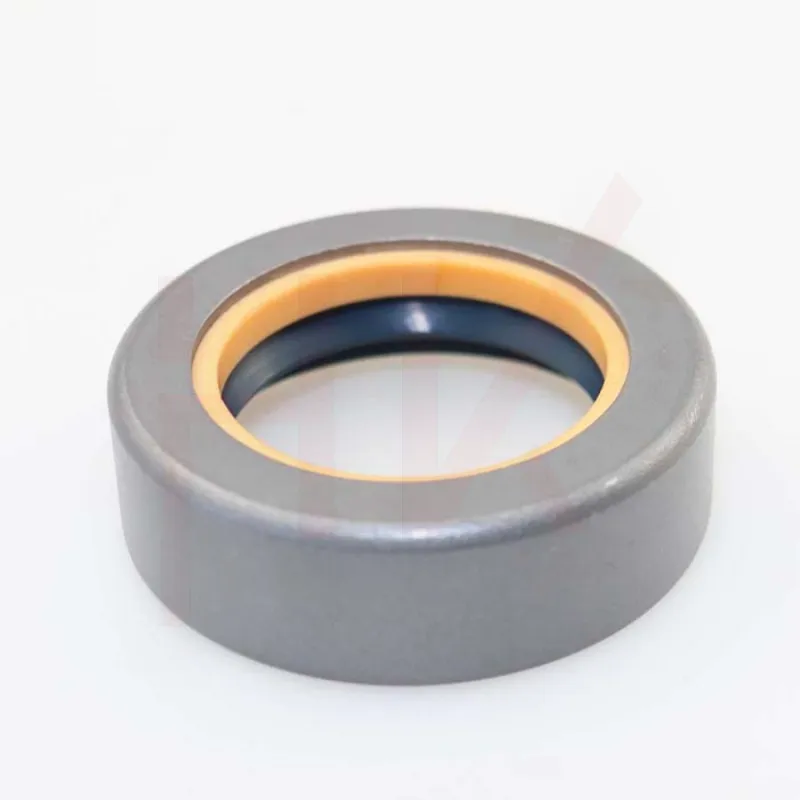
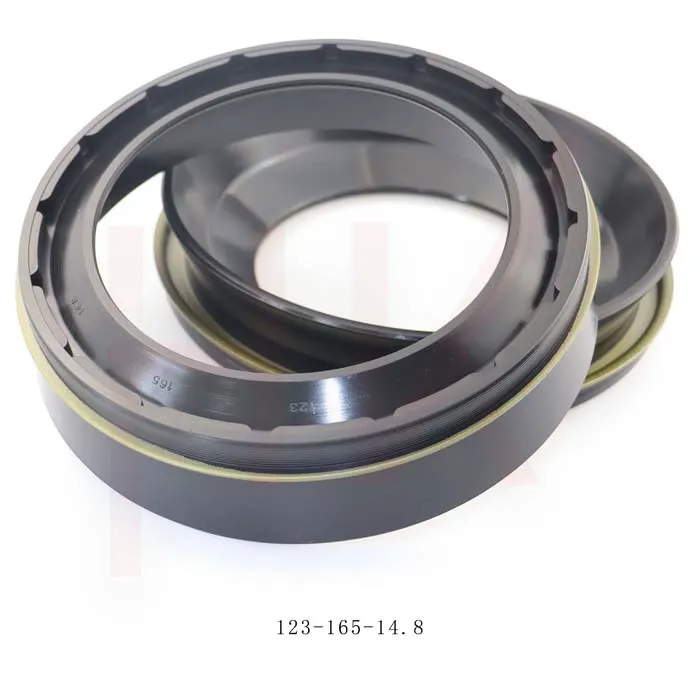
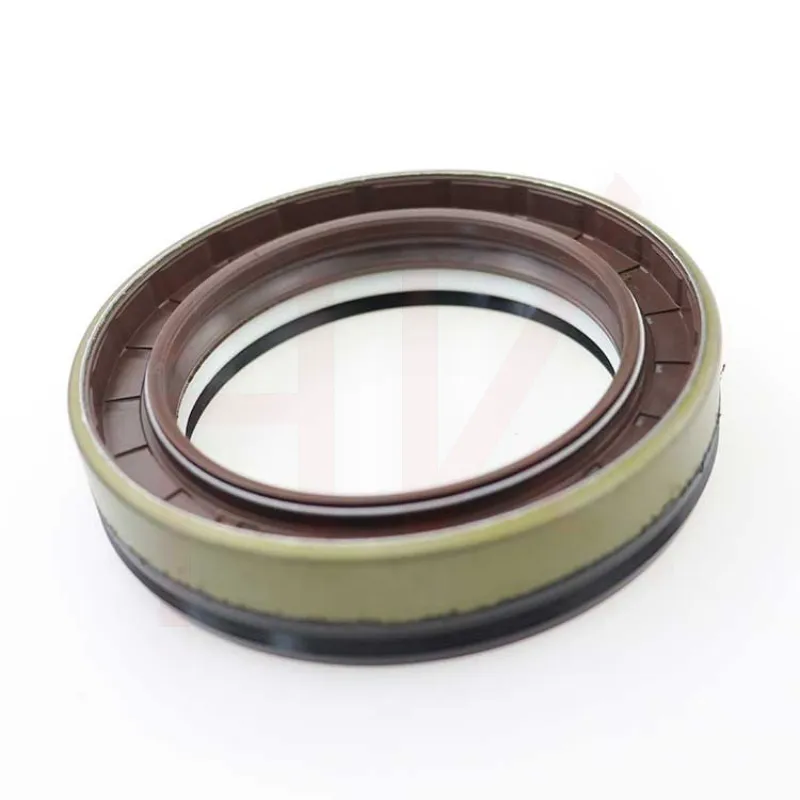
Hydraulic cylinders are essential components in various machinery, providing the necessary force to perform heavy lifting and movement. Over time, seals within these cylinders can wear out, leading to leaks and reduced efficiency. Replacing seals in a hydraulic cylinder is a crucial maintenance task that can restore functionality and prolong the life of the equipment. This article offers a step-by-step guide on how to properly replace seals in a hydraulic cylinder.
Step 1 Preparation
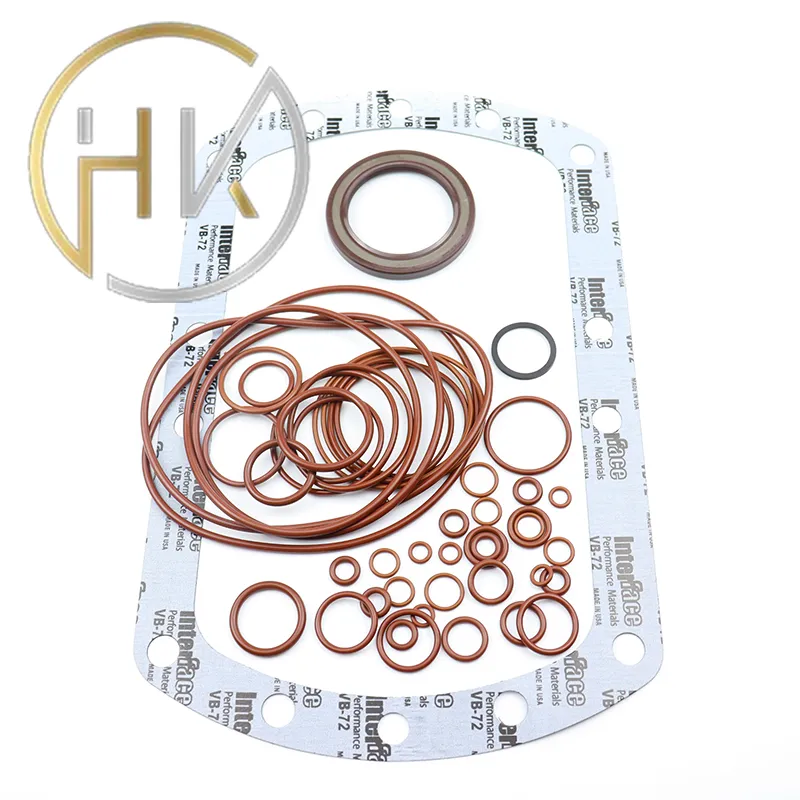
Before beginning the replacement process, ensure you have the necessary tools and materials. You will need a seal replacement kit specifically designed for your hydraulic cylinder model, a set of wrenches, a puller or seal removal tool, a cleaning cloth, hydraulic oil, and safety gear including gloves and goggles. It is essential to familiarize yourself with the hydraulic circuit and the specific cylinder you are working on.
Step 2 Safety First
Before starting any repair work, ensure that the hydraulic system is depressurized. This can be done by disconnecting the hydraulic lines. Make sure to place the machine in a safe position to prevent any accidental movements. Always adhere to safety protocols, as hydraulic systems can be dangerous.
Step 3 Disassemble the Cylinder
Once the system is depressurized, remove the hydraulic lines from the cylinder. Use a wrench to unscrew the end caps and carefully separate the cylinder casing from the rod. Take note of the arrangement of seals and components, as this will aid in the reassembly process. Make sure to inspect the cylinder for any signs of damage or wear that may require additional repair.
Step 4 Remove Old Seals
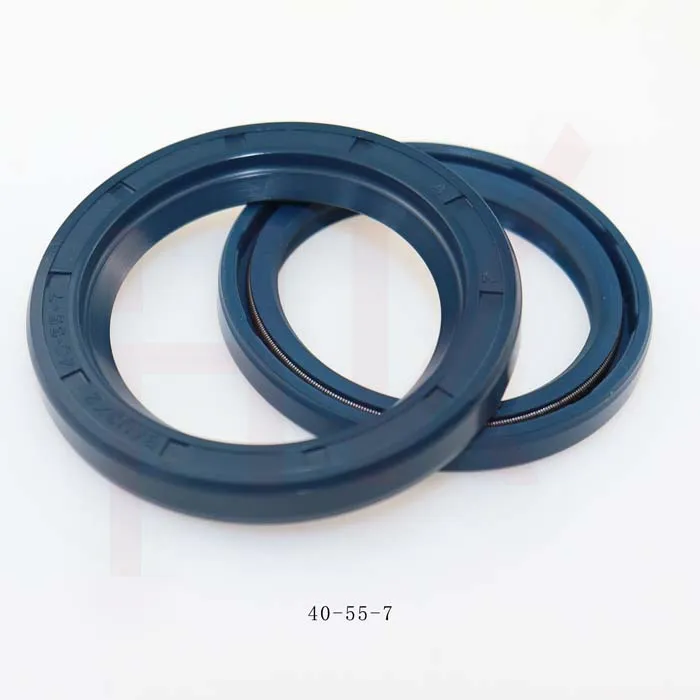
With the cylinder disassembled, you can now remove the old seals. Using a seal removal tool, carefully pry the seals out of their grooves. Be cautious not to scratch or damage the cylinder surfaces during this process, as any imperfections can lead to further issues once new seals are installed.
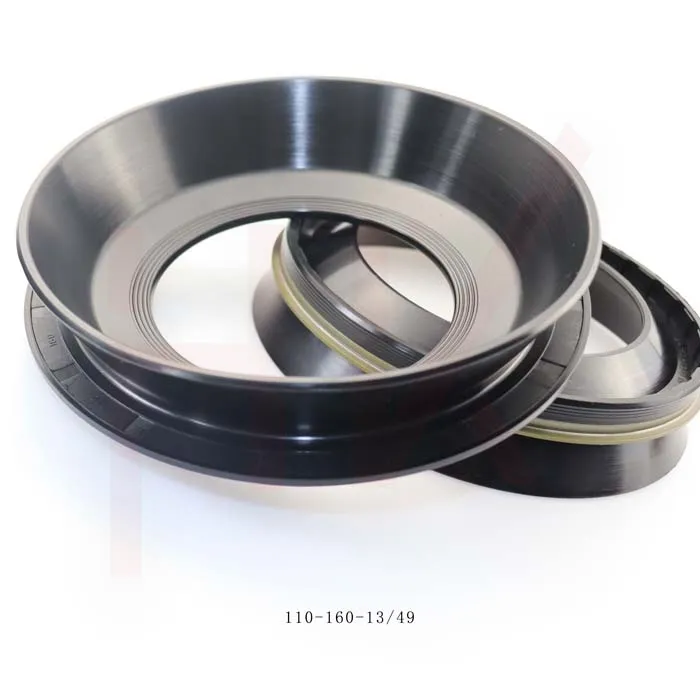
replacing seals in a hydraulic cylinder
Step 5 Clean the Cylinder
Thoroughly clean the cylinder surfaces and the grooves where the seals were located. Use a cleaning cloth and a suitable solvent to remove any debris, old seal material, and hydraulic fluid. A clean surface will ensure that new seals fit properly and function effectively.
Step 6 Install New Seals
After cleaning, locate your new seals and verify they match the specifications of the old ones. Carefully place the new seals into the designated grooves, ensuring they seat evenly. It is crucial to avoid twisting or pinching the seals during installation.
Step 7 Reassemble the Cylinder
Once the seals are in place, reassemble the cylinder by fitting the rod back into the casing. Secure the end caps tightly and reconnect the hydraulic lines, ensuring all connections are leak-free.
Step 8 Test the System
After reassembly, it is vital to test the hydraulic system. Slowly pressurize the system and check for any leaks around the newly installed seals. Monitor the performance of the hydraulic cylinder to ensure it operates smoothly.
Conclusion
Replacing seals in a hydraulic cylinder is a straightforward process that can enhance the efficiency and longevity of your machinery. By following these steps and prioritizing safety, you can effectively manage hydraulic maintenance and avoid costly repairs in the future. Regular inspections and seal replacements are key to maintaining optimal performance in hydraulic systems.
-
Wiper Oil Seal: Our Commitment to Clean Hydraulics
NewsAug.13,2025
-
Hydraulic Oil Seal for Self Discharging Cars
NewsAug.13,2025
-
Hub Oil Seal for Agricultural Tractor Hubs
NewsAug.13,2025
-
Skeleton Oil Seal with NBR Material
NewsAug.13,2025
-
Rotary Lip Seal for High Pressure Applications
NewsAug.13,2025
-
Cylinder Seal Kits Our Legacy of Hydraulic Trust
NewsAug.13,2025
-
Unlocking the Potential of Hydraulic Systems with Essential Sealing Solutions
NewsAug.06,2025
Products categories

