Sep . 10, 2024 16:32 Back to list
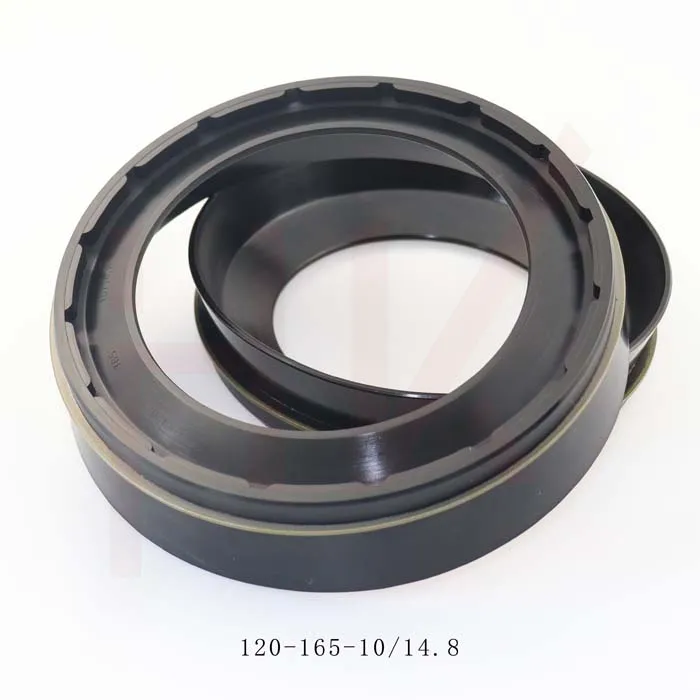
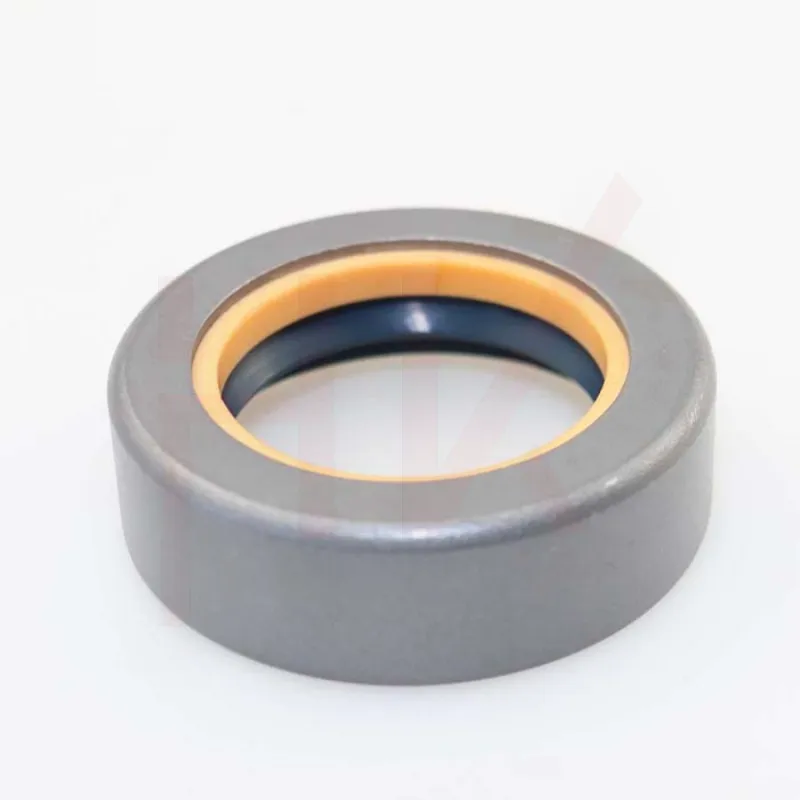
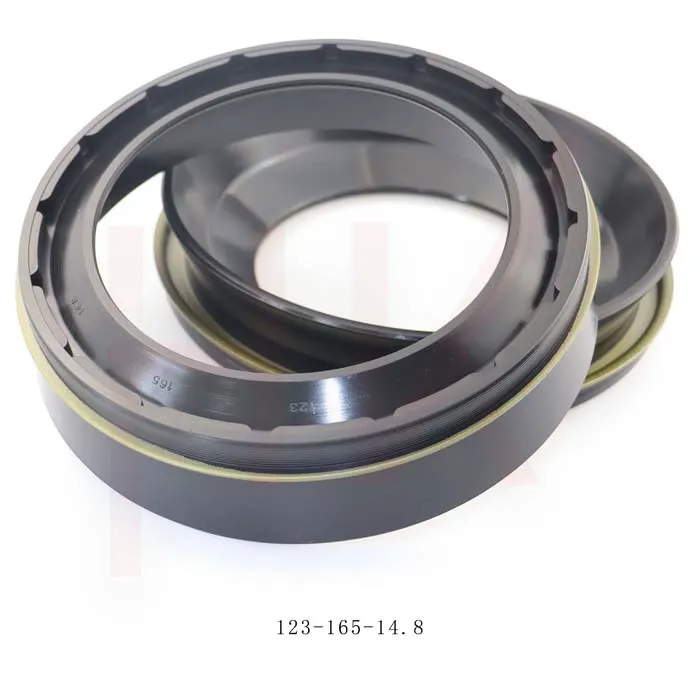
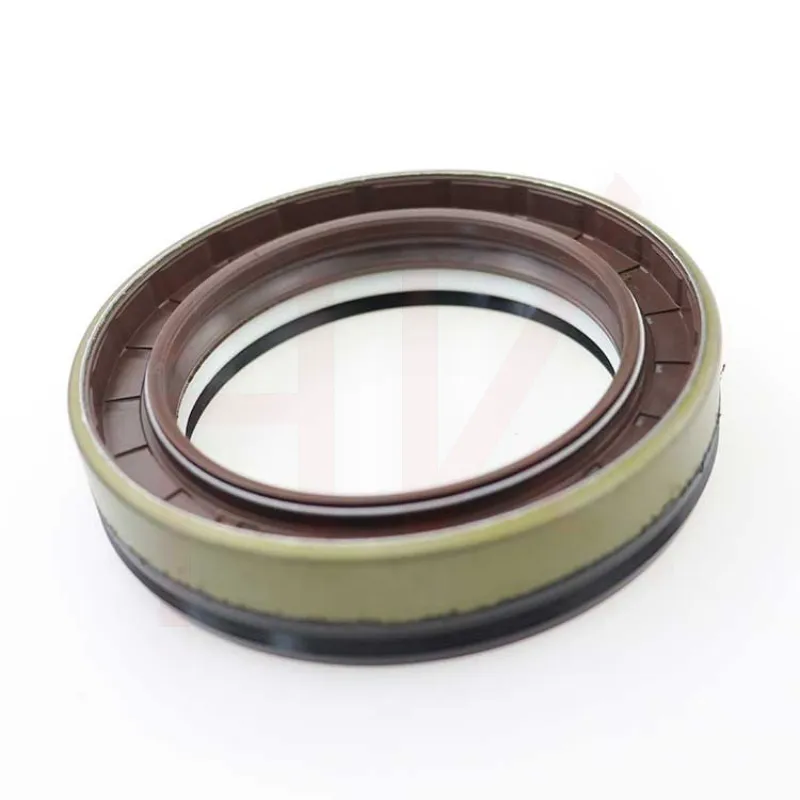
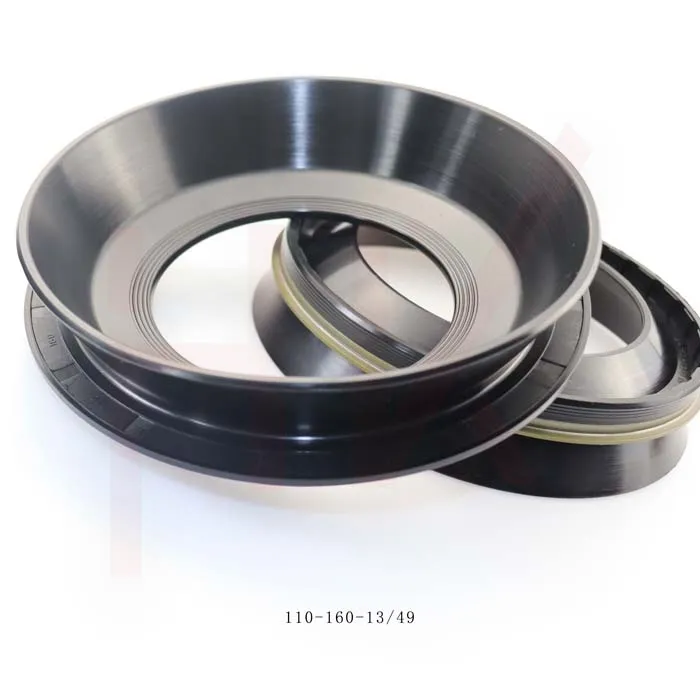
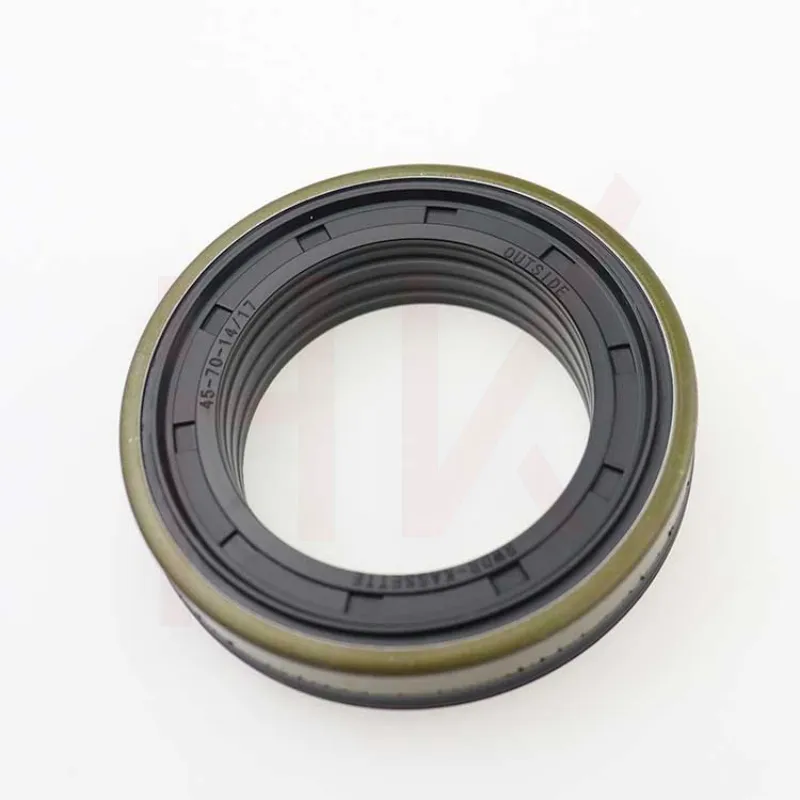
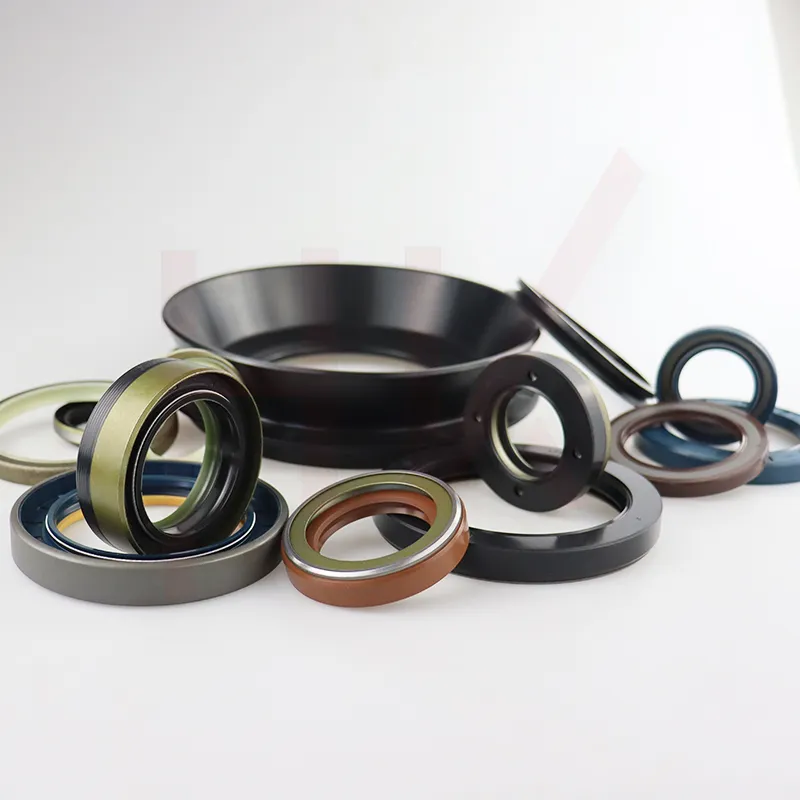
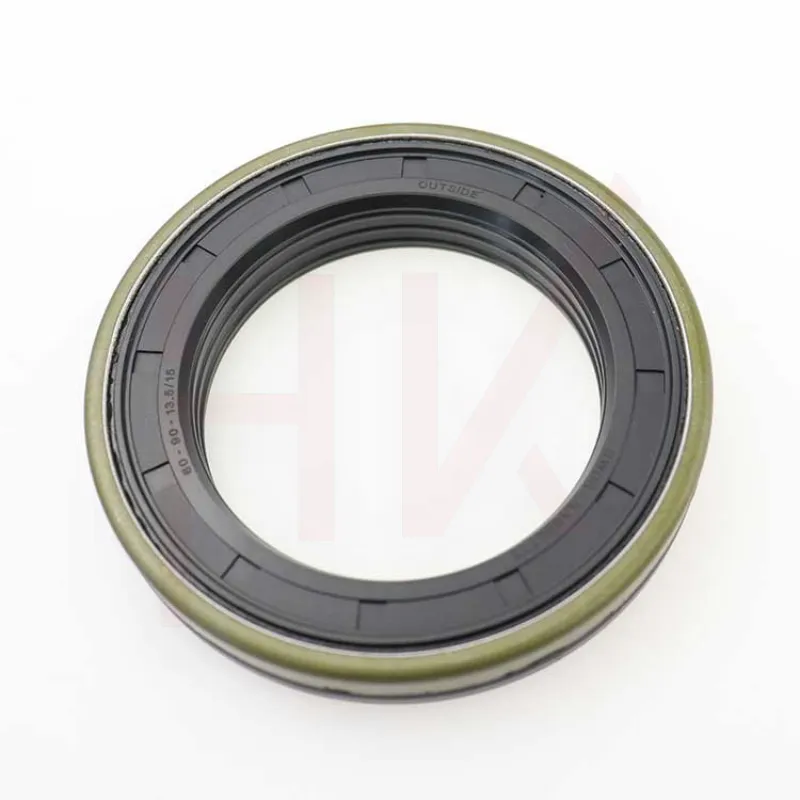
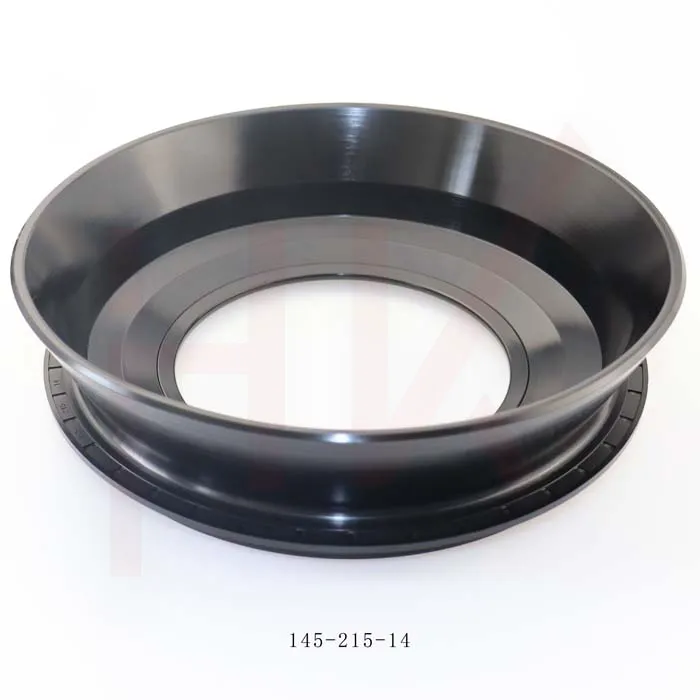
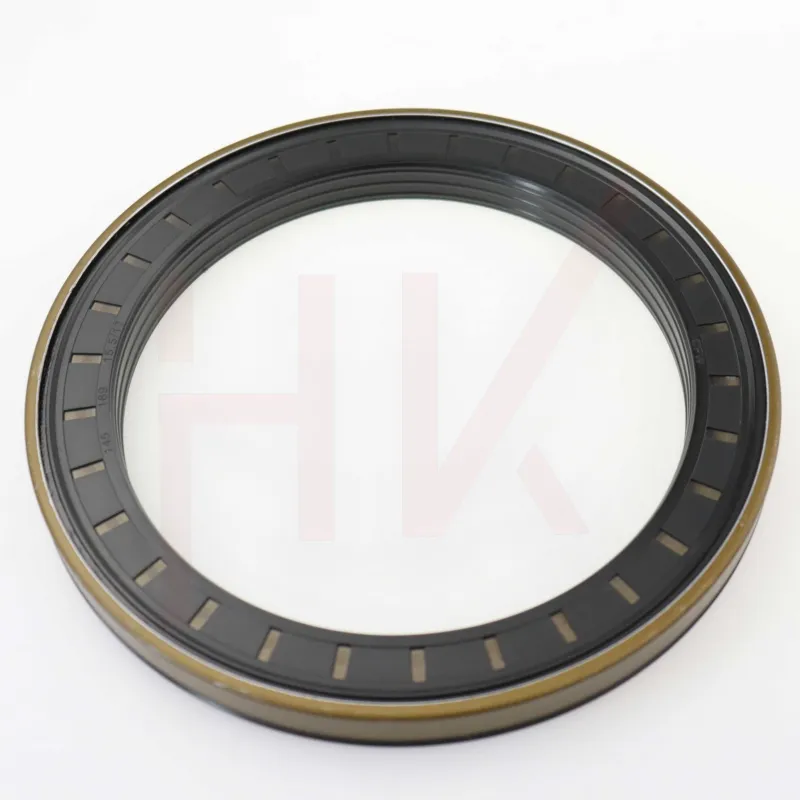
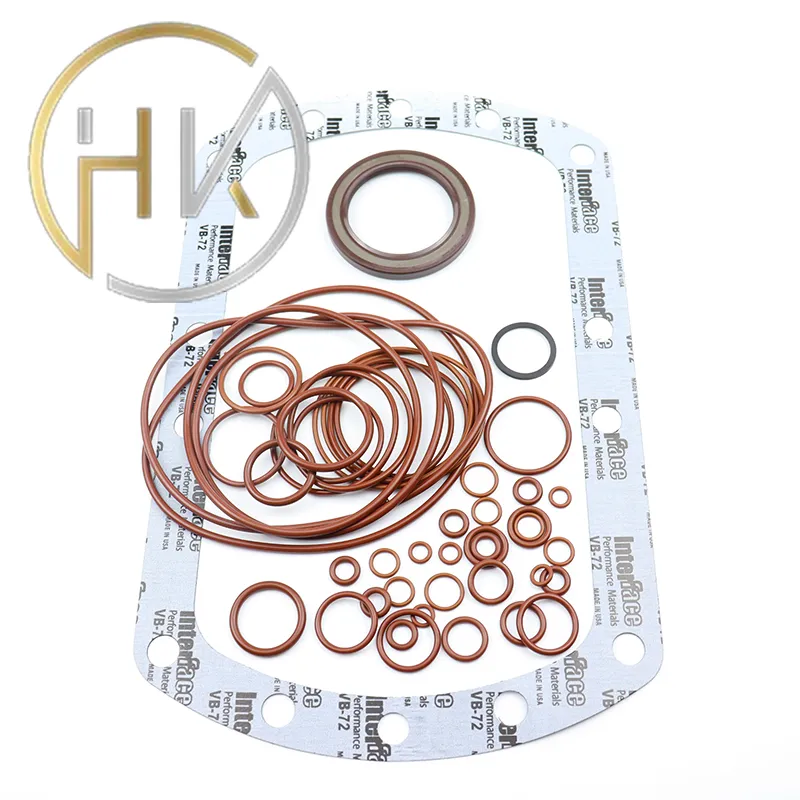
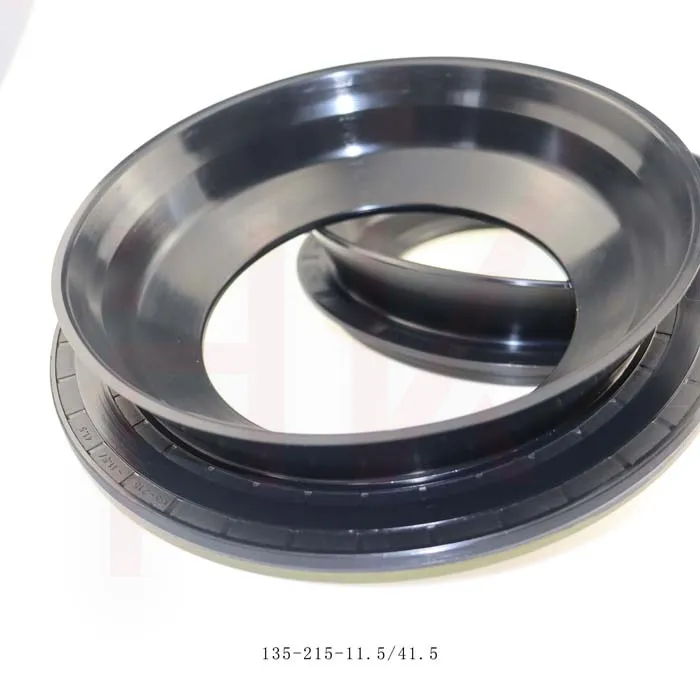
pump seal kit replacement
Pump Seal Kit Replacement A Step-by-Step Guide
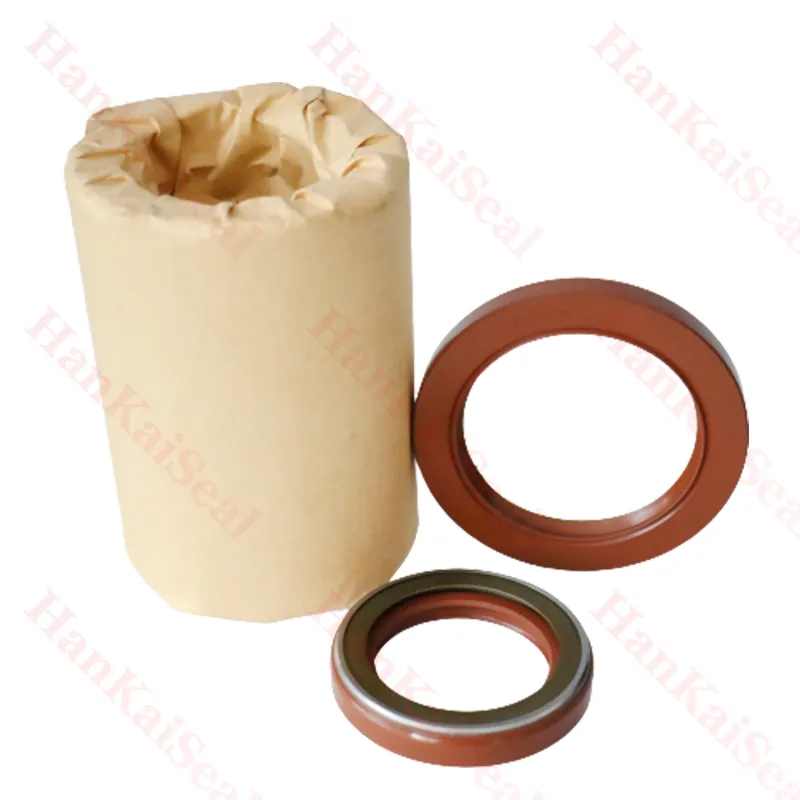
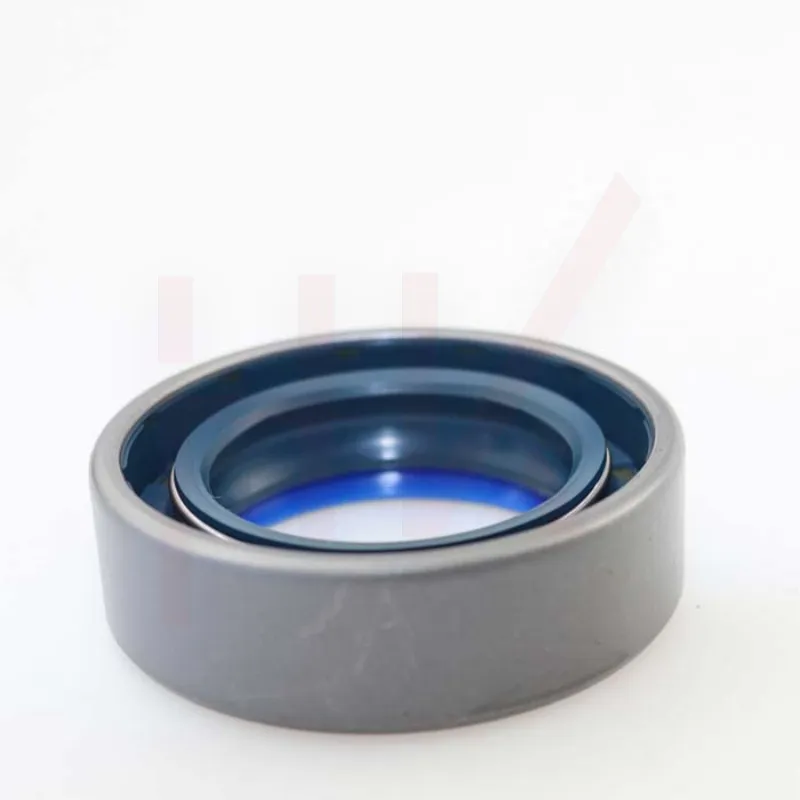
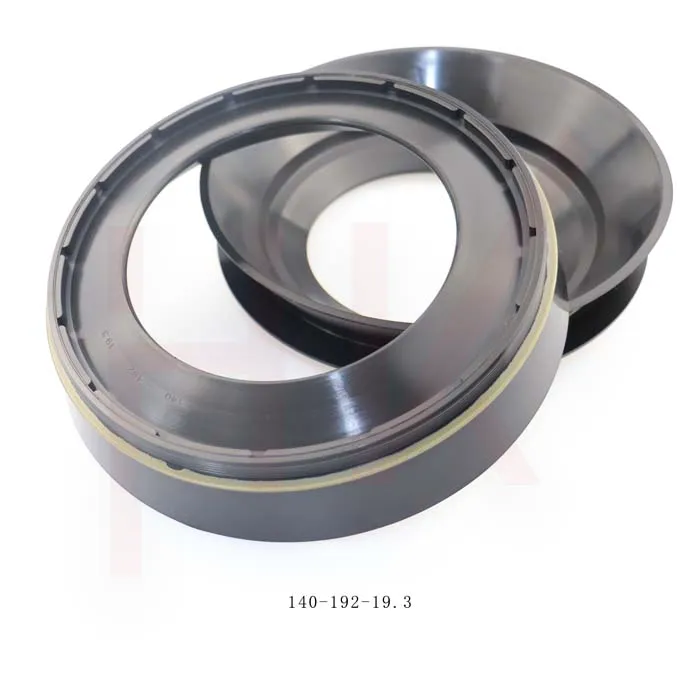
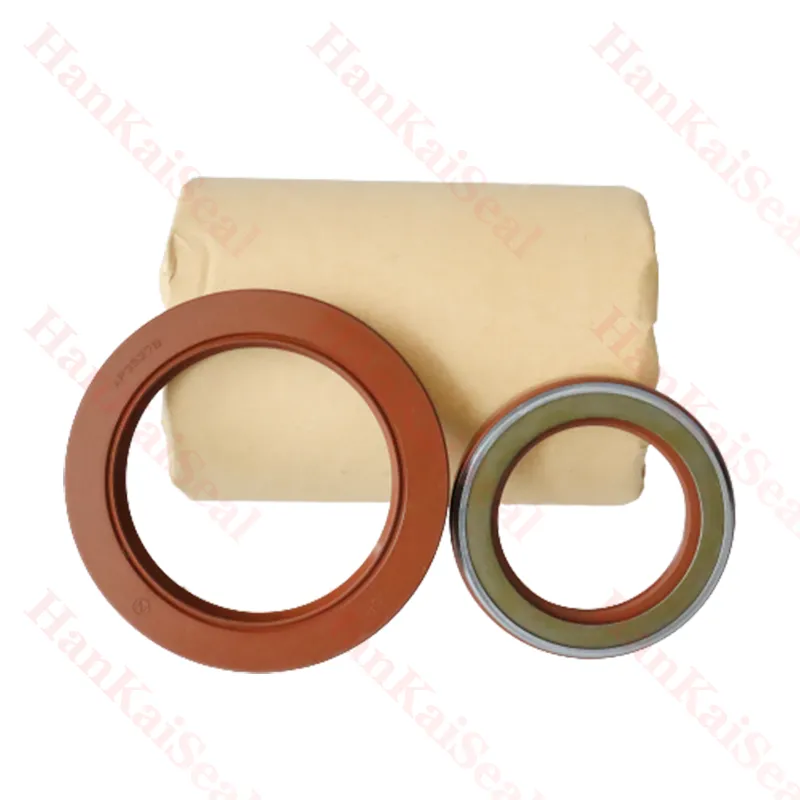
When maintaining a pump, one critical component to inspect and replace regularly is the seal kit. A damaged or worn seal can lead to leaks, decreased efficiency, and ultimately, equipment failure. Understanding how to properly replace a pump seal kit is essential for anyone involved in equipment maintenance. This article will guide you through the replacement process in a clear and concise manner.
Understanding the Importance of Pump Seals
Pump seals are designed to prevent fluid from leaking out of the pump housing, which is crucial for maintaining operational efficiency. A compromised seal can cause not only fluid loss but also contamination of the surrounding environment, leading to safety hazards and increased costs. Therefore, proactive replacement of the seal kit at regular intervals is necessary to prolong the life of the pump and optimize its performance.
Preparation for Replacement
Before you begin the replacement process, ensure that you have all the necessary tools and materials. Typical tools include
- Wrenches and screwdrivers - A seal puller - Cleaning cloths - New seal kit (specifically designed for your pump model) - Lubricant (if recommended by the manufacturer)
Additionally, always consult the pump’s manual for specific instructions regarding your model.
Step-by-Step Replacement Process
1. Turn Off the Power Safety should be your first priority. Ensure the pump is turned off and disconnected from the power source before beginning any maintenance work.
pump seal kit replacement
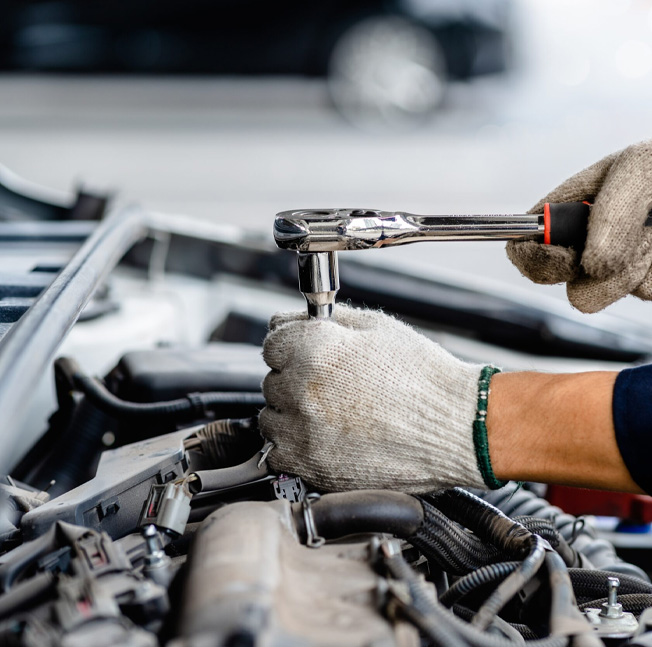
2. Drain the Pump Safely drain any fluid from the pump. Use appropriate containers to collect the fluid and dispose of it according to local regulations.
3. Disassemble the Pump Carefully remove any housing and components that are in the way of accessing the seal. Take note of the order of disassembly to make reassembly easier.
4. Remove the Old Seal Kit Using a seal puller or a similar tool, gently remove the old seal. Be cautious not to damage the surrounding surfaces. Clean the area thoroughly to eliminate any debris or old seal material.
5. Install the New Seal Before installing the new seal, ensure that the sealing surfaces are clean and free from scratches. Apply a thin layer of lubricant to the new seal if specified by the manufacturer. Carefully position the new seal into the seal cavity, ensuring it is seated correctly.
6. Reassemble the Pump Refer to the notes taken during disassembly to put the pump back together. Ensure all bolts are tightened to the manufacturer's specifications and that all components are situated properly.
7. Test the Pump Once reassembled, reconnect the power and turn on the pump. Monitor for any signs of leakage and ensure that the pump operates smoothly.
8. Regular Maintenance After replacing the seal kit, establish a regular maintenance schedule for checking seal integrity and overall pump condition. This proactive approach can save you time and money in the long run.
Conclusion
Replacing the pump seal kit is a straightforward yet crucial maintenance task. Following these steps will help ensure that your pump remains in excellent working condition, minimizing the risk of leaks and mechanical failures. By investing time in proper maintenance now, you can extend the lifespan of your pump and maintain optimal performance. Always remember, when in doubt, consult the pump manufacturer’s guidelines for the best practices tailored to your specific equipment.
-
The Trans-formative Journey of Wheel Hub Oil Seals
NewsJun.06,2025
-
Graphene-Enhanced Oil Seals: Revolutionizing High-Pressure Oil Sealing
NewsJun.06,2025
-
Future of Hydraulic Sealing: Advanced Intelligent TCN Oil Seals
NewsJun.06,2025
-
Don’t Let a Broken TCV Oil Seal Ruin Your Day
NewsJun.06,2025
-
Bio-Inspired Dust Seals for Better Sealing Performance
NewsJun.06,2025
-
Biodegradable and Sustainable Hydraulic Seal Materials
NewsJun.06,2025
-
Top Oil Seal Solutions for Your Industrial Needs
NewsMay.22,2025
Products categories

