Sep . 08, 2024 01:01 Back to list
Pump Seal Kit Replacement - Expert Guide and Solutions
Understanding Pump Seal Kit Replacement A Comprehensive Guide
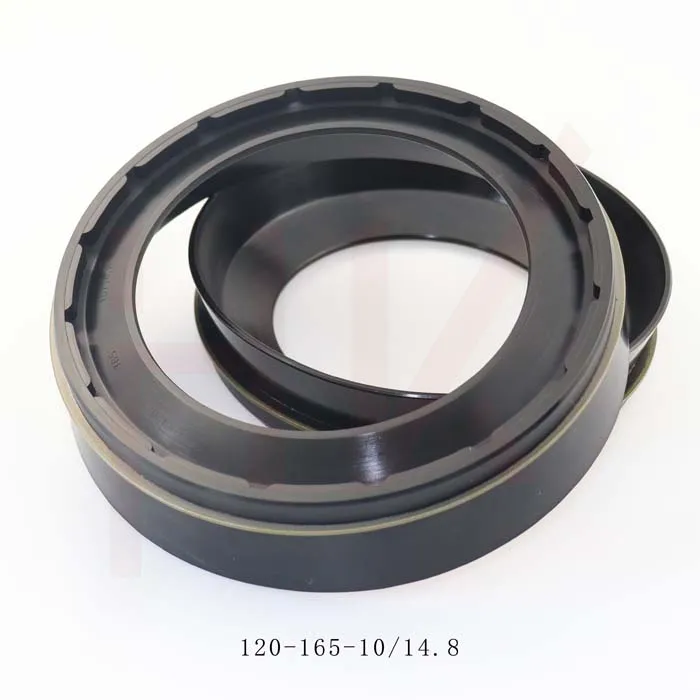
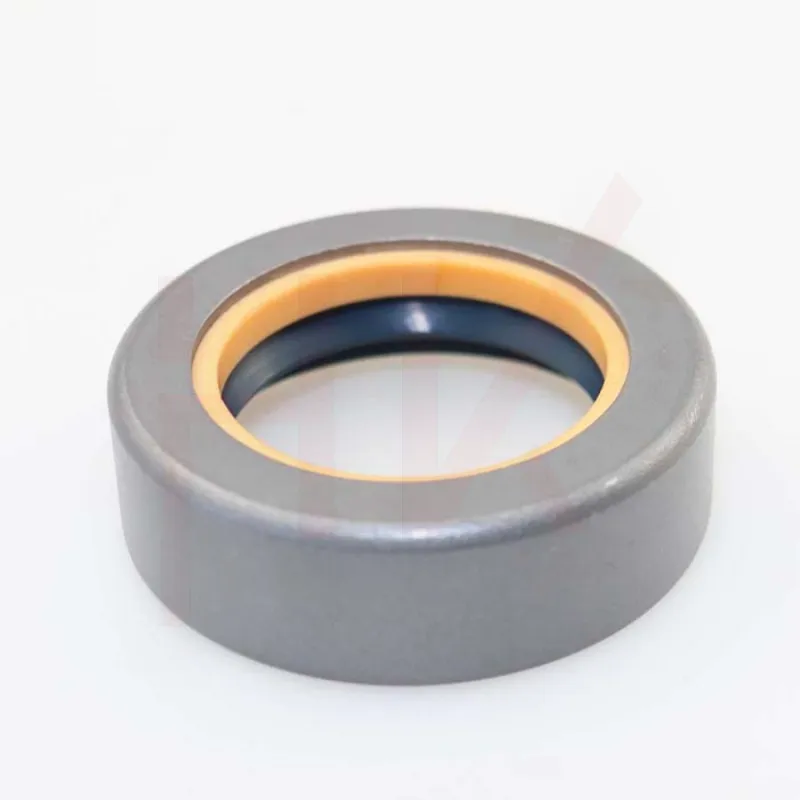
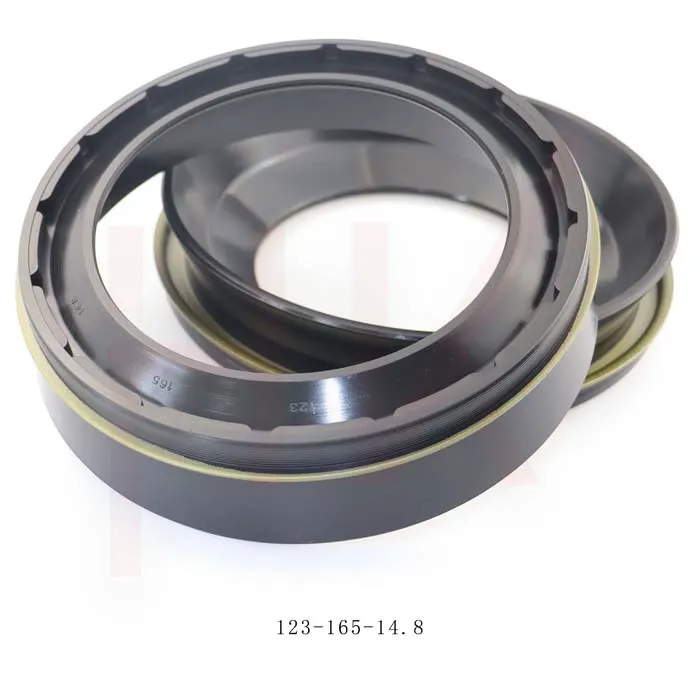
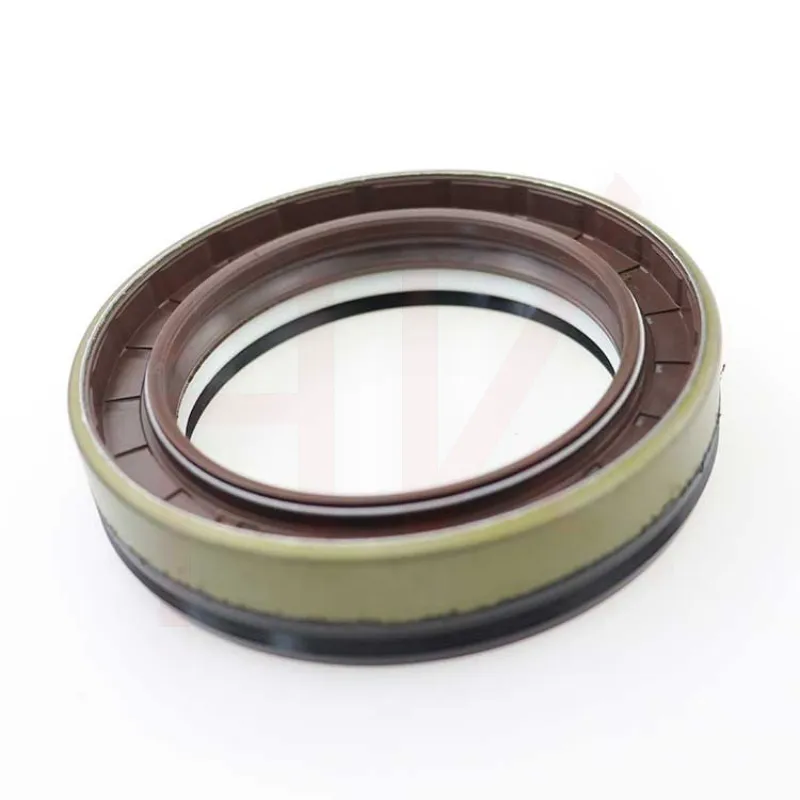
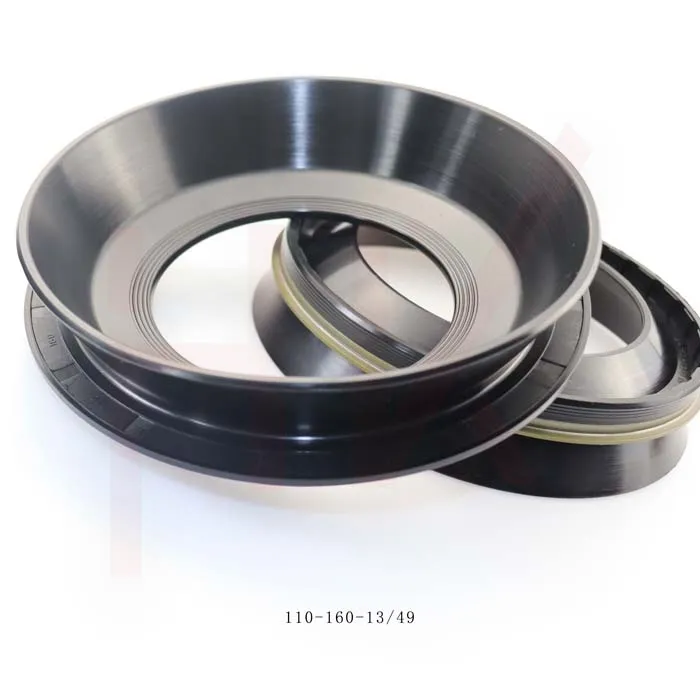
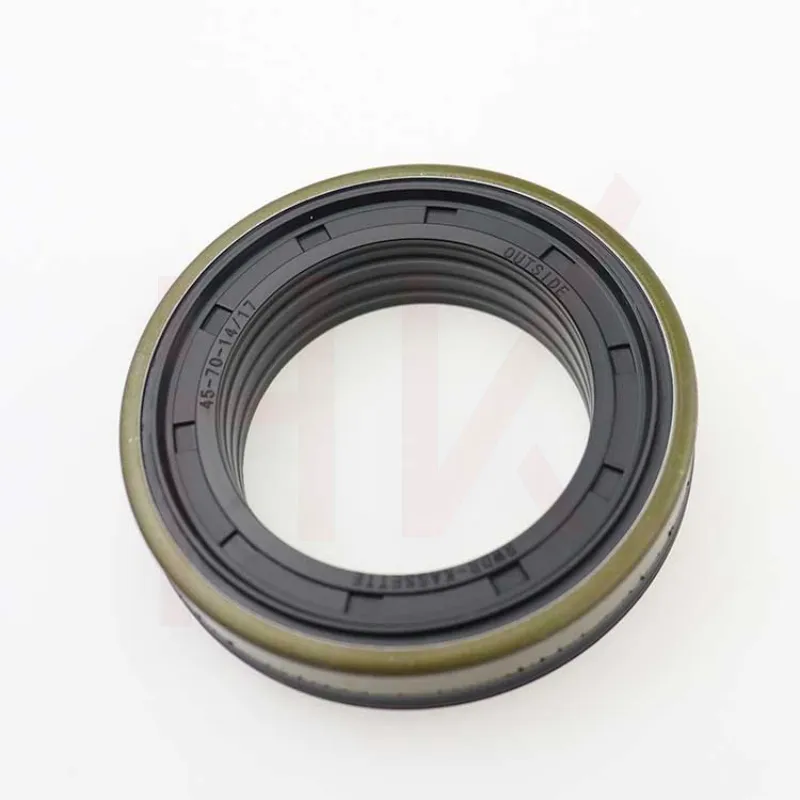
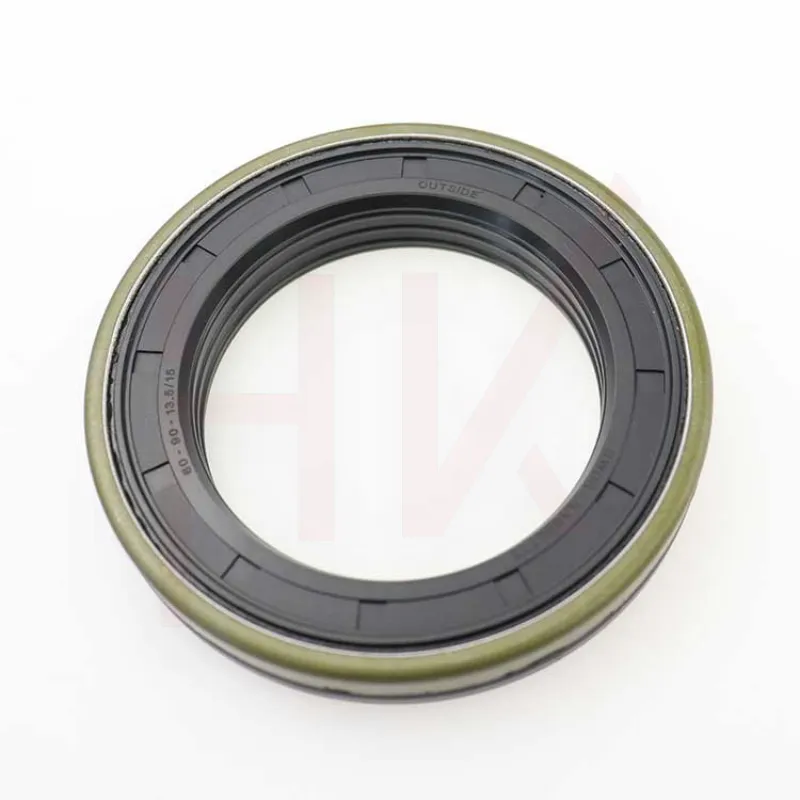
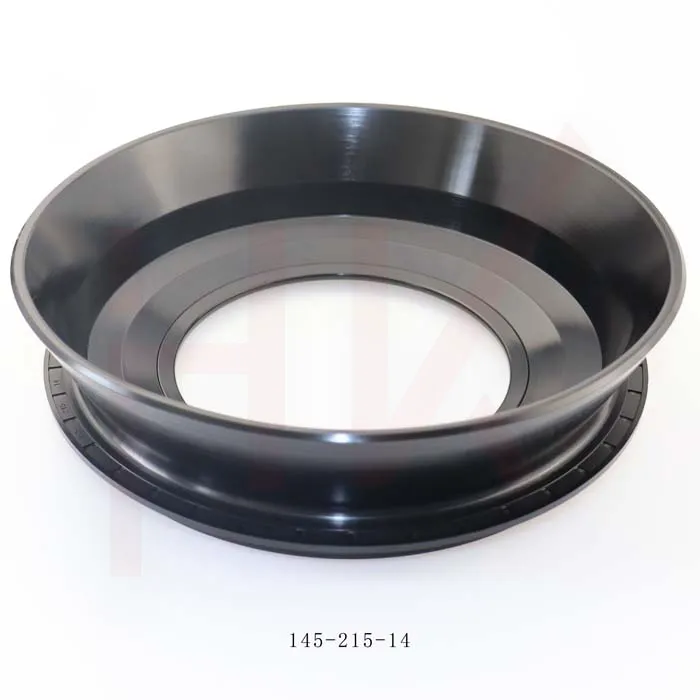
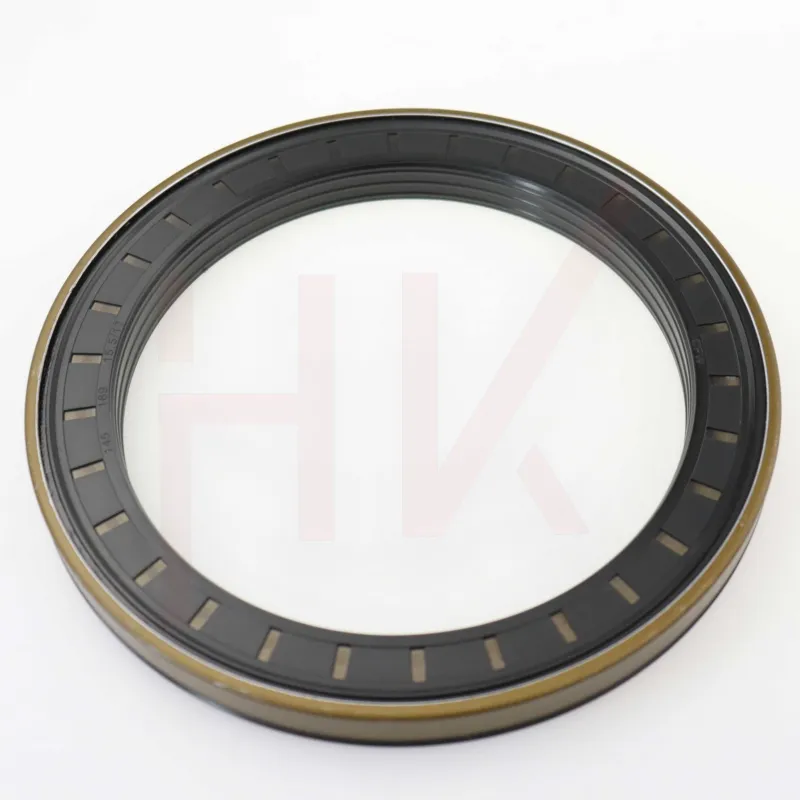
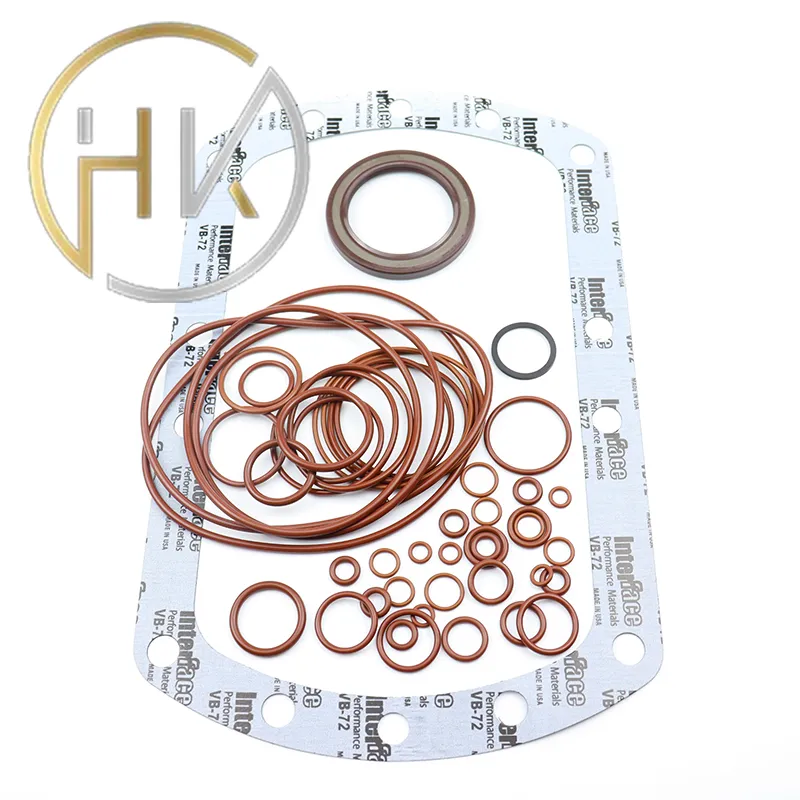
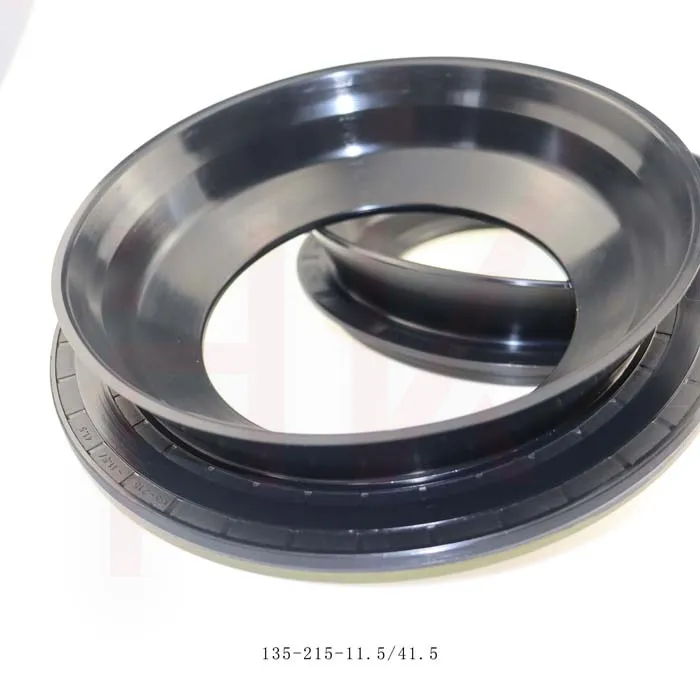
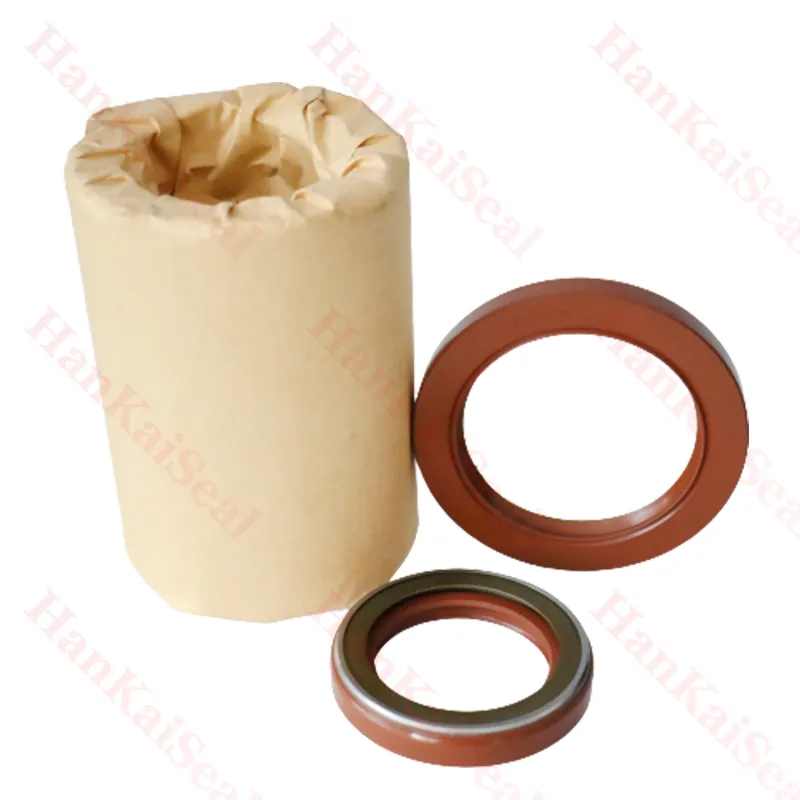
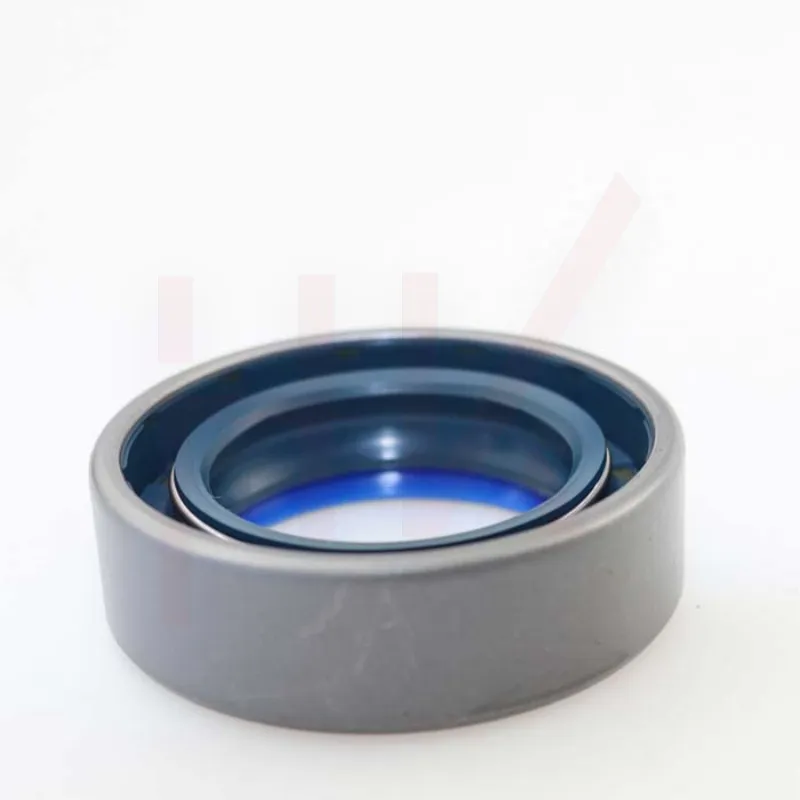
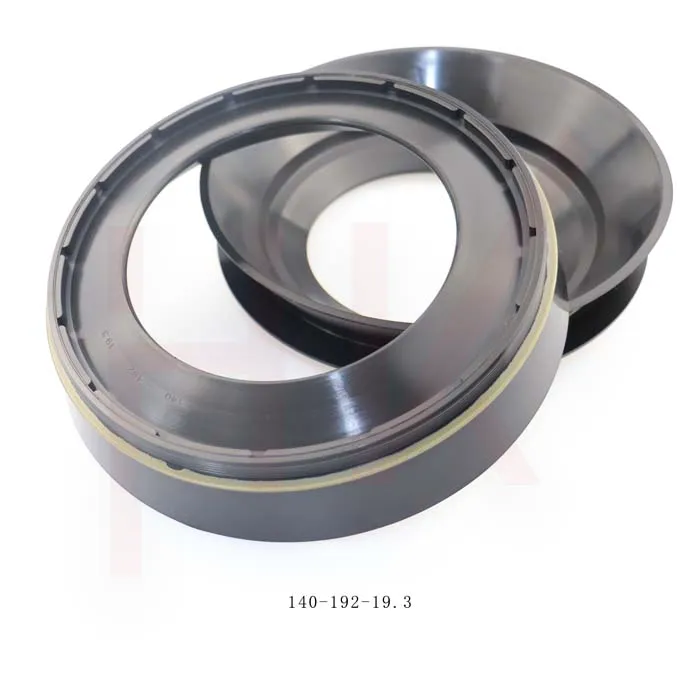
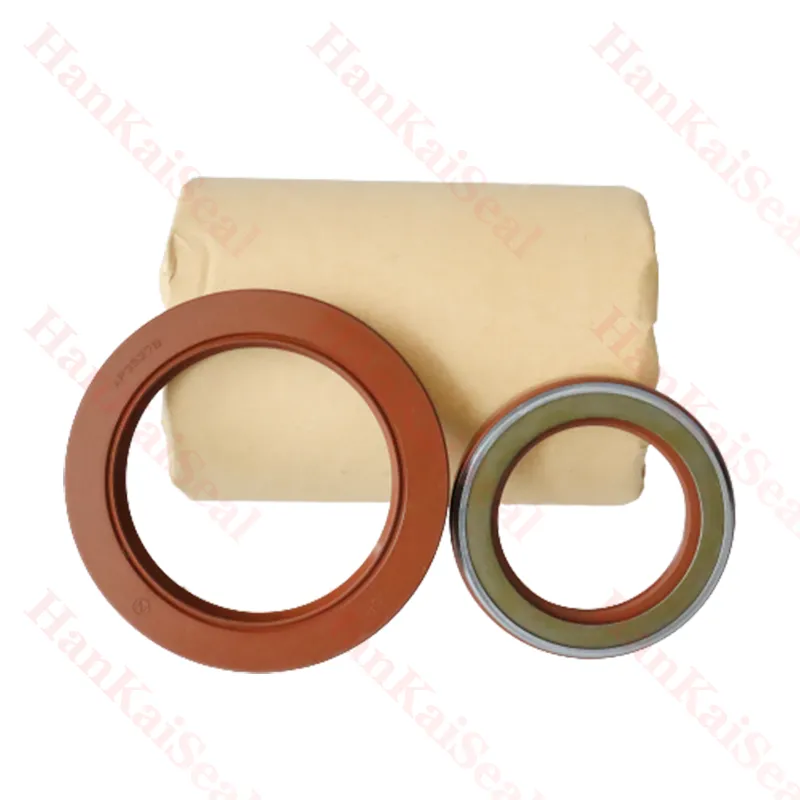
When it comes to maintaining the performance and longevity of pumps, one of the most critical components to consider is the seal kit. A pump seal kit is essential for preventing leakage of fluids, ensuring optimal operation, and protecting against contamination. In this article, we will explore the significance of replacing pump seal kits and provide a step-by-step guide on how to do it effectively.
Why Replace Pump Seal Kits?
Over time, pump seal kits can wear down due to various factors, including environmental conditions, fluid characteristics, and the pump's operational load. Signs of a failing seal kit may include visible leaks, abnormal noises, excessive vibration, and reduced efficiency. If left unaddressed, these issues can lead to pump failure, increased maintenance costs, and potential environmental hazards.
Choosing the Right Seal Kit
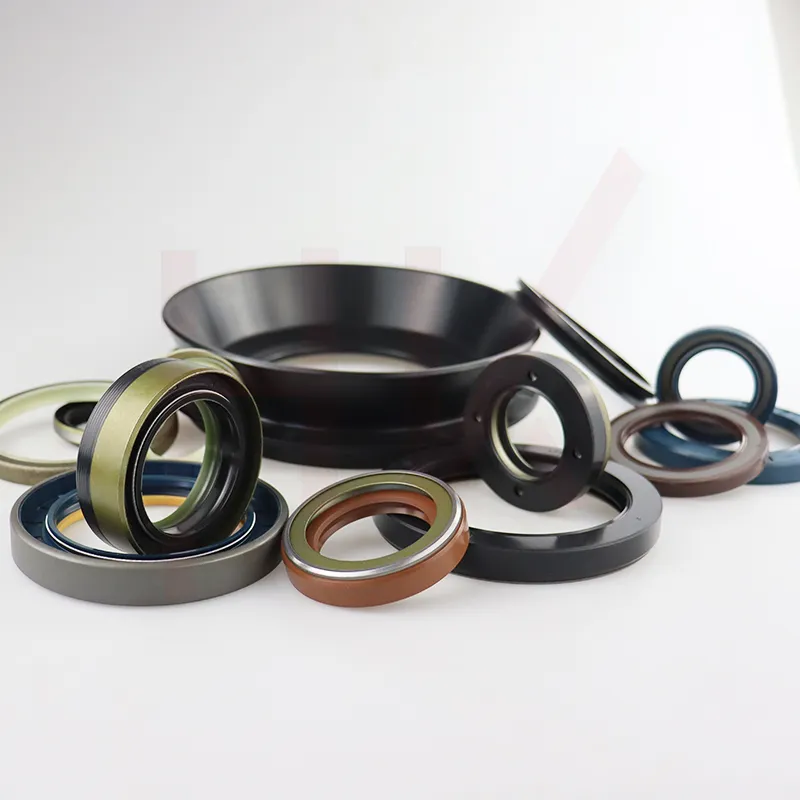
Before initiating the replacement process, it's crucial to select the correct seal kit for your pump. Consult the manufacturer's specifications to find the appropriate kit compatible with your pump model. Seal kits vary in material and design, and selecting the right one ensures optimal performance and durability.
Step-by-Step Replacement Process
1. Preparation Begin by gathering the necessary tools, including wrenches, screwdrivers, a clean cloth, and safety gear. Make sure to turn off the pump and relieve any pressure in the system.
pump seal kit replacement
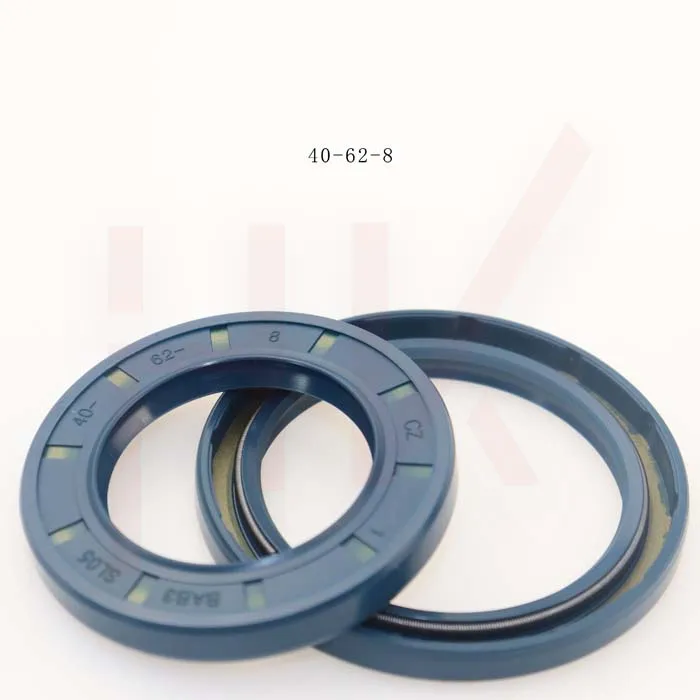
2. Disassembly Carefully dismantle the pump by removing the cover or housing. Take care to note the order of disassembly and the position of various components. It may be helpful to take photos to aid reassembly.
3. Remove Old Seal Once disassembled, locate the old seal kit. Gently pry it off using a flathead screwdriver or a similar tool. Be cautious not to damage the seal housing.
4. Clean the Components Thoroughly clean the sealing surfaces and surrounding areas to remove any debris or old sealant. A clean surface ensures a better seal and reduces the risk of leaks.
5. Install New Seal Kit Carefully position the new seal in place. Ensure it sits evenly within the groove. Follow the manufacturer's instructions for correct installation techniques.
6. Reassemble the Pump Once the new seal is in place, reassemble the pump in the reverse order of disassembly. Ensure all fasteners are tightened to the specified torque settings.
7. Testing After reassembly, conduct a test run to check for leaks and verify that the pump operates smoothly.
Conclusion
Regularly replacing pump seal kits is vital for maintaining the efficiency and safety of your pumping systems. By following a structured replacement process and choosing the right components, you can extend the lifespan of your pumps and minimize downtime. Proactive maintenance not only preserves equipment but also enhances operational reliability.
-
Wiper Oil Seal: Our Commitment to Clean Hydraulics
NewsAug.13,2025
-
Hydraulic Oil Seal for Self Discharging Cars
NewsAug.13,2025
-
Hub Oil Seal for Agricultural Tractor Hubs
NewsAug.13,2025
-
Skeleton Oil Seal with NBR Material
NewsAug.13,2025
-
Rotary Lip Seal for High Pressure Applications
NewsAug.13,2025
-
Cylinder Seal Kits Our Legacy of Hydraulic Trust
NewsAug.13,2025
-
Unlocking the Potential of Hydraulic Systems with Essential Sealing Solutions
NewsAug.06,2025
Products categories

