Nov . 23, 2024 12:02 Back to list
hydraulic seal repair
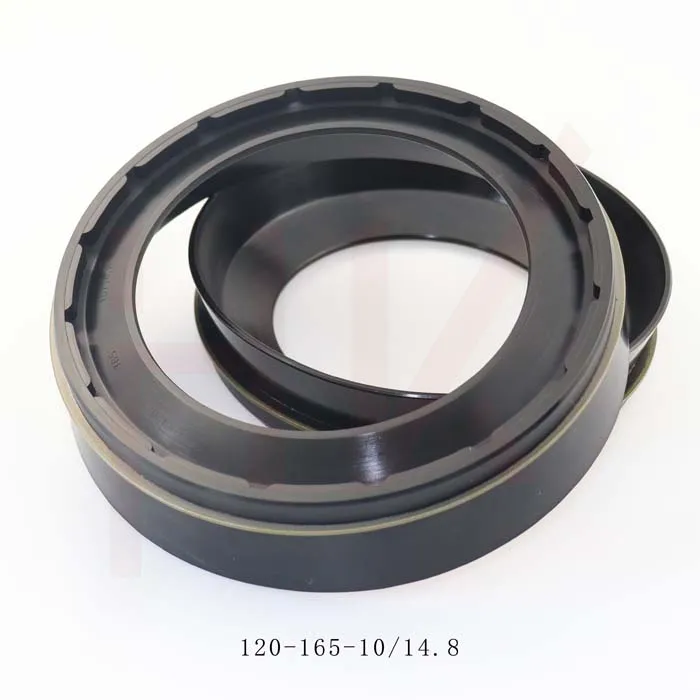
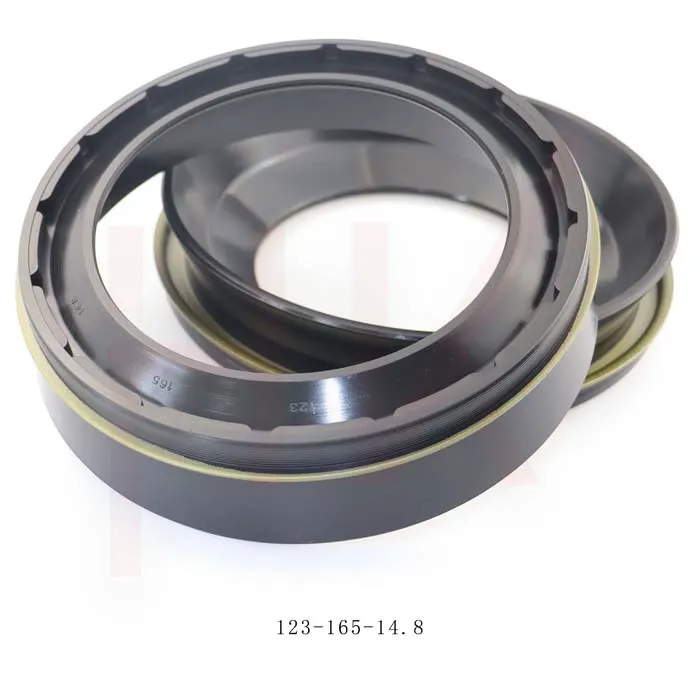
Hydraulic Seal Repair A Comprehensive Guide
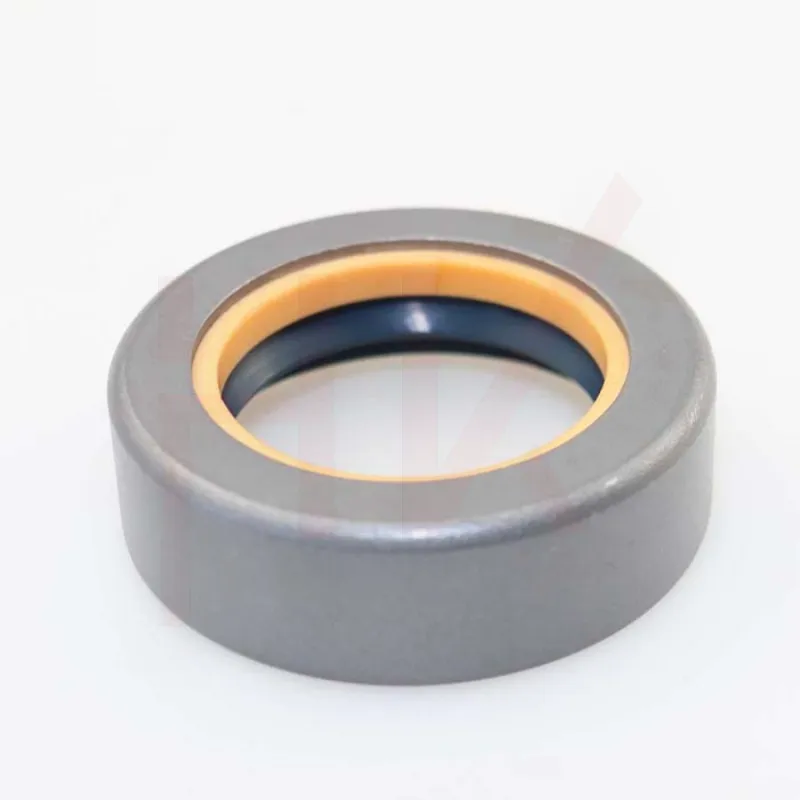
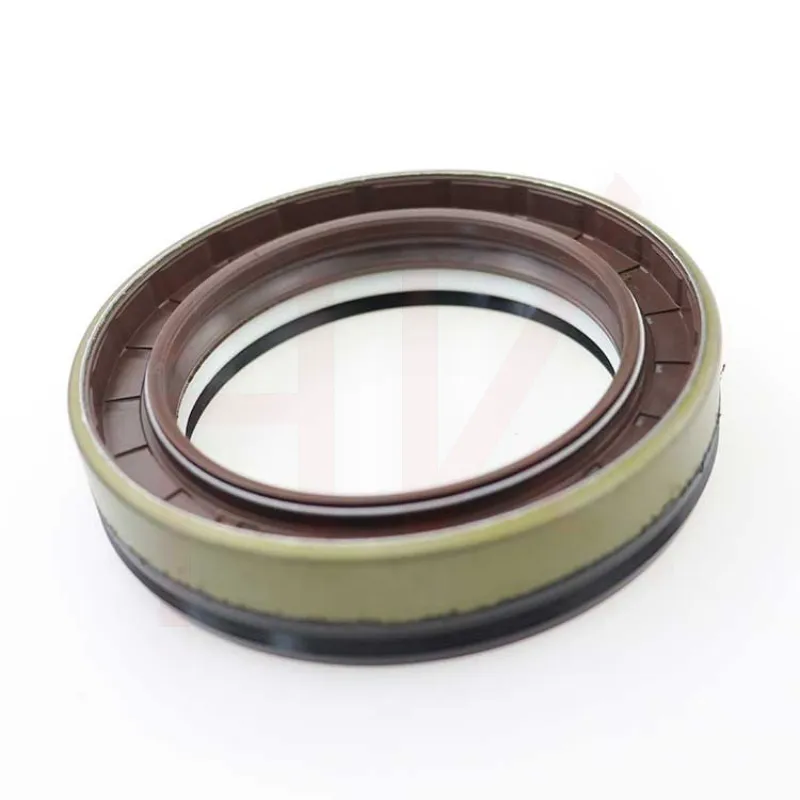
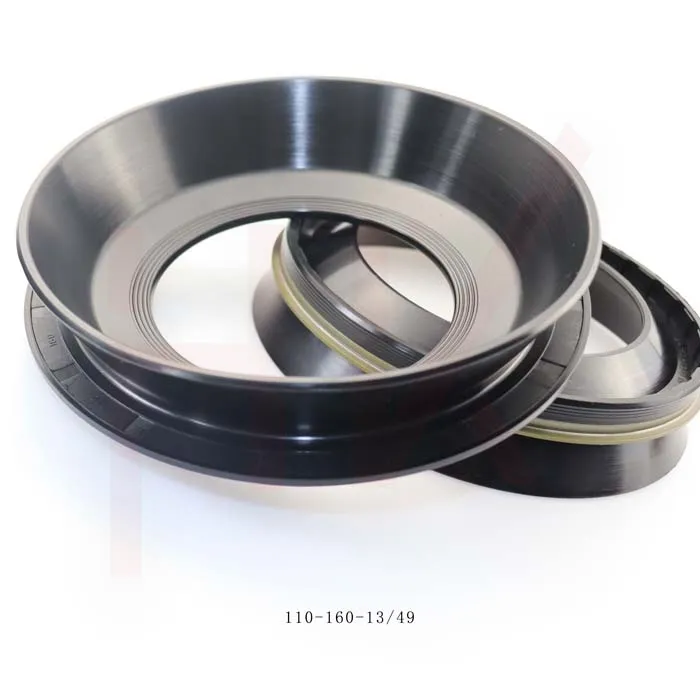
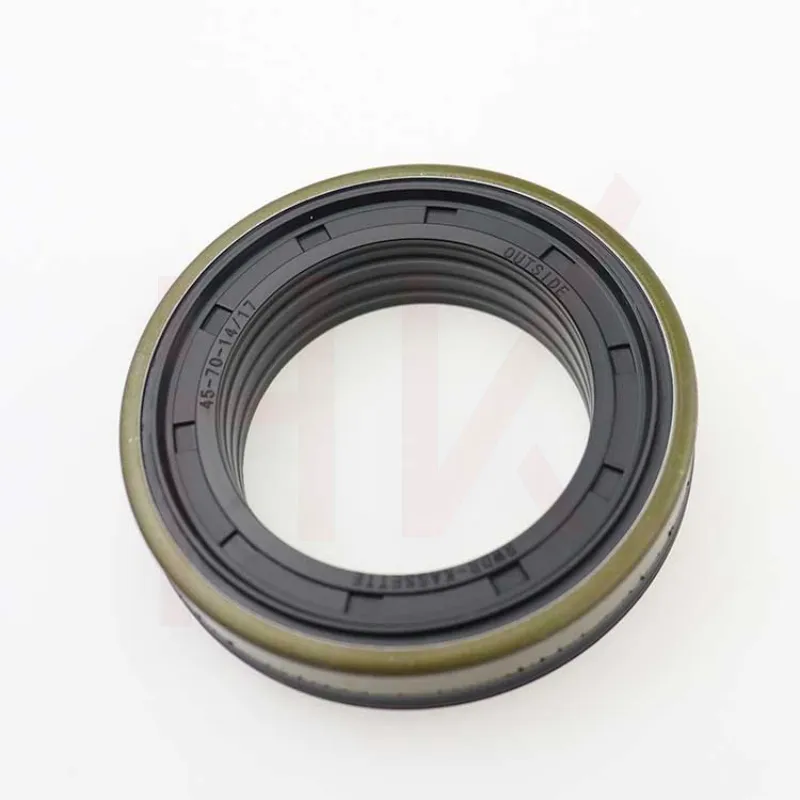
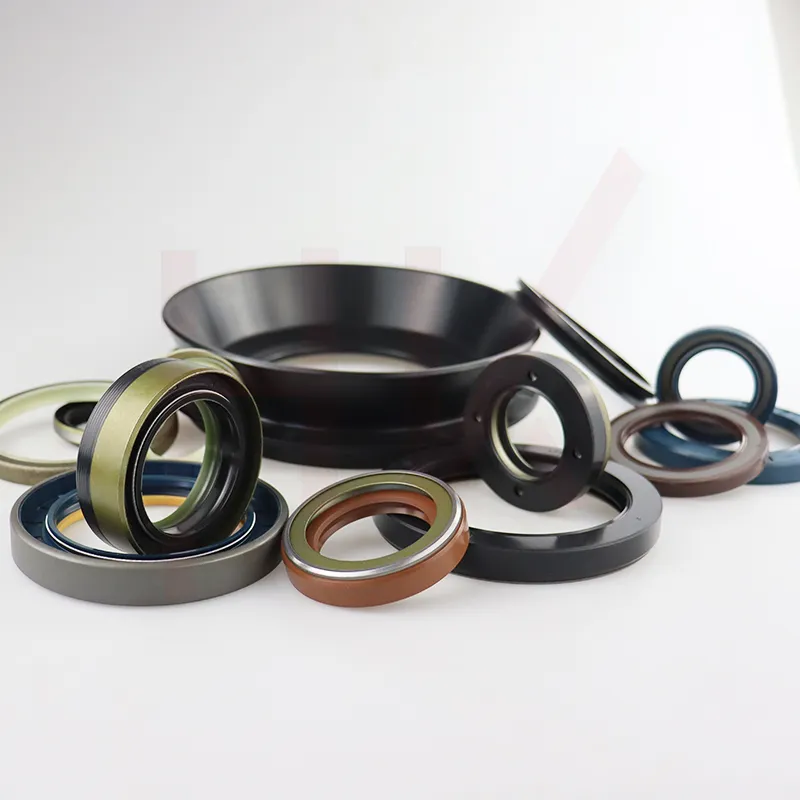
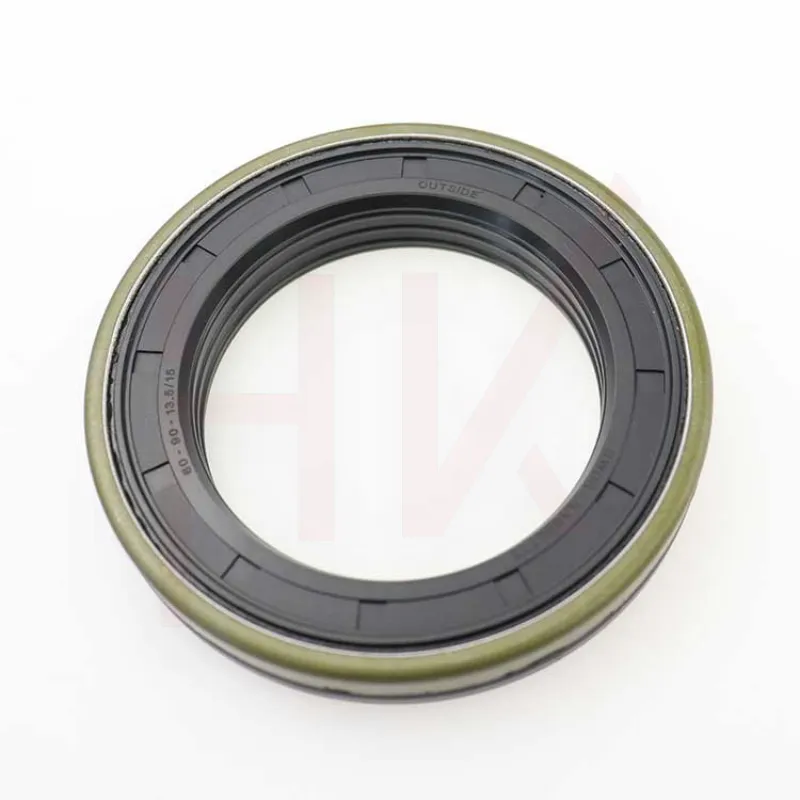
Hydraulic systems are essential in a variety of applications, ranging from heavy machinery to automotive systems. Central to their operation are hydraulic seals, which help maintain the pressure necessary for these systems to function correctly. However, like any mechanical component, hydraulic seals can wear out or fail, leading to significant issues such as leaks and reduced efficiency. Understanding the repair process for hydraulic seals is crucial for maintaining the integrity and performance of hydraulic systems.
Signs of Seal Failure
Recognizing the signs of hydraulic seal failure is the first step in addressing the issue. Common indicators include visible leaks, fluctuating pressure levels, and decreased system performance. If you observe fluid pooling around hydraulic components or experience inconsistent operation, it’s likely time to investigate the seals.
Preparing for Repair
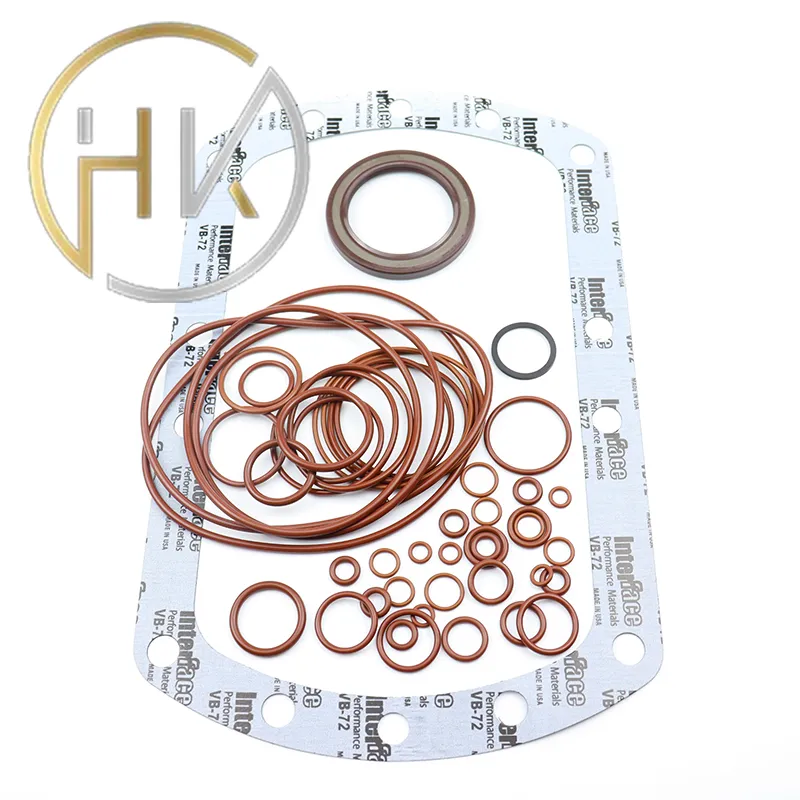
Before proceeding with seal repair, it's essential to gather the necessary tools and materials. You will typically need a seal kit specific to your hydraulic system, wrenches, pliers, and possibly a seal puller depending on the complexity of the system. Additionally, ensure you have safety equipment on hand, such as gloves and goggles, as hydraulic fluid can be hazardous.
Step-by-Step Repair Process
1. Power Down the System Ensure that the hydraulic system is powered off and depressurized. This is crucial to prevent accidents and further damage during the repair process.
hydraulic seal repair
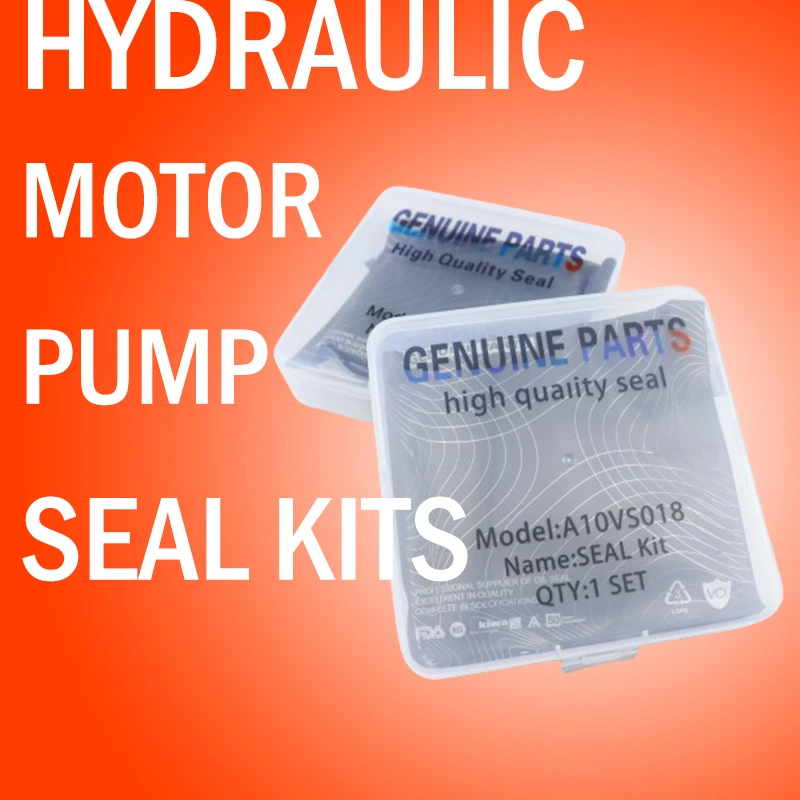
2. Remove the Component Disconnect the hydraulic component where the seal is located. This usually involves removing bolts or fittings carefully to avoid damage.
3. Inspect the Component Once removed, inspect the component for any signs of wear or damage. Look closely at the seal groove and surrounding areas for scratches, corrosion, or contamination that might affect the new seal’s performance.
4. Replace the Seal Carefully remove the old seal, taking care not to damage the groove. Clean the groove thoroughly before installing the new seal. Ensure that the new seal is lubricated with compatible hydraulic fluid to facilitate installation and improve performance.
5. Reassemble the Component Once the new seal is in place, reattach the hydraulic component securely. Double-check all fittings and connections to ensure they are tightened correctly.
6. Test the System After reassembling, power up the hydraulic system and monitor for any leaks or abnormalities. Check the pressure levels and ensure that the system operates smoothly.
Conclusion
Hydraulic seal repair is a vital process that can extend the life of hydraulic systems. By understanding the signs of seal failure and following a structured repair process, operators can ensure optimal performance and avoid costly downtime. Regular maintenance and timely repairs not only enhance the efficiency of hydraulic systems but also contribute to overall safety and reliability in their operation.
-
Wiper Oil Seal: Our Commitment to Clean Hydraulics
NewsAug.13,2025
-
Hydraulic Oil Seal for Self Discharging Cars
NewsAug.13,2025
-
Hub Oil Seal for Agricultural Tractor Hubs
NewsAug.13,2025
-
Skeleton Oil Seal with NBR Material
NewsAug.13,2025
-
Rotary Lip Seal for High Pressure Applications
NewsAug.13,2025
-
Cylinder Seal Kits Our Legacy of Hydraulic Trust
NewsAug.13,2025
-
Unlocking the Potential of Hydraulic Systems with Essential Sealing Solutions
NewsAug.06,2025
Products categories

