Dec . 15, 2024 03:20 Back to list
Tips for Replacing Seals on Hydraulic Motors for Optimal Performance and Longevity
Hydraulic Motor Seal Replacement A Comprehensive Guide
Hydraulic motors are essential components in many industrial applications, providing reliable power transmission through hydraulic fluid. Like any mechanical device, hydraulic motors can experience wear and tear over time, particularly in their seals. Seal failure can lead to hydraulic fluid leaks, which can compromise efficiency and lead to costly repairs. Thus, understanding when and how to replace hydraulic motor seals is crucial for maintaining optimal performance.
Understanding Hydraulic Motor Seals
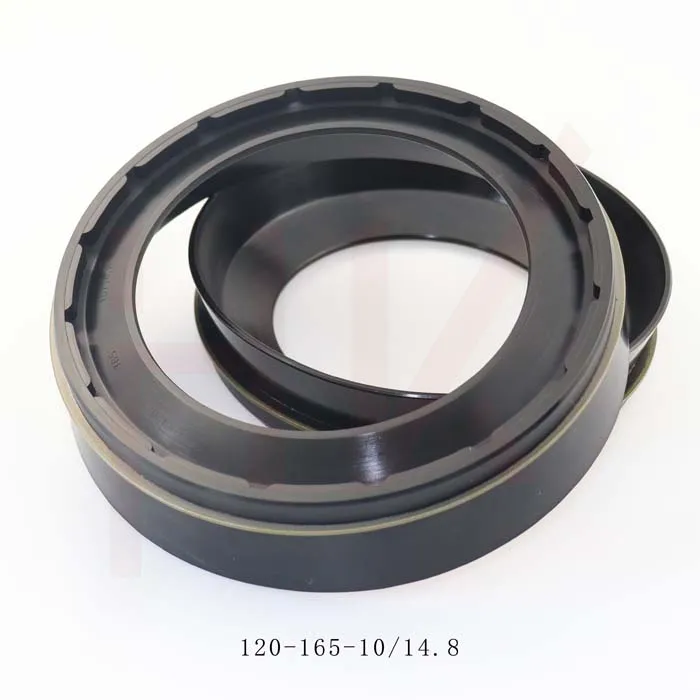
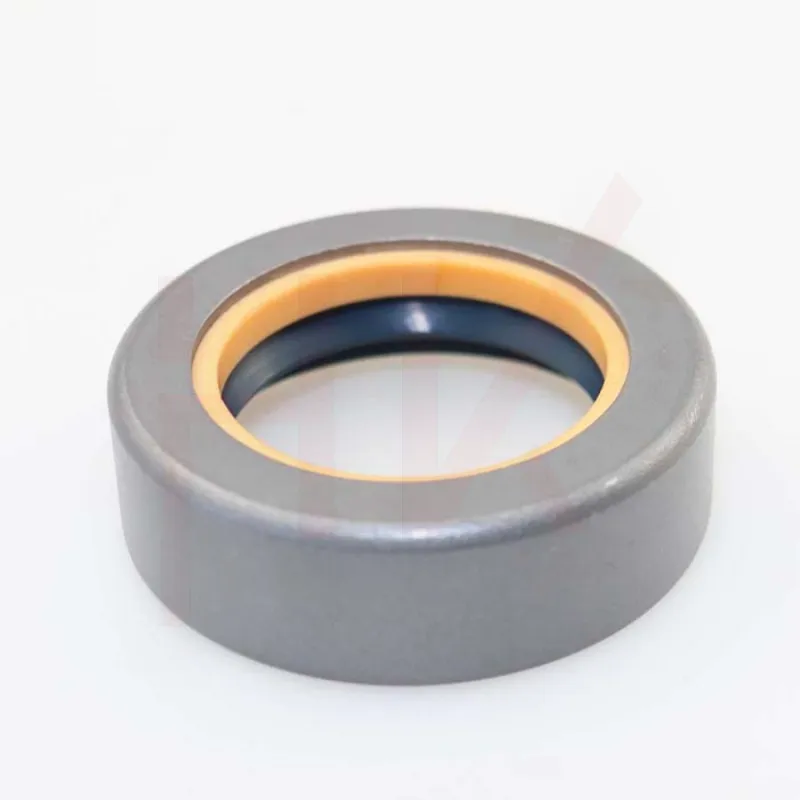
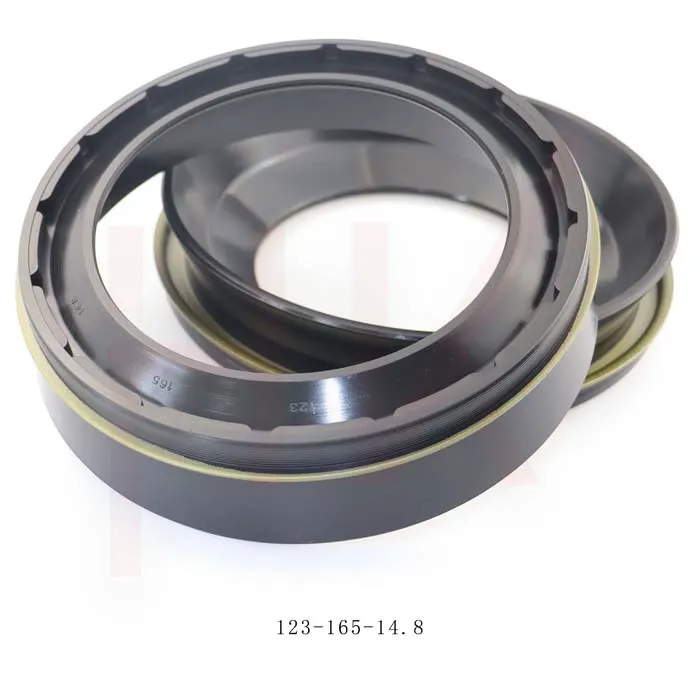
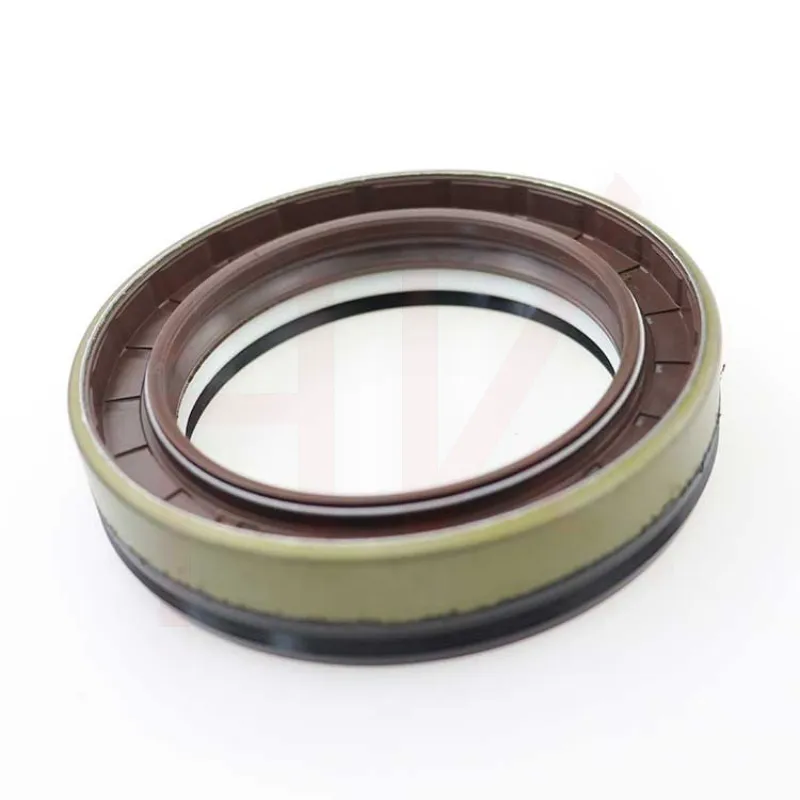
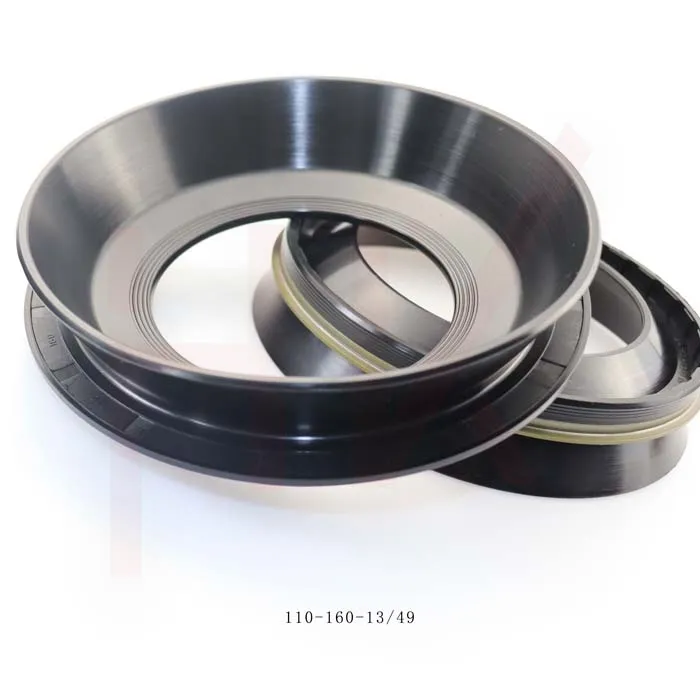
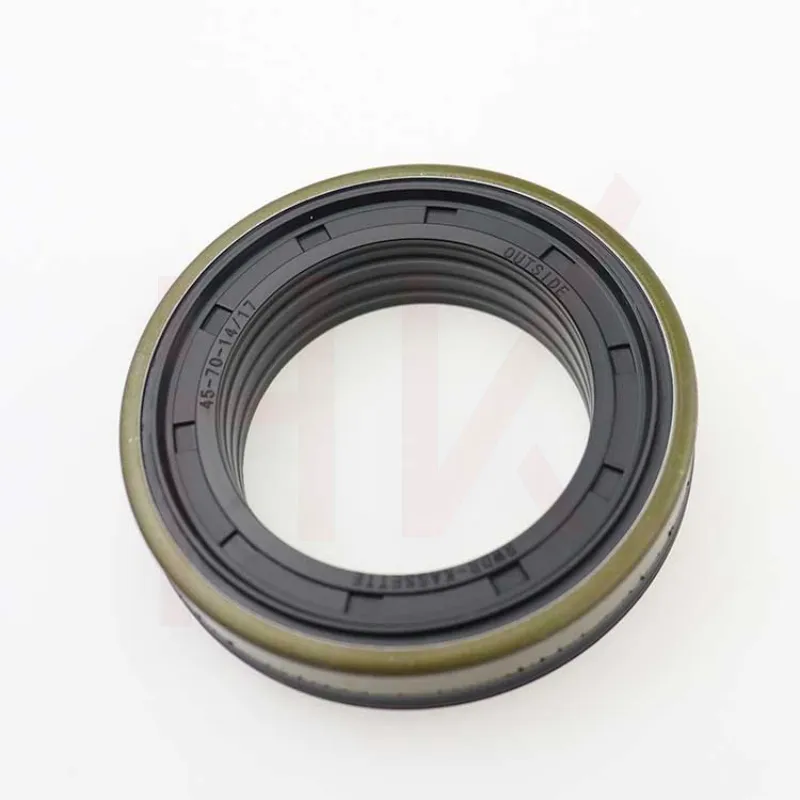
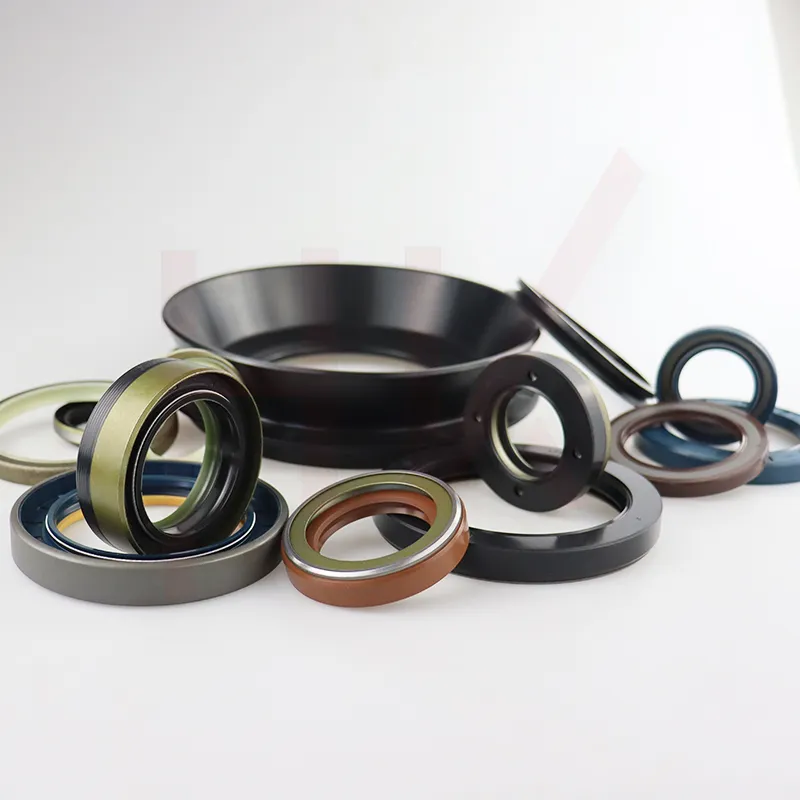
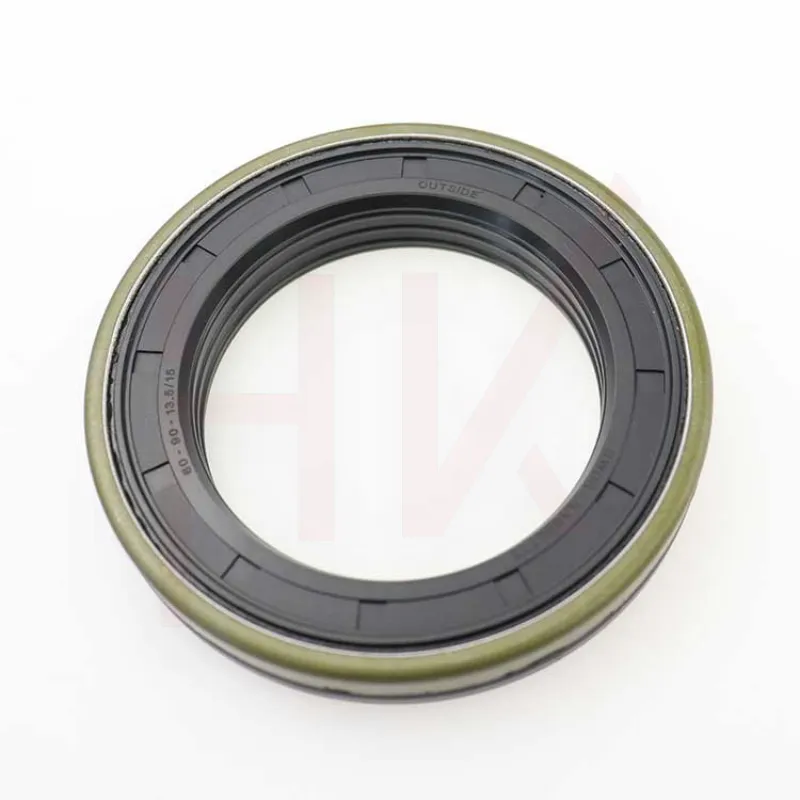
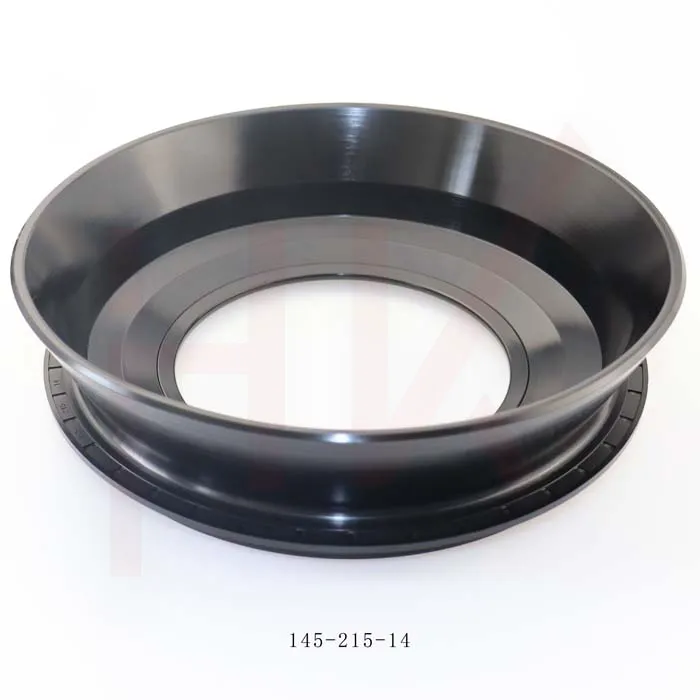
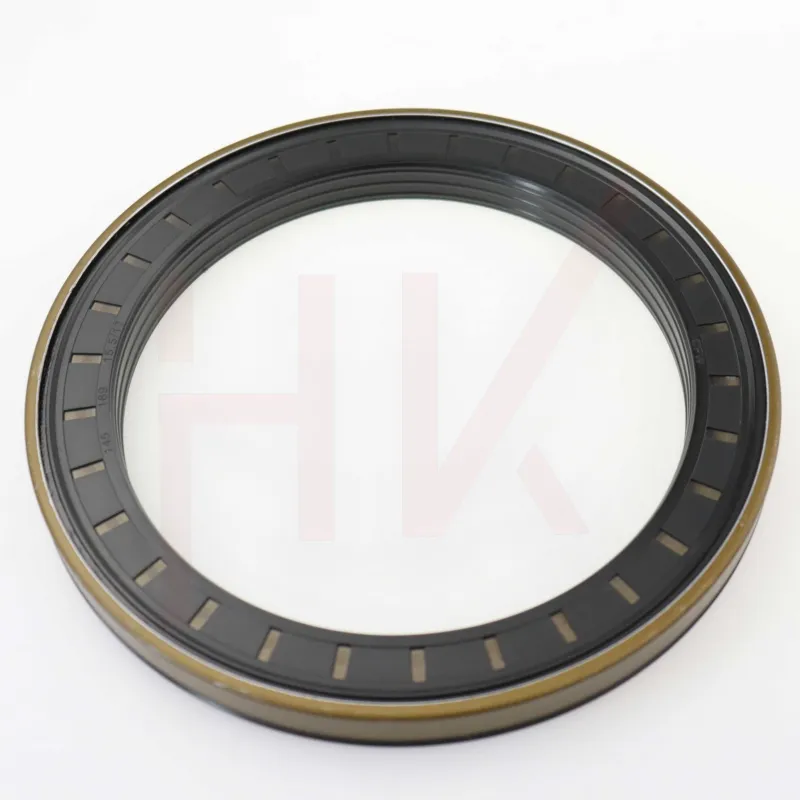
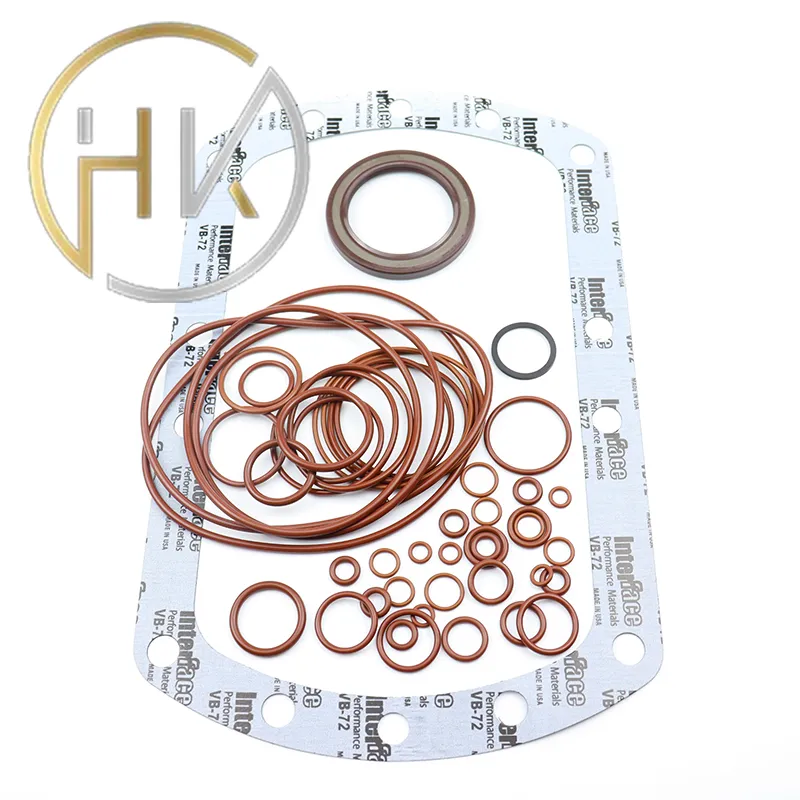
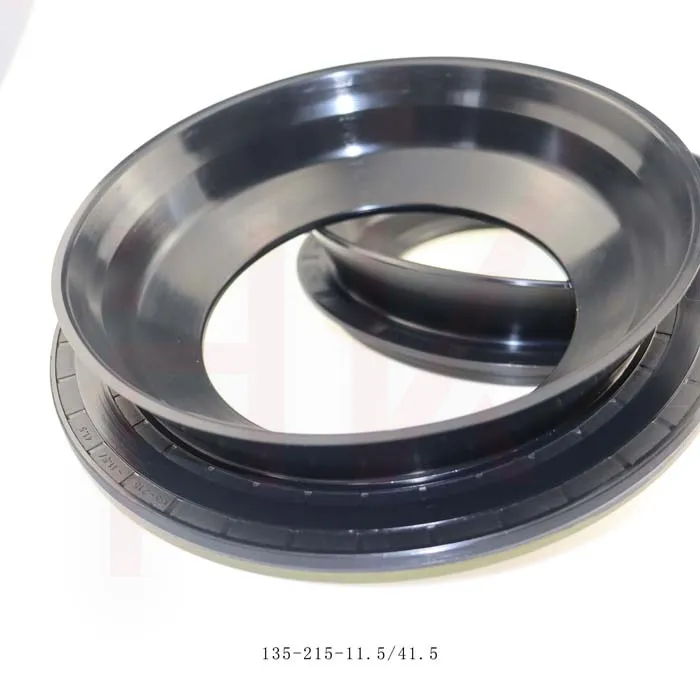
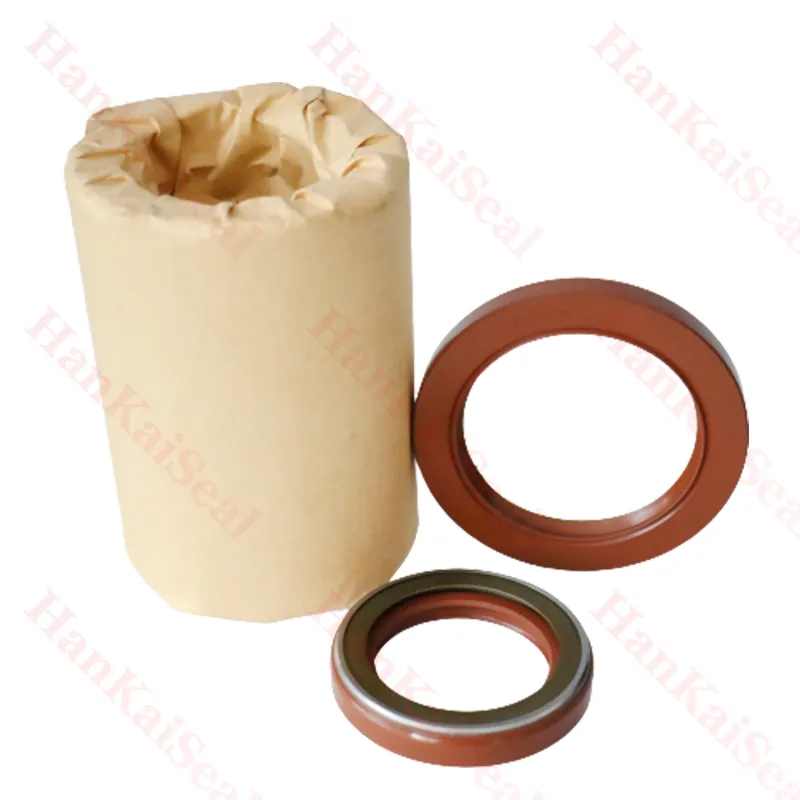
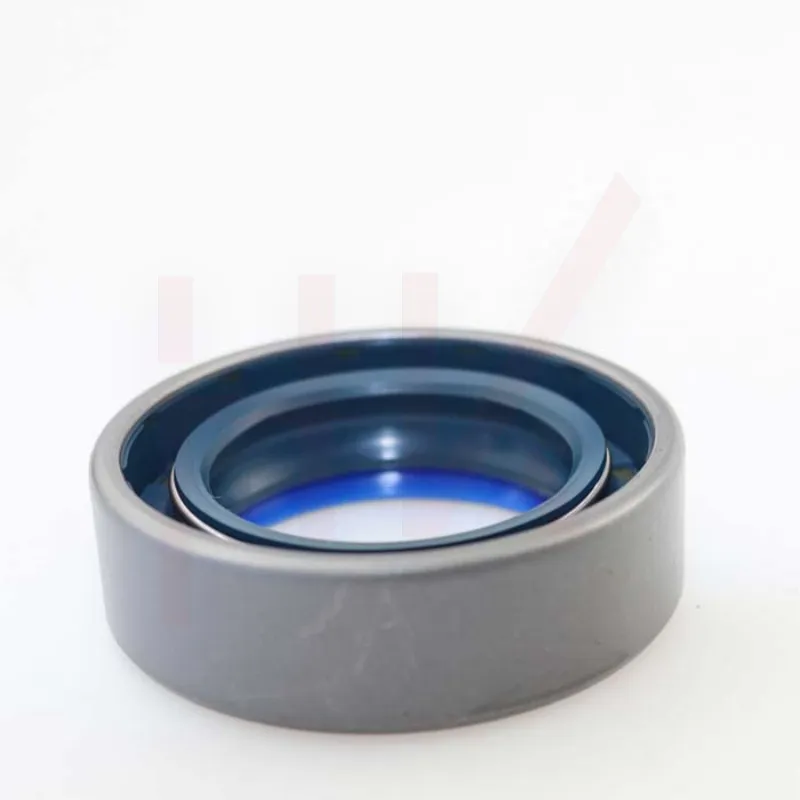
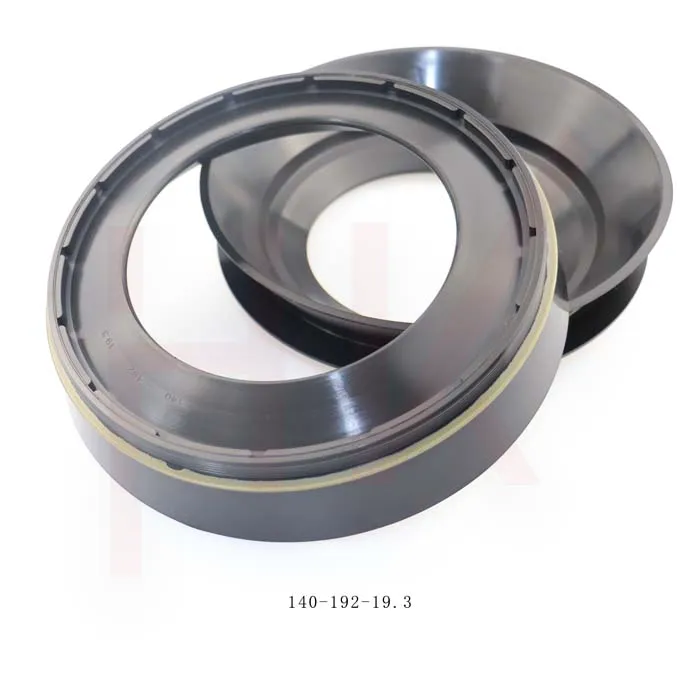
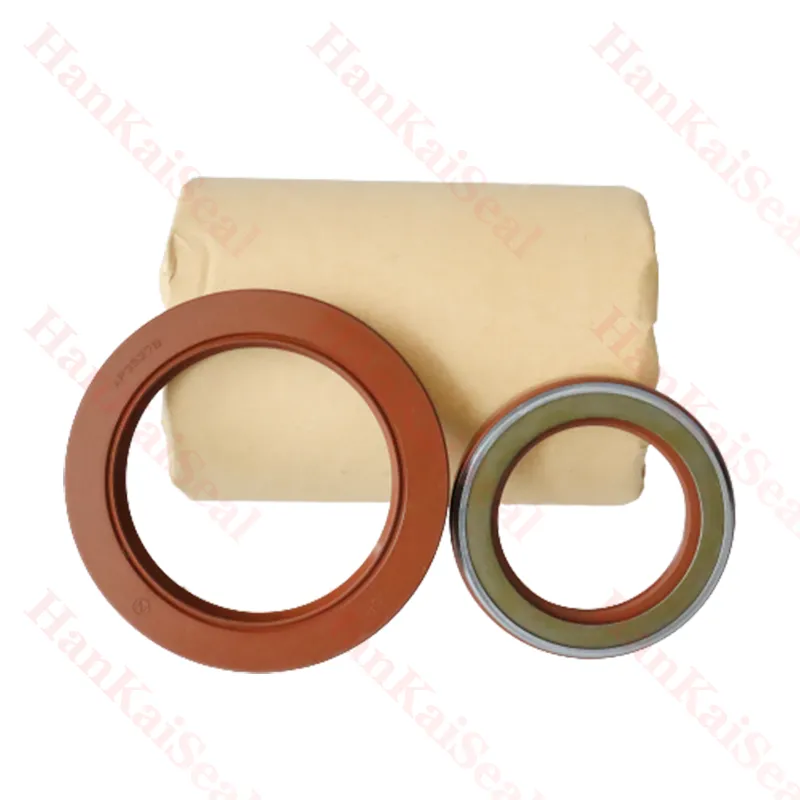
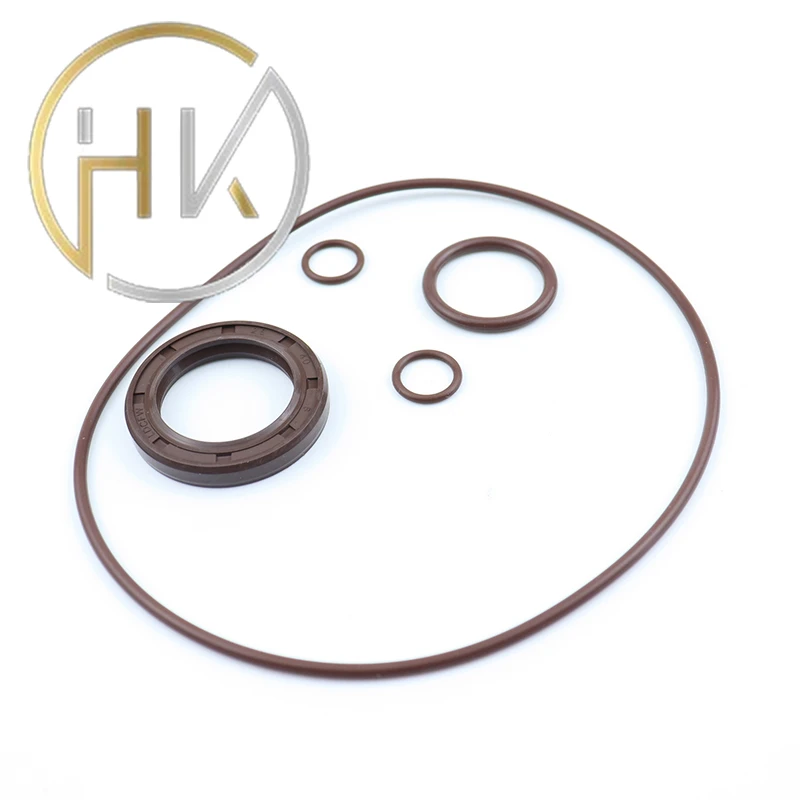
Hydraulic motor seals serve a critical function by preventing the leakage of hydraulic fluid and keeping contaminants out of the motor. These seals are typically made from durable materials such as rubber, polyurethane, or PTFE, which can withstand high pressure and varying temperatures. Common types of seals used in hydraulic motors include O-rings, lip seals, and custom machined seals.
Signs of Seal Failure
Recognizing the signs of seal failure early can help you address the problem before it escalates. Common indicators include
1. Fluid Leaks Visible leaks around the motor may indicate that the seals are compromised. If you notice fluid pooling or dripping, it’s time to inspect the seals. 2. Decreased Performance A drop in hydraulic pressure or operating speed can suggest that the seals are failing to contain the hydraulic fluid. This can lead to diminished performance or even motor failure. 3. Increased Noise Unusual sounds or vibrations from the motor may signal that the seals are worn out and the motor is struggling to operate correctly.
4. Overheating If the motor is running hotter than usual, it may be experiencing excessive friction due to inadequate sealing.
Preparing for Seal Replacement
Before diving into the replacement process, it's vital to gather the necessary tools and materials. You will need
- Replacement seals - Sealant - Cleaning materials (rags, solvents) - Screwdrivers and wrenches - A torque wrench - Safety equipment (gloves, goggles)
Ensure you have the correct specifications for the seals, as using the wrong size or type can lead to further issues
.hydraulic motor seal replacement
Step-by-Step Seal Replacement Process
1. Safety First Ensure the hydraulic system is depressurized before starting any work. Disconnect the motor from the power source and lock out any controls to prevent accidental activation.
2. Remove the Motor Disconnect the hydraulic lines from the motor and carefully remove it from its mounting. Be cautious of any residual fluid that may leak during this process.
3. Disassemble the Motor Once you have access to the motor, disassemble it carefully. Take note of the arrangement and orientation of components, as this will be essential for reassembly.
4. Clean the Components Use a solvent and rags to clean the areas around the seals and any other components. Removing old fluid and debris helps prepare for the new seals.
5. Inspect for Damage Examine components for any signs of wear or damage. If the motor casing is scratched or worn, it may need repair or replacement.
6. Replace the Seals Remove the old seals carefully, noting how they fit. Install the new seals in the same orientation, ensuring they fit snugly in their respective grooves. If necessary, apply a suitable sealant to enhance the seal’s effectiveness.
7. Reassemble the Motor Reverse the disassembly process to reassemble the motor, making sure to keep everything aligned correctly. Use a torque wrench to tighten fasteners to the manufacturer’s specifications.
8. Reconnect and Test Once everything is back in place, reconnect the hydraulic lines and any power sources. Test the motor under low pressure to check for leaks and ensure it operates smoothly before returning to normal operating conditions.
Conclusion
Replacing hydraulic motor seals is an essential maintenance task that can greatly enhance the longevity and performance of hydraulic motors. By being vigilant about signs of seal failure and following the correct procedures for replacement, you can prevent potential issues that could lead to costly downtime. Regular checks and timely replacements are key to ensuring your hydraulic systems continue to function efficiently for years to come. Always remember when in doubt, consult with a professional to ensure the job is done correctly.
-
Wiper Oil Seal: Our Commitment to Clean Hydraulics
NewsAug.13,2025
-
Hydraulic Oil Seal for Self Discharging Cars
NewsAug.13,2025
-
Hub Oil Seal for Agricultural Tractor Hubs
NewsAug.13,2025
-
Skeleton Oil Seal with NBR Material
NewsAug.13,2025
-
Rotary Lip Seal for High Pressure Applications
NewsAug.13,2025
-
Cylinder Seal Kits Our Legacy of Hydraulic Trust
NewsAug.13,2025
-
Unlocking the Potential of Hydraulic Systems with Essential Sealing Solutions
NewsAug.06,2025
Products categories

