Nov . 22, 2024 20:48 Back to list
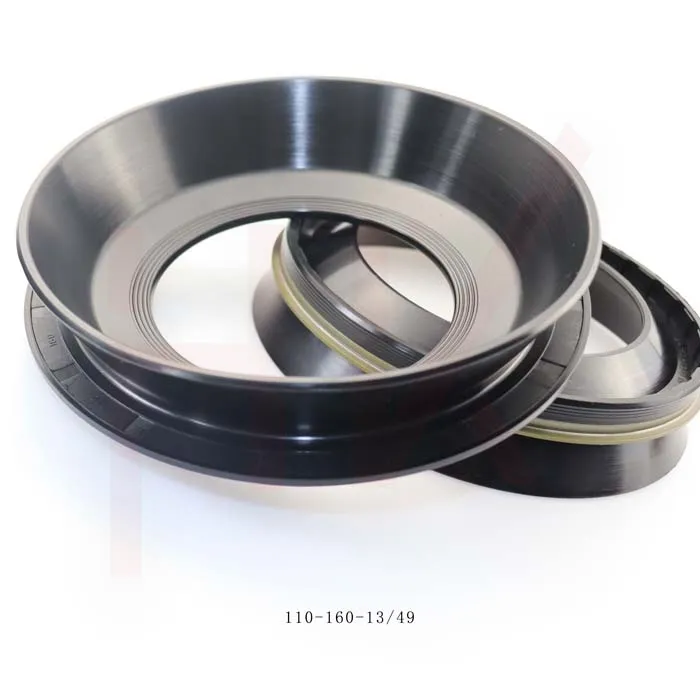
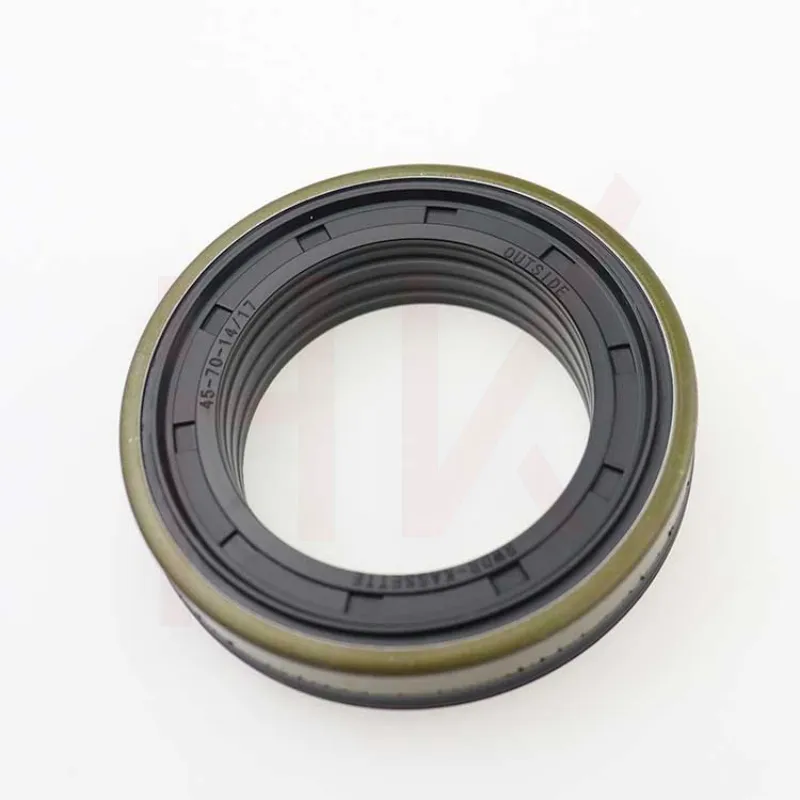
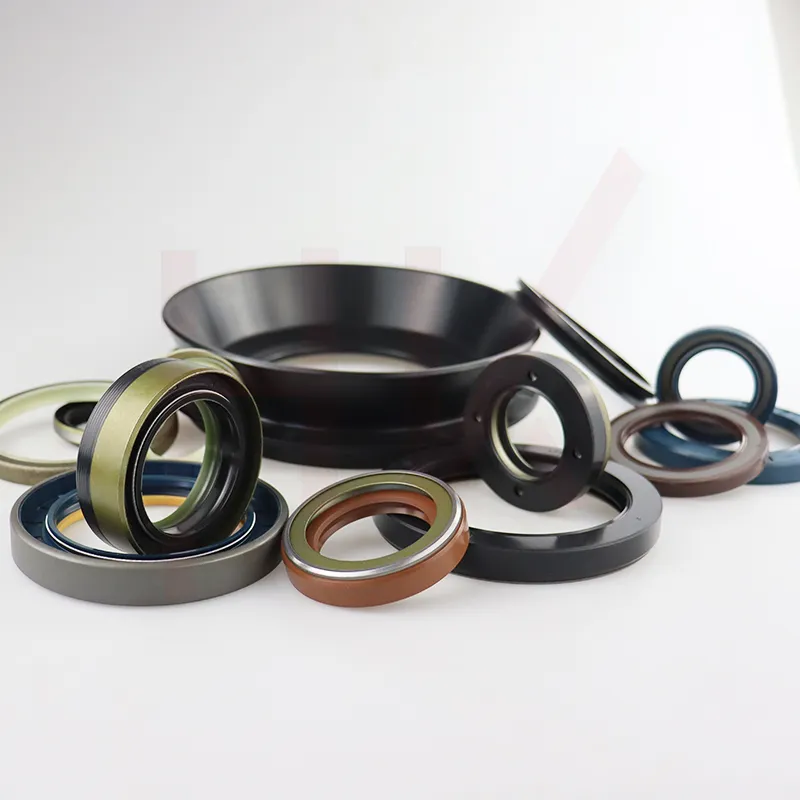
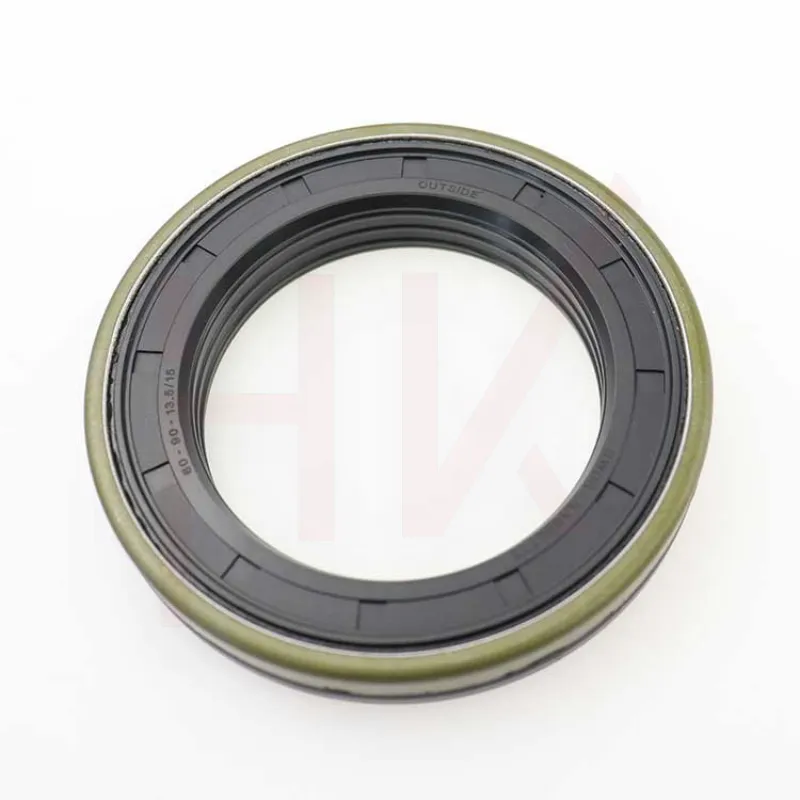
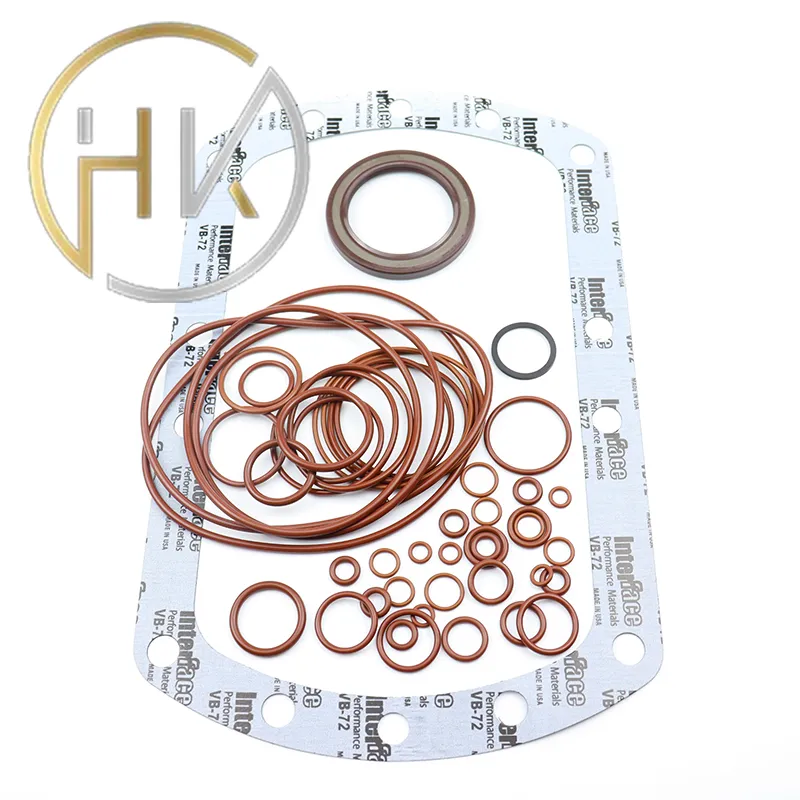
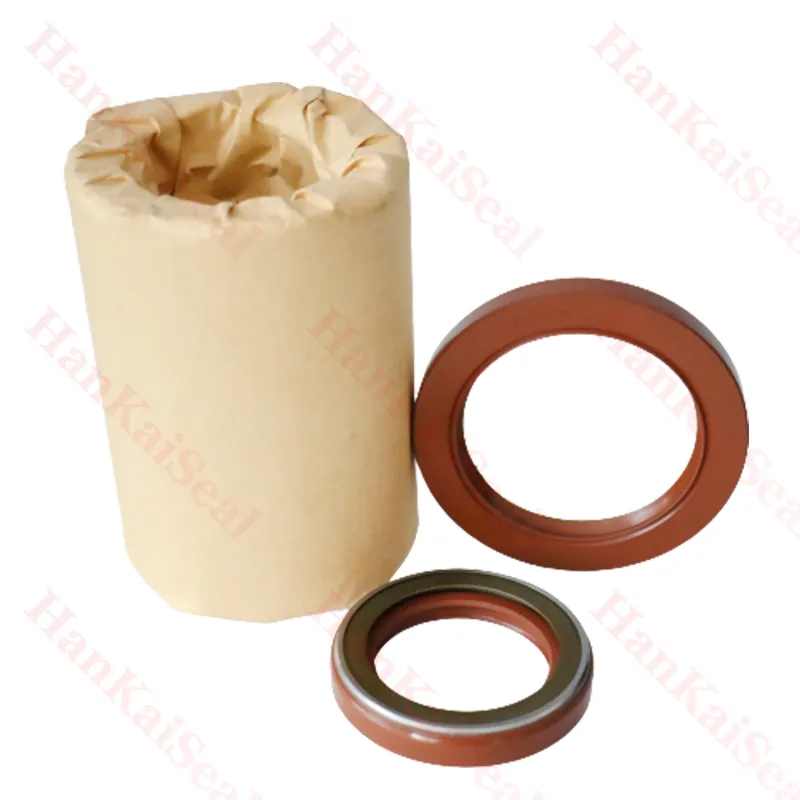
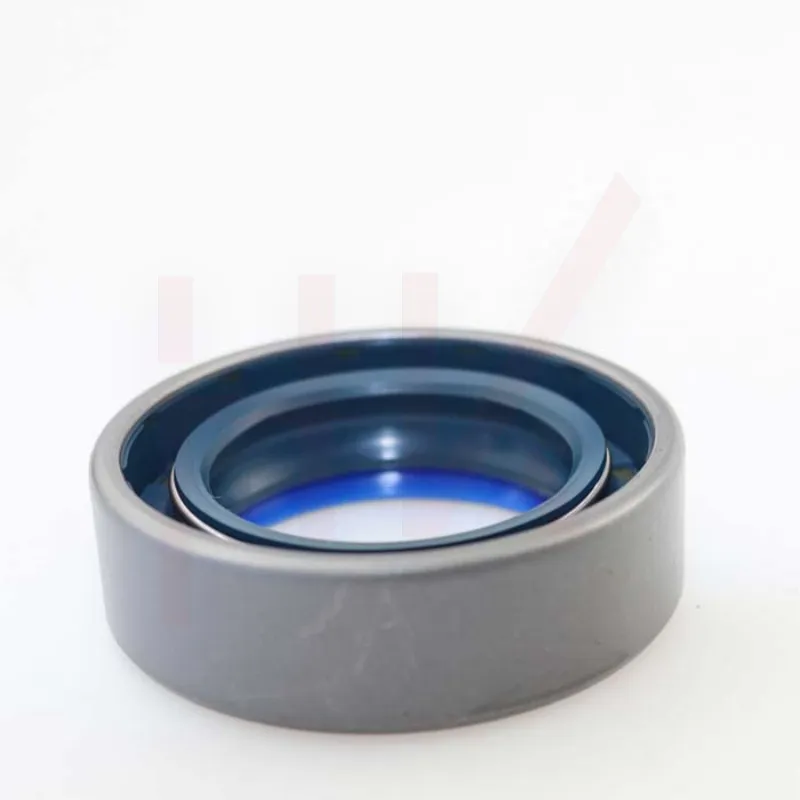
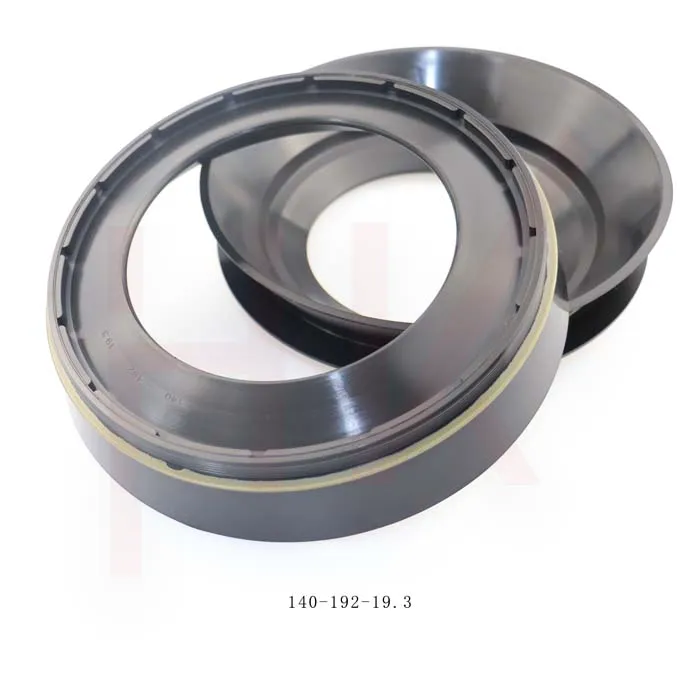
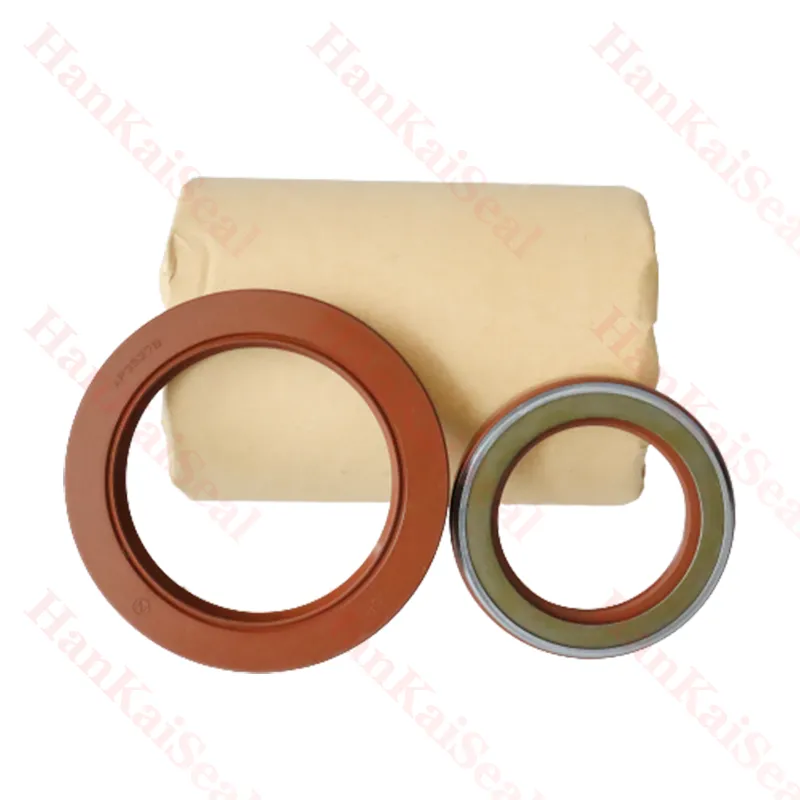
hydraulic cylinder seal kit replacement
Hydraulic Cylinder Seal Kit Replacement A Step-by-Step Guide
Hydraulic cylinders are essential components in various machinery, including construction equipment and hydraulic lifts. They rely on seal kits to maintain pressure and prevent fluid leakage. Over time, these seals wear out, leading to inefficiencies and potential damage. Replacing the hydraulic cylinder seal kit is a crucial maintenance task that can enhance the performance and longevity of your hydraulic equipment. This article provides a step-by-step guide for replacing hydraulic cylinder seal kits effectively.
Step 1 Gather Necessary Tools and Materials
Before starting the replacement process, ensure you have all required tools and materials. You will need
- A new seal kit specific to your hydraulic cylinder model - Wrenches (preferably in both metric and imperial sizes) - Pliers - A flathead screwdriver - A soft mallet - A hydraulic fluid - Clean rags or paper towels - Safety goggles and gloves
Step 2 Prepare the Work Area
Choose a clean and well-lit space for the replacement process. Make sure the hydraulic system is powered off, and relieve any pressure in the system by opening the cylinder. It’s advisable to place a container underneath the cylinder to catch any leaking hydraulic fluid during the disassembly.
Step 3 Disassemble the Cylinder
Using the appropriate wrench, remove any bolts securing the hydraulic cylinder to the machinery. Carefully detach the cylinder from its mounting brackets. Once removed, locate the end cap, which is typically secured with screws or bolts. Unscrew the cap gently and slide it off to access the internal components.
Step 4 Remove Old Seals
hydraulic cylinder seal kit replacement
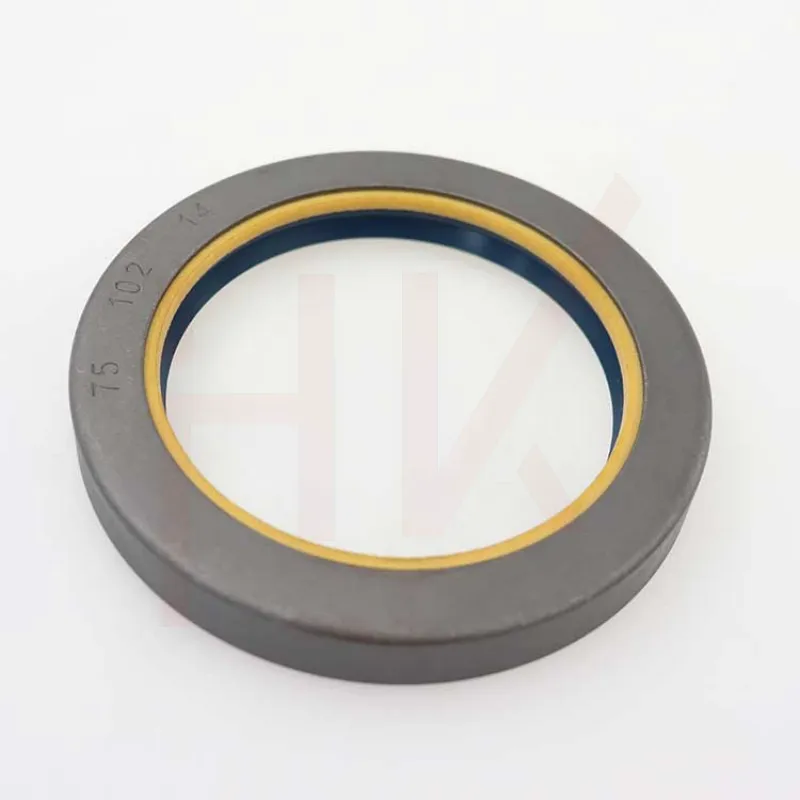
With the cylinder open, inspect the seals. Use a flathead screwdriver to carefully pry out the worn seals. Take close note of their arrangement and type for reference when installing the new seals. Clean the cylinder's interior thoroughly using rags to remove any dirt or debris that could hinder the new seal's performance.
Step 5 Install New Seals
Using your new seal kit, start installing the new seals in the same order as the old ones were arranged. Be sure to apply a thin layer of hydraulic fluid to the seals to help them slide into place more easily. Take extra care not to damage the seals during installation. Once all seals are in place, reattach the end cap securely to prevent any leaks.
Step 6 Reassemble the Cylinder
After the new seals are in position, reattach the cylinder to its mounting brackets. Use the appropriate tools to tighten bolts securely but avoid over-tightening, which could damage the seals.
Step 7 Refill Hydraulic Fluid and Test
Once the hydraulic cylinder is securely in place, refill the hydraulic fluid to the proper level. Start the machine and operate the cylinder to ensure it functions smoothly without leaks. Monitor for a few minutes to confirm that everything is working correctly.
Conclusion
Replacing a hydraulic cylinder seal kit is an essential maintenance task that helps ensure the efficiency and longevity of hydraulic systems. By following these straightforward steps, you can successfully replace the seal kit, reduce the risk of hydraulic fluid leaks, and keep your equipment running smoothly. Always refer to the specific manual for your equipment for any manufacturer-specific procedures or recommendations, and remember to wear safety gear to protect yourself during the process.
-
TCN Oil Seal Metal Ring Reinforcement for Heavy Machinery
NewsJul.25,2025
-
Rotary Lip Seal Spring-Loaded Design for High-Speed Applications
NewsJul.25,2025
-
Hydraulic Cylinder Seals Polyurethane Material for High-Impact Jobs
NewsJul.25,2025
-
High Pressure Oil Seal Polyurethane Coating Wear Resistance
NewsJul.25,2025
-
Dust Proof Seal Double Lip Design for Construction Equipment
NewsJul.25,2025
-
Hub Seal Polyurethane Wear Resistance in Agricultural Vehicles
NewsJul.25,2025
-
The Trans-formative Journey of Wheel Hub Oil Seals
NewsJun.06,2025
Products categories

