Sep . 07, 2024 23:50 Back to list
Excavator Boom Cylinder Seal Replacement Guide
Excavator Boom Cylinder Seal Replacement A Step-by-Step Guide
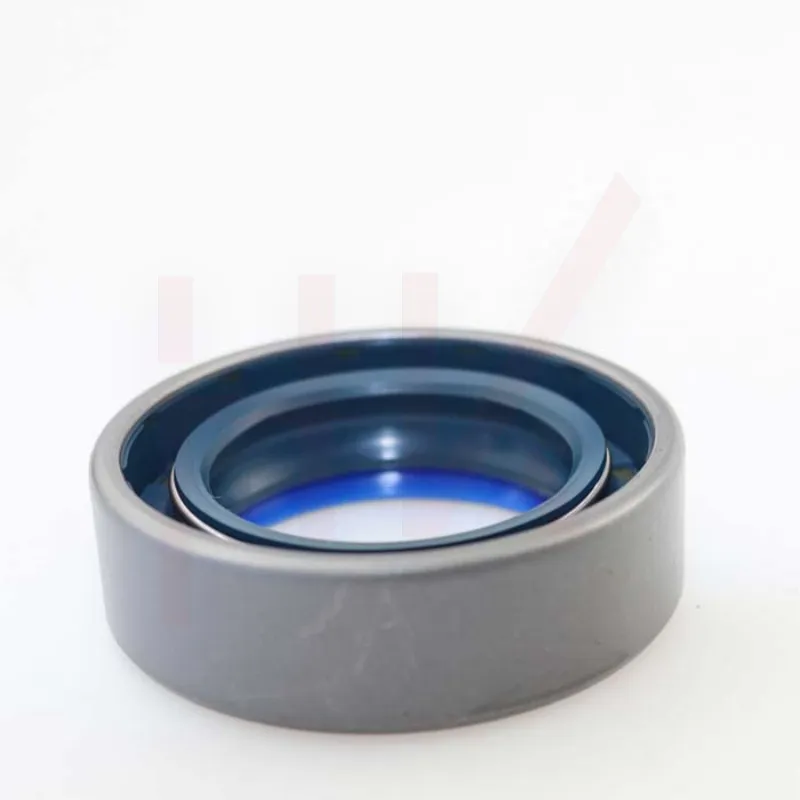
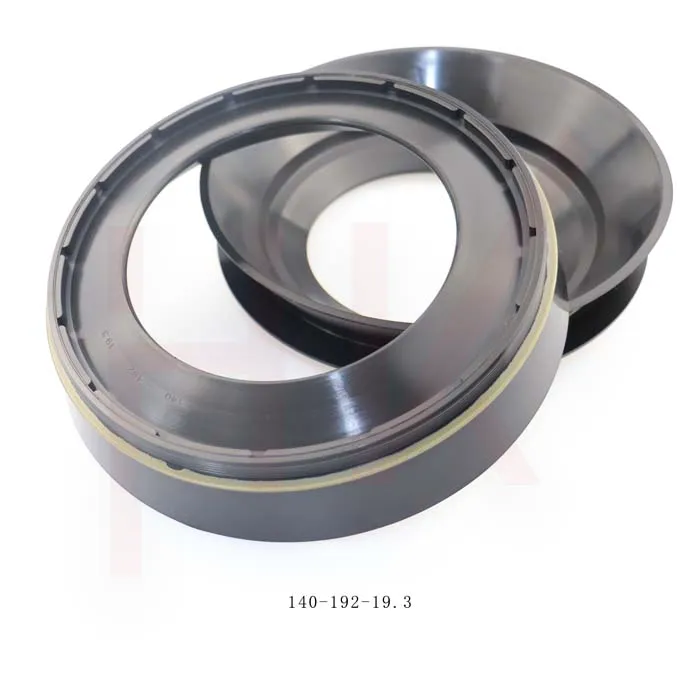
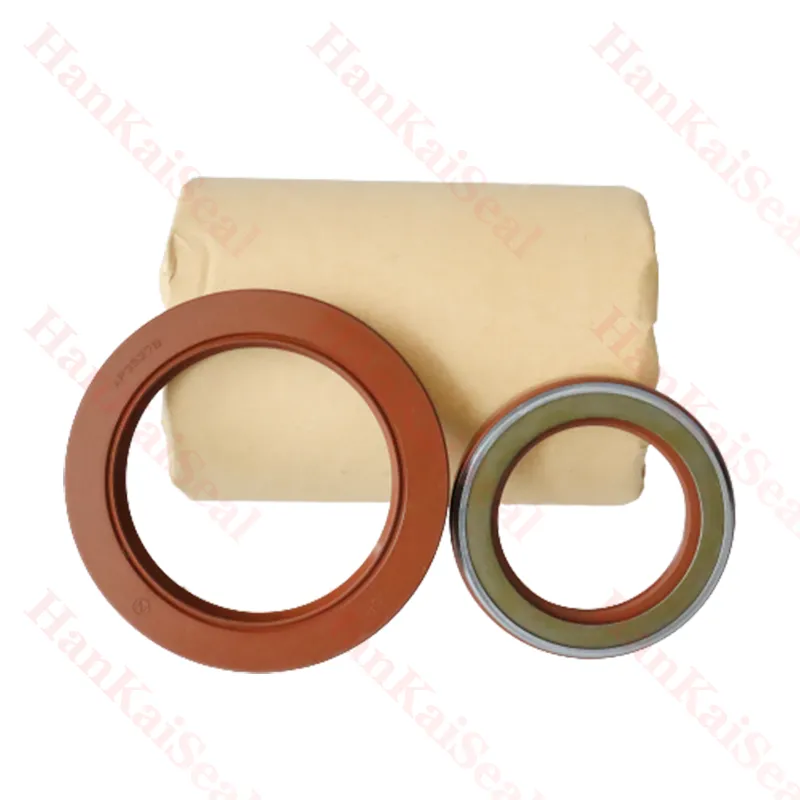
Replacing the seals on an excavator's boom cylinder is a crucial maintenance task that can significantly extend the life of the equipment. Over time, seals can wear out due to exposure to hydraulic fluid, dirt, and other contaminants, leading to leaks and reduced efficiency. This guide outlines the essential steps to successfully replace these seals and ensure your excavator operates at peak performance.
Tools and Materials Needed
Before starting the seal replacement process, gather the following tools and materials
Tools - Wrenches and sockets - Screwdrivers - Pliers - Hydraulic jack - Seal puller - Torque wrench
Materials - Replacement seals - Hydraulic fluid (as per manufacturer specifications) - Cleaning rags - Silicone grease (for installation)
Step 1 Safety First
Ensure the excavator is parked on a stable surface and the engine is turned off. Engage the parking brake and remove the key from the ignition to prevent accidental starts. Wear appropriate personal protective equipment, including gloves and safety glasses.
Step 2 Remove the Cylinder
1. Disconnect the Hydraulic Lines Using wrenches, carefully disconnect the hydraulic lines from the boom cylinder. Be prepared for some hydraulic fluid spillage; have rags handy to clean up any mess. 2. Remove the Cylinder from the Boom If necessary, use a hydraulic jack to support the boom. Loosen and remove the bolts securing the cylinder to the boom and slide it out gently.
Step 3 Disassemble the Cylinder
1. Remove the End Cap Use appropriate tools to remove the end cap of the cylinder. Be cautious, as there may be some residual pressure in the cylinder.
2. Extract the Piston Once the end cap is removed, carefully pull out the piston. Take note of its orientation and the order of any components to facilitate reassembly.
Step 4 Replace the Seals
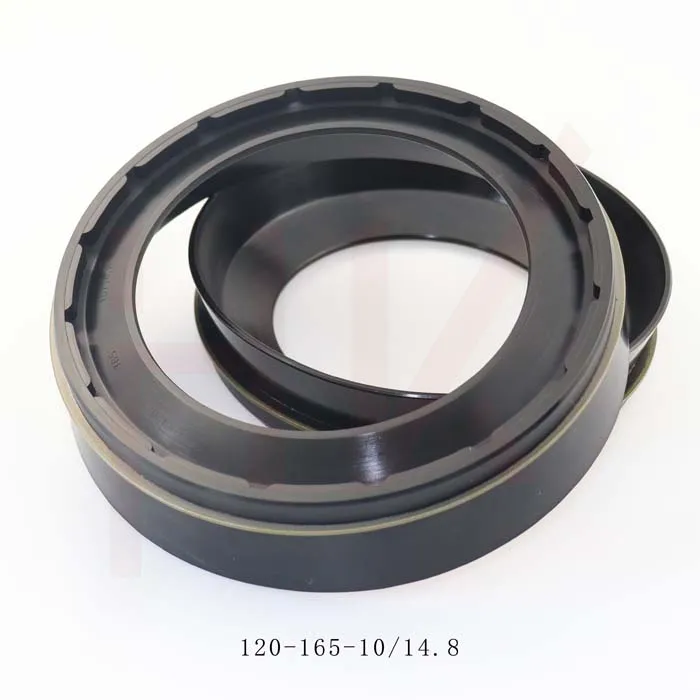
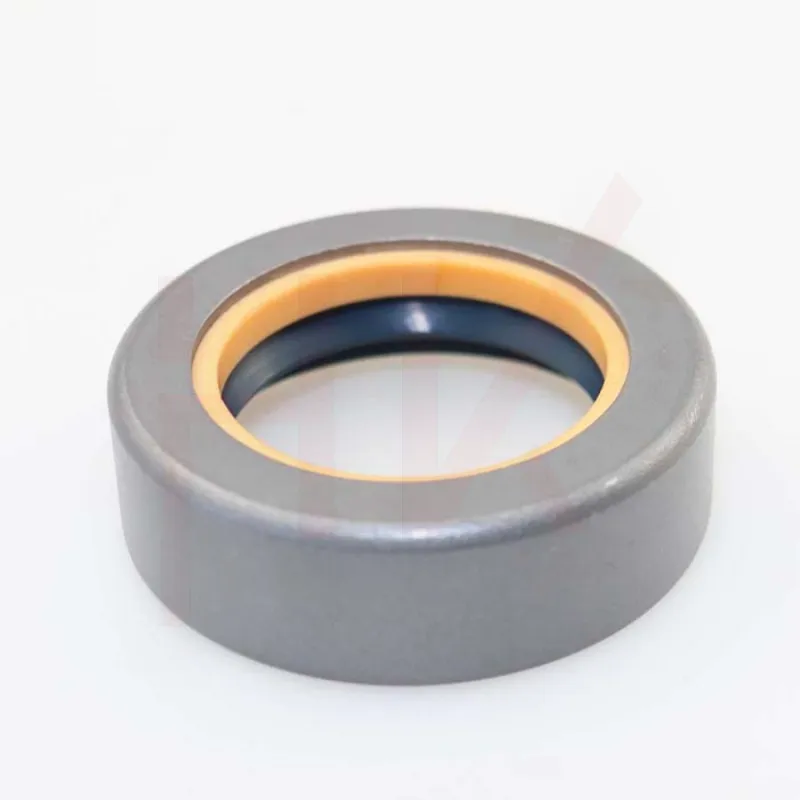
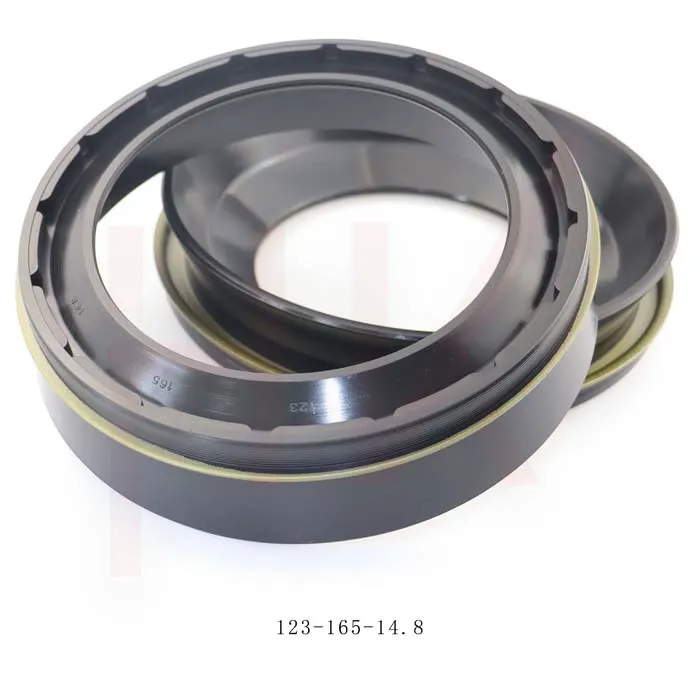
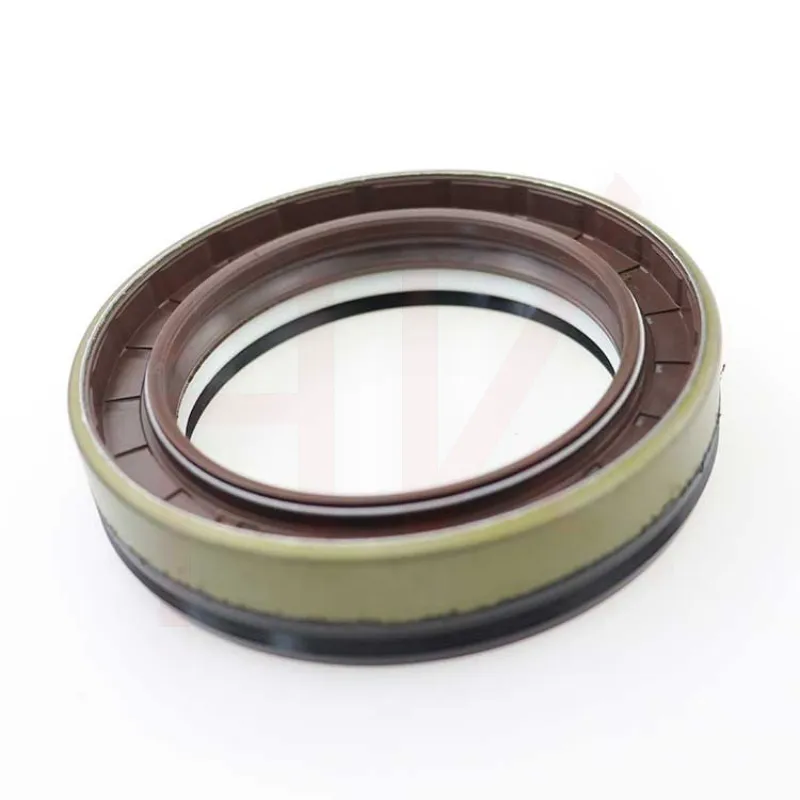
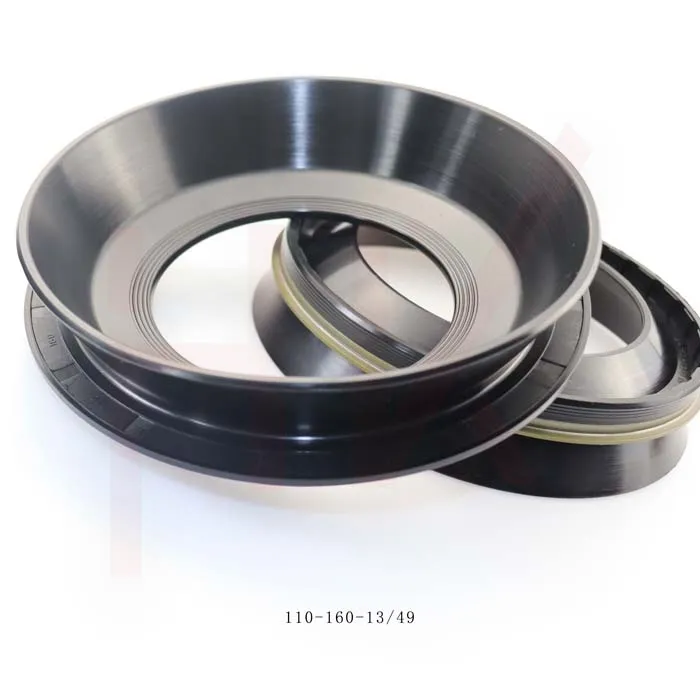
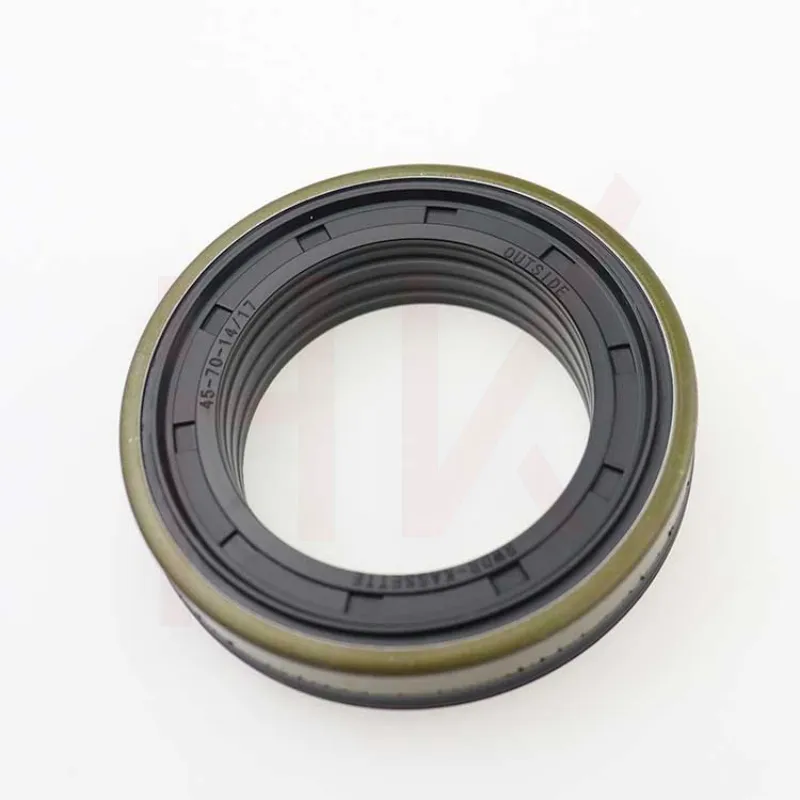
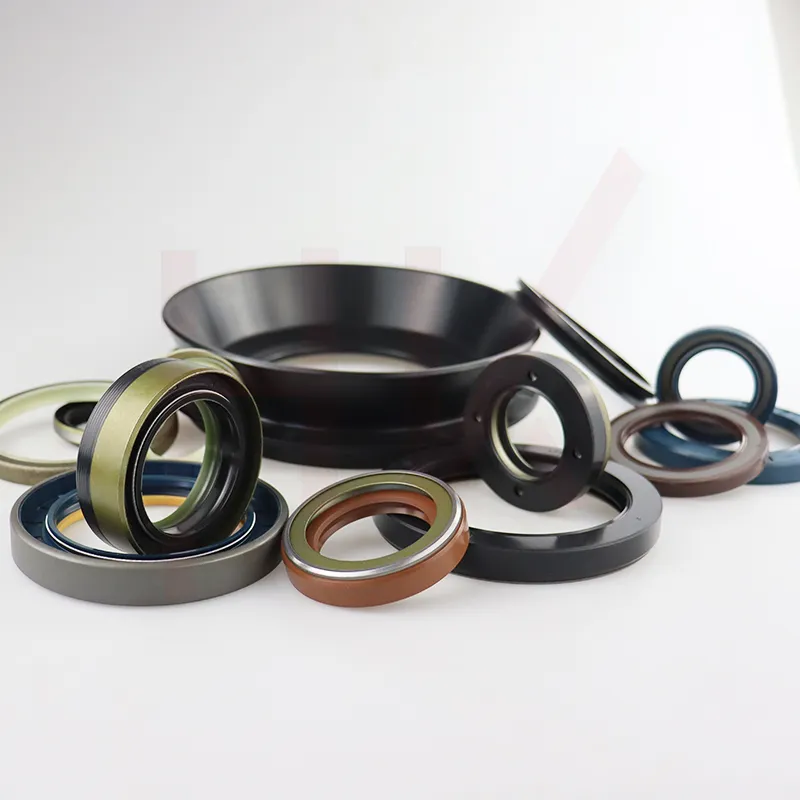
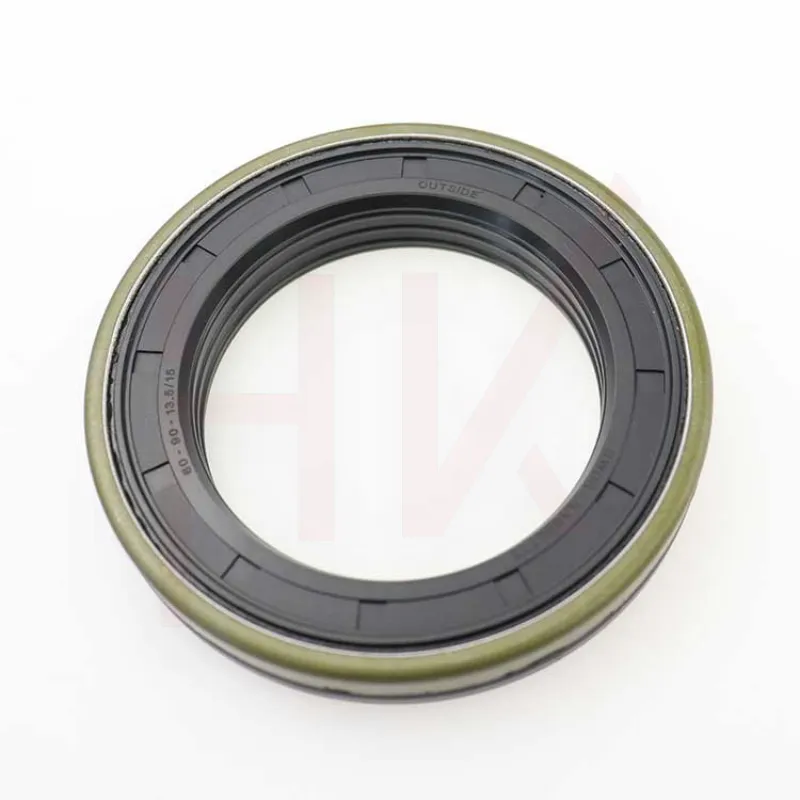
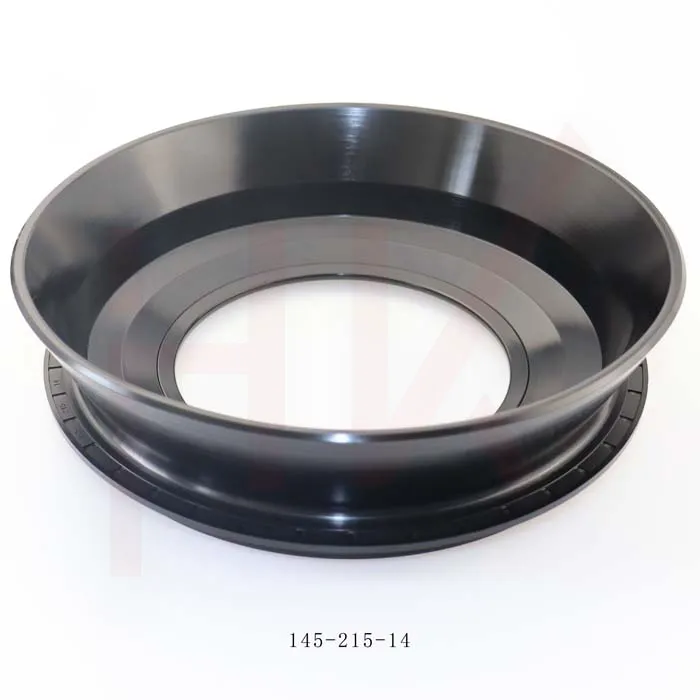
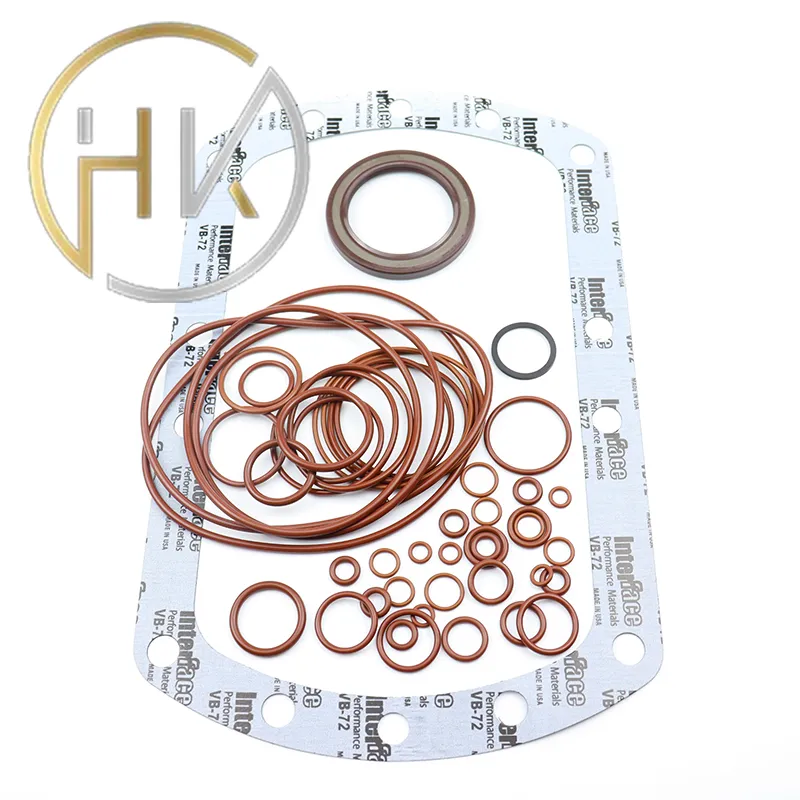
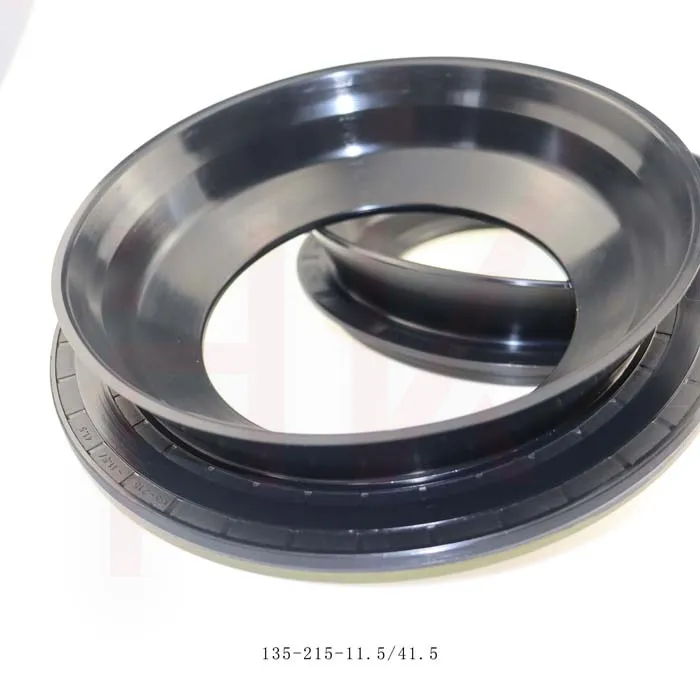
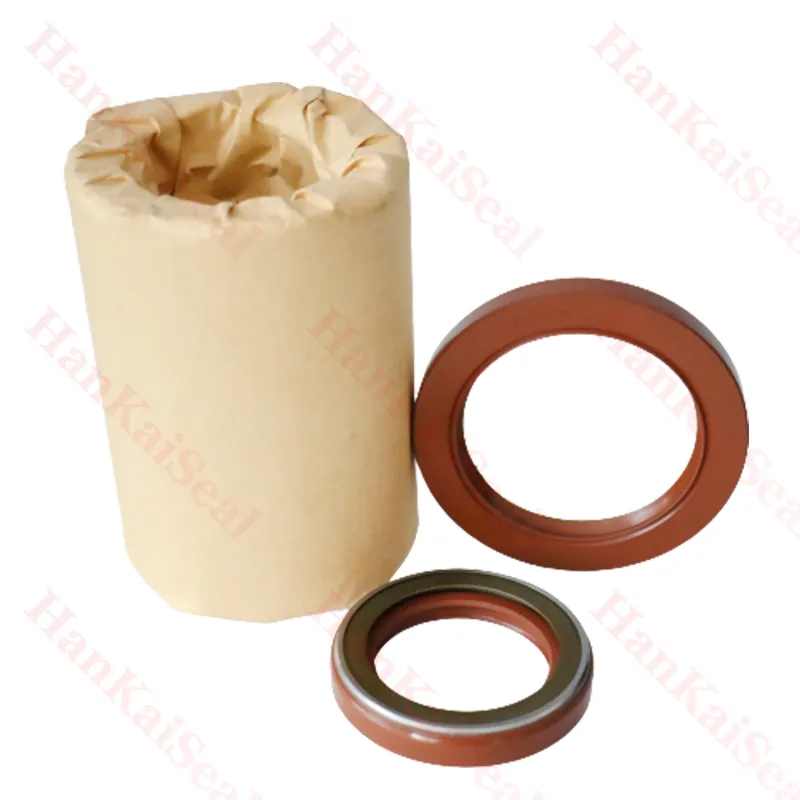
excavator boom cylinder seal replacement
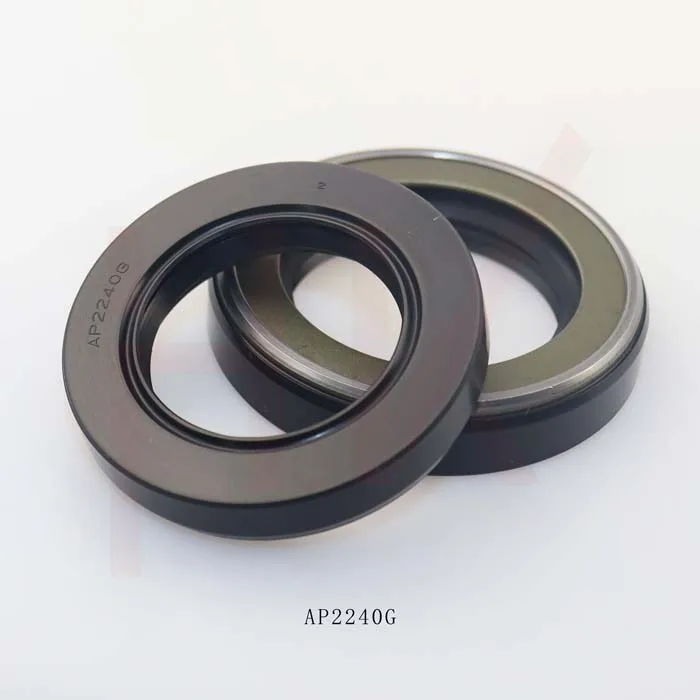
1. Remove Old Seals Use a seal puller to carefully remove the old seals from the piston and the cylinder. Ensure not to damage the cylinder or piston surfaces as this can lead to further issues.
2. Inspect Components Check the piston and cylinder for any signs of wear or damage. Clean the surfaces thoroughly using rags, making sure all debris is removed.
3. Install New Seals Apply a small amount of silicone grease to the new seals to facilitate installation. Carefully position them in their respective grooves on the piston and the cylinder. Ensure they fit snugly and are not twisted.
Step 5 Reassemble the Cylinder
1. Reinsert the Piston Carefully insert the piston back into the cylinder, ensuring it is aligned correctly.
2. Replace the End Cap Securely fasten the end cap back onto the cylinder, ensuring it is tight to prevent leaks.
Step 6 Reinstall the Cylinder
1. Mount the Cylinder Align the cylinder with the boom and secure it using the previously removed bolts. Use a torque wrench to ensure bolts are tightened to the recommended specifications.
2. Reconnect Hydraulic Lines Reattach the hydraulic lines, ensuring that all connections are tight to prevent future leaks.
Step 7 Final Checks
Before operating the excavator, fill the hydraulic system with the appropriate fluid. Start the engine and engage the boom to check for leaks and proper operation.
Conclusion
Regular maintenance, including timely seal replacements, is vital for the performance and longevity of your excavator. By following these steps, you can ensure your equipment remains in optimal condition, minimizing downtime and increasing productivity on the job site.
-
Wiper Oil Seal: Our Commitment to Clean Hydraulics
NewsAug.13,2025
-
Hydraulic Oil Seal for Self Discharging Cars
NewsAug.13,2025
-
Hub Oil Seal for Agricultural Tractor Hubs
NewsAug.13,2025
-
Skeleton Oil Seal with NBR Material
NewsAug.13,2025
-
Rotary Lip Seal for High Pressure Applications
NewsAug.13,2025
-
Cylinder Seal Kits Our Legacy of Hydraulic Trust
NewsAug.13,2025
-
Unlocking the Potential of Hydraulic Systems with Essential Sealing Solutions
NewsAug.06,2025
Products categories

