Дек . 21, 2024 12:56 Back to list
How to Replace a Pump Seal Kit Efficiently and Effectively
Understanding Pump Seal Kit Replacement A Comprehensive Guide
In various industrial and commercial applications, pumps play a crucial role in the movement of fluids. To ensure their efficiency and longevity, routine maintenance is imperative, with one of the essential practices being the replacement of the pump seal kit. This article delves into the importance of pump seal kit replacement, the signs indicating it’s time to replace one, and the steps involved in the replacement process.
Importance of Pump Seal Kits
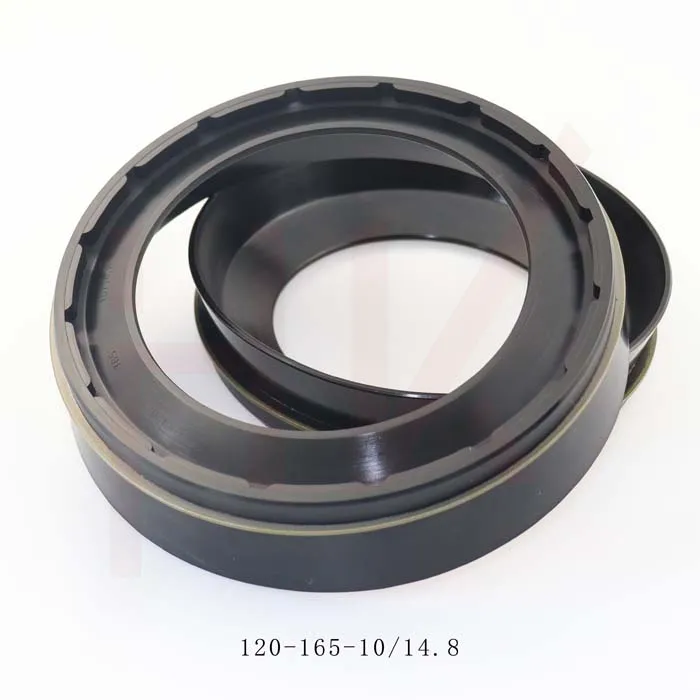
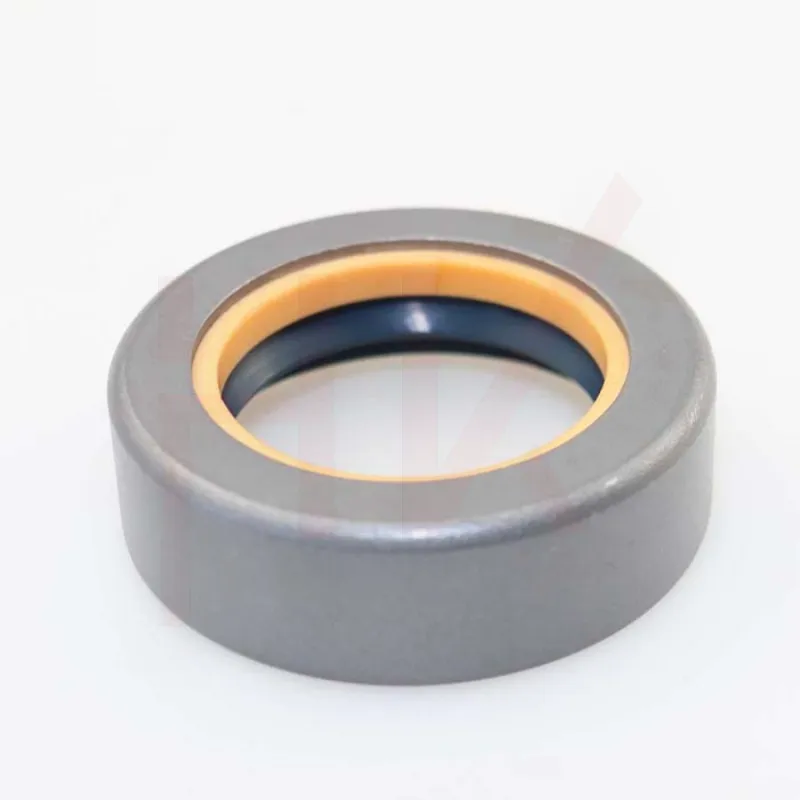
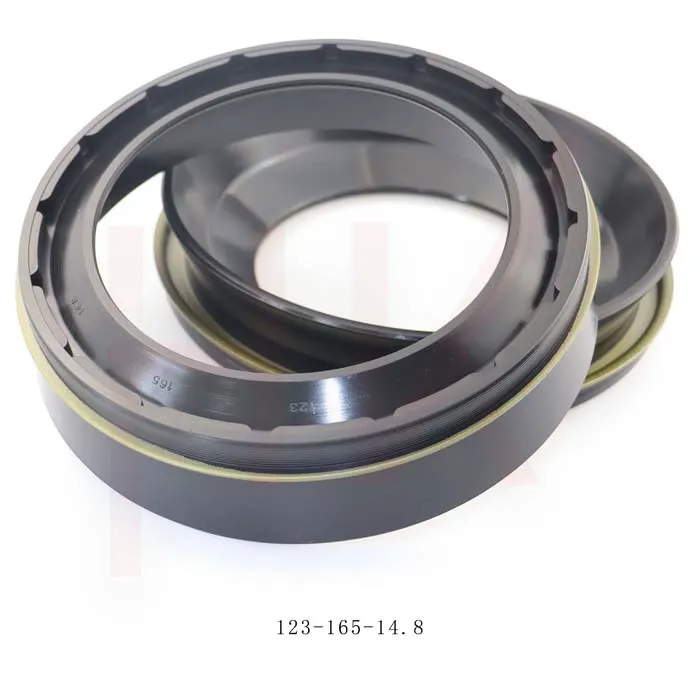
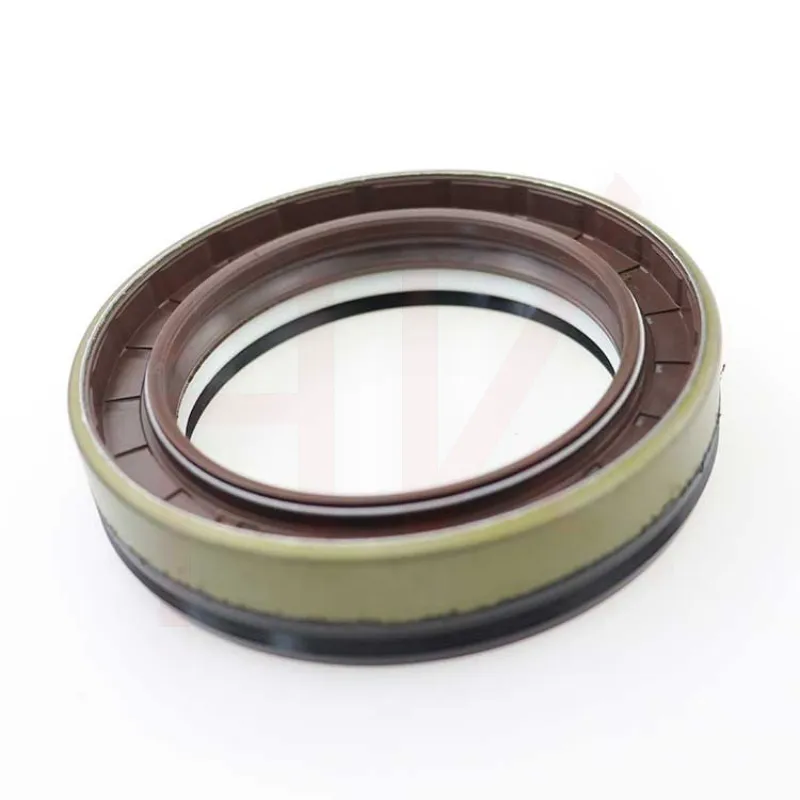
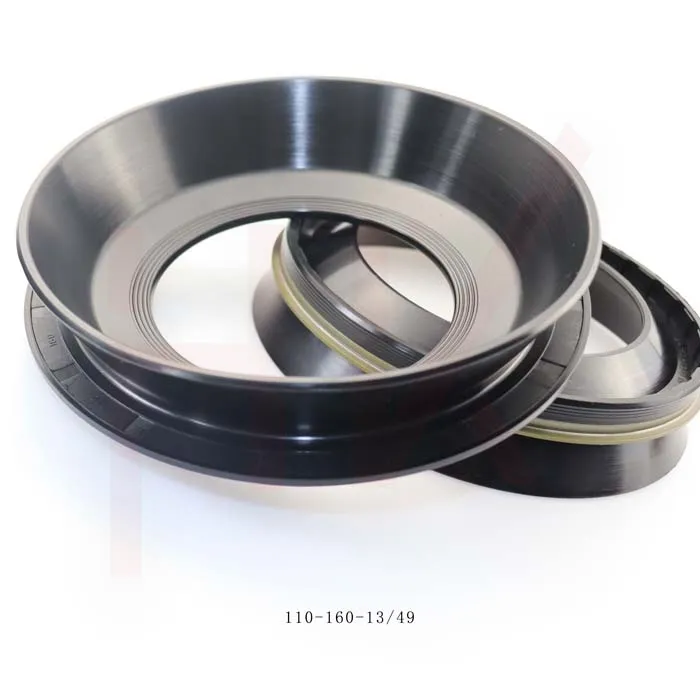
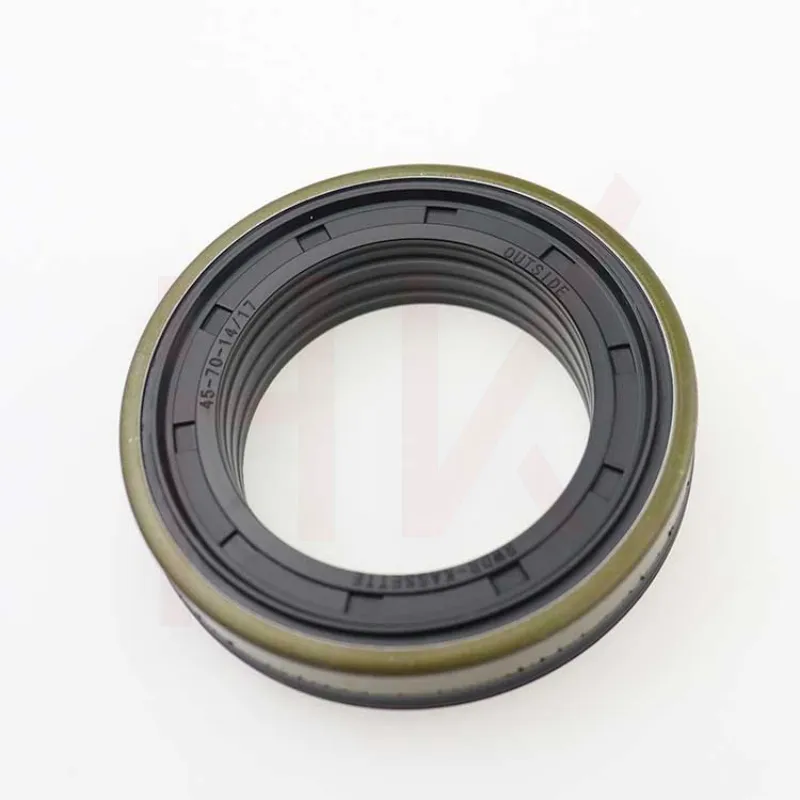
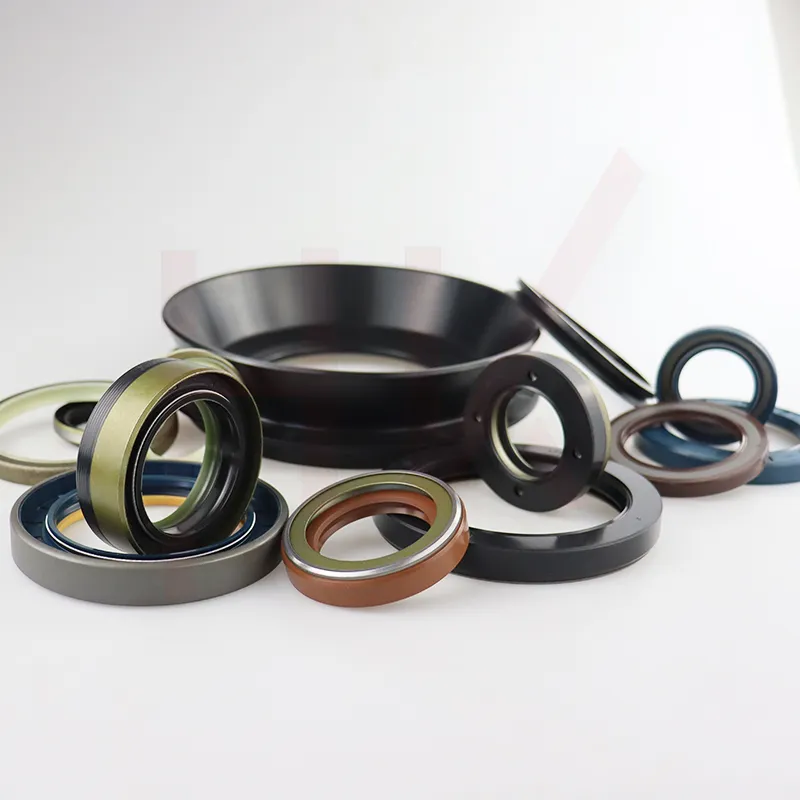
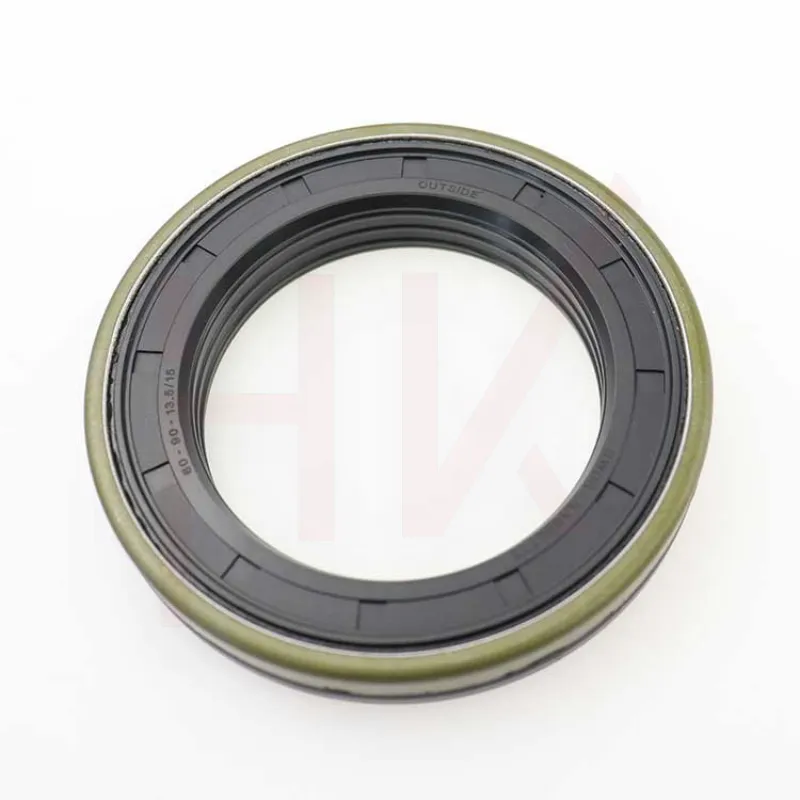
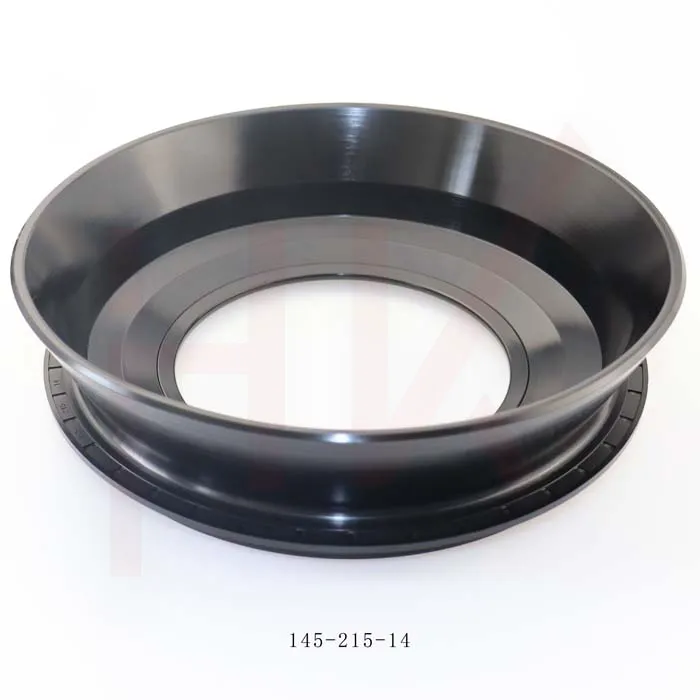
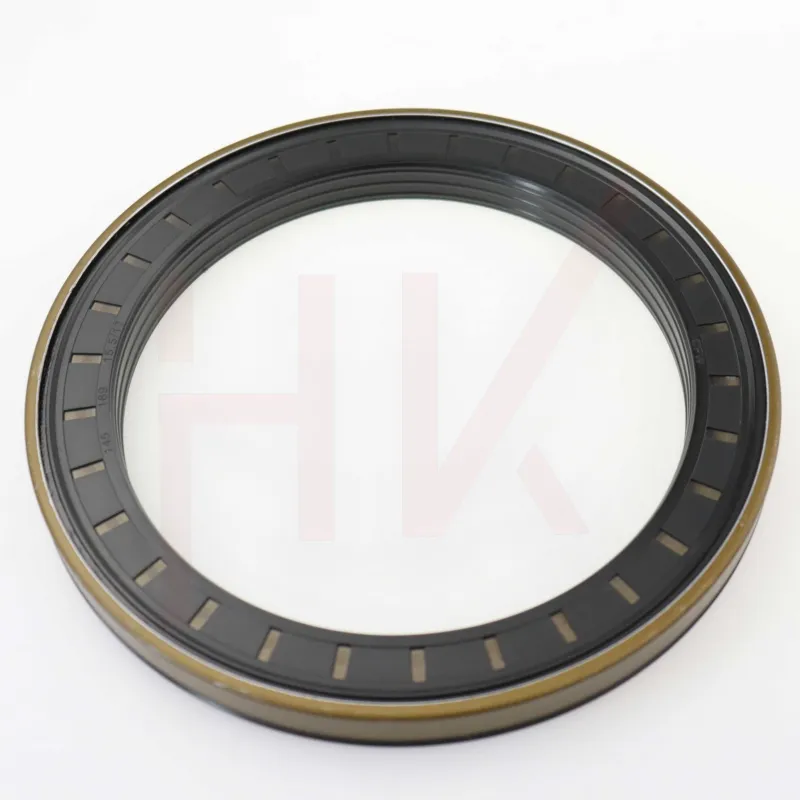
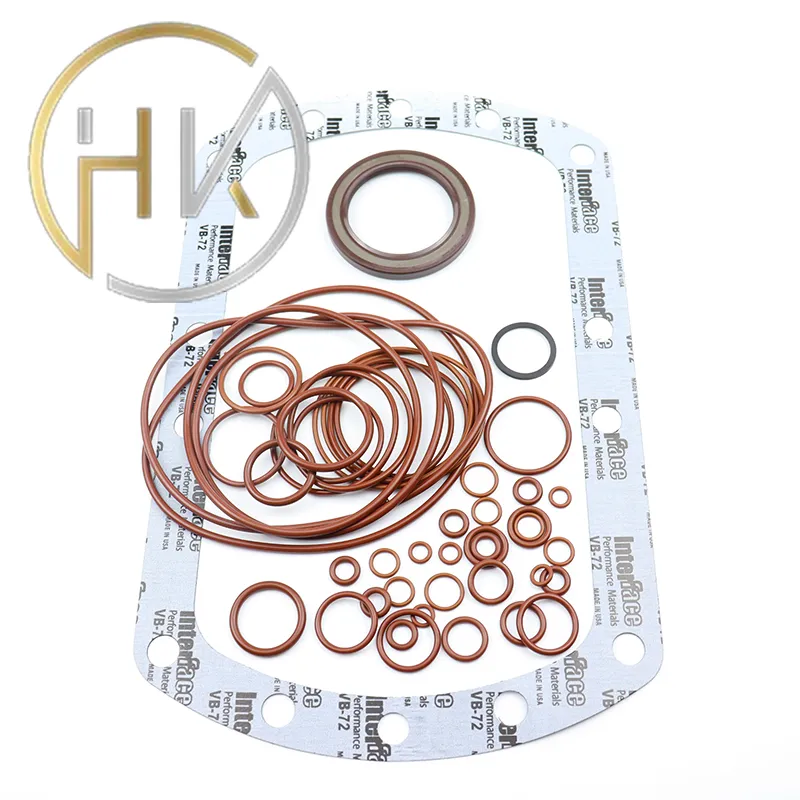
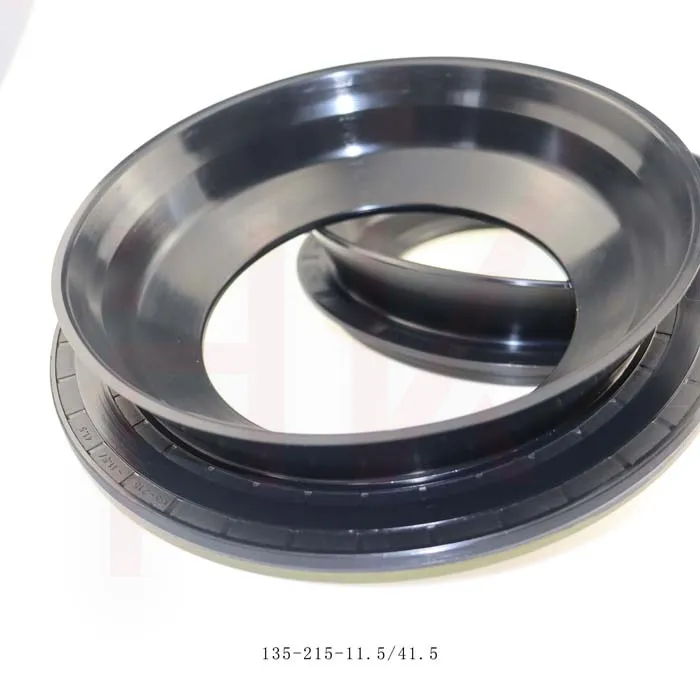
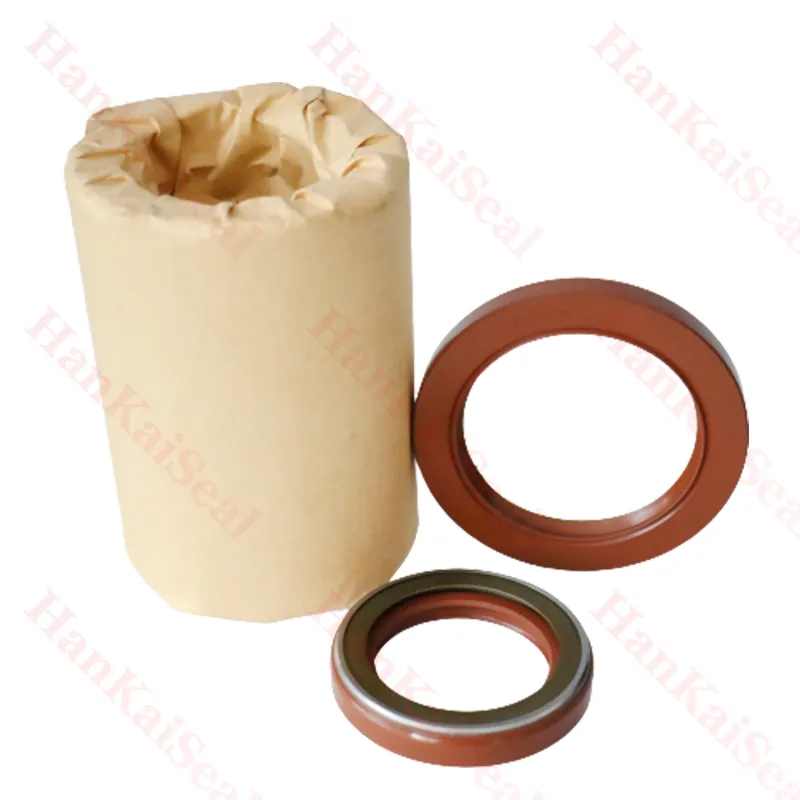
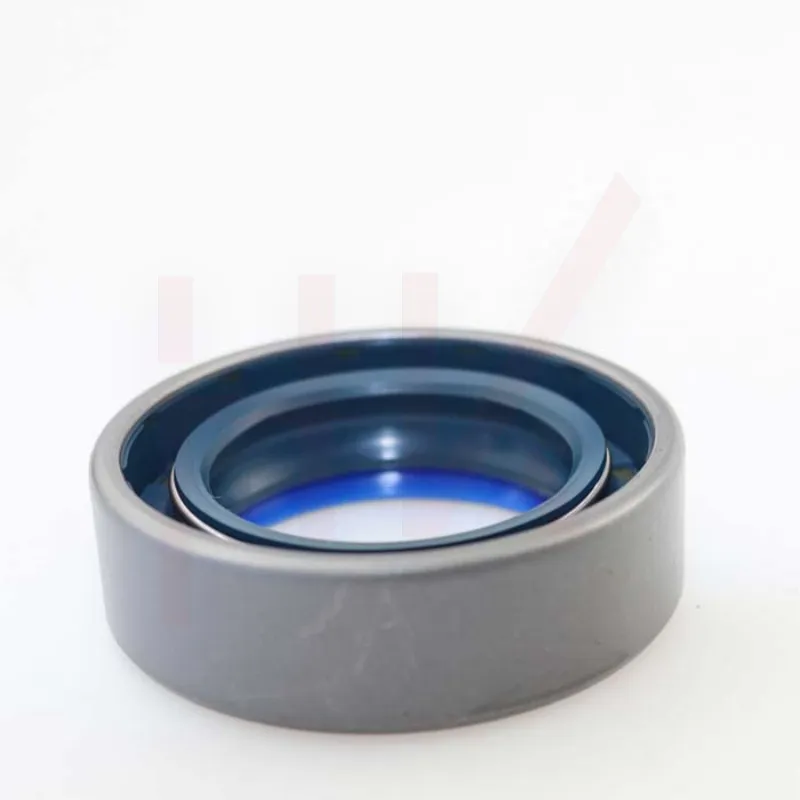
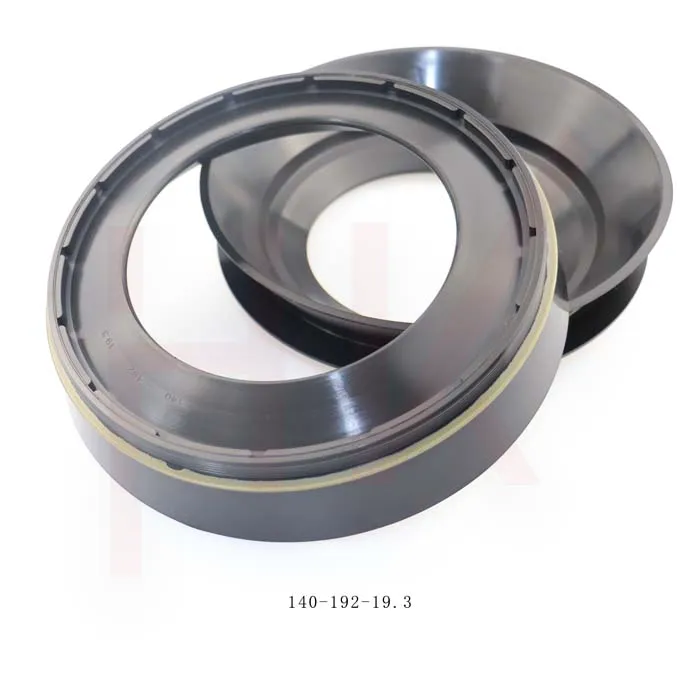
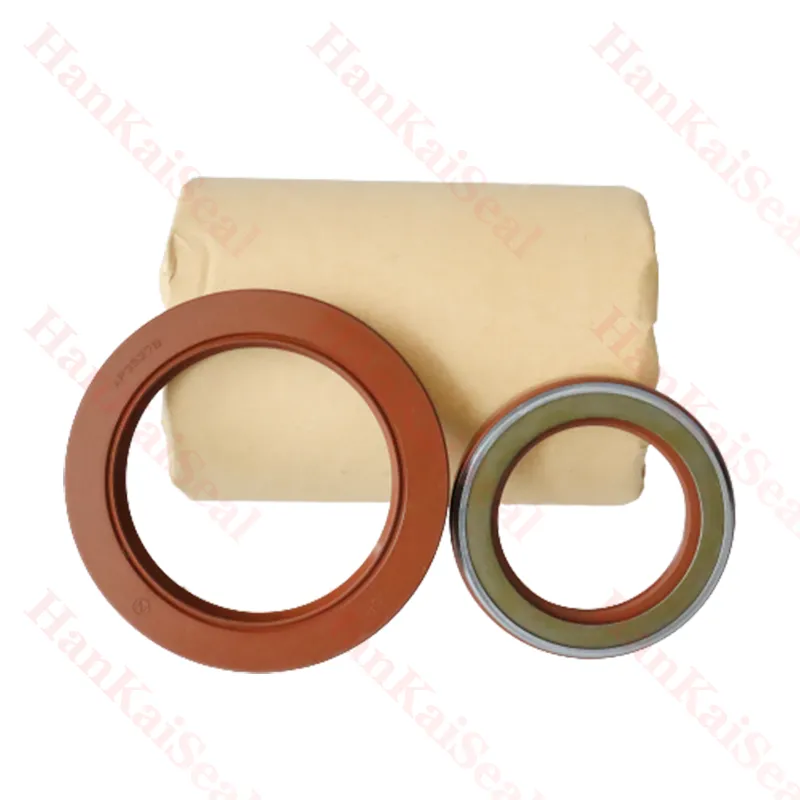
Pump seal kits are integral components designed to prevent fluid leakage, ensuring that the pump operates efficiently. These kits typically consist of several components, including O-rings, mechanical seals, gaskets, and various sealing materials. A well-functioning seal kit helps maintain pressure within the system, protects the internal parts of the pump, and minimizes the risk of contamination from outside elements.
When a seal kit begins to fail, it can lead to significant issues. Fluid leaks not only result in the loss of valuable materials but can also cause environmental hazards and safety concerns. Moreover, leaking fluids can damage the motor and other pump components, leading to costly repairs and extended downtime. Thus, timely replacement of a pump seal kit is essential to avoid these complications.
Signs that a Pump Seal Kit Needs Replacement
Recognizing the signs indicating that a pump seal kit needs replacement is key to maintaining optimal pump performance. Some common indicators include
1. Fluid Leakage The most apparent sign of seal failure is visible leakage around the pump’s seals. If you notice pools of fluid forming around the pump or excessive moisture, it is time to inspect the seal kit.
2. Increased Pump Noise Unusual noises such as grinding or rattling can indicate that the internal components of the pump are exposed due to a compromised seal. Prompt action is necessary to prevent further damage.
3. Reduced Efficiency A drop in the flow rate or pressure may suggest that the seals are not functioning correctly, leading to inefficient pumping operations.
4. Frequent Overheating If the pump is running hotter than usual, it could be a sign of friction caused by wear and tear on the seals.
5. Visible Wear and Tear If you visually inspect the pump and notice cracks, wear, or deformation in the seals, a replacement is imminent.
pump seal kit replacement

Steps for Pump Seal Kit Replacement
Replacing a pump seal kit requires careful attention to detail and adherence to safety protocols. Here are the basic steps to guide you through the replacement process
1. Safety First Before starting, ensure the pump is turned off and isolated from any power source. Follow all safety guidelines and use appropriate personal protective equipment (PPE).
2. Disassemble the Pump Carefully disassemble the pump to access the seal kit. Take note of the order and orientation of components for easier reassembly. A camera or notepad can be helpful during this step.
3. Remove the Old Seal Kit Once exposed, gently remove the old seals and gaskets. Scrape off any residual material carefully without damaging the sealing surfaces.
4. Clean the Surfaces Thoroughly clean the surfaces where the new seals will be installed. This step is critical to ensure a proper seal and prevent future leaks.
5. Install the New Seal Kit Carefully install the new seals, ensuring proper alignment and fit. Make sure to lubricate the seals lightly with the appropriate lubricant if necessary.
6. Reassemble the Pump Reassemble the pump in the reverse order of disassembly. Ensure that all components are seated correctly and that no tools or debris are left inside.
7. Test the Pump After reassembly, power the pump back on and check for leaks. Monitor its performance to confirm that the replacement was successful.
Conclusion
The timely replacement of pump seal kits is vital for the longevity and efficiency of pumping systems. By understanding the importance, recognizing the signs of seal failure, and following the proper replacement procedure, operators can ensure their pumps remain operational and effective. Regular maintenance routines that include seal kit inspections and replacements will ultimately save time, reduce costs, and enhance the safety of industrial operations. Remember, when it comes to pump maintenance, being proactive is always better than being reactive.
-
The Trans-formative Journey of Wheel Hub Oil Seals
NewsJun.06,2025
-
Graphene-Enhanced Oil Seals: Revolutionizing High-Pressure Oil Sealing
NewsJun.06,2025
-
Future of Hydraulic Sealing: Advanced Intelligent TCN Oil Seals
NewsJun.06,2025
-
Don’t Let a Broken TCV Oil Seal Ruin Your Day
NewsJun.06,2025
-
Bio-Inspired Dust Seals for Better Sealing Performance
NewsJun.06,2025
-
Biodegradable and Sustainable Hydraulic Seal Materials
NewsJun.06,2025
-
Top Oil Seal Solutions for Your Industrial Needs
NewsMay.22,2025
Products categories

