
តុលា . 17, 2024 05:05 Back to list
How to Change Seals in a Hydraulic Cylinder Efficiently and Effectively
Replacing Seals in a Hydraulic Cylinder A Step-by-Step Guide
Hydraulic cylinders are crucial components in various machines, responsible for converting hydraulic energy into mechanical energy to perform work. Over time, the seals within these cylinders can wear down, leading to leaks, reduced efficiency, and potential system failures. Replacing seals in a hydraulic cylinder is a task that can be performed by those with a bit of mechanical know-how and the right tools. In this article, we'll walk you through the process of replacing seals in a hydraulic cylinder, ensuring your equipment operates at peak performance.
Understanding the Importance of Seals
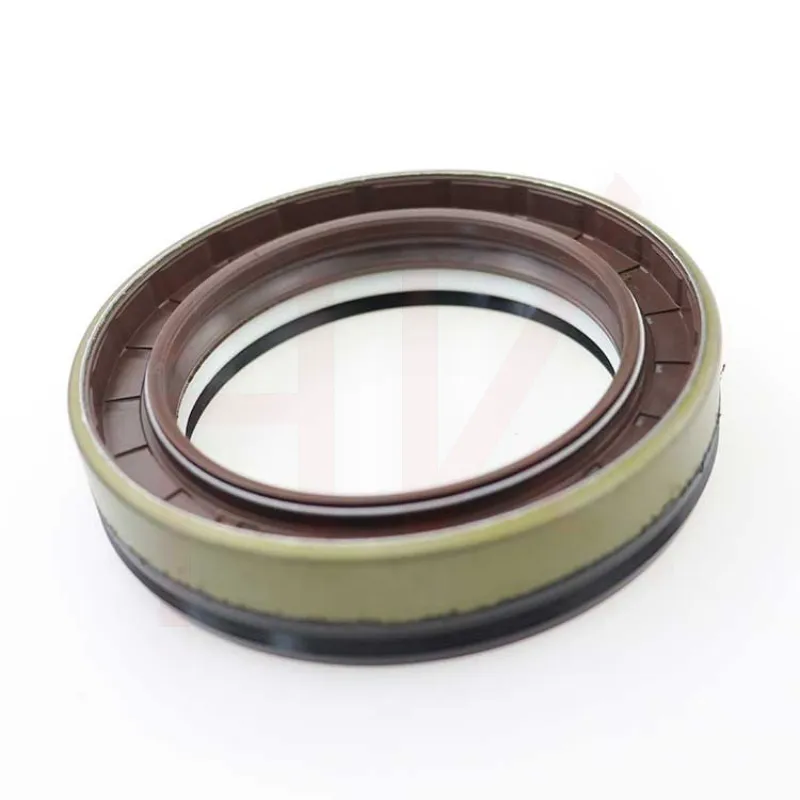
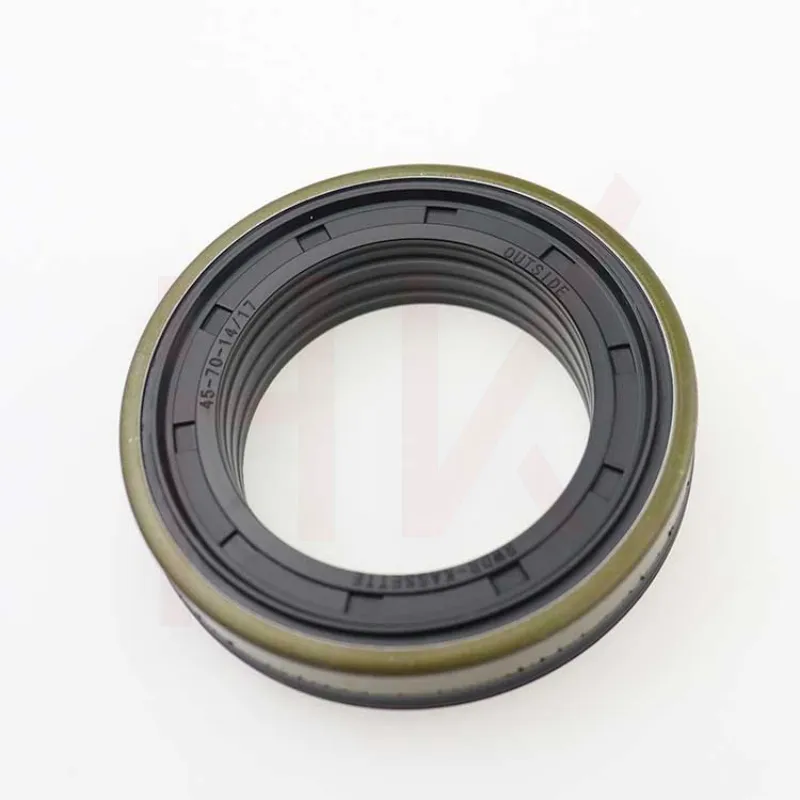
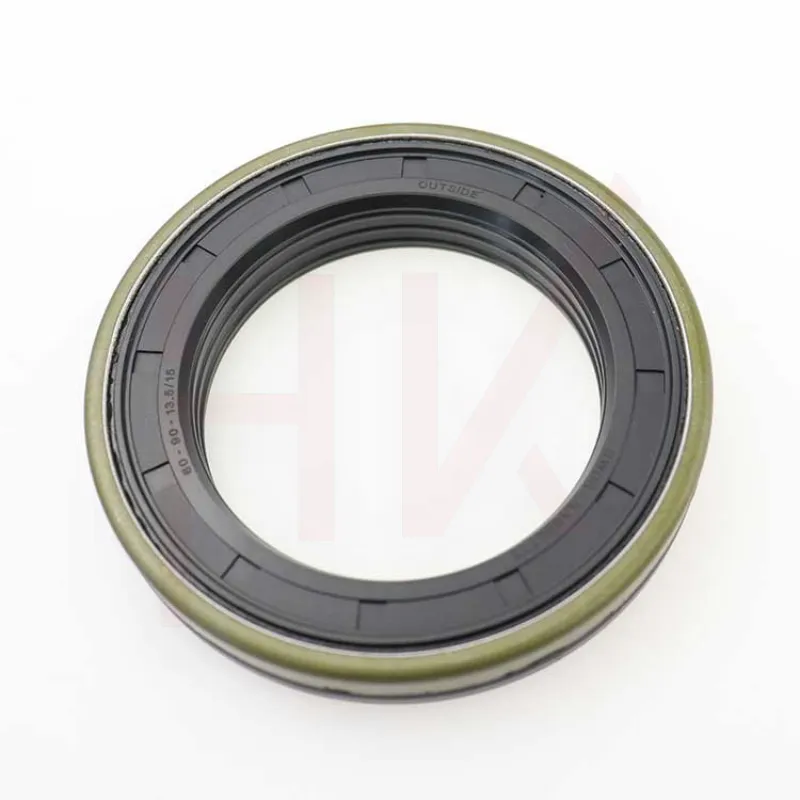
Seals prevent hydraulic fluid from leaking out of the cylinder and keep contaminants from entering it. Different types of seals, like O-rings and lip seals, are used depending on the specific application. If seals wear down due to age, temperature, or pressure fluctuations, they can cause a loss of pressure and efficiency, compromising the hydraulic system. Regular maintenance and timely replacement of seals are essential to prolong the life of your hydraulic cylinders.
Tools and Materials Needed
Before starting the replacement process, gather the following tools and materials
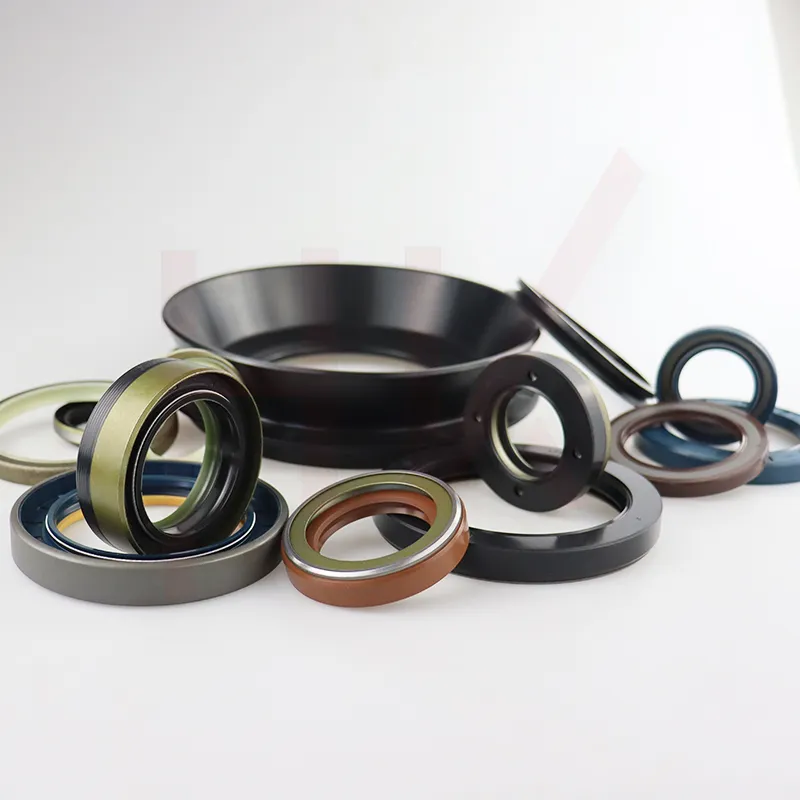
1. Safety Gear Gloves, goggles, and protective clothing. 2. Basic Hand Tools Wrenches, screwdrivers, and pliers. 3. Seal Kit Ensure you have the correct replacement seals for your hydraulic cylinder. 4. Clean Cloths For cleaning the cylinder and work area. 5. Hydraulic Fluid To refill the cylinder after seal replacement. 6. Seal Puller Optional, but useful for removing seals without damaging the cylinder.
Step-by-Step Guide to Replacing Seals
Step 1 Safety First
Before you begin, ensure that the hydraulic system is powered off and depressurized. Disconnect any power source and relieve pressure by operating the equipment until it no longer moves.
Step 2 Disassemble the Hydraulic Cylinder
1. Remove the Cylinder If possible, detach the hydraulic cylinder from its mounting. This may involve unscrewing bolts or detaching hydraulic lines. 2. Disassemble the Cylinder Carefully disassemble the hydraulic cylinder. Most cylinders consist of a barrel, piston, and end caps. Take note of the assembly order and orientation of parts for easier reassembly.
Step 3 Inspect Components
Before replacing seals, inspect the entire cylinder for damage, including
replacing seals in a hydraulic cylinder
- Barrel Check for scratches, pitting, or wear that could affect seal performance. - Piston Ensure it is not gouged or worn. - End Caps Look for cracks or significant wear.
If any components are damaged, they may need to be repaired or replaced.
Step 4 Remove Old Seals
Using your seal puller or a screwdriver, carefully remove the old seals from the piston and cylinder ends. Take care not to scratch the surfaces of the cylinder or piston, as this could lead to further issues with the new seals.
Step 5 Install New Seals
1. Lubrication Before installing new seals, apply a light coat of clean hydraulic fluid to the seals. This helps them slide into place and reduces the risk of tearing during installation.
2. Installation Carefully press the new seals into their respective grooves. Ensure that they are seated properly and are oriented in the correct direction. Pay careful attention to any specific instructions provided with your seal kit regarding installation orientation.
Step 6 Reassemble the Cylinder
Once the seals are in place, reassemble the hydraulic cylinder in the reverse order you disassembled it. Make sure to tighten all bolts and connections securely, but avoid overtightening, which can damage components.
Step 7 Reinstall and Test the System
Reattach the hydraulic cylinder to its mounting bracket and reconnect hydraulic lines. Fill the cylinder with the appropriate hydraulic fluid, ensuring there are no air pockets. After everything is securely in place, power on the system and test it for leaks. Operate the equipment to ensure that everything is functioning correctly.
Conclusion
Replacing seals in a hydraulic cylinder is a manageable task for those willing to take a hands-on approach to maintenance. By following these steps, you can extend the life of your hydraulic system and ensure it operates efficiently. Regular inspections and timely replacements of seals will save you time and money in the long run, preventing more extensive repairs and downtime. Always consult the manufacturer's guidelines and procedures specific to your hydraulic system for the best results.
-
Understanding Oil Seals and Their Role in Machinery Efficiency
NewsApr.08,2025
-
The Importance of Seals in Agricultural and Hydraulic Systems
NewsApr.08,2025
-
Essential Guide to Seal Kits for Efficient Machinery Maintenance
NewsApr.08,2025
-
Choosing the Right TCV Oil Seal for Your Machinery
NewsApr.08,2025
-
Choosing the Right Hydraulic Oil Seals for Reliable Performance
NewsApr.08,2025
-
A Comprehensive Guide to Oil Seals and Their Applications
NewsApr.08,2025
-
The Importance of High-Quality Oil Seals in Industrial Applications
NewsMar.26,2025
Products categories
-
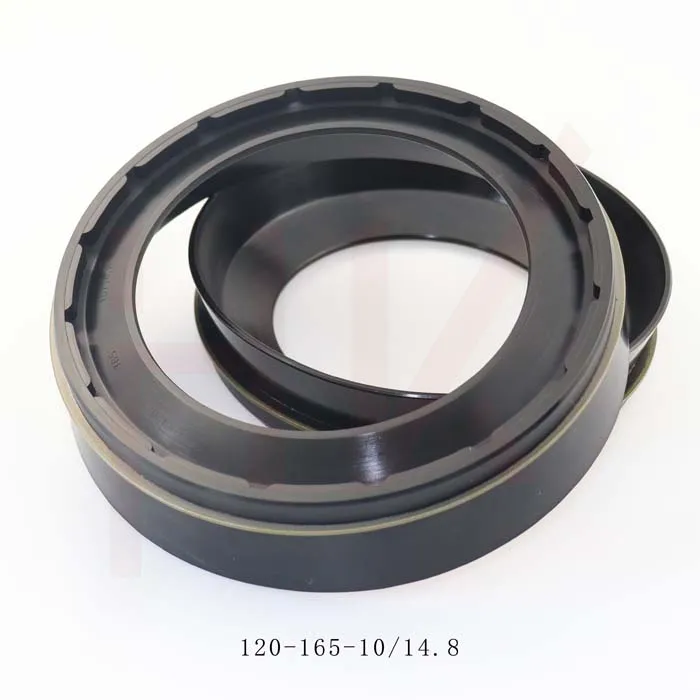
0734307418 0750112169 120*165*10/14.8 concrete mixer reducer oil seal
-
35*52*16 Standard Wheel Hub Oil Seal For Agricultural Machinery
-
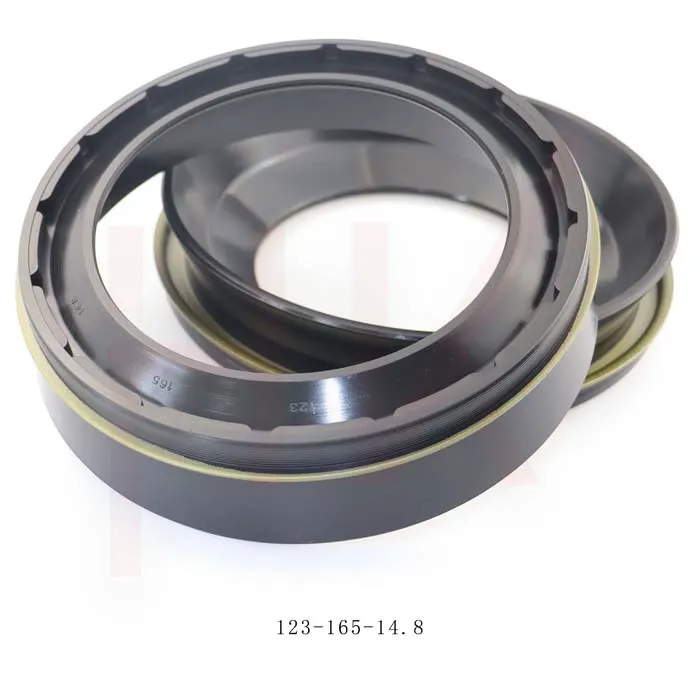
123*165*14.8 concrete mixer truck reducer oil seal
-
Tractor shaft oil seal 65-90-20 COMBI SF19 hub oil seal
-

110*160*13/49 NBR reducerConcrete mixer truck oil seal
-
Hub oil seal 40*65*13/14.5 suitable for tractor Cat 12018035b
-
Cement tank truck bowl-shaped oil seal 135*175*11/38 K713 concrete mixer reducer oil seal
-
Tractor accessories cassette oil seal hub oil seal 60-90-13.5/15
-
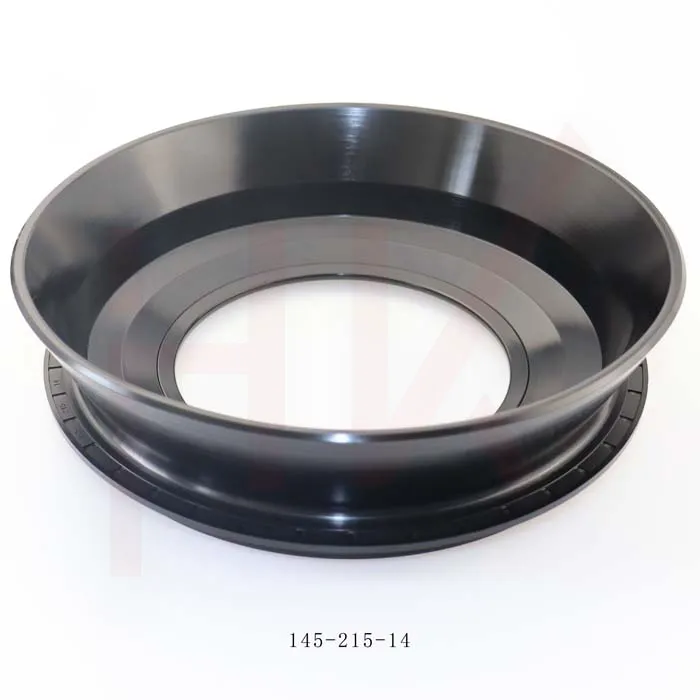
Factory concrete mixer truck oil seal 145*215*14 reducer gearbox oil seal
-
145*189*15.5/17 Cassette Seal NBR Hub Oil Seal 1508044
-

Factory direct sales hydraulic pump motor seal kit A8VO140
-
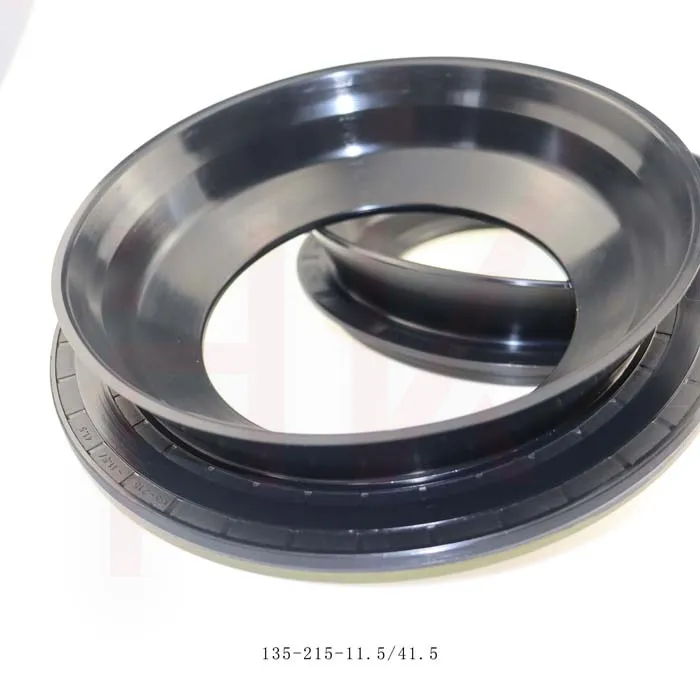
Brand new cement tanker oil seal 135*215*11.5/41.5 concrete mixer oil seal
-
Standard oil seal BP0494 High pressure TCN oil seal
-
45*65*15 Combi oil seal JCB 90450009 COMBI SF1 SEAL
-
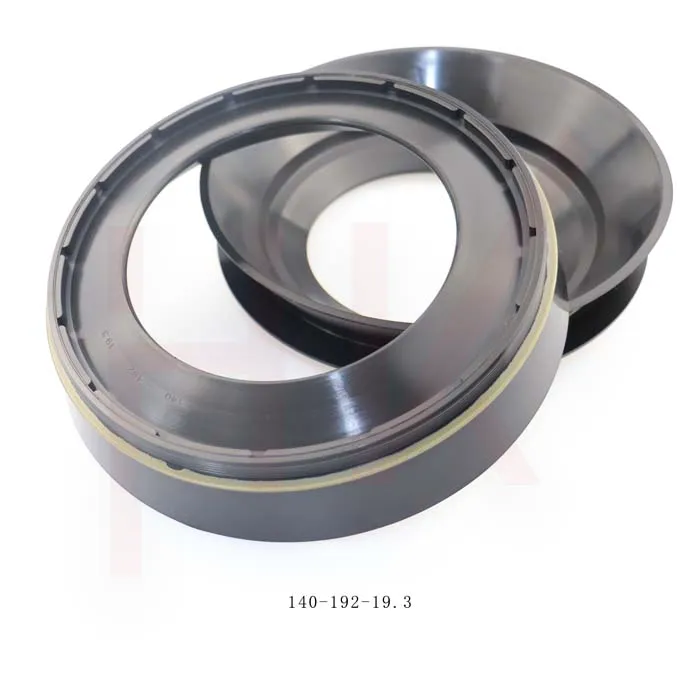
Gear box concrete mixer oil seal 140*192*19.3 nbr reducer oil seal
-
Hydraulic pump seal AP4624G high pressure TCN oil seal