វិច្ឆិកា . 07, 2024 06:10 Back to list
hydraulic motor seal replacement
Hydraulic Motor Seal Replacement A Comprehensive Guide
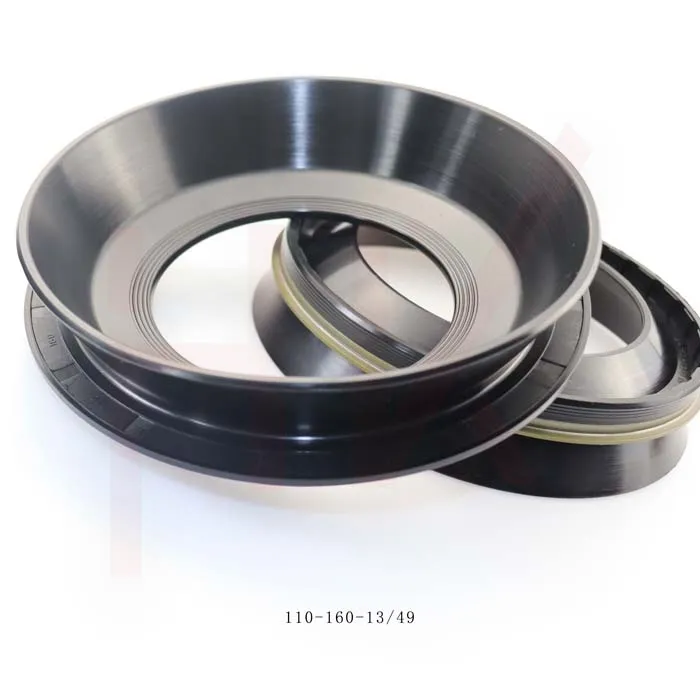
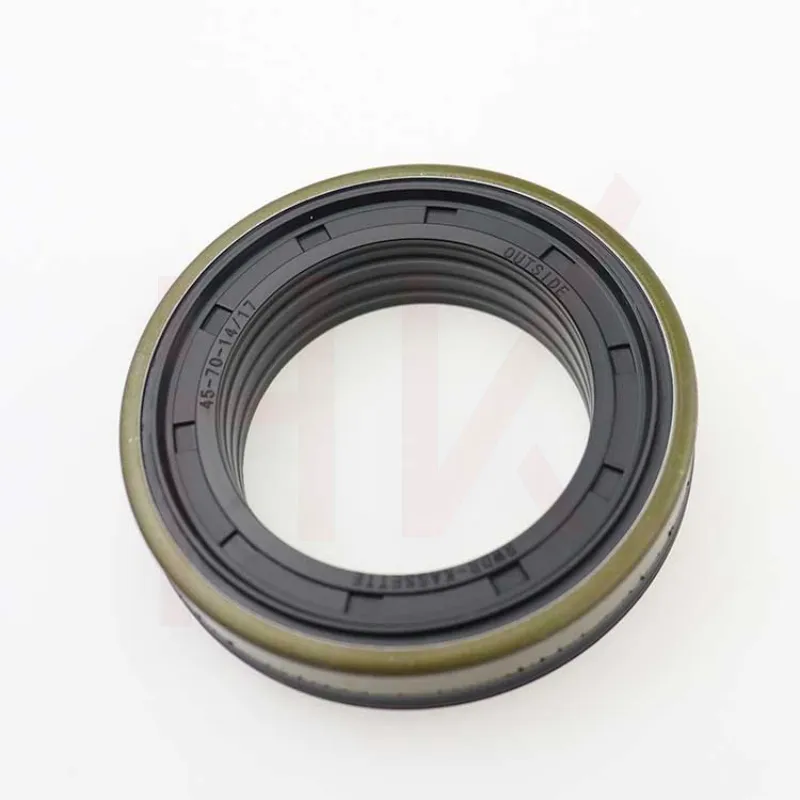
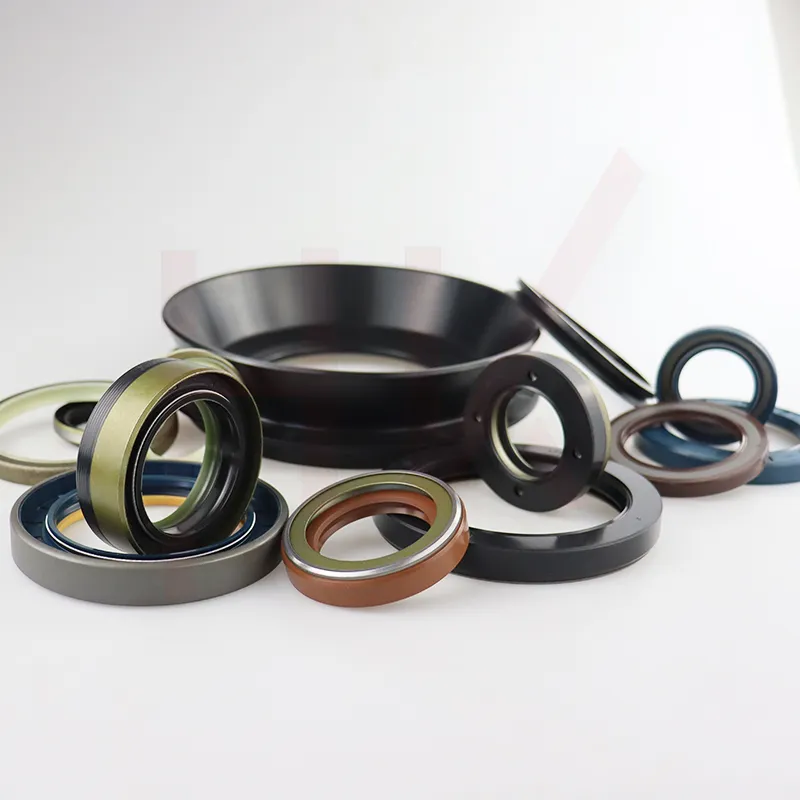
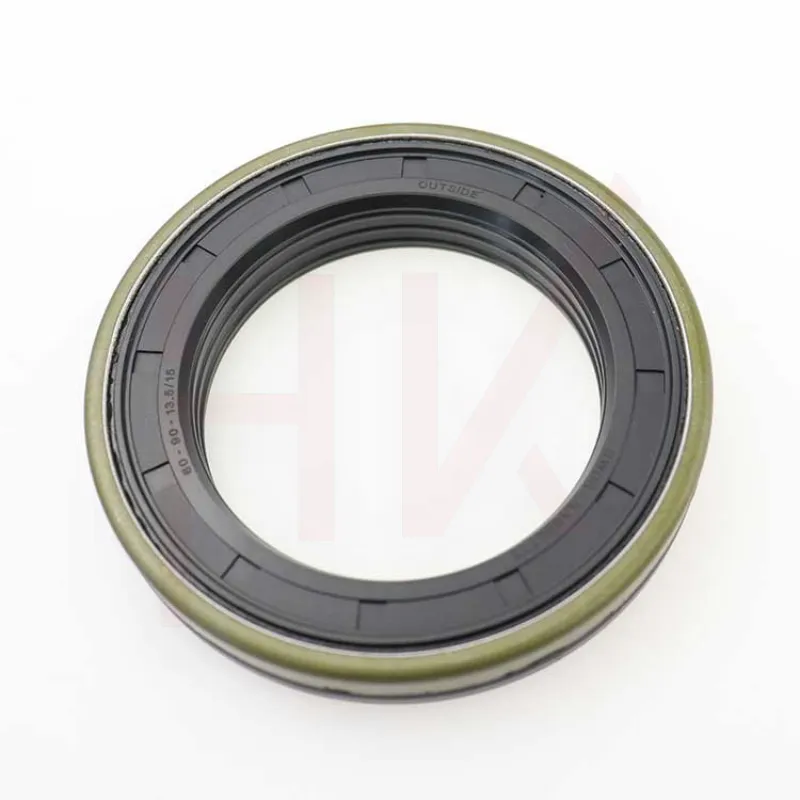
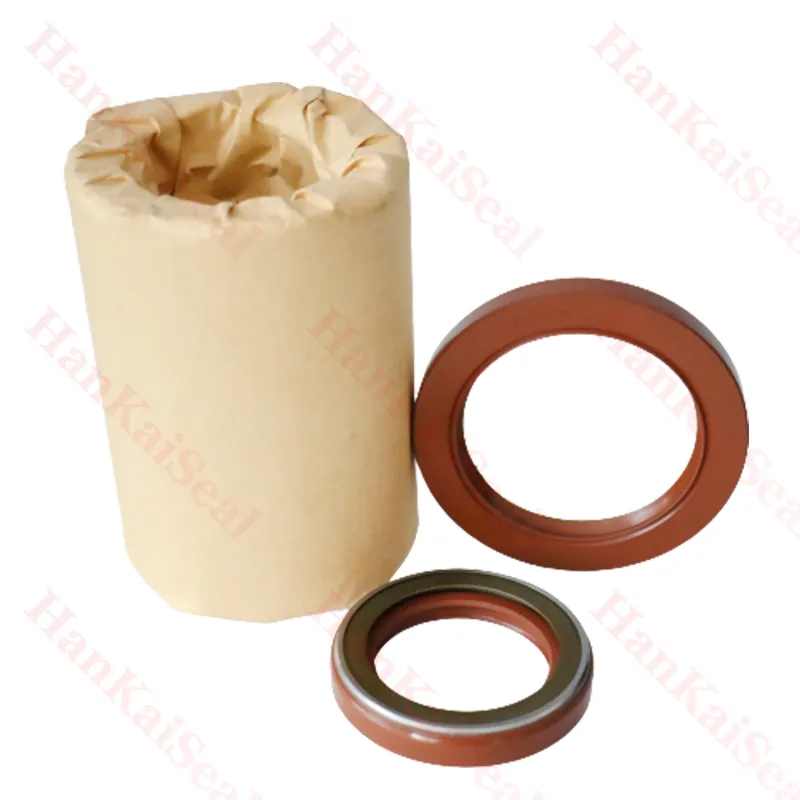
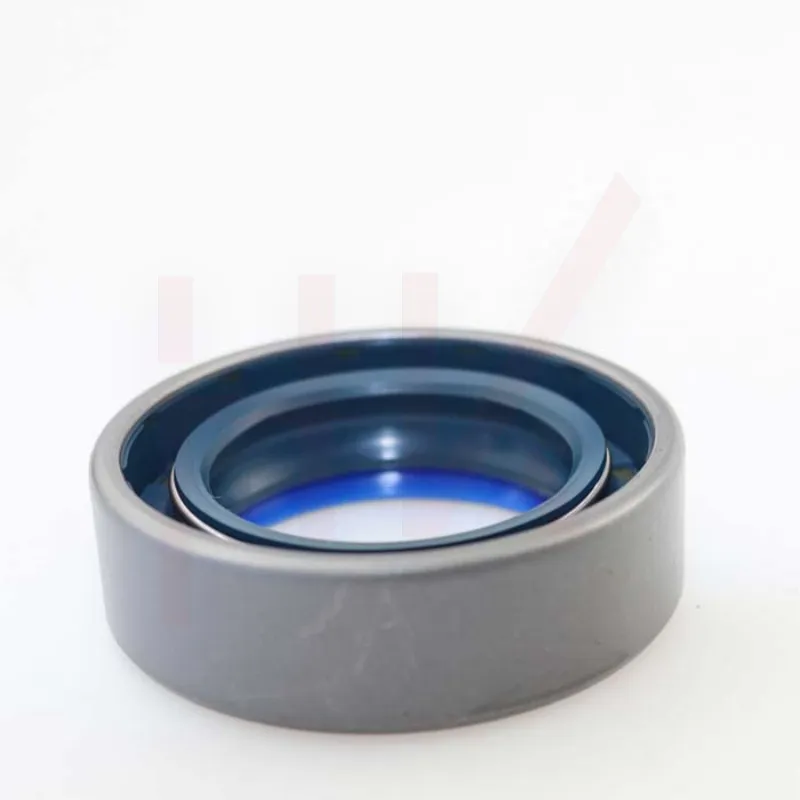
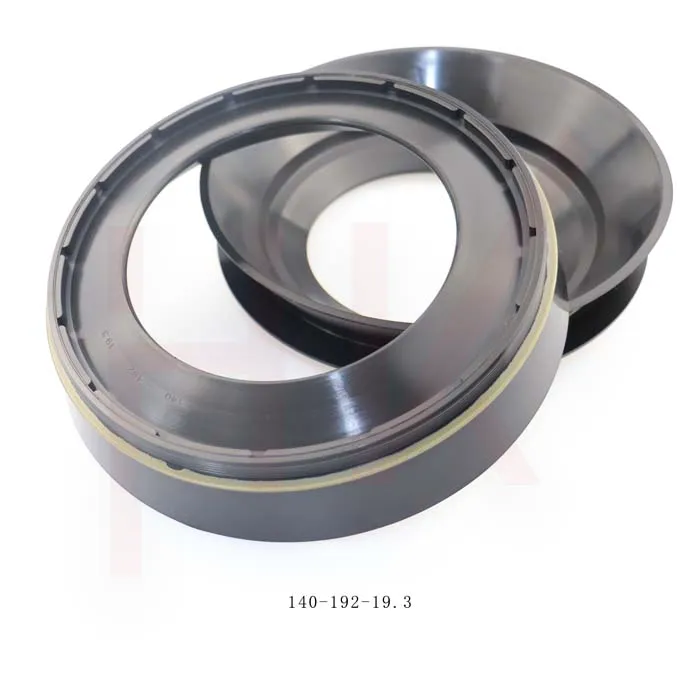
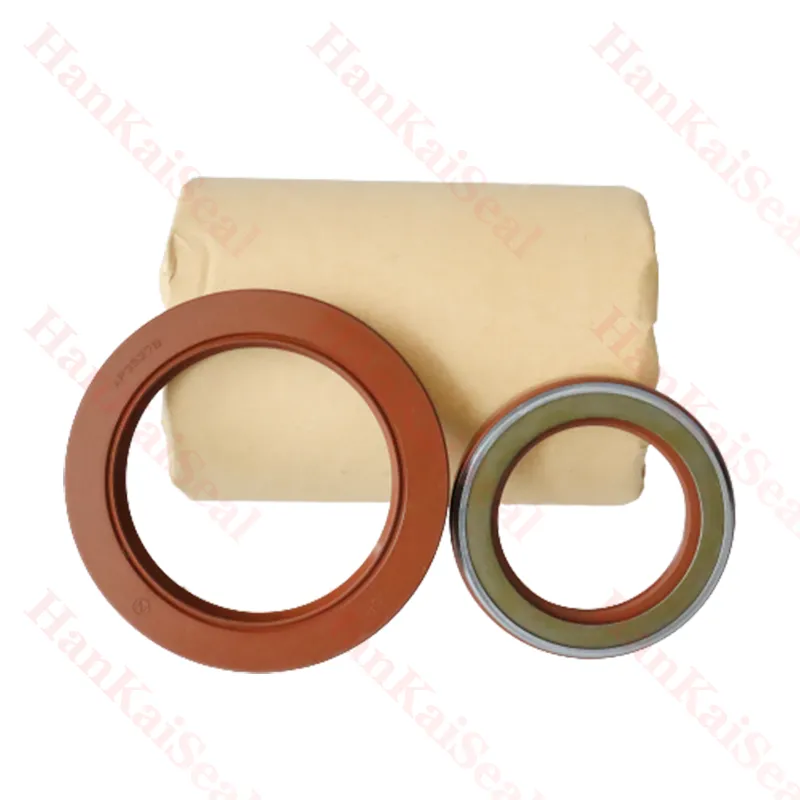
Hydraulic motors play a crucial role in various industrial applications, driving machinery and equipment. Like any mechanical component, they can wear out over time, particularly the seals, which are vital for maintaining hydraulic fluid containment and system efficiency. When it becomes necessary to replace the seals in a hydraulic motor, following a systematic approach can ensure a successful and efficient replacement process.
Understanding the Need for Seal Replacement
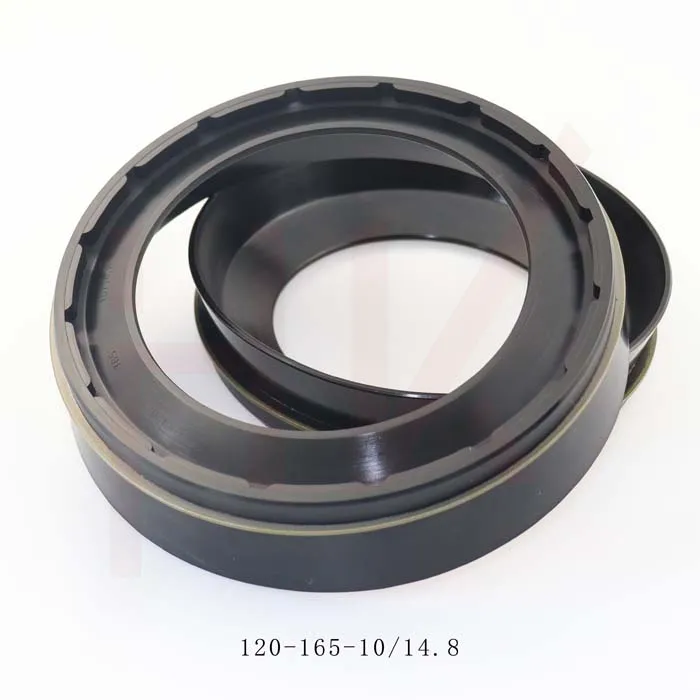
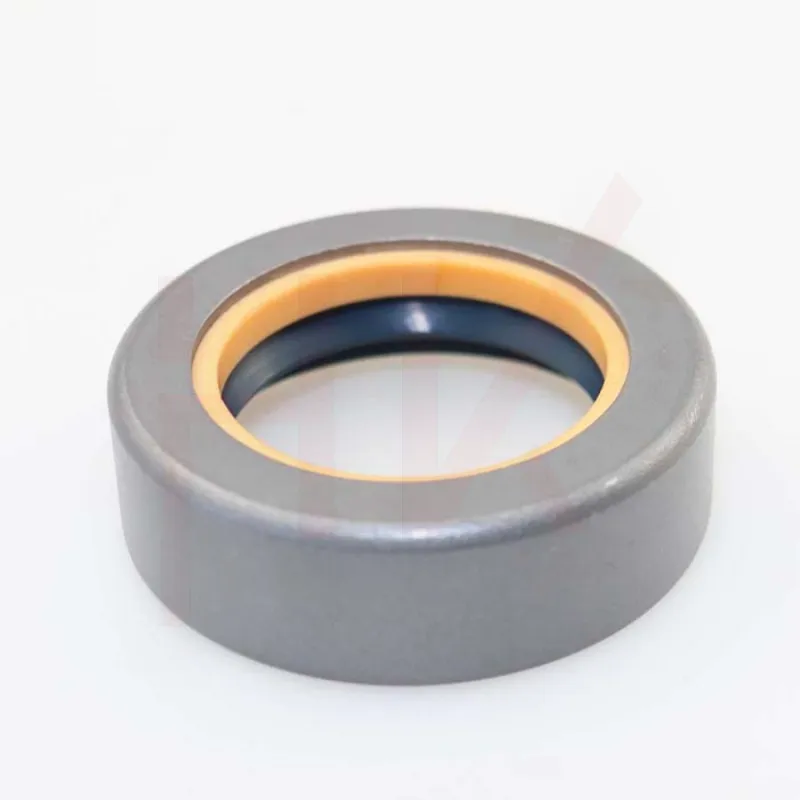
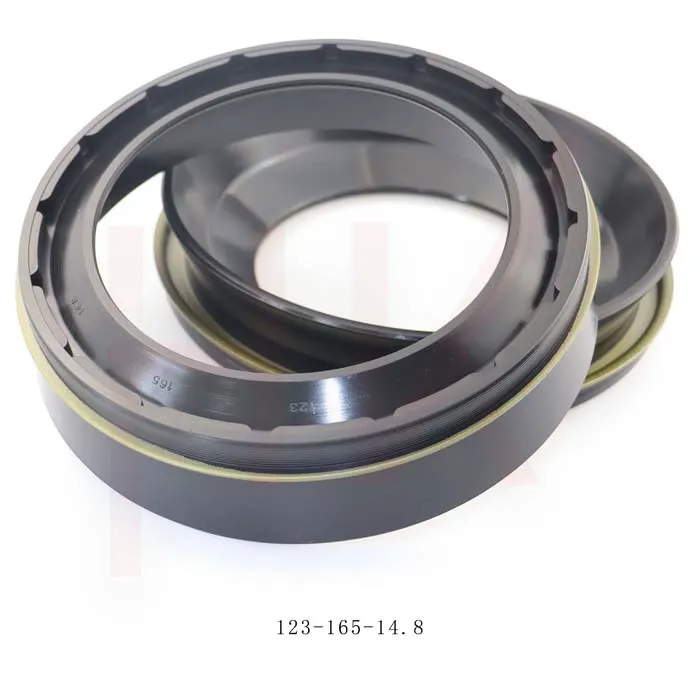
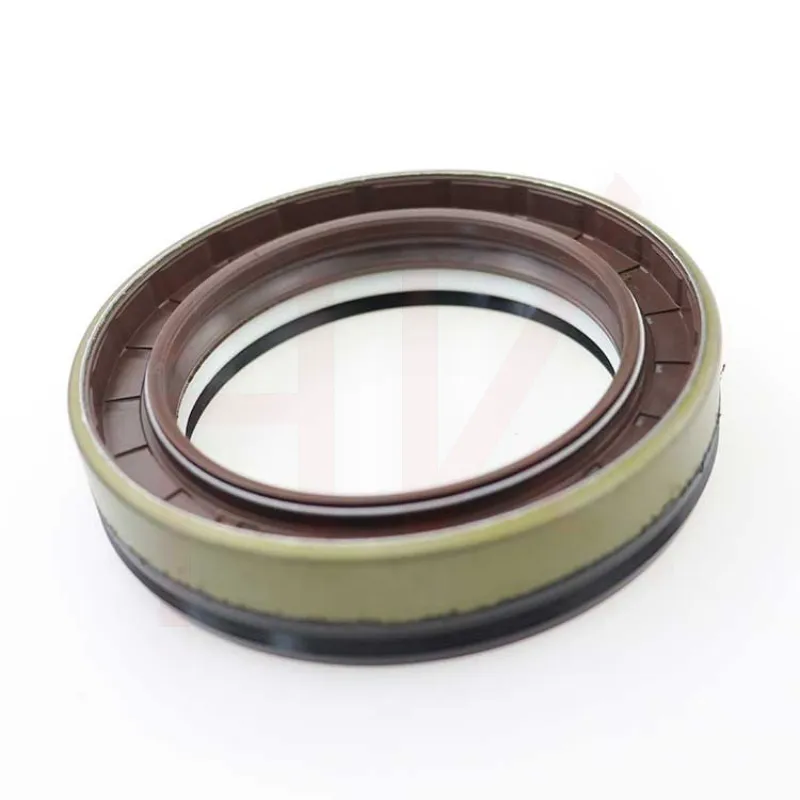
Seals in hydraulic motors serve to prevent fluid leakage, maintain pressure, and protect internal components from contaminants. Over time, seals can degrade due to wear and tear, exposure to harsh conditions, or improper installation. Signs that it’s time to replace seals include visible leaks, decreased performance, or unusual noises from the motor. Addressing these issues promptly can help avoid more severe damage and costly repairs.
Tools and Materials Required
Before beginning the seal replacement process, gather the necessary tools and materials. You will need
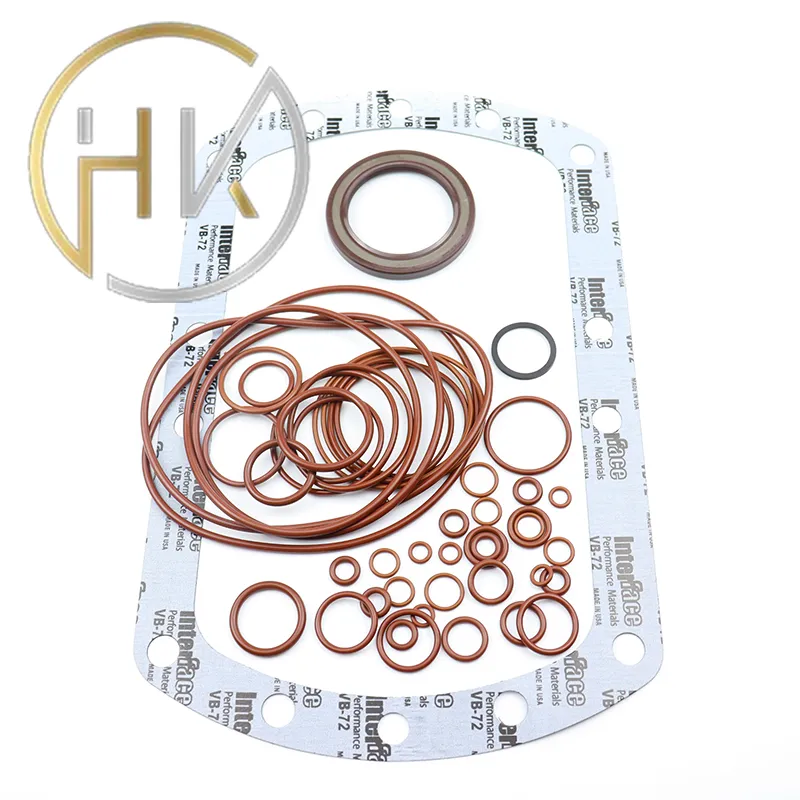
- A replacement seal kit (specific to your motor model) - Standard hand tools (screwdrivers, wrenches, pliers) - A torque wrench - Cleaning materials (rags, solvent) - Safety equipment (gloves, goggles)
Step-by-Step Replacement Process
1. Preparation Begin by isolating the hydraulic motor from any power source and relieving system pressure. Ensure that all hydraulic fluid is drained and disposed of safely.
hydraulic motor seal replacement
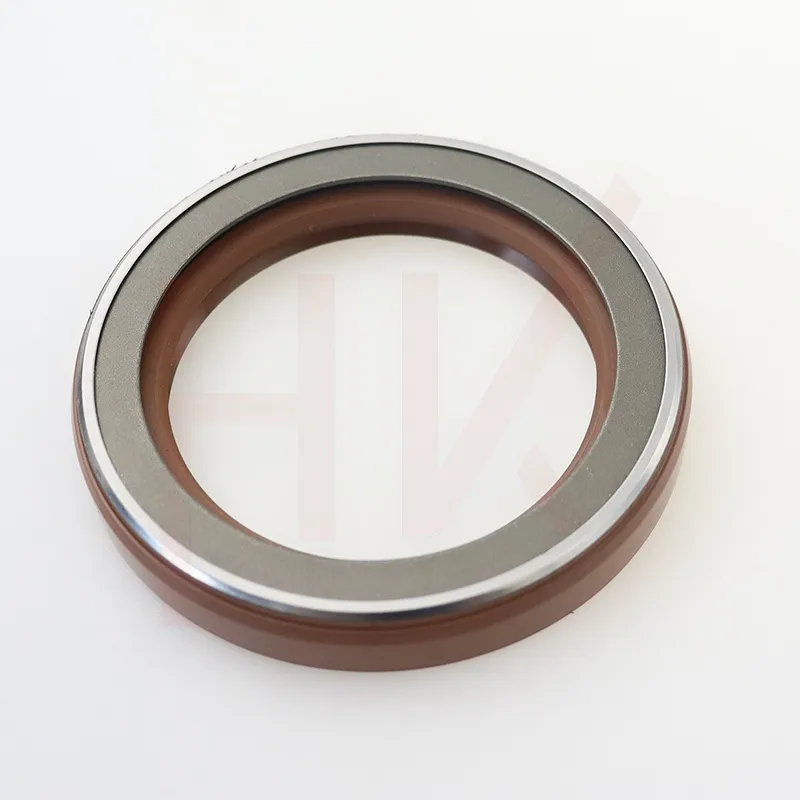
2. Disassembly Carefully remove the motor from its mounting and disassemble it to access the seals. Take notes or pictures as you disassemble to ensure proper reassembly.
3. Seal Removal Once the motor is disassembled, remove the old seals. This can be done using a seal removal tool or a flat screwdriver, being cautious not to damage any surrounding components.
4. Surface Cleaning Before installing new seals, thoroughly clean the sealing surfaces. Any debris or old sealant can compromise the integrity of the new seals and lead to leaks.
5. Installing New Seals Carefully place the new seals into their respective grooves, ensuring they are oriented in the correct direction. Use a proper sealing lubricant to facilitate the installation and prevent damage to the seals during assembly.
6. Reassembly Reassemble the motor by following your notes or pictures. Make sure all components are secured and torqued to the manufacturer’s specifications.
7. Testing After reassembly, connect the motor back to the hydraulic system, fill it with the appropriate hydraulic fluid, and perform a pressure test. Check for leaks and ensure the motor operates smoothly.
Conclusion
Replacing the seals in a hydraulic motor is a critical maintenance task that requires attention to detail and proper technique. By following the outlined steps, you can enhance the longevity and efficiency of your hydraulic system. Remember, regular inspections and timely replacements can prevent unexpected failures and extend the life of your equipment. If you’re ever uncertain about the process, it’s always wise to consult the motor's service manual or seek the help of a professional.
-
The Trans-formative Journey of Wheel Hub Oil Seals
NewsJun.06,2025
-
Graphene-Enhanced Oil Seals: Revolutionizing High-Pressure Oil Sealing
NewsJun.06,2025
-
Future of Hydraulic Sealing: Advanced Intelligent TCN Oil Seals
NewsJun.06,2025
-
Don’t Let a Broken TCV Oil Seal Ruin Your Day
NewsJun.06,2025
-
Bio-Inspired Dust Seals for Better Sealing Performance
NewsJun.06,2025
-
Biodegradable and Sustainable Hydraulic Seal Materials
NewsJun.06,2025
-
Top Oil Seal Solutions for Your Industrial Needs
NewsMay.22,2025
Products categories

