ნოე . 07, 2024 17:26 Back to list
Excavator Boom Cylinder Seal Maintenance and Replacement Guide for Optimal Performance
Excavator Boom Cylinder Seal Replacement A Comprehensive Guide
Maintaining an excavator is crucial for ensuring its longevity and performance, and one of the key components that often requires attention is the boom cylinder. Over time, wear and tear can lead to seal failure, resulting in hydraulic fluid leaks that can severely affect the operation of the excavator. In this article, we will delve into the process of replacing the boom cylinder seals, offering a step-by-step guide to help you navigate this essential maintenance task.
Understanding the Boom Cylinder
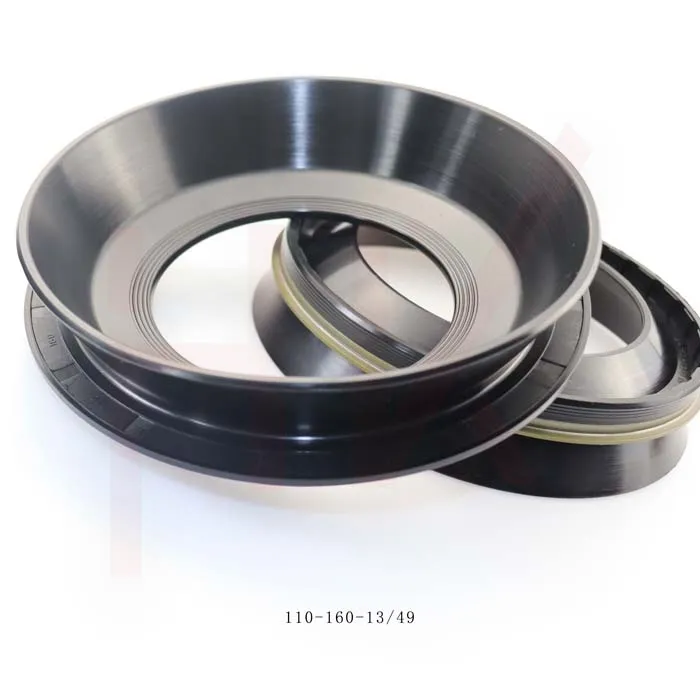
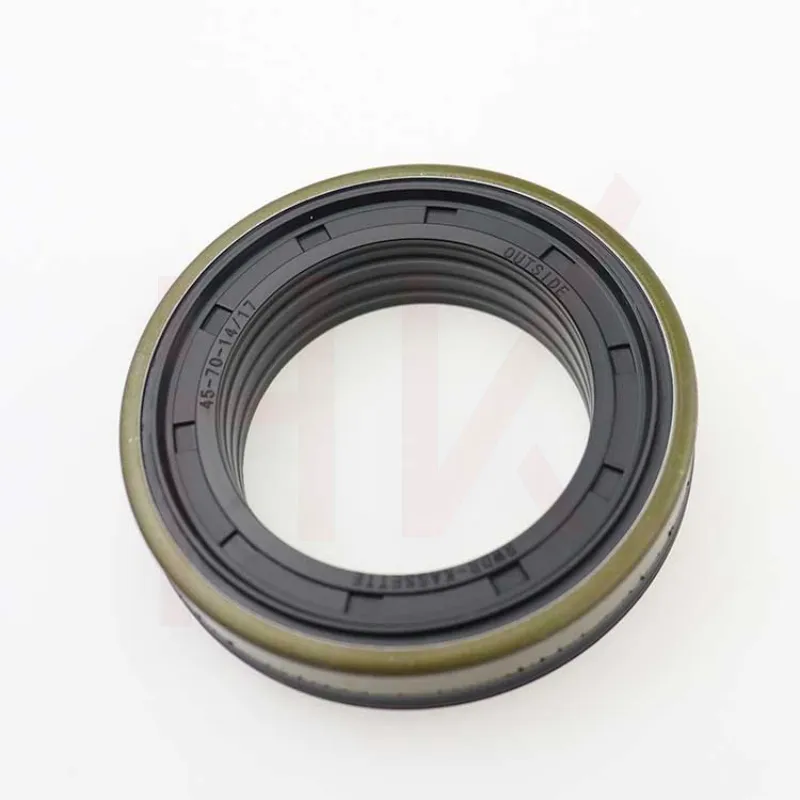
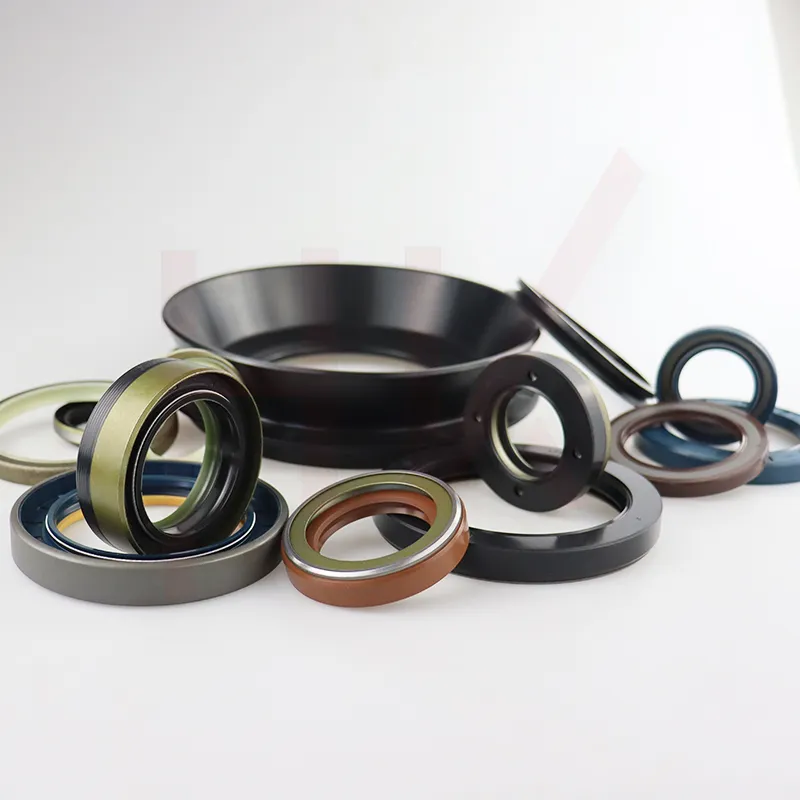
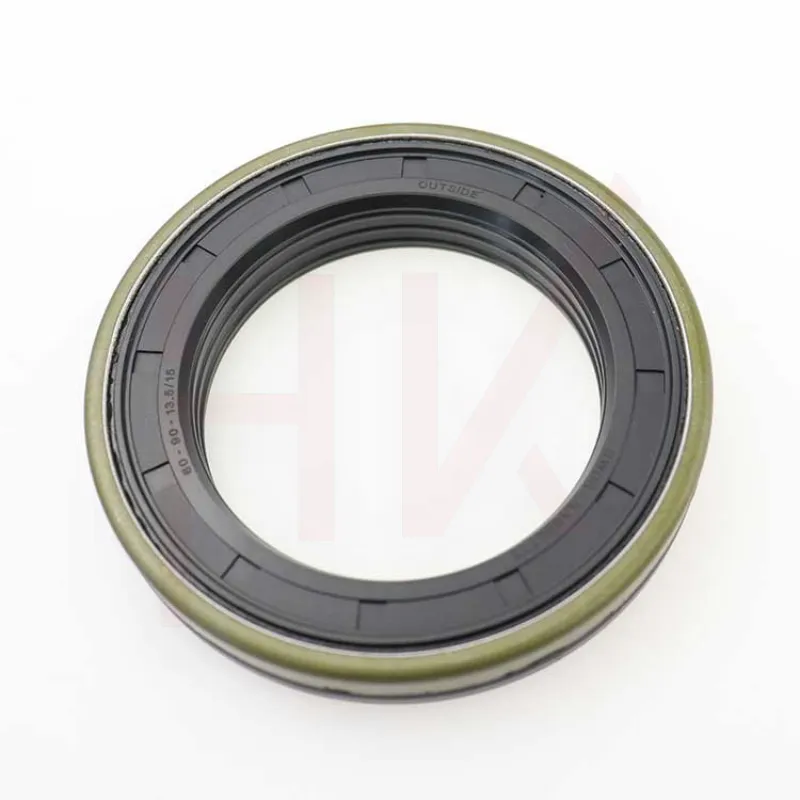
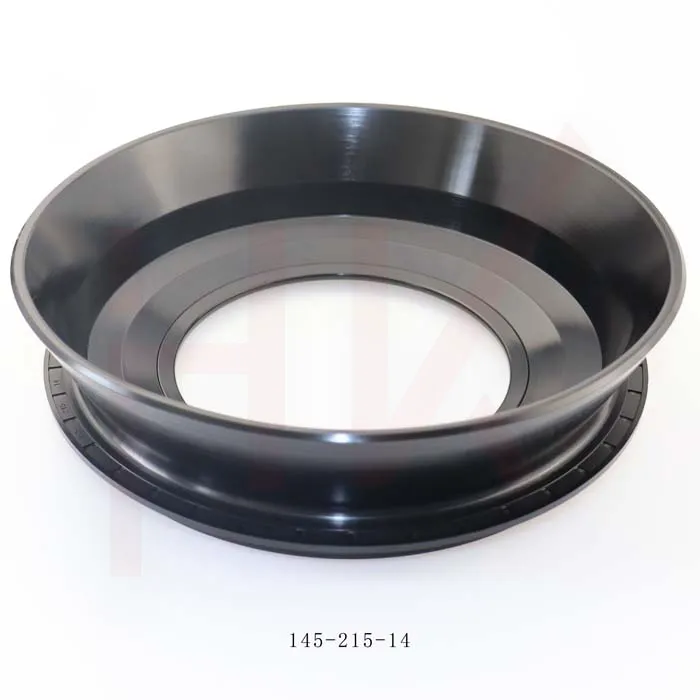
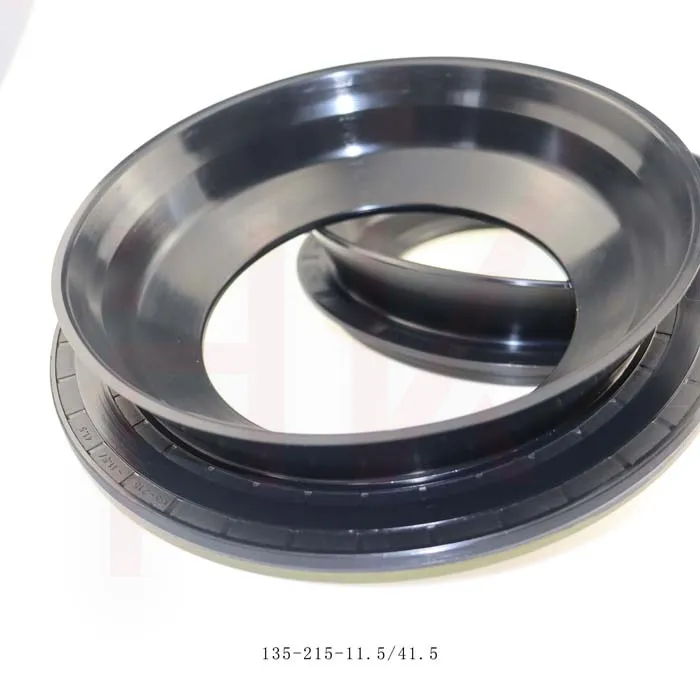
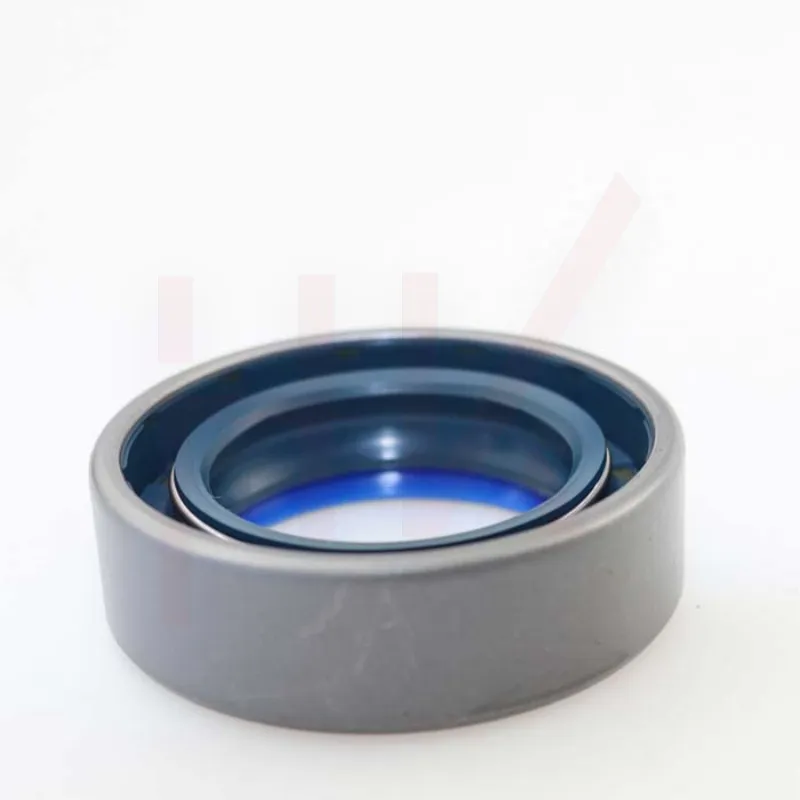
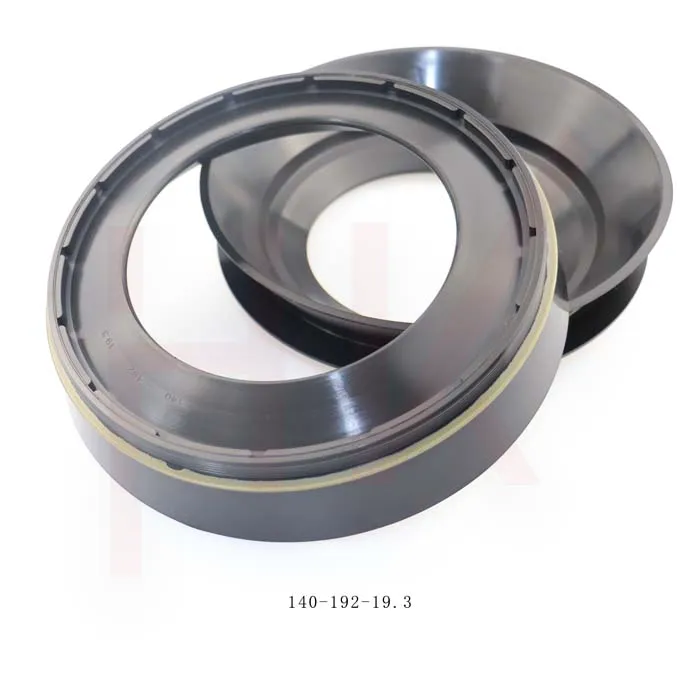
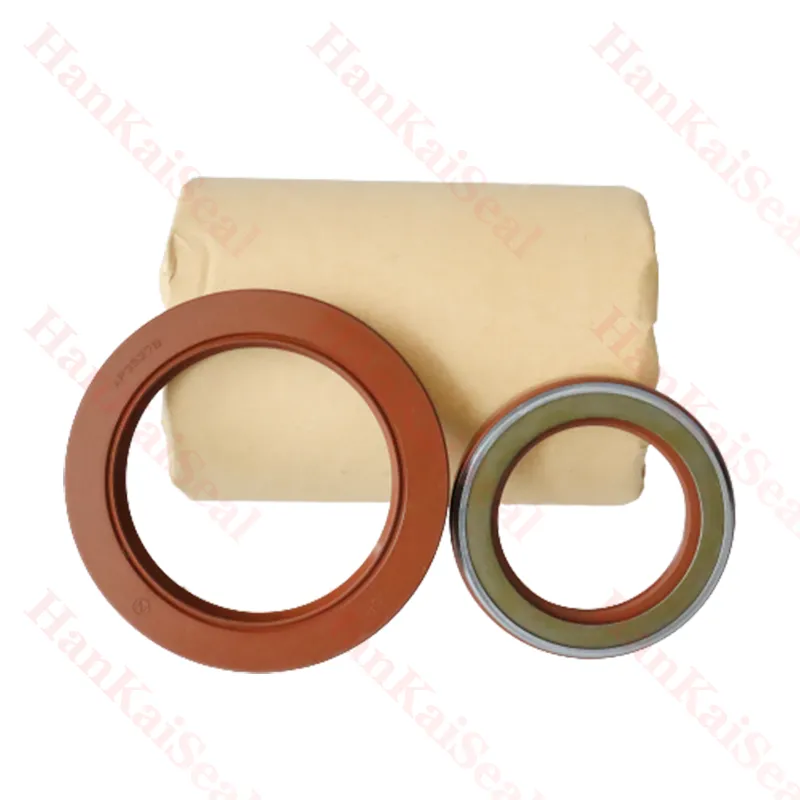
The boom cylinder is a critical hydraulic component responsible for lifting and lowering the boom of an excavator. It operates using hydraulic fluid to generate the force needed to perform tasks like digging, lifting, and moving heavy materials. The seals within the boom cylinder play a vital role in preventing hydraulic fluid from leaking out of the cylinder and maintaining the system's pressure. Over time, these seals can become worn or damaged due to various factors, including exposure to dirt, high temperatures, and pressure fluctuations.
Signs of Seal Failure
Before embarking on the replacement process, it’s important to recognize the signs of seal failure. Some common indicators include
1. Hydraulic Fluid Leaks The most obvious sign is the presence of hydraulic fluid pooling underneath the excavator. 2. Reduced Performance If the boom operates sluggishly or does not respond properly, this could indicate seal degradation. 3. Unusual Noises Grinding, whining, or hissing sounds during operation can signal internal issues, including failing seals.
If any of these symptoms are present, it’s essential to address them promptly to avoid further damage to the excavator.
Tools and Materials Needed
Before starting the seal replacement process, gather the necessary tools and materials
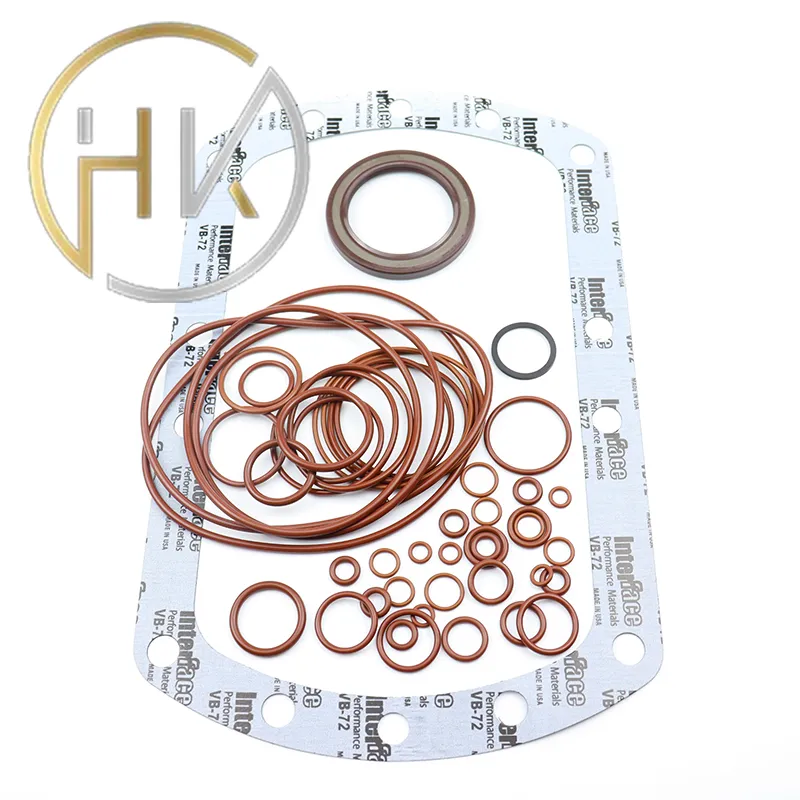
- Wrenches and sockets - Prying tools - Seal removal tool (if available) - Replacement seals (specific to your excavator model) - Hydraulic fluid - Clean rags and a grease gun - Safety goggles and gloves
Step-by-Step Seal Replacement Process
1. Preparation Park the excavator on a level surface and ensure that it is stable. Engage the parking brake and disconnect the battery to ensure safety during repair.
excavator boom cylinder seal replacement
2. Relieve Hydraulic Pressure Before disassembly, it’s vital to relieve the hydraulic pressure by operating the boom to lower it completely and then shutting off the hydraulic system.
3. Remove the Boom Cylinder Start by detaching the boom cylinder from the excavator. This typically involves removing the pins that connect the cylinder to the boom and the base. Use the appropriate wrenches and tools for this process.
4. Drain Hydraulic Fluid Once the cylinder is removed, drain any remaining hydraulic fluid into a suitable container. Ensure you dispose of the fluid properly, adhering to local environmental regulations.
5. Disassemble the Cylinder Carefully remove the end caps from the boom cylinder. You may need to use a seal removal tool to avoid damaging the cylinder during removal. Once the end caps are off, extract the piston and assess the condition of the old seals.
6. Clean the Components Thoroughly clean the interior of the cylinder, end caps, and piston using clean rags. Remove any debris or old seal remnants, being cautious not to scratch the cylinder surface.
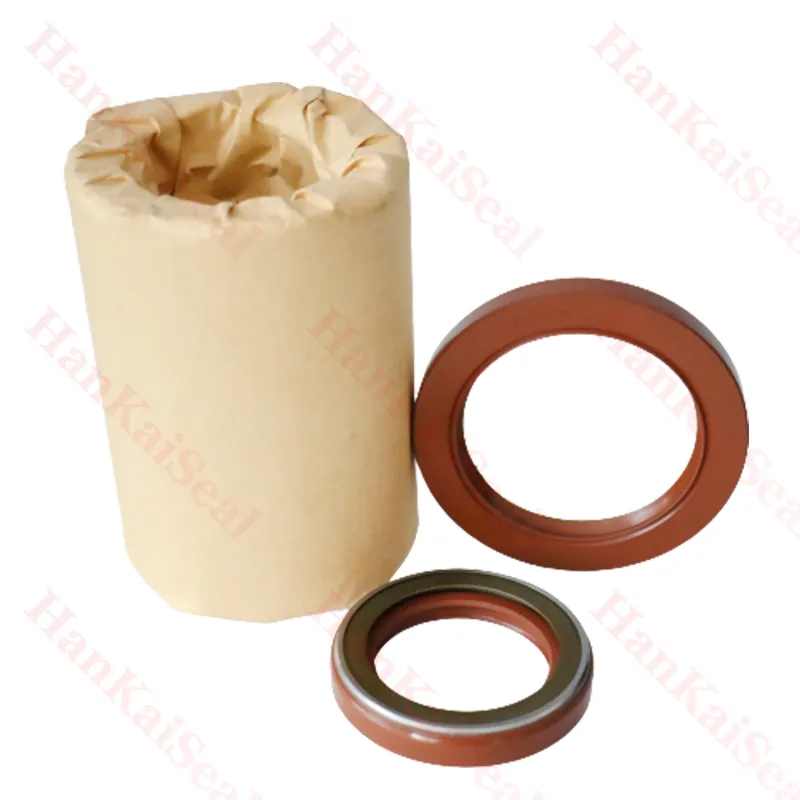
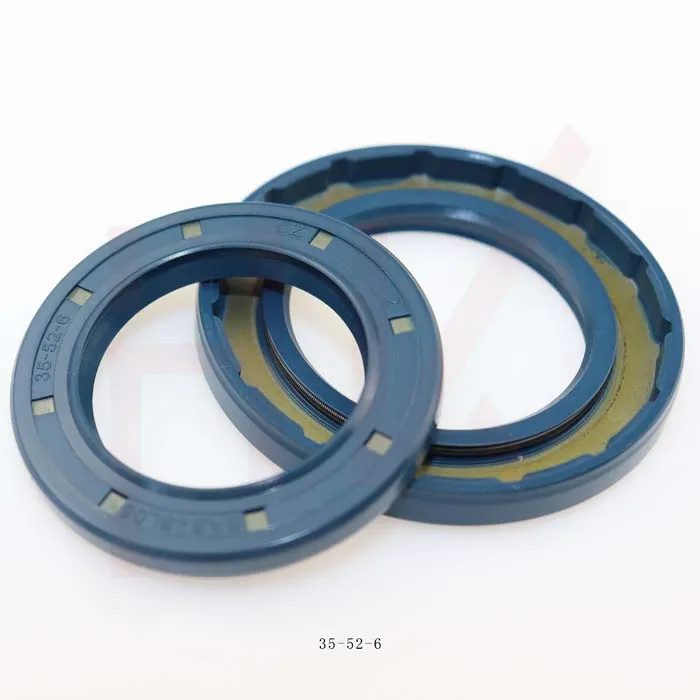
7. Install New Seals Check the size and type of the replacement seals to ensure they match the specifications for your excavator model. Lubricate the new seals with hydraulic fluid and carefully install them onto the piston and in the cylinder.
8. Reassemble the Cylinder Insert the piston back into the cylinder, and reattach the end caps. Make sure everything is aligned properly and tightened to the manufacturer’s specifications.
9. Reinstall the Cylinder Position the boom cylinder back onto the excavator. Securely connect it using the previously removed pins and ensure that all connections are tight.
10. Refill Hydraulic Fluid Replace any hydraulic fluid that was drained during the process, ensuring you fill it to the recommended level.
11. Testing Reconnect the battery and test the boom’s operation. Check for any signs of leaks and ensure smooth operation.
Conclusion
Replacing the seals in the boom cylinder of an excavator is a critical maintenance task that, when done correctly, can extend the life of your machine and maintain its performance. Regular inspections and timely replacements can save costly repairs down the line and ensure that your excavator operates efficiently on the job site. By following this guide, you can confidently undertake the task of seal replacement, keeping your excavator in top shape for all your construction needs.
-
TCN Oil Seal Metal Ring Reinforcement for Heavy Machinery
NewsJul.25,2025
-
Rotary Lip Seal Spring-Loaded Design for High-Speed Applications
NewsJul.25,2025
-
Hydraulic Cylinder Seals Polyurethane Material for High-Impact Jobs
NewsJul.25,2025
-
High Pressure Oil Seal Polyurethane Coating Wear Resistance
NewsJul.25,2025
-
Dust Proof Seal Double Lip Design for Construction Equipment
NewsJul.25,2025
-
Hub Seal Polyurethane Wear Resistance in Agricultural Vehicles
NewsJul.25,2025
-
The Trans-formative Journey of Wheel Hub Oil Seals
NewsJun.06,2025
Products categories

