Oct . 31, 2024 20:34 Back to list
Tips for Changing Seals in a Hydraulic Cylinder for Improved Performance
Replacing Seals in a Hydraulic Cylinder A Step-by-Step Guide
Hydraulic cylinders are essential components in numerous machines, providing the necessary force and motion for various applications. However, over time, the seals within these cylinders can wear out or become damaged, leading to leaks and reduced efficiency. Replacing the seals in a hydraulic cylinder is a critical maintenance task that, when done correctly, can extend the life of the cylinder and improve overall performance. Here’s a step-by-step guide on how to replace seals in a hydraulic cylinder.
1. Gather Necessary Tools and Materials
Before starting the replacement process, it's important to gather all the necessary tools and materials. You will typically need
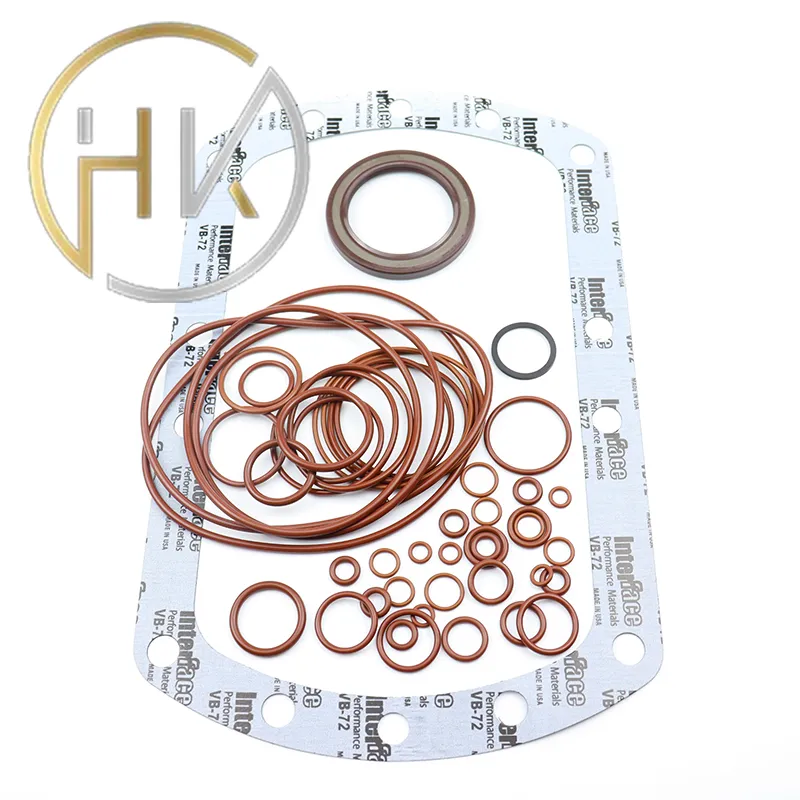
- A new seal kit (make sure it’s compatible with your hydraulic cylinder) - Wrenches/ratchets - A screwdriver - Pliers - A seal puller (optional, but helpful) - Clean cloths or rags - Hydraulic oil - Safety glasses and gloves
2. Safety First
Prior to working on any hydraulic system, ensure that it is depressurized. This prevents accidental discharge and injury. Disconnect the hydraulic lines from the cylinder and secure the cylinder in a stable position. Always wear safety glasses and gloves to protect yourself from any hydraulic fluid that may escape during the process.
3. Disassemble the Cylinder
Once the cylinder is safe, begin disassembly. Remove the end cap or the head of the cylinder by unscrewing the bolts or nuts holding it in place. Carefully pull the rod out of the cylinder, being cautious not to damage any components in the process.
4. Remove Old Seals
With the cylinder disassembled, locate the seals that need replacement. Use a seal puller or a flathead screwdriver to gently pry out the old seals. Be careful not to scratch or damage the internal surfaces of the cylinder, as this could lead to further leaks.
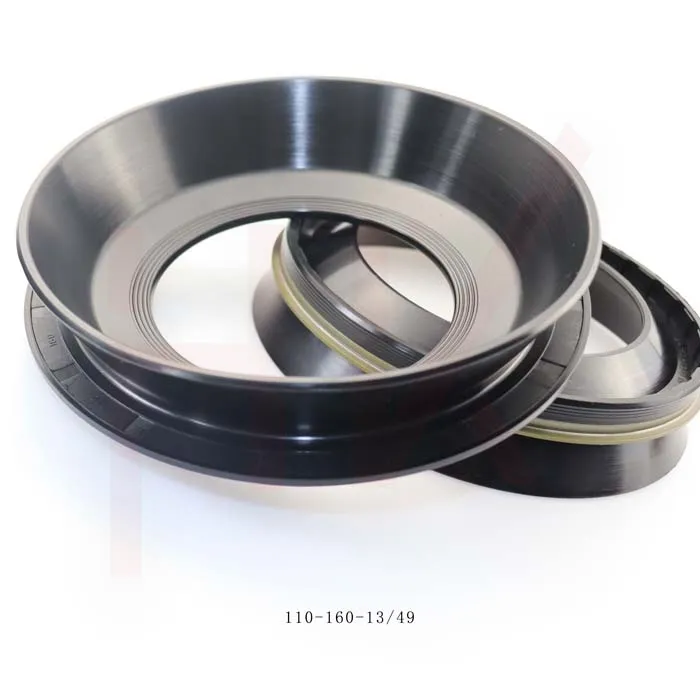
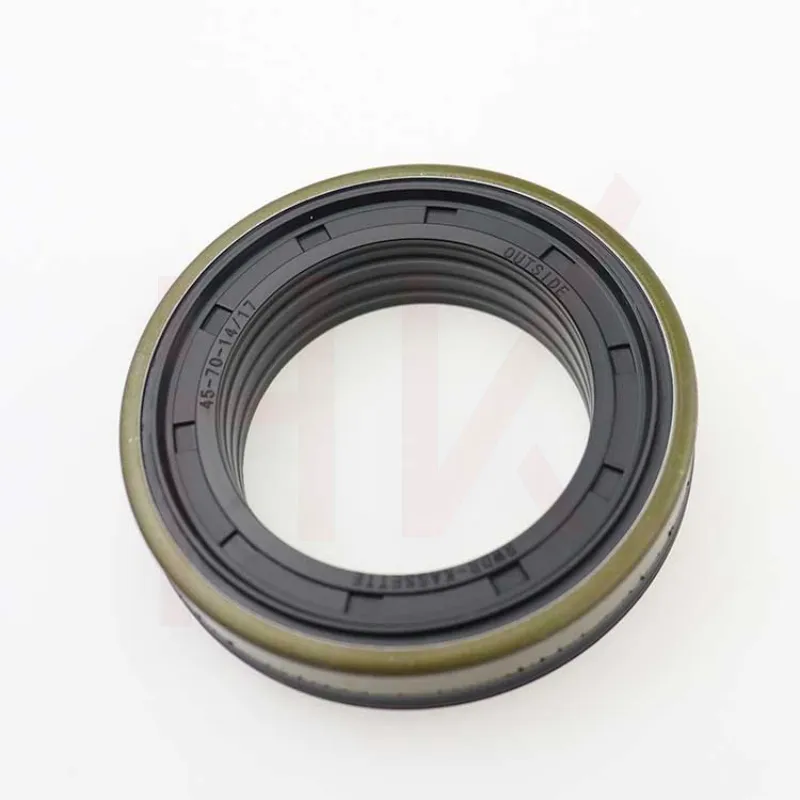
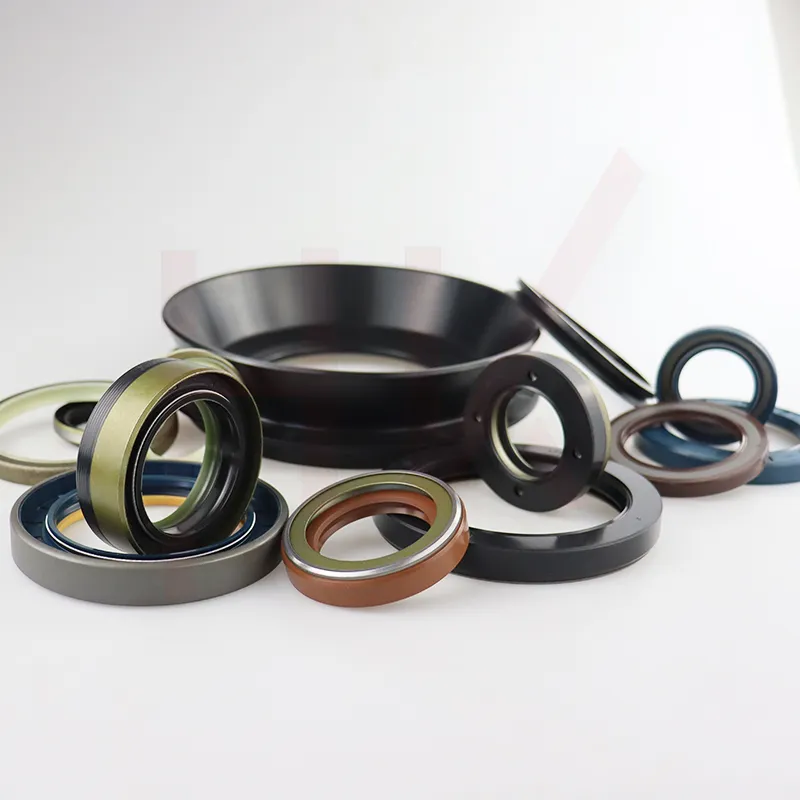
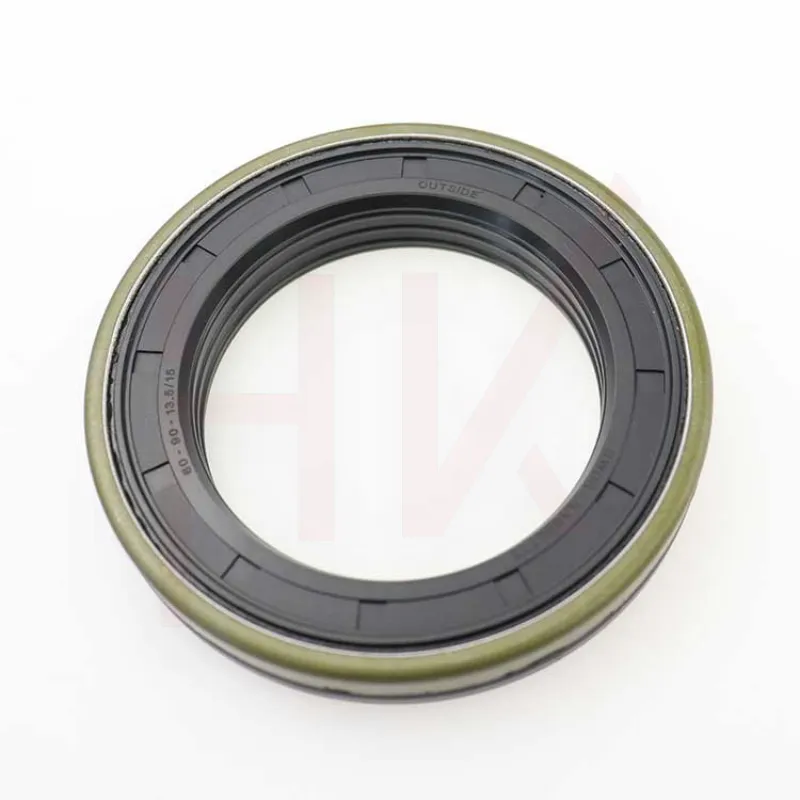
replacing seals in a hydraulic cylinder
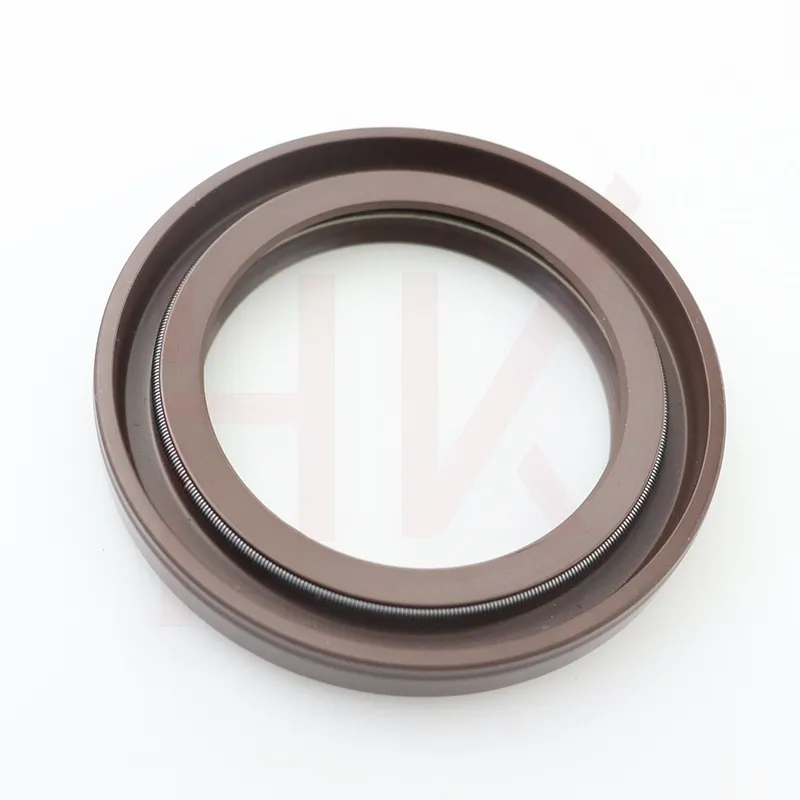
After removing the old seals, thoroughly clean the cylinder’s interior surfaces to remove any dirt, debris, or old seal remnants. This step is crucial, as contaminants can cause premature seal failure. Use clean cloths and check for any signs of wear or damage on the cylinder rod and inner walls.
6. Install New Seals
With a clean surface, you can now install the new seals. Lubricate the new seals with hydraulic oil to facilitate easy installation and to prevent any possible damage when inserting them into the cylinder. Carefully place the seals in their respective grooves, ensuring they sit evenly without twisting.
7. Reassemble the Cylinder
Once the new seals are in place, reassemble the hydraulic cylinder by inserting the rod back into the cylinder and securing the end cap or head. Make sure to torque the bolts to the manufacturer's specifications to ensure a proper seal.
8. Test the Repair
Reconnect the hydraulic lines, fill the system with hydraulic oil, and gradually pressurize the cylinder. Check for any signs of leaks around the new seals. If everything looks good, your cylinder is ready for operation.
Conclusion
Replacing seals in a hydraulic cylinder might seem daunting, but with the right tools and careful attention to detail, it can be accomplished efficiently. Regular maintenance helps ensure the longevity and reliability of hydraulic systems, ultimately saving time and resources. Always refer to the manufacturer’s specifications for guidance tailored to your specific hydraulic cylinder design.
-
TCN Oil Seal Metal Ring Reinforcement for Heavy Machinery
NewsJul.25,2025
-
Rotary Lip Seal Spring-Loaded Design for High-Speed Applications
NewsJul.25,2025
-
Hydraulic Cylinder Seals Polyurethane Material for High-Impact Jobs
NewsJul.25,2025
-
High Pressure Oil Seal Polyurethane Coating Wear Resistance
NewsJul.25,2025
-
Dust Proof Seal Double Lip Design for Construction Equipment
NewsJul.25,2025
-
Hub Seal Polyurethane Wear Resistance in Agricultural Vehicles
NewsJul.25,2025
-
The Trans-formative Journey of Wheel Hub Oil Seals
NewsJun.06,2025
Products categories

