Dec . 23, 2024 21:26 Back to list
How to Replace Seals in a Hydraulic Cylinder Efficiently and Effectively
Replacing Seals on a Hydraulic Cylinder A Step-by-Step Guide
Hydraulic cylinders are essential components in various industrial applications, ranging from construction machinery to agricultural equipment. Over time, the seals within these cylinders can wear out due to pressure fluctuations, contamination, or simply aging, leading to leaks and reduced efficiency. Replacing the seals of a hydraulic cylinder is crucial for maintaining its performance and prolonging its lifespan. This article will guide you through the process of replacing seals on a hydraulic cylinder step-by-step.
Understanding the Components
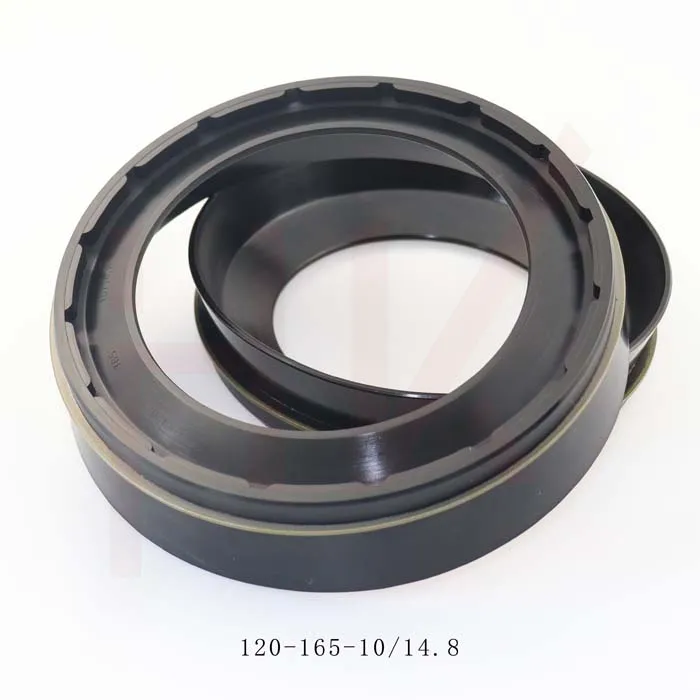
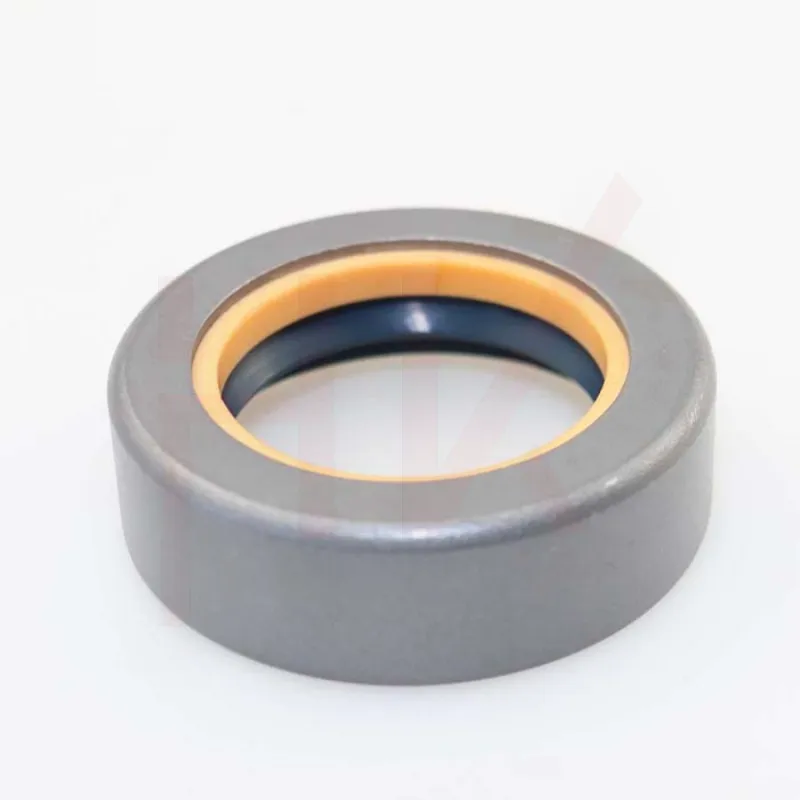
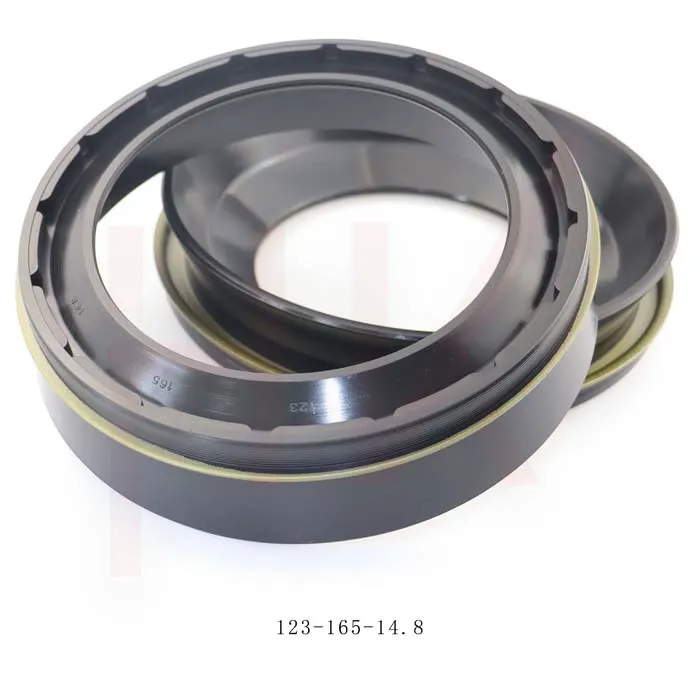
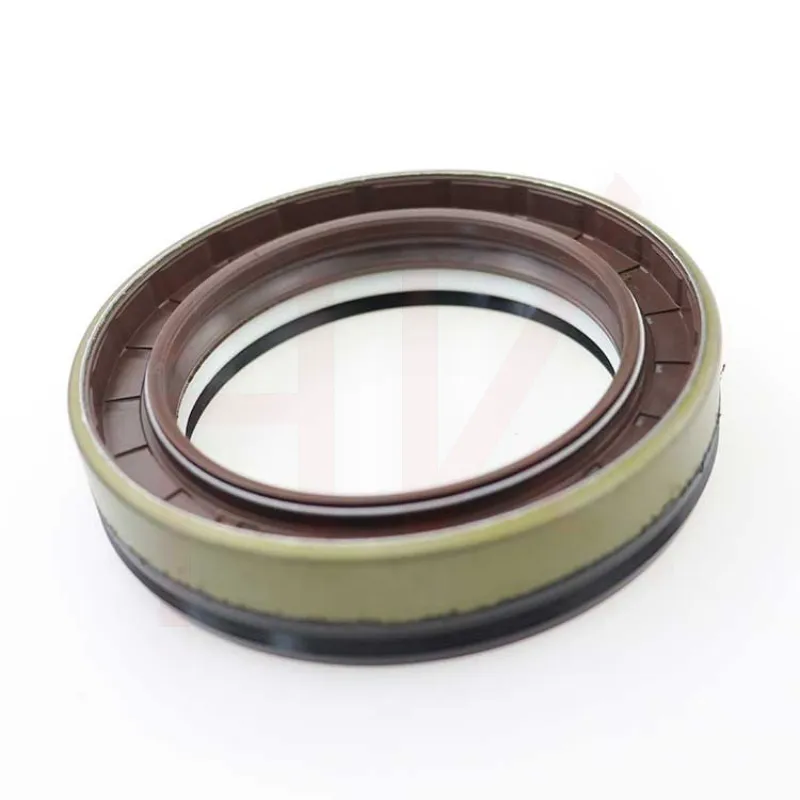
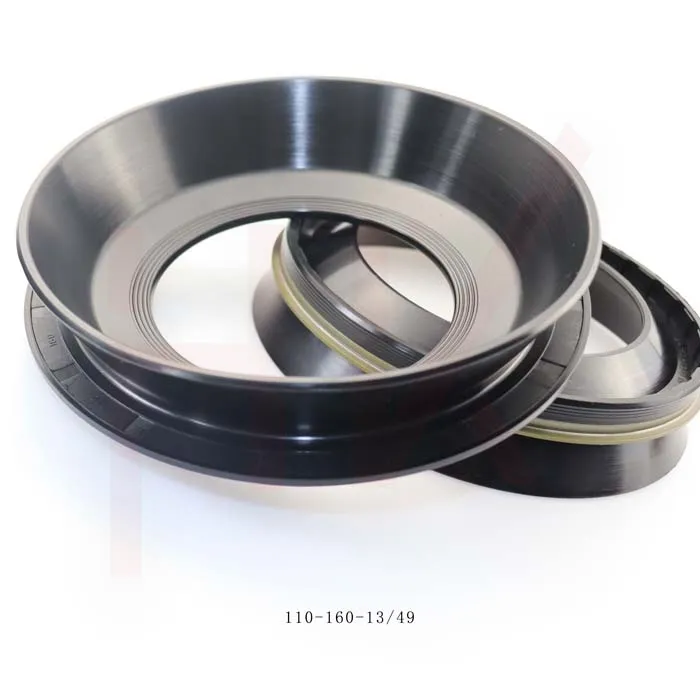
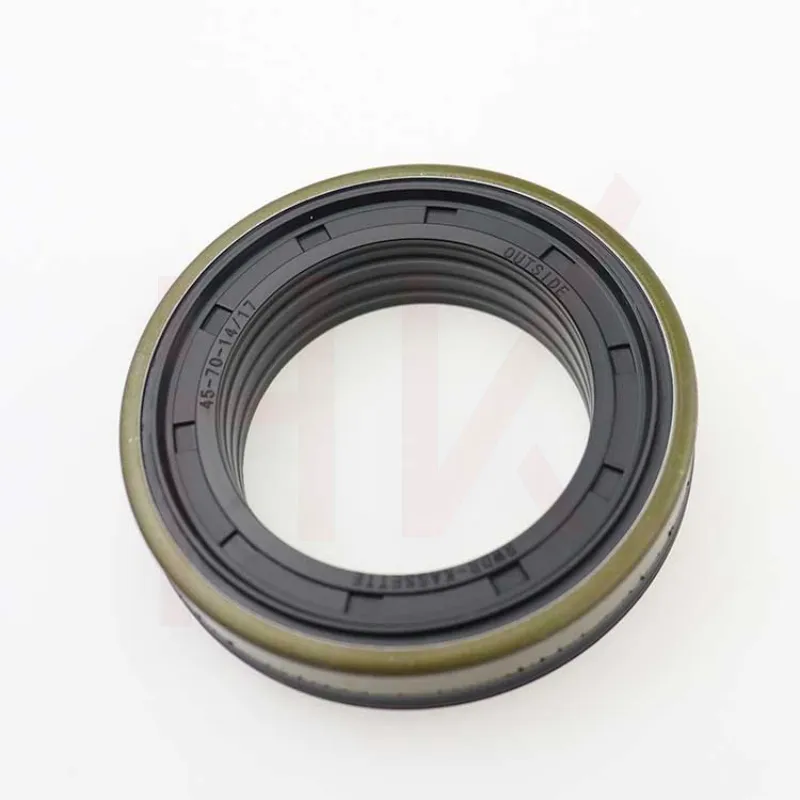
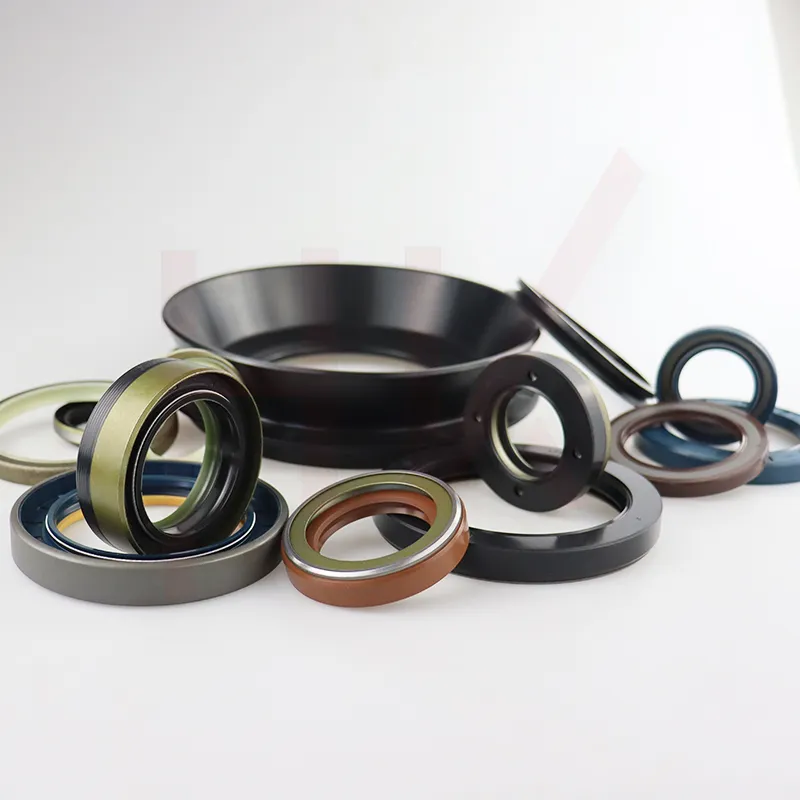
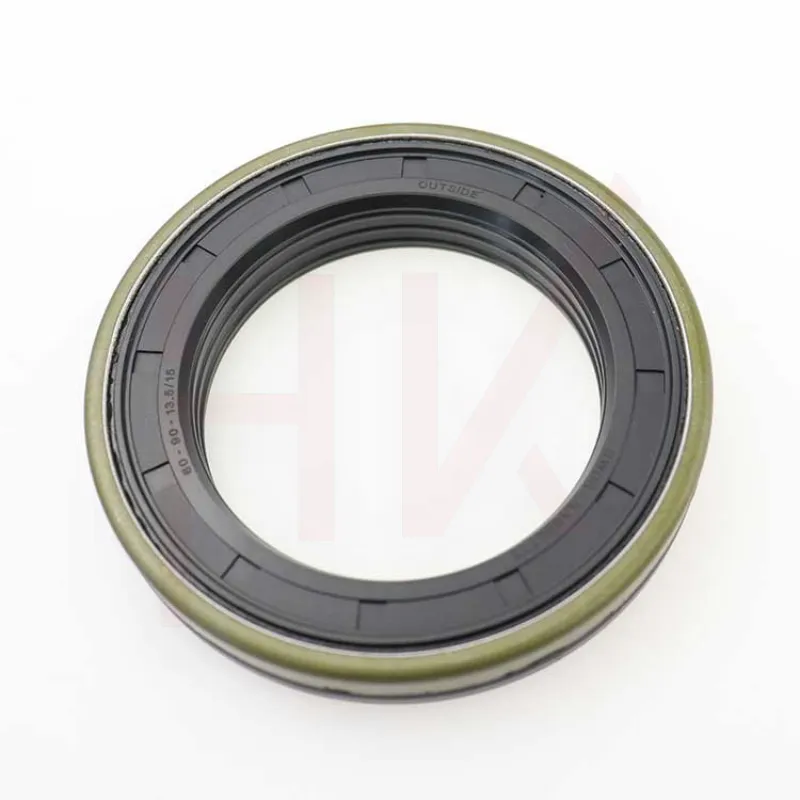
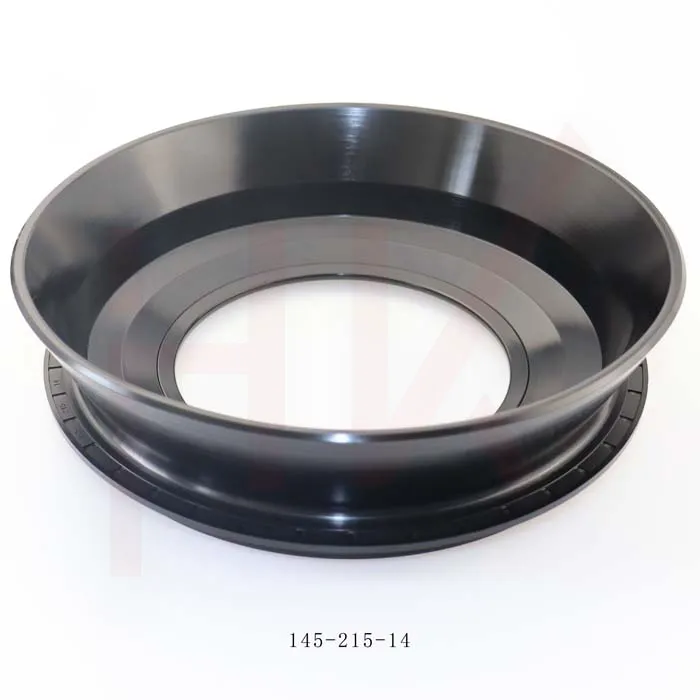
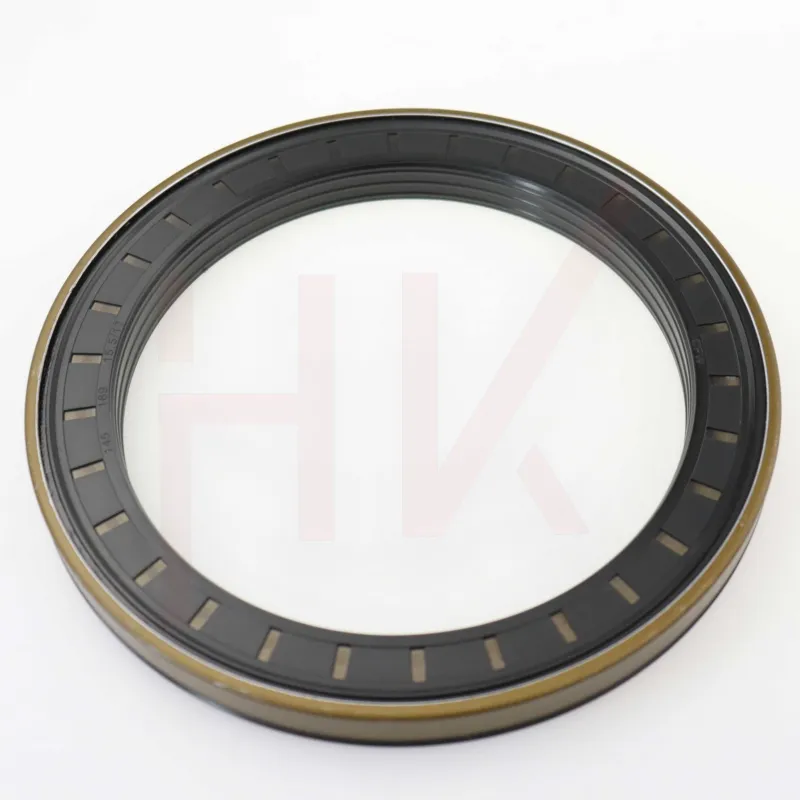
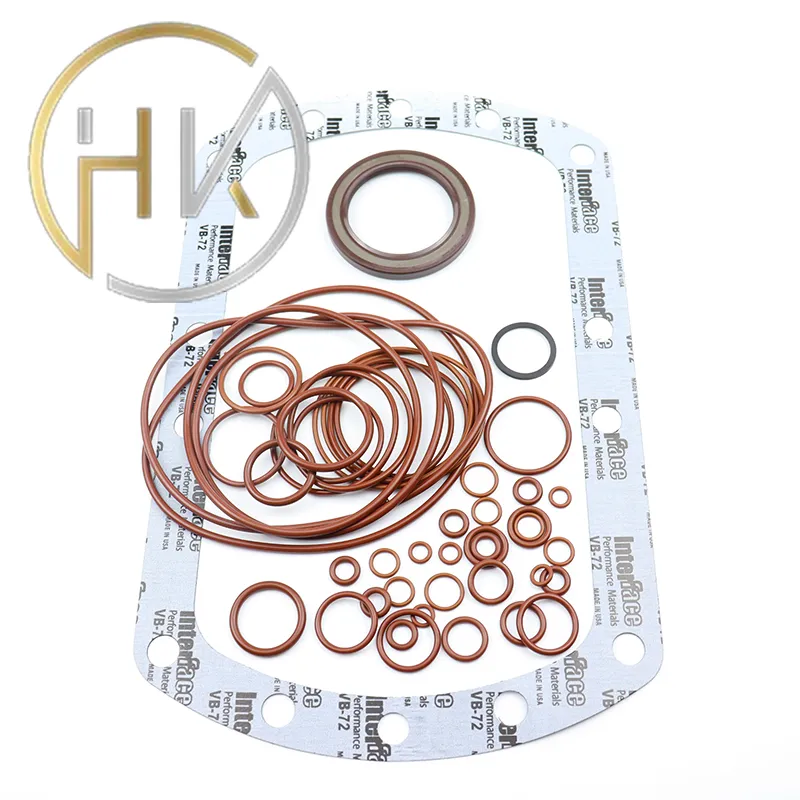
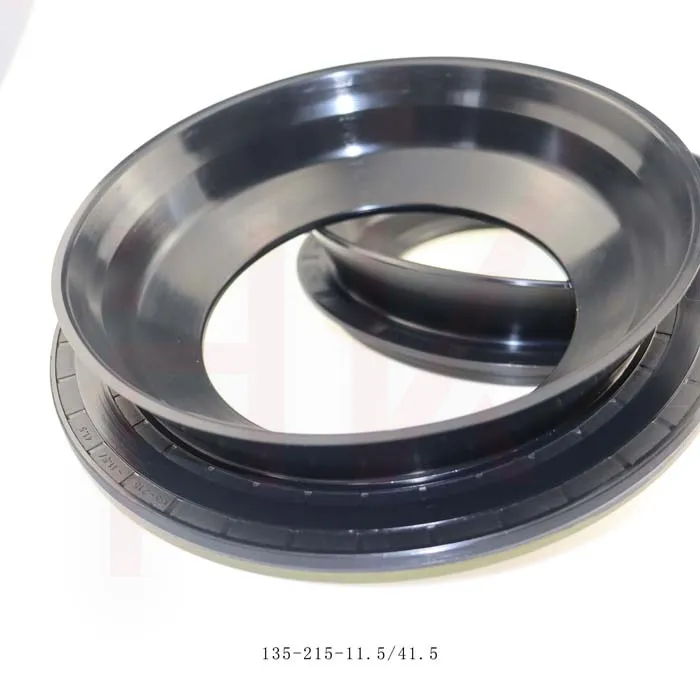
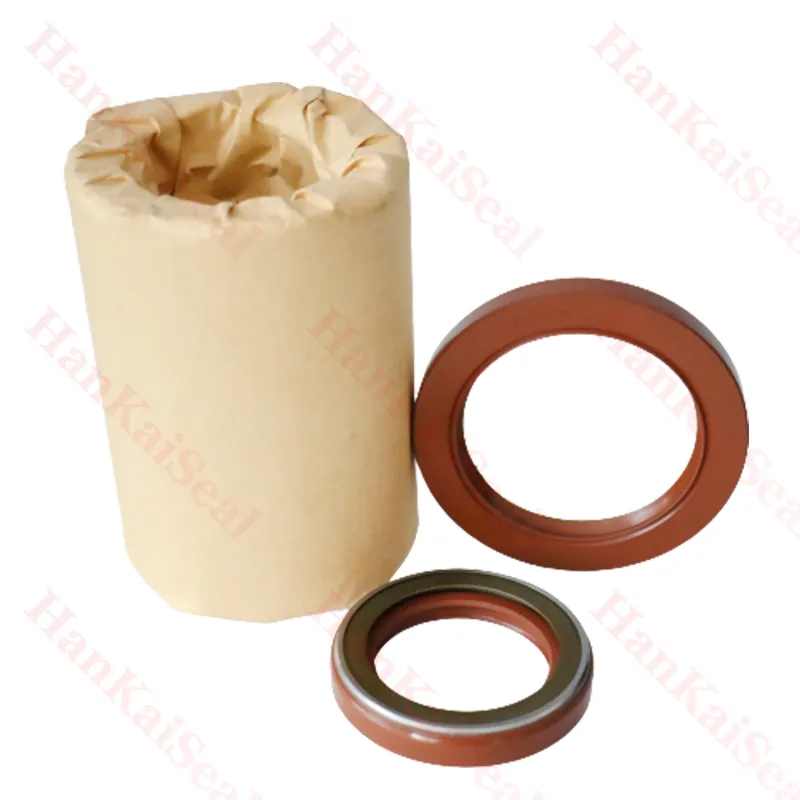
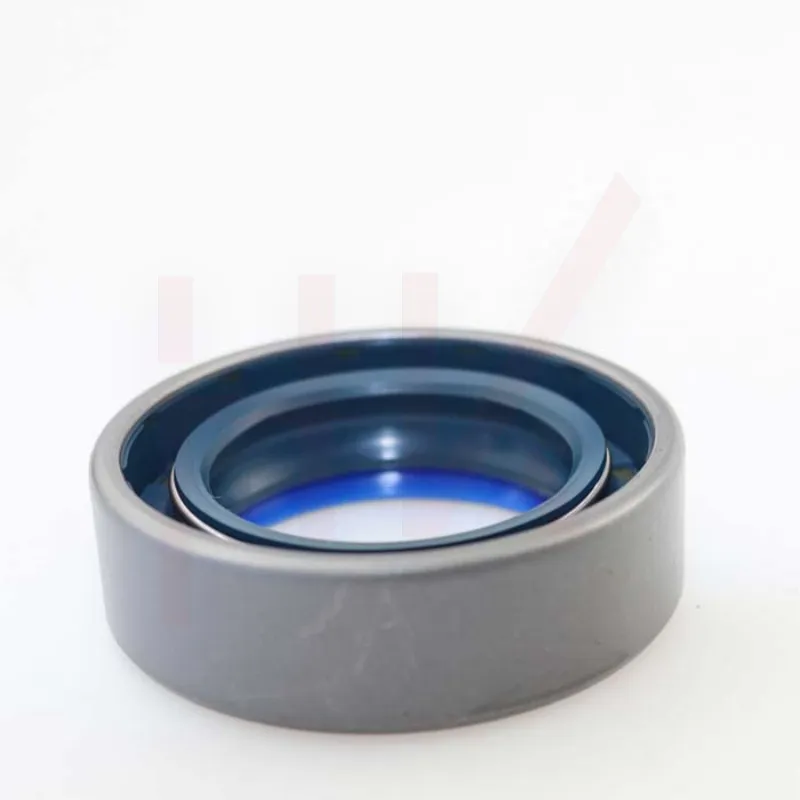
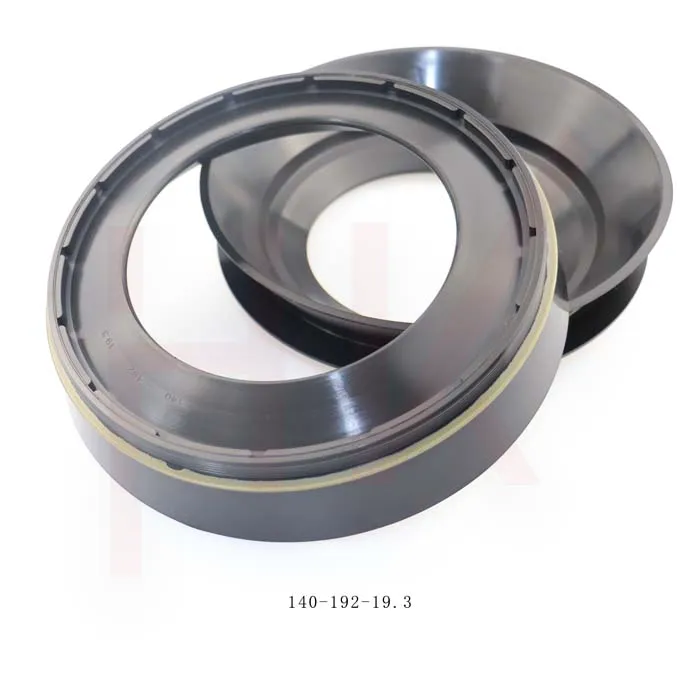
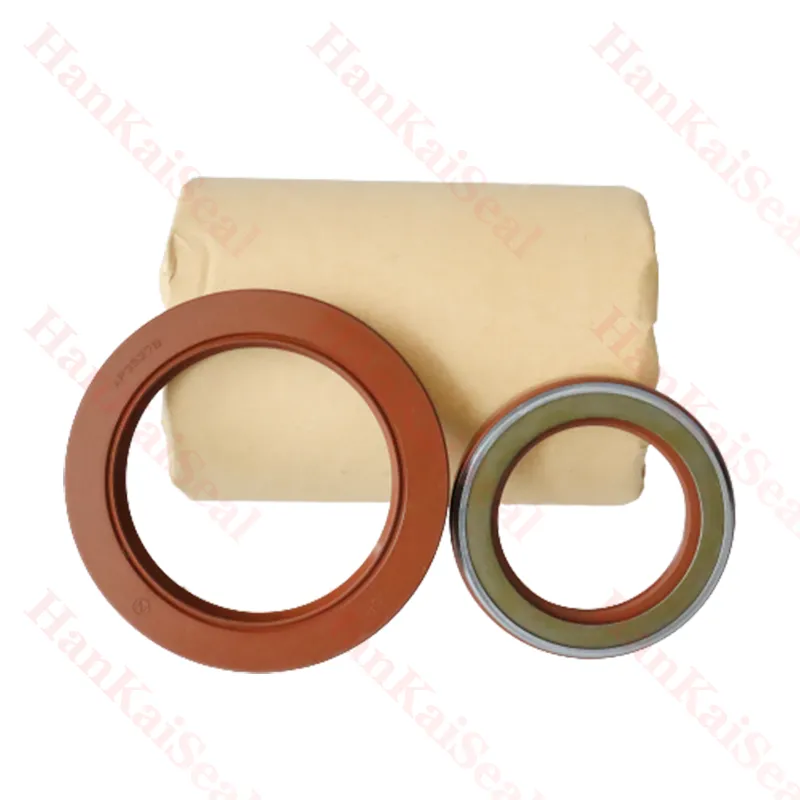
Before embarking on the replacement process, it’s vital to understand the anatomy of a hydraulic cylinder. Typically, a hydraulic cylinder consists of a cylinder barrel, piston, rod, seals, and end caps. The seals facilitate the movement of the piston while preventing hydraulic fluid from leaking out. Common types of seals used in hydraulic cylinders include O-rings, lip seals, and scrapers.
Tools and Materials Needed
To successfully replace seals on a hydraulic cylinder, you will need
- Wrenches and sockets - Screwdrivers - Seal removal tools or picks - A clean cloth - Replacement seals - Hydraulic fluid - A suitable work surface
Step 1 Prepare the Workspace
Start by ensuring that you have a clean, well-lit area to work in. Remove any debris or dirt that can contaminate the hydraulic components. It’s crucial to keep everything organized to prevent losing small parts during the process.
Step 2 Depressurize the Cylinder
Before you begin any disassembly, make sure to depressurize the hydraulic circuit. This can often be done by disconnecting the hydraulic lines from the cylinder and allowing the fluid to drain safely. Consult the manufacturer’s guidelines for specific instructions, as different models may require different procedures to safely release pressure.
Step 3 Disassemble the Cylinder
replacing seals on a hydraulic cylinder
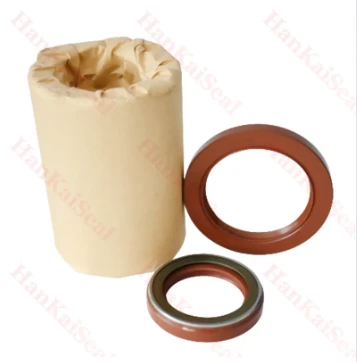
Once the cylinder is depressurized, you can begin disassembly. Use the appropriate wrenches to remove the end caps of the cylinder. Carefully take out the piston rod and piston. Depending on the design, you might need to unscrew or unbolt various components. Keep track of how parts are removed, as you will need to reassemble them in the same order.
Step 4 Remove Old Seals
With the piston and rod exposed, inspect the old seals for wear and damage. Using a seal removal tool or a pick, gently pry the old seals off the piston and inside the cylinder. Be cautious during this step to avoid damaging the cylinder wall or piston surface. Cleaning the area around the seals removes any debris and old lubricant, ensuring a better fit for the new seals.
Step 5 Install New Seals
Once all old seals are removed and the surfaces are clean, it’s time to install the new seals. Carefully position each new seal in its respective groove. For O-rings and lip seals, ensure they are seated evenly and do not twist during installation. It’s advisable to apply a small amount of hydraulic fluid on the seals to assist in installation and prevent damage from friction.
Step 6 Reassemble the Cylinder
With the new seals in place, you can begin reassembling the hydraulic cylinder. Carefully fit the piston into the cylinder and secure it with the end caps. Ensure everything is tightened to the manufacturer’s specifications, as improper assembly can lead to leaks or even failure of the cylinder.
Step 7 Test the Assembly
After reassembly, reconnect the hydraulic lines and refill the cylinder with the appropriate hydraulic fluid. Before resuming normal operations, conduct a test run. Check for any leaks around the seals and ensure the cylinder operates smoothly. Monitoring for leaks and performance in the initial usage period is crucial to confirm that the replacement was successful.
Conclusion
Replacing seals on a hydraulic cylinder can seem daunting, but with the right tools and a methodical approach, it can be accomplished efficiently. Regular maintenance and timely seal replacements can prevent major hydraulic failures and extend the life of your hydraulic systems. Always refer to specific manufacturer guidelines and safety instructions specific to your hydraulic cylinder model for the best results.
-
The Trans-formative Journey of Wheel Hub Oil Seals
NewsJun.06,2025
-
Graphene-Enhanced Oil Seals: Revolutionizing High-Pressure Oil Sealing
NewsJun.06,2025
-
Future of Hydraulic Sealing: Advanced Intelligent TCN Oil Seals
NewsJun.06,2025
-
Don’t Let a Broken TCV Oil Seal Ruin Your Day
NewsJun.06,2025
-
Bio-Inspired Dust Seals for Better Sealing Performance
NewsJun.06,2025
-
Biodegradable and Sustainable Hydraulic Seal Materials
NewsJun.06,2025
-
Top Oil Seal Solutions for Your Industrial Needs
NewsMay.22,2025
Products categories

