Dec . 31, 2024 02:26 Back to list
Hydraulic Ram Seal Replacement Guide for Optimal Performance and Durability
Hydraulic Ram Seal Replacement A Step-by-Step Guide
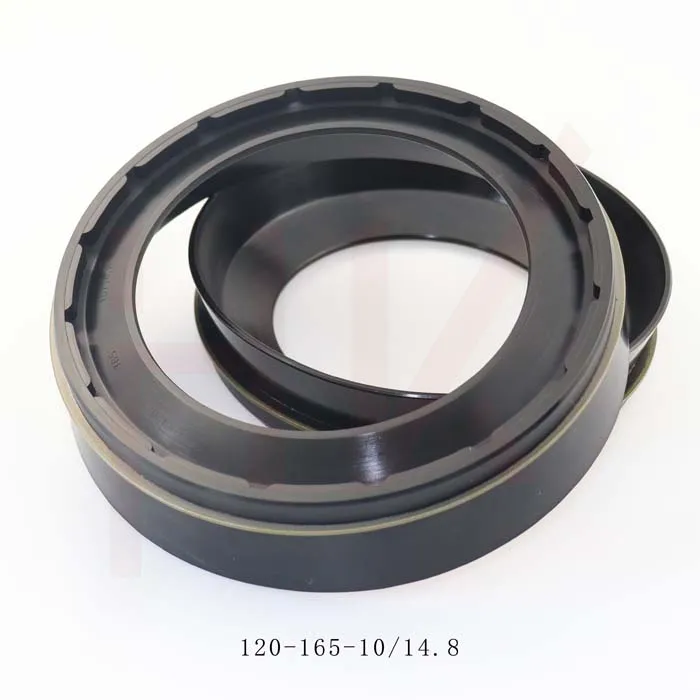
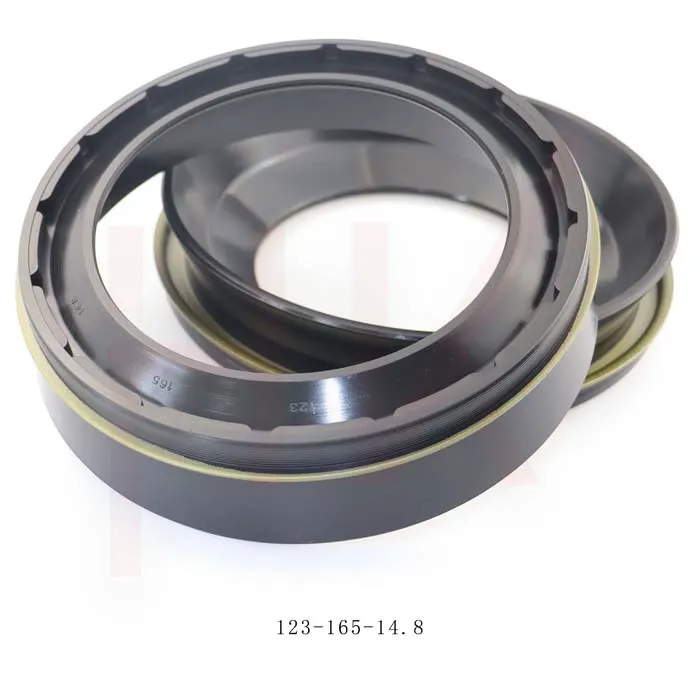
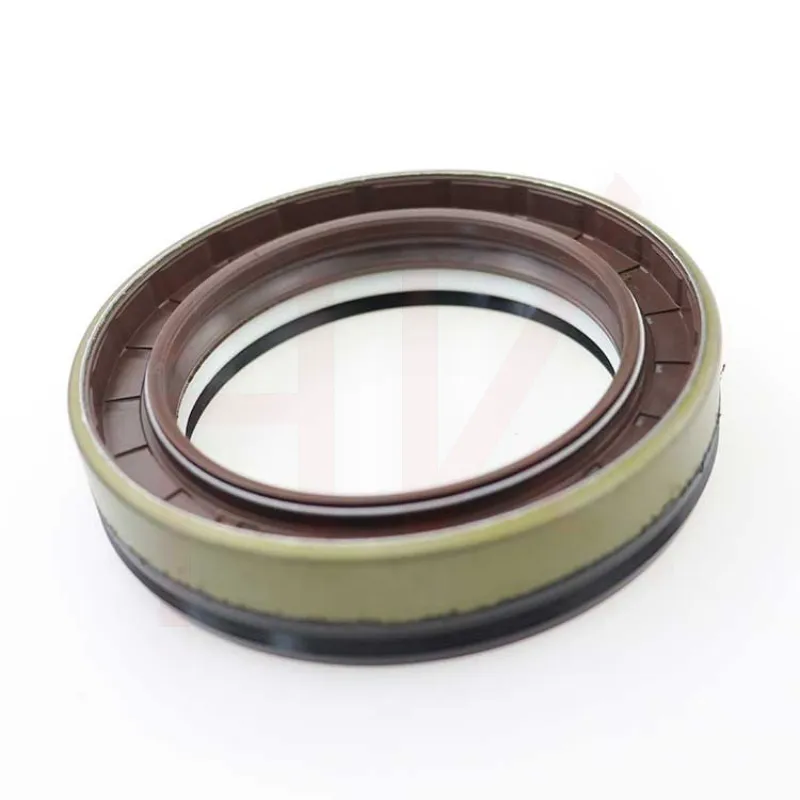
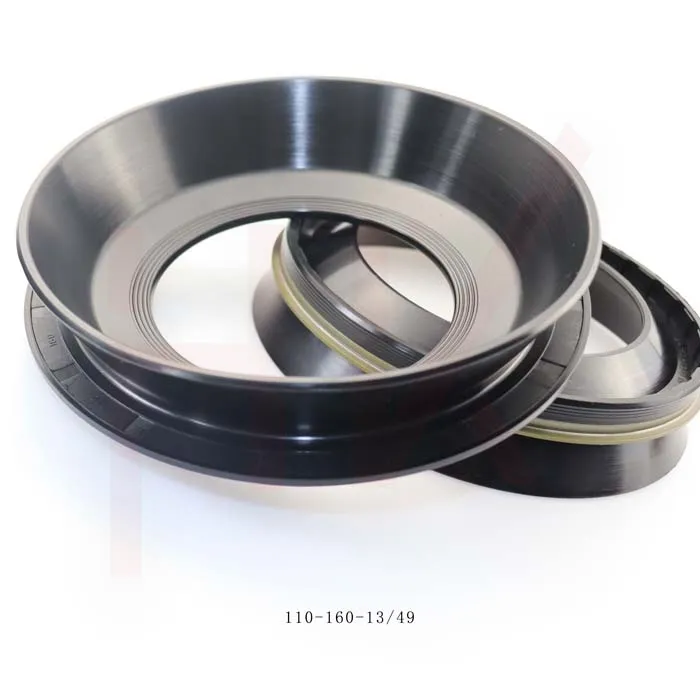
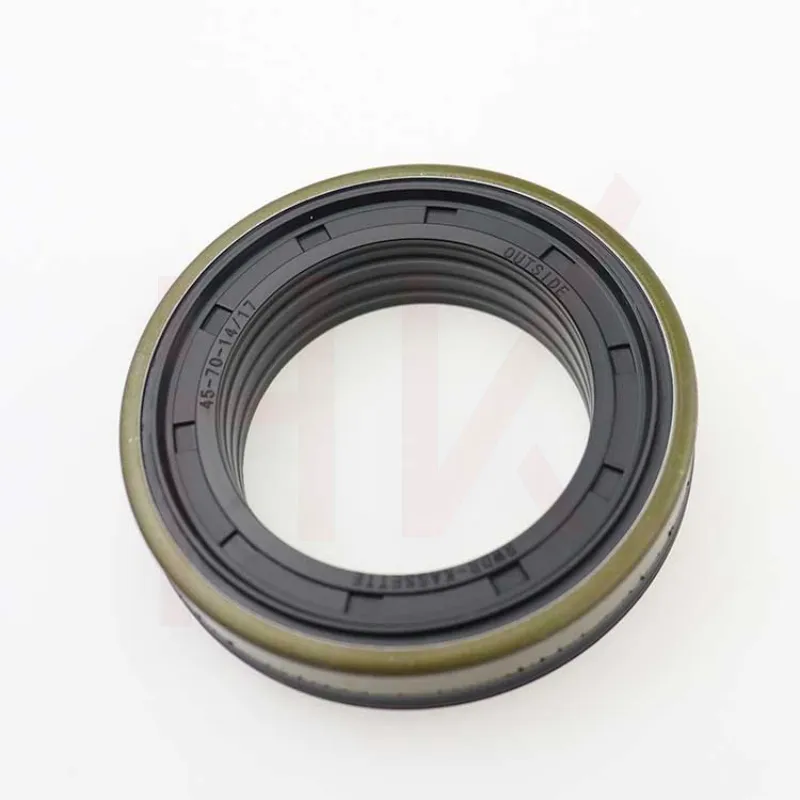
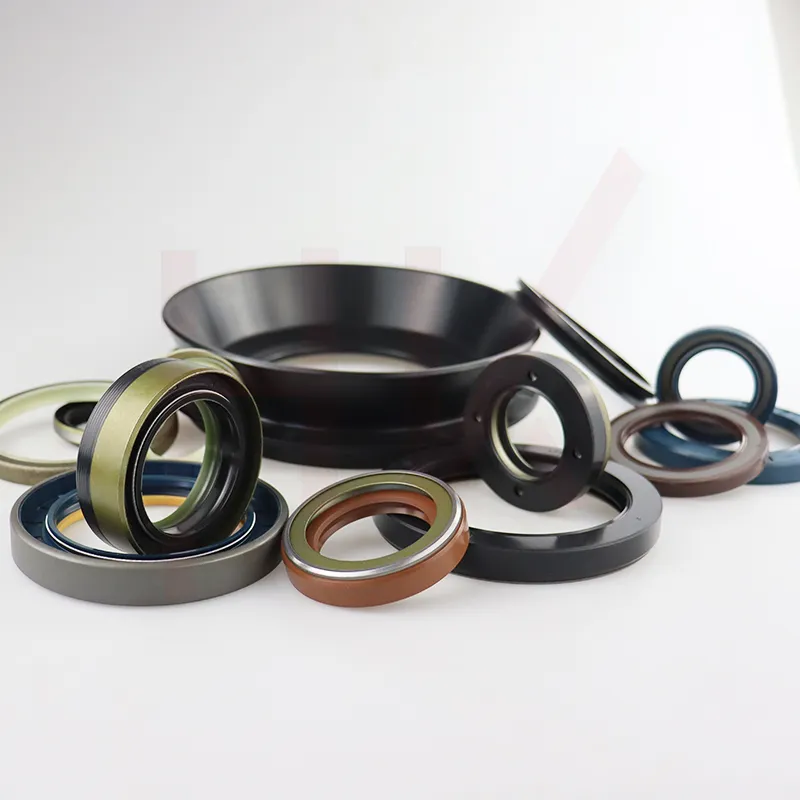
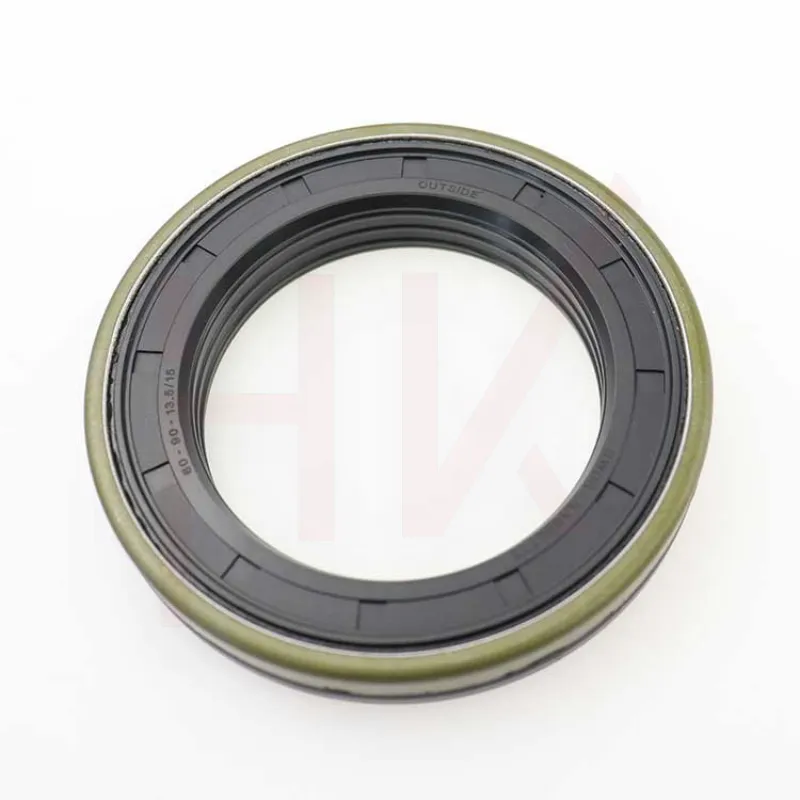
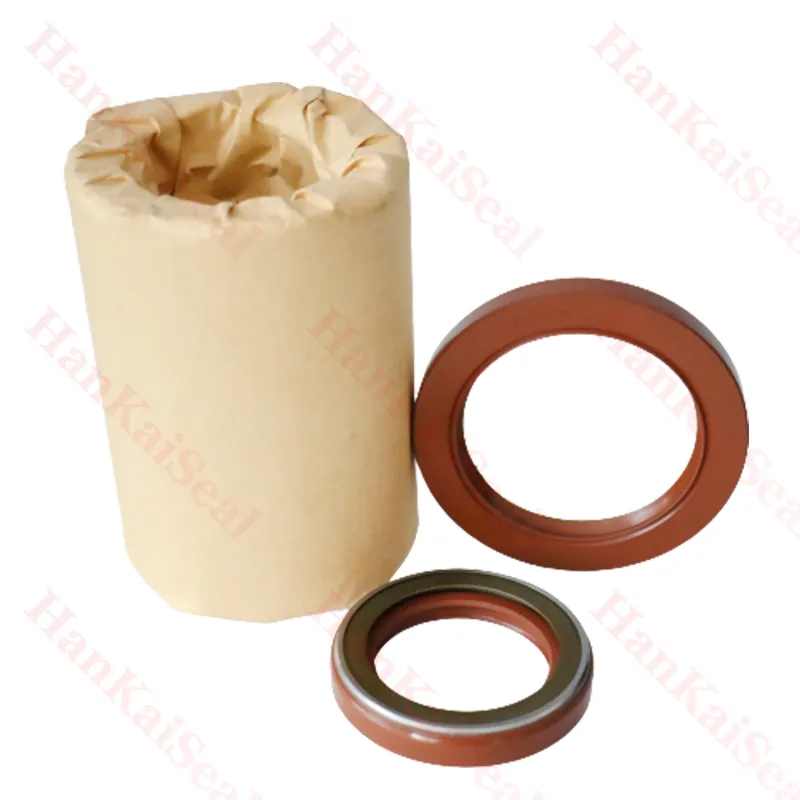
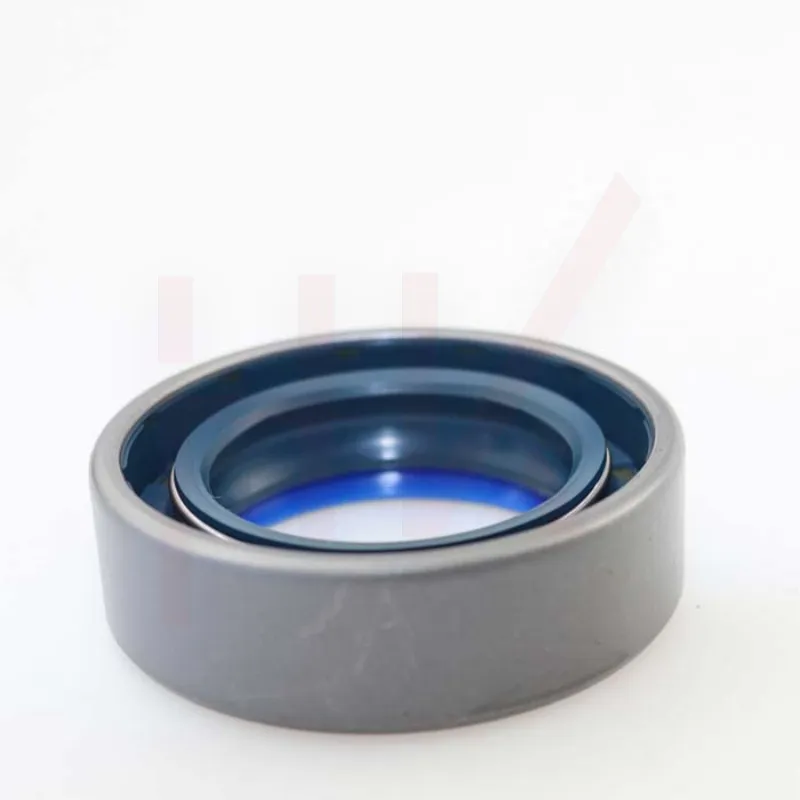
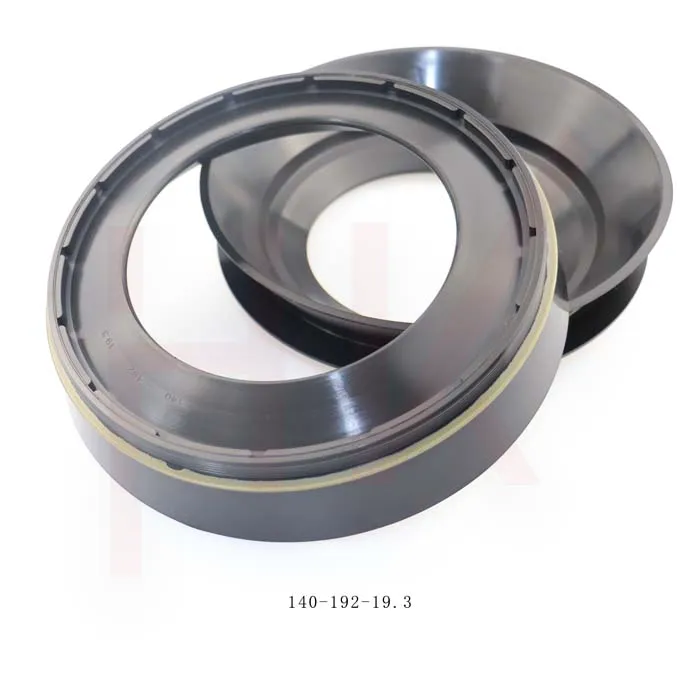
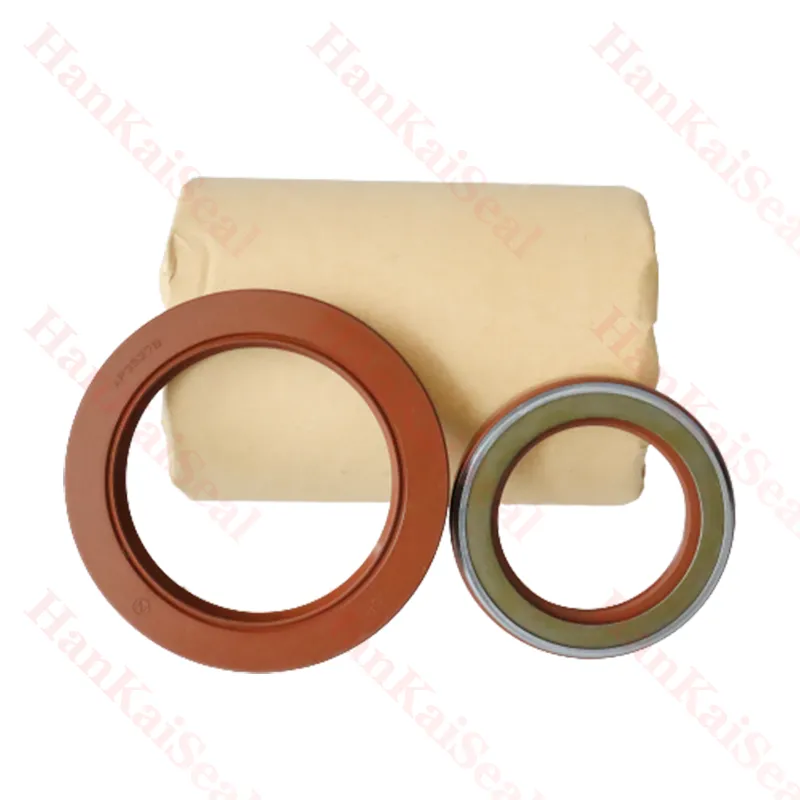
Hydraulic rams play a crucial role in various industrial and agricultural applications, providing essential lifting, pushing, and pulling capabilities. One of the most vital components of these hydraulic systems is the seal, which prevents hydraulic fluid from leaking out and ensures optimal performance. However, over time, hydraulic ram seals can wear out, leading to decreased efficiency and potential damage to the system. This article will guide you through the process of replacing hydraulic ram seals effectively.
Understanding Hydraulic Ram Seals
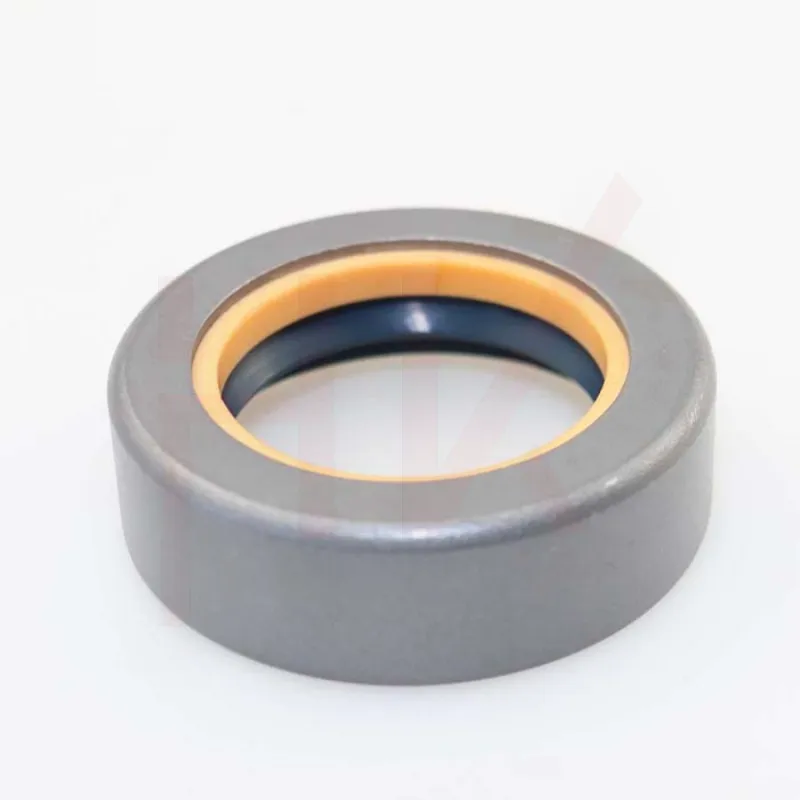
Before diving into the replacement process, it's essential to understand what hydraulic ram seals do. These seals create a barrier between the moving and stationary parts of the hydraulic ram, preventing fluid loss and maintaining pressure within the system. Signs of a failing seal may include visible leaks, reduced power, or erratic operation of the hydraulic ram. Regular maintenance checks can help catch issues early, preventing extensive damage.
Tools and Materials Needed
To replace the hydraulic ram seals, you will need the following tools and materials
- Replacement seals (make sure to get the correct size and type for your ram) - Hydraulic fluid - Wrenches and socket set - Screwdrivers (flat-head and Phillips) - Pliers - A rubber mallet - Degreaser or cleaning solution - Soft cloth or rag - Safety goggles and gloves
Step-by-Step Replacement Process
1. Safety First Before starting any maintenance work, ensure that the hydraulic ram is isolated from any power source. Wear safety goggles and gloves to protect yourself from hydraulic fluid and debris.
2. Remove the Hydraulic Ram Using the appropriate wrenches, carefully detach the hydraulic ram from its mounting points. Be prepared for hydraulic fluid to drain out; have a container ready to catch any fluid that may leak during this process.
3. Clean the Area After removing the ram, use a degreaser or cleaning solution to clean the exterior of the ram and surrounding areas. This will remove any grime or debris that could affect the seal replacement process.
hydraulic ram seal replacement
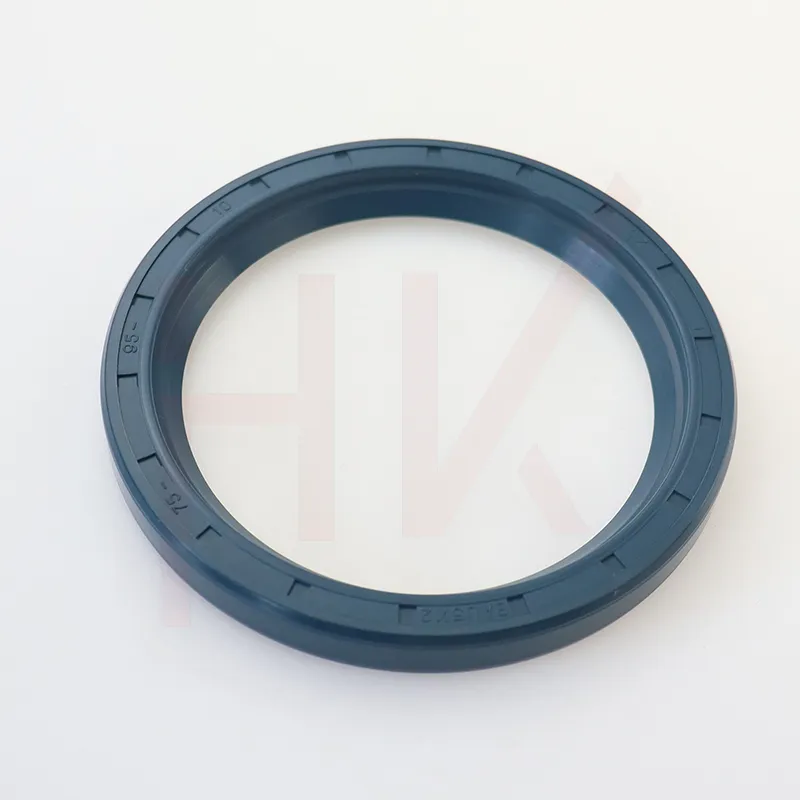
4. Disassemble the Ram Depending on the design of your hydraulic ram, you may need to remove retaining rings or bolts to access the seals. Use the appropriate tools to gently disassemble the ram without damaging any components.
5. Remove Old Seals Once you have access to the seals, carefully pry out the old seals using a screwdriver or pliers. Be cautious not to scratch or damage the cylinder walls, as this could lead to future leaks.
6. Inspect for Damage Before installing new seals, inspect the ram for any signs of wear or damage. Look for scratches, pitting, or corrosion that could compromise the integrity of the new seals. If any damage is found, consider seeking professional repair services.
7. Install New Seals Take your new seals and lubricate them with a small amount of hydraulic fluid. This step is crucial, as it helps to ensure a proper fit and reduces the risk of tearing during installation. Gently press the seals into place, ensuring they sit evenly in their grooves.
8. Reassemble the Ram After the new seals are installed, reassemble the hydraulic ram by reversing the disassembly steps. Ensure that all components are tightened to the manufacturer’s specifications.
9. Reinstall the Hydraulic Ram Once the ram is fully assembled, carefully reinstall it back into its mounting position. Be sure to reconnect any hydraulic lines and fittings securely.
10. Fill with Hydraulic Fluid After the ram is reinstalled, refill the hydraulic system with the appropriate hydraulic fluid. Check for any leaks around the newly installed seals and connections.
11. Test the System Finally, power up the hydraulic system and test the ram’s operation. Observe for any unusual noises, movements, or leaks. If everything operates smoothly, congratulations on completing the seal replacement!
Conclusion
Replacing hydraulic ram seals can seem daunting, but with the right tools and knowledge, it is a manageable task that can save time and money. Regular maintenance and timely seal replacement will not only extend the life of your hydraulic ram but also enhance its overall performance. Always consult your manufacturer’s guidelines when undertaking such tasks, and don't hesitate to seek professional help if needed.
-
TCN Oil Seal Metal Ring Reinforcement for Heavy Machinery
NewsJul.25,2025
-
Rotary Lip Seal Spring-Loaded Design for High-Speed Applications
NewsJul.25,2025
-
Hydraulic Cylinder Seals Polyurethane Material for High-Impact Jobs
NewsJul.25,2025
-
High Pressure Oil Seal Polyurethane Coating Wear Resistance
NewsJul.25,2025
-
Dust Proof Seal Double Lip Design for Construction Equipment
NewsJul.25,2025
-
Hub Seal Polyurethane Wear Resistance in Agricultural Vehicles
NewsJul.25,2025
-
The Trans-formative Journey of Wheel Hub Oil Seals
NewsJun.06,2025
Products categories

