Pro . 04, 2024 11:44 Back to list
excavator boom cylinder seal replacement
Excavator Boom Cylinder Seal Replacement A Comprehensive Guide
The excavator is a vital piece of heavy machinery used in construction and earthmoving operations. One of its critical components is the boom cylinder, which plays a significant role in lifting and lowering the boom. Over time, the seals in the boom cylinder can wear out, leading to hydraulic fluid leaks and inefficient operation. Replacing these seals is essential for the reliable performance of your excavator. In this article, we will outline the steps involved in replacing the boom cylinder seals, ensuring that you can carry out this maintenance task effectively.
Understanding the Boom Cylinder
Before diving into the replacement process, it’s crucial to understand the anatomy of the boom cylinder. The boom cylinder consists of a piston and a cylinder barrel, with hydraulic fluid working to extend and retract the piston. Seals are placed at various points to prevent fluid leaks and maintain pressure within the system. If you notice that your excavator is losing power, or if there is visible hydraulic fluid leaking from the cylinder, it’s likely time for a seal replacement.
Tools and Materials Needed
To replace the seals on the boom cylinder, you will need the following tools and materials
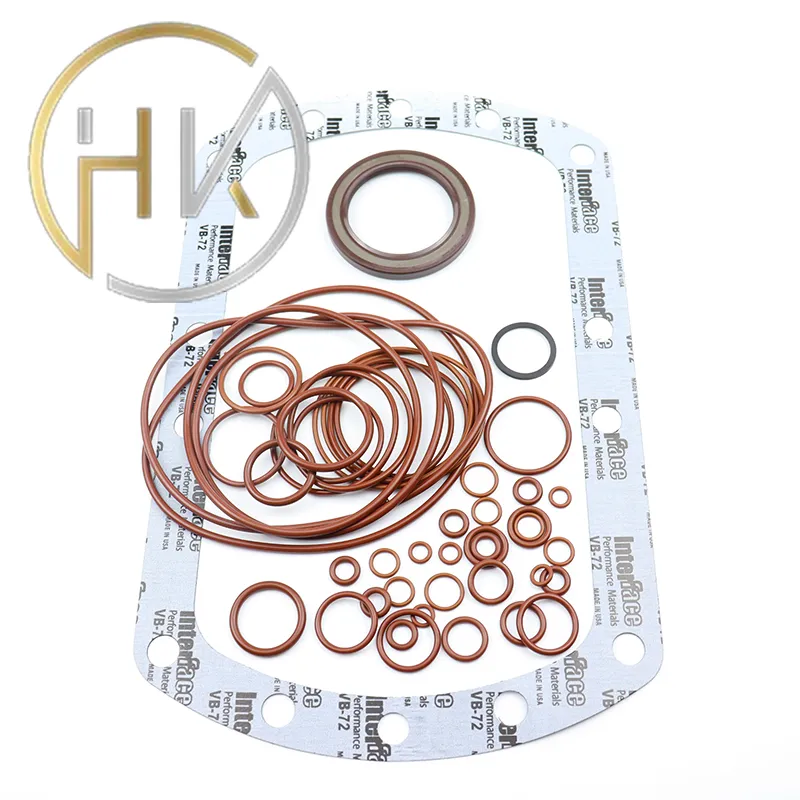
1. Socket wrench set – for removing bolts and nuts. 2. Torque wrench – to ensure proper tightening of bolts. 3. Seal kit – make sure to get a seal kit that is compatible with your excavator model. 4. Pry bars – for disassembling components. 5. Hammer – for driving out seals. 6. Rags and a container – to catch any leaking hydraulic fluid and maintain cleanliness. 7. Safety gear – gloves, goggles, and appropriate clothing.
Step-by-Step Process for Seal Replacement
Step 1 Preparation and Safety Measures Before starting any work on the excavator, ensure that it is parked on a stable, level surface. Engage the parking brake and disconnect the battery to prevent any accidental operation. Wear safety gear to protect yourself during the process.
Step 2 Remove the Boom Cylinder Begin by detaching the boom cylinder from the excavator. This typically involves removing the pins that connect the cylinder to the boom and the base assembly. Use a socket wrench to remove any bolts that may secure the cylinder in place. Once detached, carefully lower the cylinder to the ground.
excavator boom cylinder seal replacement

Step 3 Disassemble the Cylinder With the boom cylinder on a clean work surface, take the necessary precautions to avoid damage. Remove the end caps from both ends of the cylinder by unscrewing the retaining bolts. This may require a torque wrench for proper removal.
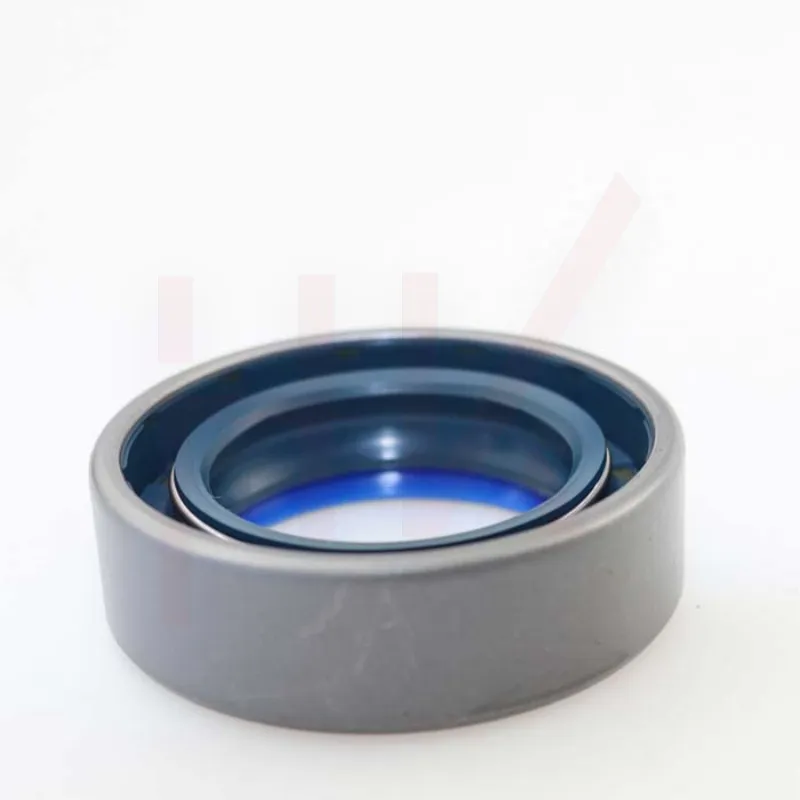
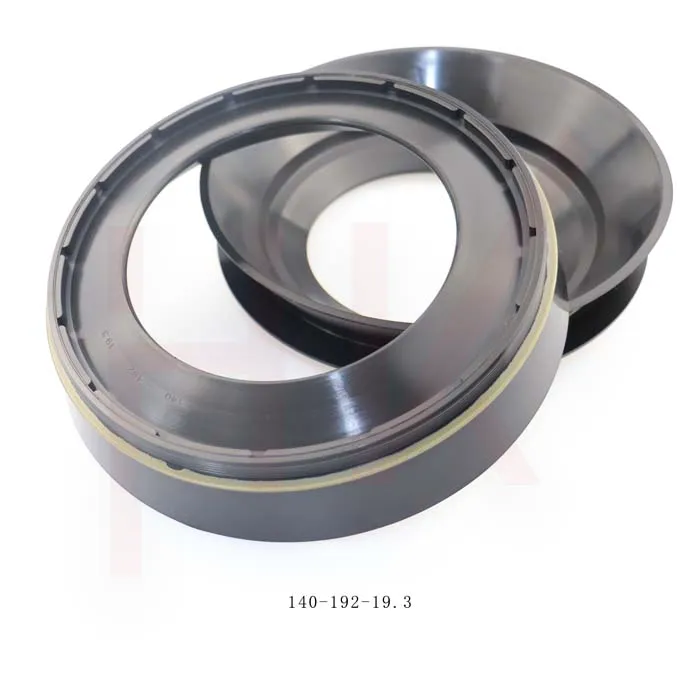
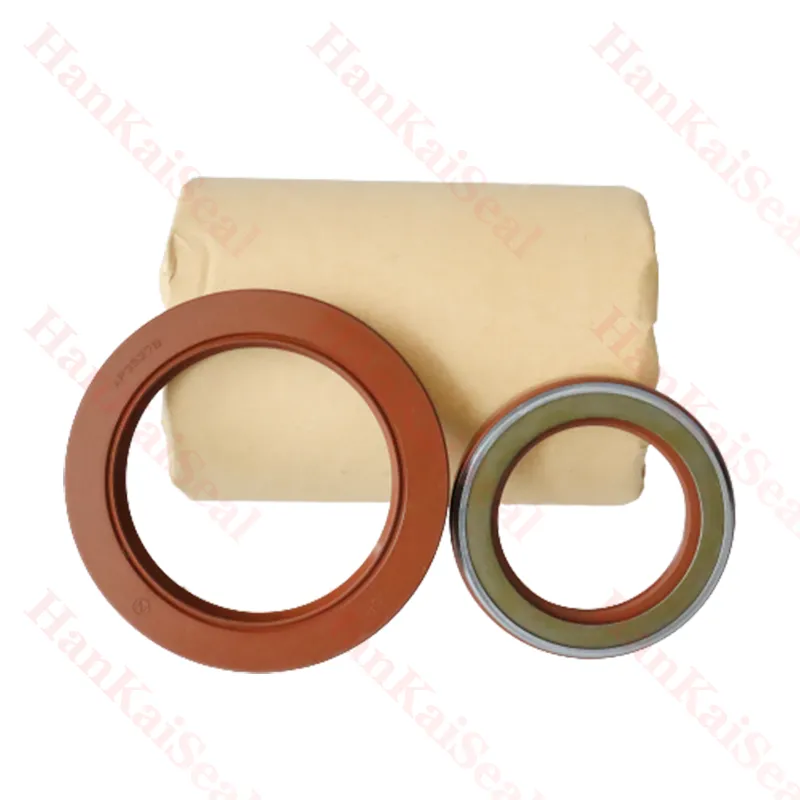
Step 4 Remove Old Seals Carefully drive out the old seals using pry bars and a hammer. Take your time to avoid damaging the cylinder barrel. Make note of the orientation and arrangement of the seals, as this will assist you when installing the new ones.
Step 5 Clean the Cylinder Ensure the cylinder barrel is clean and free from any debris or old seal material. Use rags to wipe the surfaces clean. Inspect for any scratches or damage, as these may require further repair before proceeding.
Step 6 Install New Seals Refer to the seal kit’s instructions for the correct placement of each seal. Carefully position the new seals into their respective grooves, ensuring they are oriented correctly and seated securely within the cylinder.
Step 7 Reassemble the Cylinder Once the new seals are installed, reattach the end caps of the boom cylinder. Make sure to secure them with the bolts, using a torque wrench to apply the appropriate amount of pressure.
Step 8 Reinstall the Boom Cylinder Position the boom cylinder back into place on the excavator. Reinsert the pins and bolts to secure it. Double-check all connections, ensuring everything is tight and secure.
Step 9 Test Operation Reconnect the battery and test the excavator to ensure the boom cylinder operates smoothly without leaks. Monitor the cylinder for a period after the replacement to ensure all seals are functioning correctly.
Conclusion
Replacing the seals in an excavator boom cylinder is an essential maintenance task that can enhance performance and extend the life of your equipment. By following the steps outlined above, you can effectively tackle this project on your own, saving time and costs associated with professional service. Always prioritize safety and cleanliness throughout the process, and don’t hesitate to consult your excavator’s manual for specific guidance tailored to your model.
-
Unlocking the Potential of Hydraulic Systems with Essential Sealing Solutions
NewsAug.06,2025
-
Unleash the Power of Your Hydraulic Systems with Our Premium Seal Kits
NewsAug.06,2025
-
Specialized Hydraulic Seal Kits for Breakers, Pistons, and Presses
NewsAug.06,2025
-
Revitalize Hydraulic Systems with Premium Repair and Seal Kits
NewsAug.06,2025
-
Fortify Your Cylinders with Premium Sealing Solutions
NewsAug.06,2025
-
Elevate Hydraulic System Reliability with Specialized Seal Kits
NewsAug.06,2025
-
TCN Oil Seal Metal Ring Reinforcement for Heavy Machinery
NewsJul.25,2025
Products categories

