nov. . 07, 2024 15:36 Back to list
Guide to Replacing Seals in Hydraulic Cylinders for Optimal Performance and Longevity
Replacing Seals on a Hydraulic Cylinder A Comprehensive Guide
Hydraulic cylinders are crucial components in various machinery and equipment, allowing for powerful linear motion driven by pressurized fluid. Over time, hydraulic seals can wear out due to heat, pressure, debris, and contamination. When this happens, it results in leaks, reduced efficiency, and potential damage to the entire hydraulic system. Replacing seals is a relatively straightforward maintenance task that can extend the life of your hydraulic cylinder and restore its functionality. In this article, we will guide you through the process of replacing seals on a hydraulic cylinder step by step.
Understanding Hydraulic Seals
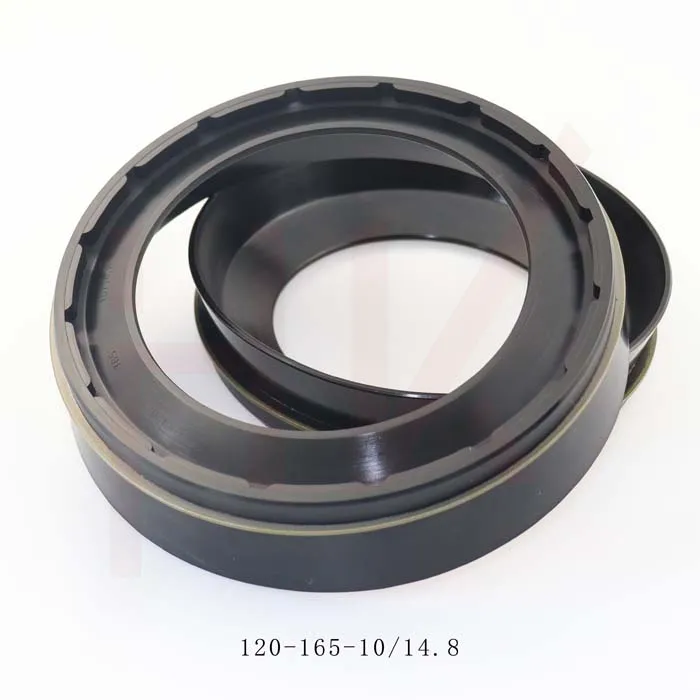
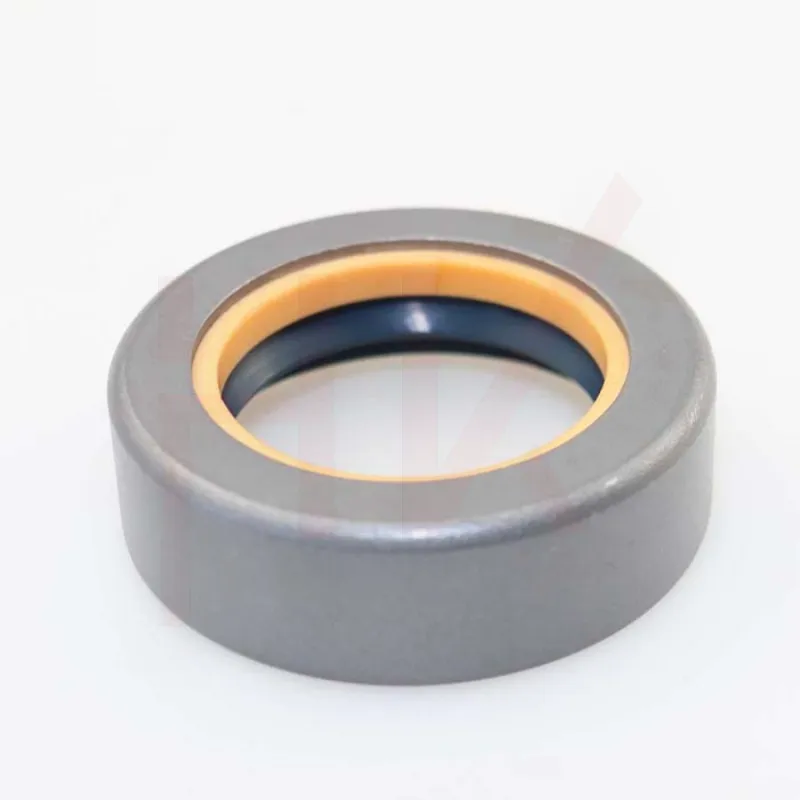
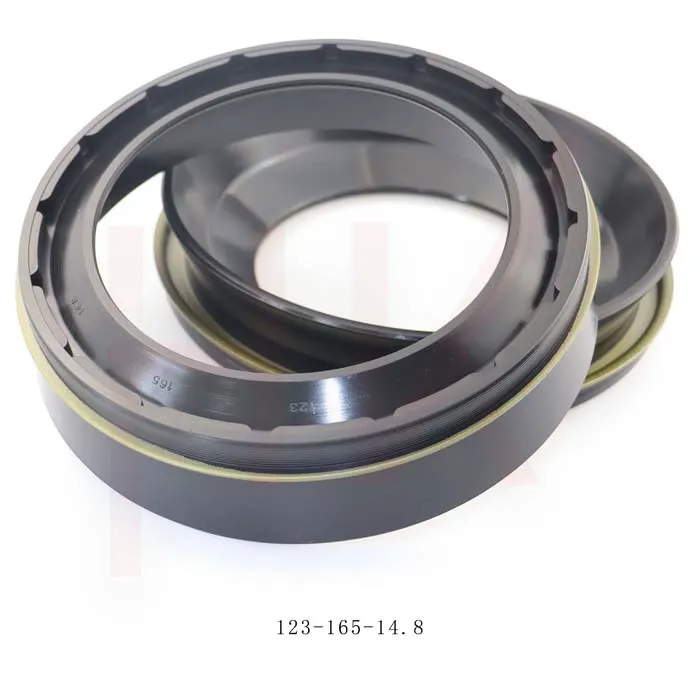
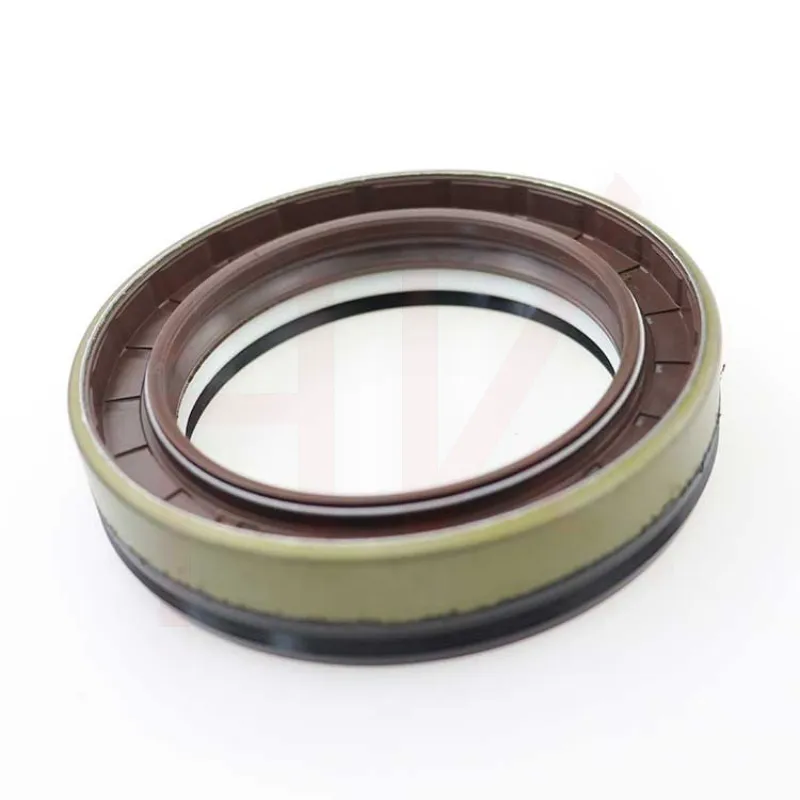
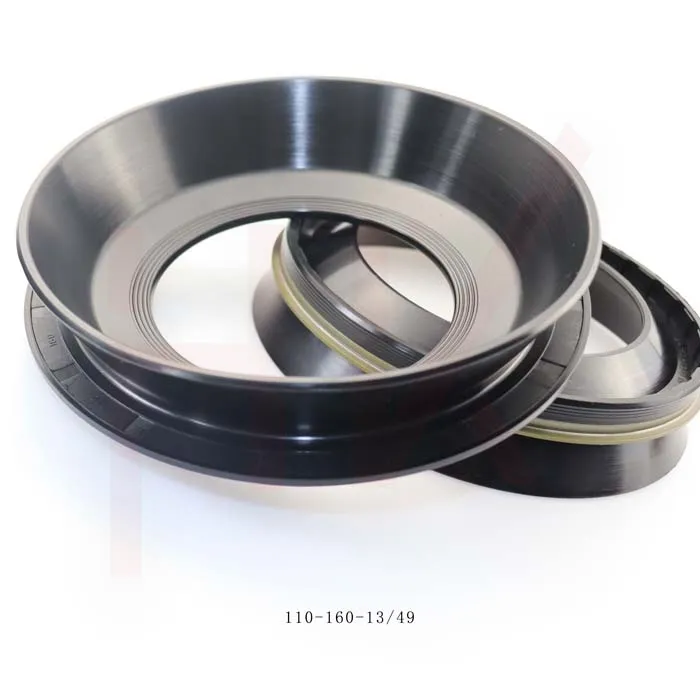
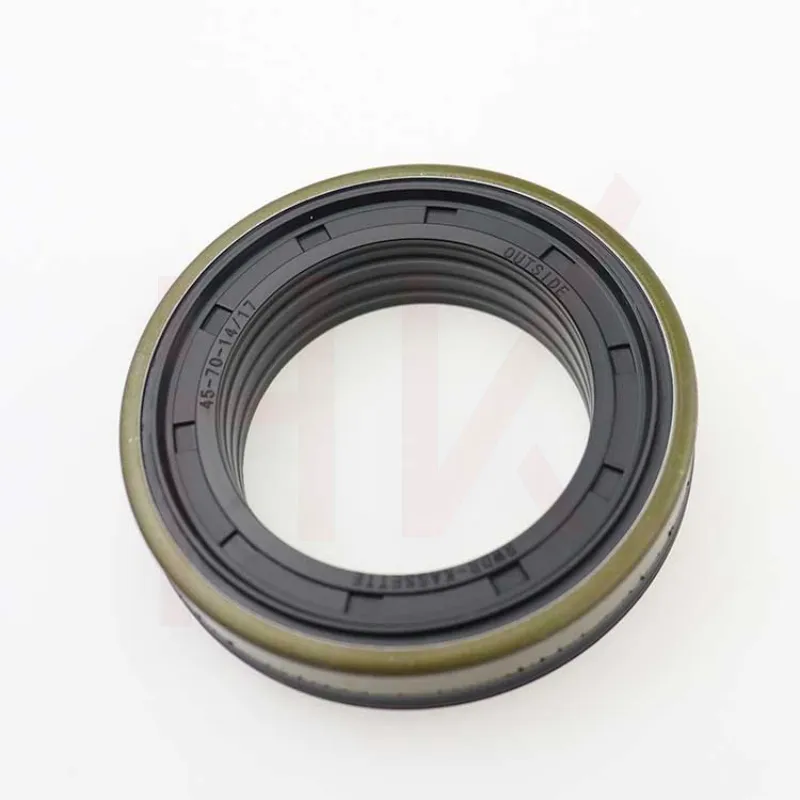
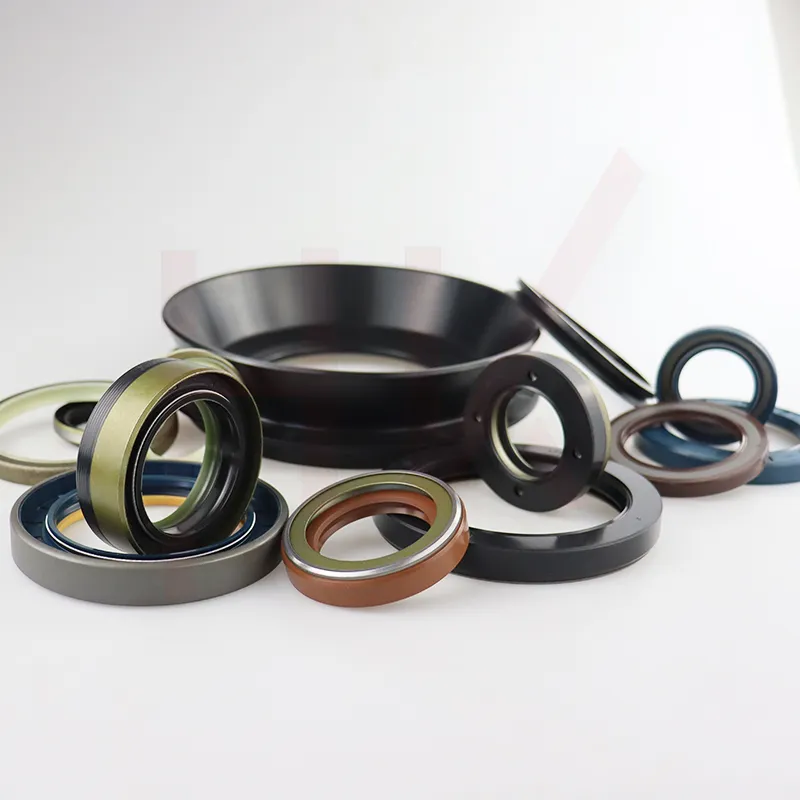
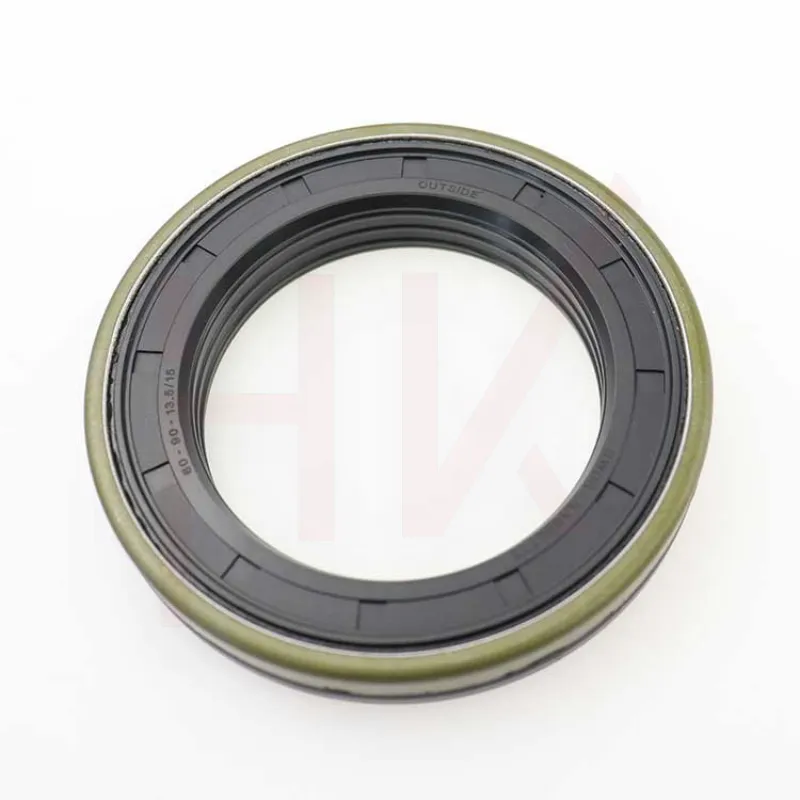
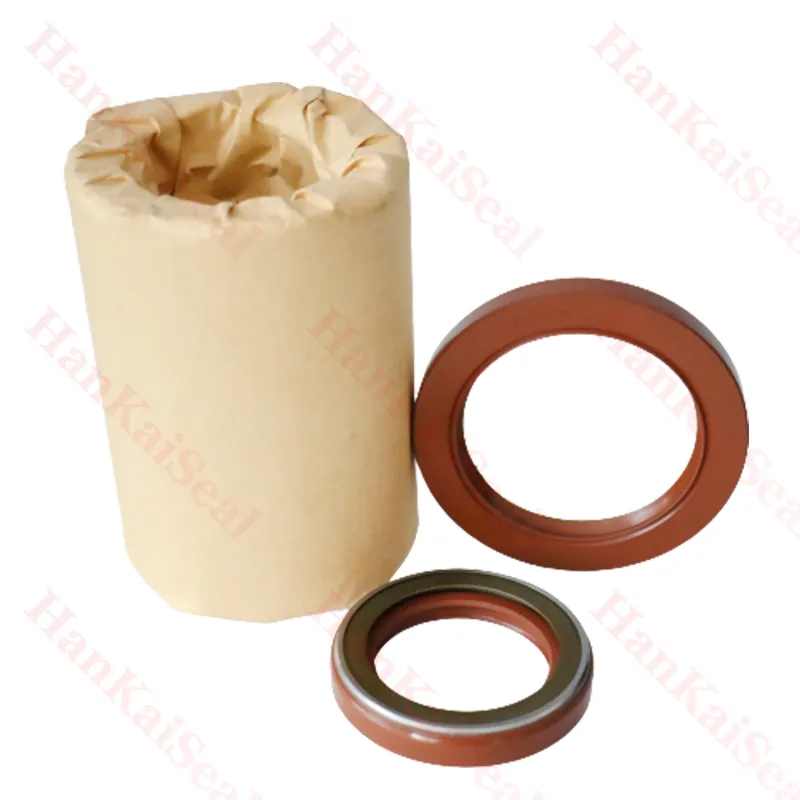
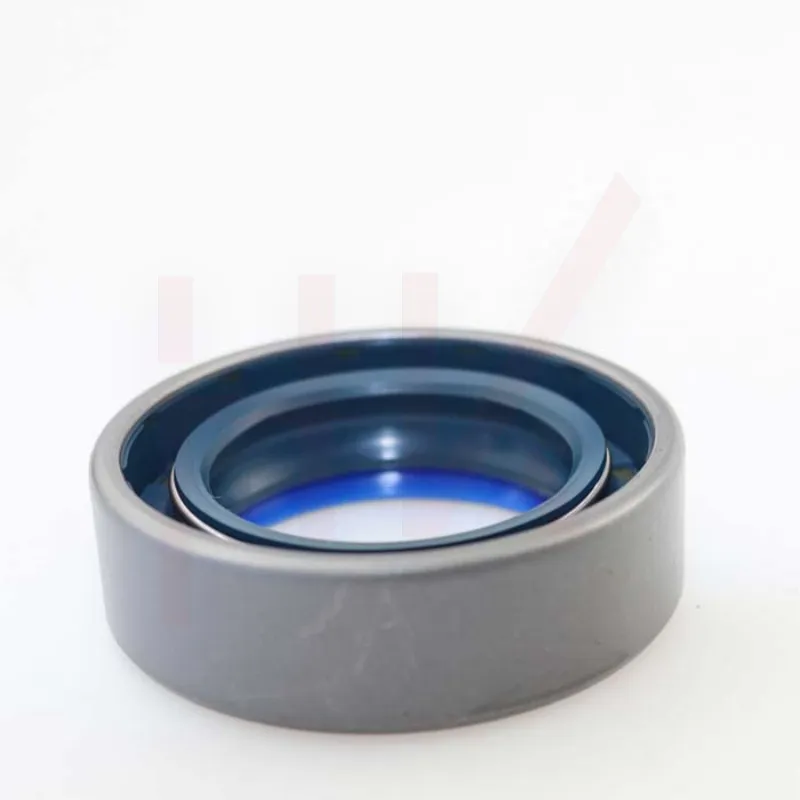
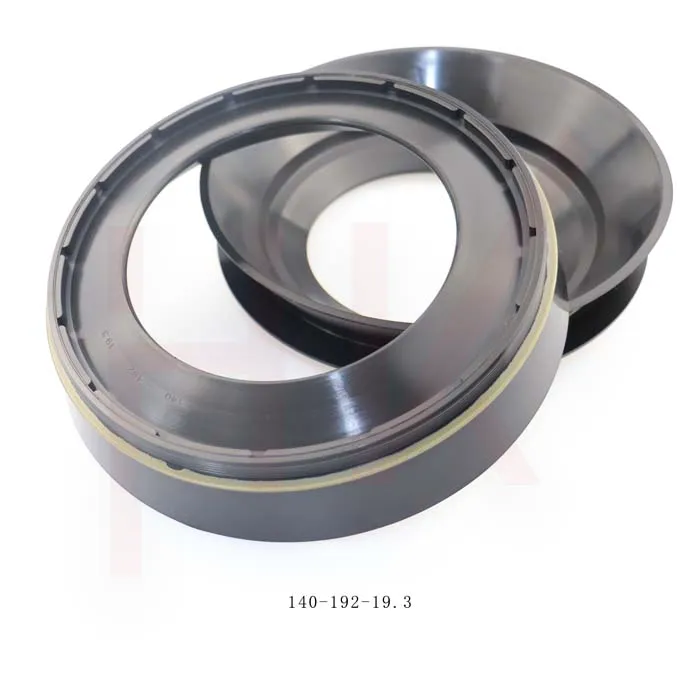
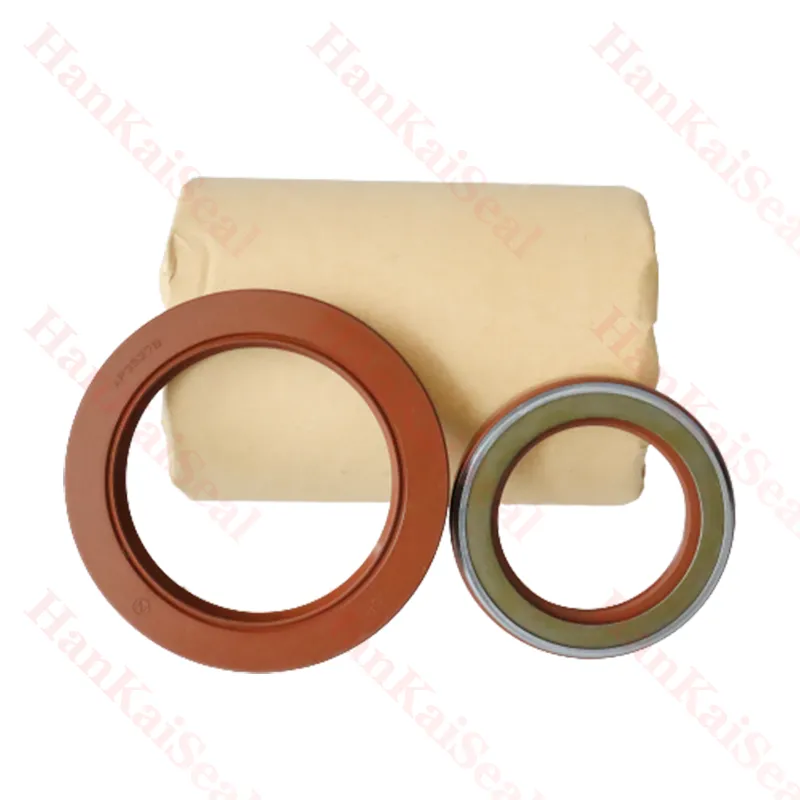
Before diving into the replacement process, it’s essential to understand what hydraulic seals are. They are typically made of rubber or other elastomeric materials designed to prevent hydraulic fluid from leaking between the moving parts of the cylinder. Common types of hydraulic seals include O-rings, piston seals, rod seals, and wiper seals. Identifying which seals require replacement is the first step in effective maintenance.
Tools and Materials Needed
To replace seals on a hydraulic cylinder, you will need a few essential tools and materials
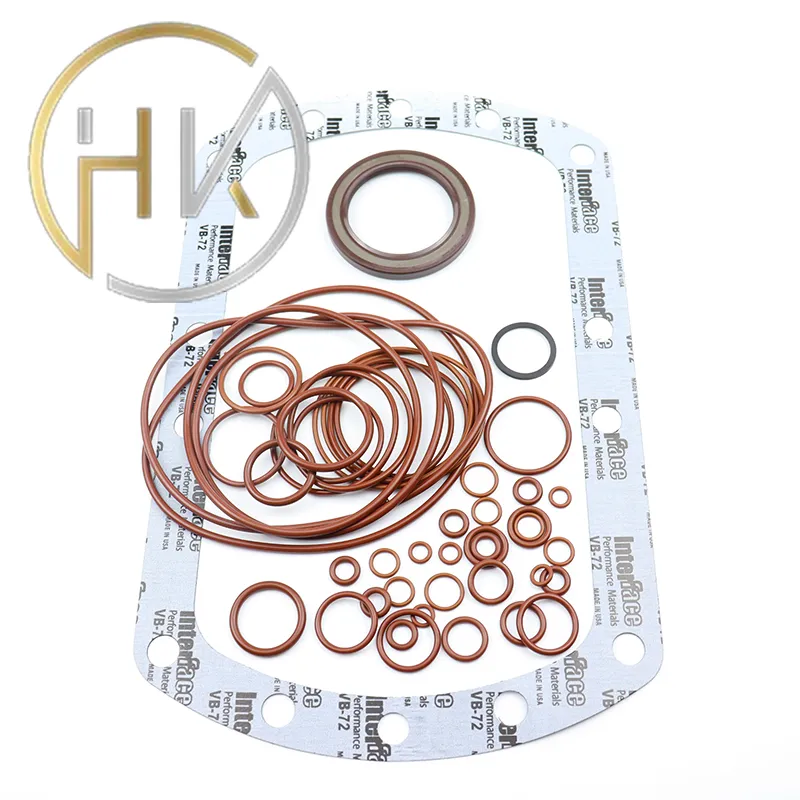
1. Safety Gear This includes gloves, goggles, and possibly a dust mask to ensure safety during the process. 2. Basic Hand Tools Wrenches, screwdrivers, and pliers will be necessary for disassembly. 3. Seal Replacement Kit This includes new seals specific to your hydraulic cylinder model. 4. Cleaning Supplies Rags, brushes, and a solvent for cleaning the cylinder components. 5. Torque Wrench For reassembling components to the manufacturer’s specifications.
Step-By-Step Process
1. Safety First Before starting, ensure the hydraulic system is depressurized. This involves turning off the machine, disconnecting power sources, and relieving any stored pressure in the hydraulic lines.
replacing seals on a hydraulic cylinder
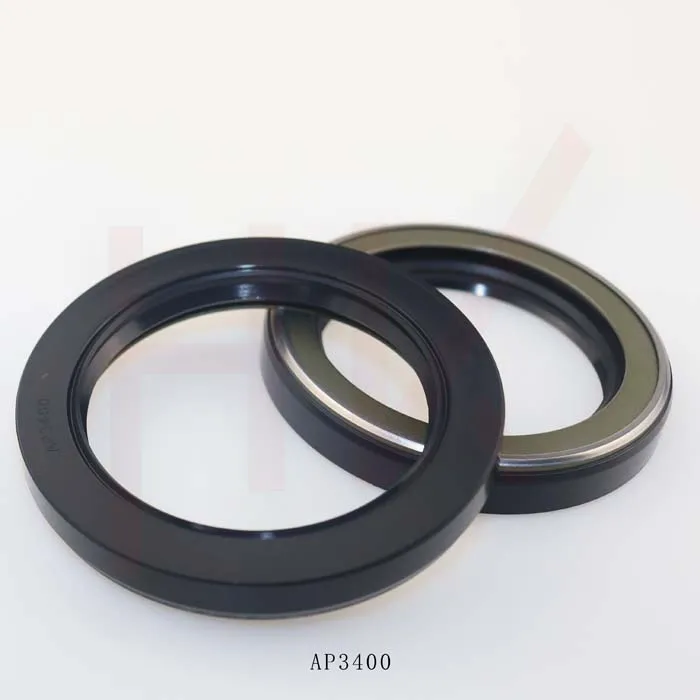
2. Disassemble the Cylinder Begin by removing the hydraulic cylinder from its mounting brackets. Carefully disconnect the hydraulic lines, noting how everything is connected for easier reassembly later. Use the appropriate tools to unscrew and separate the cylinder into its component parts, including the barrel, piston, and rod.
3. Remove Old Seals Once the cylinder is disassembled, check for any wear or damage. Gently pry the old seals from their grooves using a flat tool or a seal removal tool. Take care not to scratch or damage the cylinder surfaces during this process.
4. Clean the Components Thoroughly clean all cylinder components to remove dirt, debris, and old seal material. Use a soft brush and solvent to ensure a clean working environment. Proper cleaning is vital to ensure the new seals fit correctly and perform optimally.
5. Install New Seals Carefully select the new seals from your replacement kit. Ensure they match the dimensions and type of the old seals. Lubricate the seals lightly with hydraulic oil before installation to assist with seating and reduce wear. Install the new seals into their respective grooves, ensuring they are seated evenly and correctly.
6. Reassemble the Cylinder With the new seals in place, reassemble the hydraulic cylinder in the reverse order of disassembly. Ensure all components are aligned correctly, and use a torque wrench to tighten bolts to the manufacturer’s specifications.
7. Reconnect and Test Reattach the hydraulic lines and any electrical connections. Reinstall the cylinder in its mounting position. Before fully operational testing, it’s prudent to conduct a visual inspection for leaks. Once confident there are no leaks, restore pressure to the hydraulic system and run the equipment to ensure everything functions correctly.
Conclusion
Replacing seals on a hydraulic cylinder is a vital maintenance task that, when done correctly, can enhance performance and longevity. By following the steps outlined in this guide and ensuring proper care during the process, you can successfully replace seals and maintain the efficiency of your hydraulic equipment. Regular maintenance checks will help you catch issues early and prevent further damage, ultimately saving time and money in the long run.
-
TCN Oil Seal Metal Ring Reinforcement for Heavy Machinery
NewsJul.25,2025
-
Rotary Lip Seal Spring-Loaded Design for High-Speed Applications
NewsJul.25,2025
-
Hydraulic Cylinder Seals Polyurethane Material for High-Impact Jobs
NewsJul.25,2025
-
High Pressure Oil Seal Polyurethane Coating Wear Resistance
NewsJul.25,2025
-
Dust Proof Seal Double Lip Design for Construction Equipment
NewsJul.25,2025
-
Hub Seal Polyurethane Wear Resistance in Agricultural Vehicles
NewsJul.25,2025
-
The Trans-formative Journey of Wheel Hub Oil Seals
NewsJun.06,2025
Products categories

