2025-08-15 08:39
Current location:Home > piston seal kit >
piston seal kit
1. Leak Prevention One of the primary functions of a hub oil seal is to prevent oil leaks. If the oil seal fails, the lubricant can escape, leading to insufficient lubrication of the bearings and other critical components. This can result in increased wear and tear, decreased performance, and eventually, catastrophic failure.
...

2025-08-15 08:30


2025-08-15 08:11

2025-08-15 08:08


Latest articles
One of the key features of CFW oil seals is their durability and resistance to wear and tear. Made from high-quality materials such as rubber, silicone, or polytetrafluoroethylene (PTFE), these seals are able to withstand extreme conditions without compromising their sealing capabilities. This makes them ideal for use in machinery and equipment that operate under demanding conditions.
The primary function of these seals is to prevent oil leakage, which not only maintains the system's pressure but also conserves the oil, reducing the need for frequent refills. They also prevent the ingress of contaminants like dust, dirt, or moisture, which could damage the motor or degrade the oil quality. Moreover, they contribute to the overall efficiency of the system by minimizing power loss due to fluid friction Moreover, they contribute to the overall efficiency of the system by minimizing power loss due to fluid friction Moreover, they contribute to the overall efficiency of the system by minimizing power loss due to fluid friction Moreover, they contribute to the overall efficiency of the system by minimizing power loss due to fluid frictionhydraulic motor oil seal.
Moreover, they contribute to the overall efficiency of the system by minimizing power loss due to fluid friction Moreover, they contribute to the overall efficiency of the system by minimizing power loss due to fluid frictionhydraulic motor oil seal.Single lip oil seals are commonly used in a wide range of machinery and automotive applications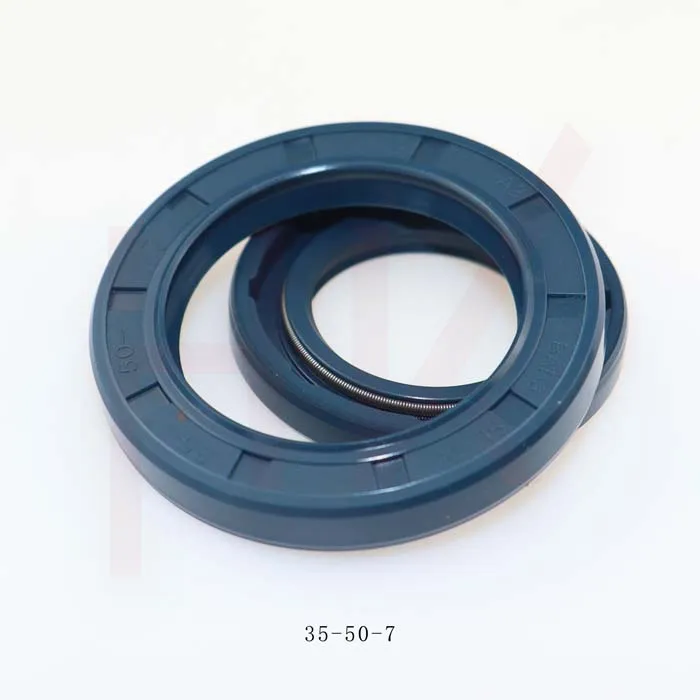 single lip oil seal. They can be found in engines, gearboxes, pumps, and other types of equipment that require a reliable sealing solution to prevent oil leakage. These seals are available in various sizes and materials to suit different operating conditions and environments.
single lip oil seal. They can be found in engines, gearboxes, pumps, and other types of equipment that require a reliable sealing solution to prevent oil leakage. These seals are available in various sizes and materials to suit different operating conditions and environments.Next, begin stacking the rocks on top of the chicken wire, starting from the bottom and working your way up. Be sure to vary the placement of the rocks to create a natural and textured look. As you stack the rocks, use wire ties to secure them to the chicken wire and prevent them from shifting or falling.
chicken wire rock wall