2025-08-14 21:54
Current location:Home > replacing seals hydraulic cylinder >
replacing seals hydraulic cylinder

2025-08-14 21:48


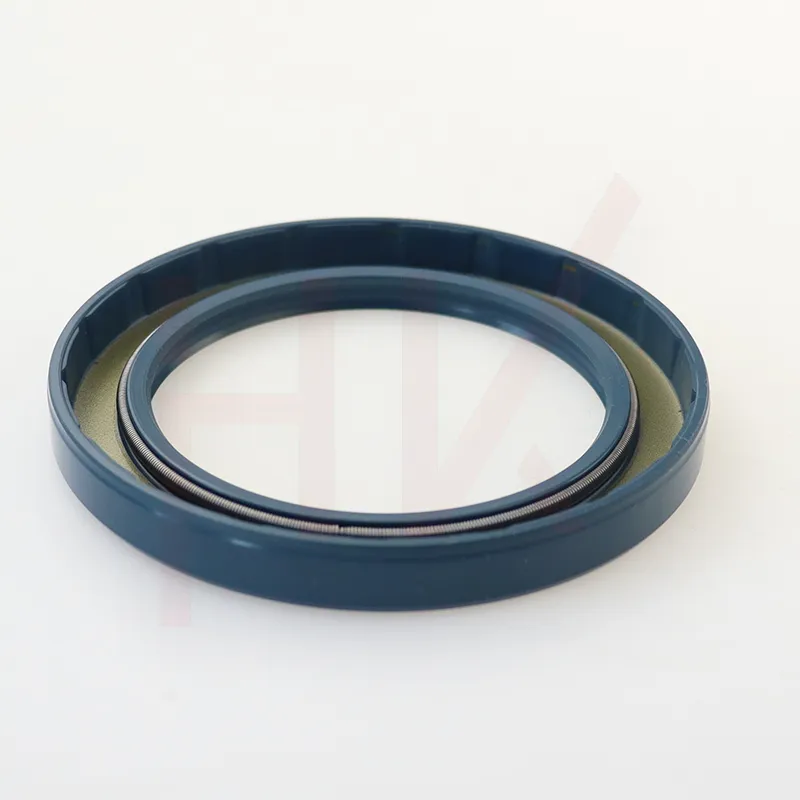
To ensure the longevity and reliability of your gearbox, it is essential to choose the right oil seal for your specific application. This requires a thorough understanding of the unique demands of your machinery, including factors such as operating temperature, pressure, and the type of fluid being used. By selecting a seal that is specifically designed to meet these requirements, you can help to extend the life of your gearbox and minimize the risk of costly repairs down the line By selecting a seal that is specifically designed to meet these requirements, you can help to extend the life of your gearbox and minimize the risk of costly repairs down the line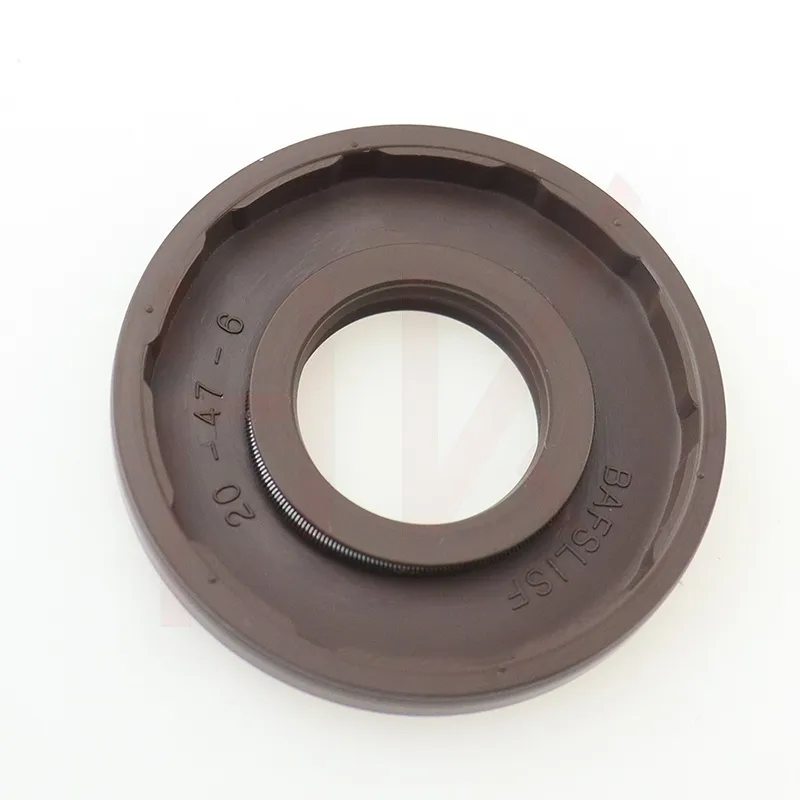 By selecting a seal that is specifically designed to meet these requirements, you can help to extend the life of your gearbox and minimize the risk of costly repairs down the line By selecting a seal that is specifically designed to meet these requirements, you can help to extend the life of your gearbox and minimize the risk of costly repairs down the linegear box oil seal.
By selecting a seal that is specifically designed to meet these requirements, you can help to extend the life of your gearbox and minimize the risk of costly repairs down the line By selecting a seal that is specifically designed to meet these requirements, you can help to extend the life of your gearbox and minimize the risk of costly repairs down the linegear box oil seal.
...

2025-08-14 20:56

2025-08-14 20:48
Installation and maintenance of hub dust seals are critical aspects for ensuring their effectiveness
...

2025-08-14 20:41

Furthermore, our commitment to innovation means that we are always at the forefront of developing new and improved oil seal designs oil seal supplier. By constantly researching and testing new materials and technologies, we are able to offer our customers cutting-edge solutions that enhance the reliability and efficiency of their operations.
oil seal supplier. By constantly researching and testing new materials and technologies, we are able to offer our customers cutting-edge solutions that enhance the reliability and efficiency of their operations.
...

2025-08-14 20:17

2025-08-14 20:11
Latest articles
Replacing the seal kit is a relatively straightforward process, although some mechanical knowledge is beneficialbottle jack seal kit. It involves disassembling the jack, removing the old seals, cleaning the surfaces, and installing the new ones. Always refer to the manufacturer's instructions or seek professional help if unsure.
bottle jack seal kit. It involves disassembling the jack, removing the old seals, cleaning the surfaces, and installing the new ones. Always refer to the manufacturer's instructions or seek professional help if unsure.The materials used in manufacturing hydraulic seals are also vital to their performance. Common materials include rubber compounds, polyurethane, and PTFE (Polytetrafluoroethylene). Each material offers different advantages and is selected based on the operating environment. For example, PTFE seals are highly resistant to chemicals and extreme temperatures, making them ideal for demanding applications.
hydraulic seal